FAQ: Buying Wood for Craft Projects
Affiliate Disclosure: As an Amazon Associate I earn from qualifying purchases. Additionally, I may get commissions for purchases made through other affiliate links in this post.
Recently, I’ve had a few requests emailed to me about where to buy wood for Silhouette or Cricut craft projects.
While I consider Mr. Cutting for Business and I amateur wood workers, we have successfully built our 10 seat dining room table, a faux fireplace mantle, an oversized outdoor corner bench, and countless painted wall signs.
Here are answers to frequently asked questions about buying wood for craft projects.
Table of Contents
FAQ: Buying Wood for Craft Projects
Q: Where should I buy wood for craft projects?
A: I buy wood at my local home improvement center, like Lowe’s or Home Depot. Occasionally, I’ll head over to Lumber 84.
Q: What kind of wood should I buy for my craft project?
A: I buy pine because it is most affordable. Within the selection of pine, I buy the “select” boards which are slightly more expensive, but the wood is higher quality.
Q: How is wood measured and priced?
A: Wood is sold per foot in stores and labeled in feet and inches. For example, a 1 x 4 x 8 board is 1 inch thick, 4 inches wide, and 8 feet long; while a 2 x 6 x 10 is 2 inches thick, 6 inches wide, and 10 feet long.
Q: What are nominal measurements?
An important note: In the wood buying world there is something referred to as “actual vs. nominal” measurements. Even though I just told you that a 1 x 4 x 8 board is 1 inch thick, 4 inches wide, and 8 feet long, and that’s what you’ll see it labeled as at the store – it really isn’t.
The nominal measurements are slightly less than the advertised sizes. A 1 x 4 x 8 board actually measures 3/4 x 3-1/2 x 8ish. So, if you need specific sized wood for a project be sure to measure what you are buying. I never head out to buy wood without a tape measure in my pocket.
Q: What should I look for when buying wood?
A: You should inspect each piece of wood for knots (some knots are not a problem and add character, while very dark knots are likely to fall out of the wood), cupping or crowning (this means that the wood is bowed one way or the other rather than flat), or large shakes (these are cracks within the wood).
To check for cupping or crowning, stand at one end of the board at look down the length of it. In most cases, you’ll see if it isn’t straight. You should try to buy wood that is as straight as possible.
Q: I don’t have power tools at home, will the store cut it for me?
A: Yes, home improvement centers will cut wood to size for you. Most stores will make 2-3 cuts for free, then charge between $.25 and $.50 per additional cut. Store policies vary greatly on wood cutting rules. For example, our Lowe’s will not make cuts smaller than 12 inches.
Q: Is the wood ready to use when I get home?
A: No, all wood should be sanded before painting or adding vinyl. Sandpaper comes in different grits. The larger the number, the finer the grit on the sandpaper. I don’t waste time sanding anything by hand.
An electric palm sander cuts out a huge amount of work and can be picked up in store for around $30. I prefer DeWalt tools and own this model, which includes a nice carrying case.
Q: How can I get free wood?
A: If you are at your local home improvement center and can make use of smaller cuts of wood, ask if they have any scraps. Many stores will give you their scraps for no charge.
If you’ve been pinning things on Pinterest to make with wood, I urge you to take the plunge.
Stenciled or painted signs with help from your Silhouette or Cricut are great sellers.
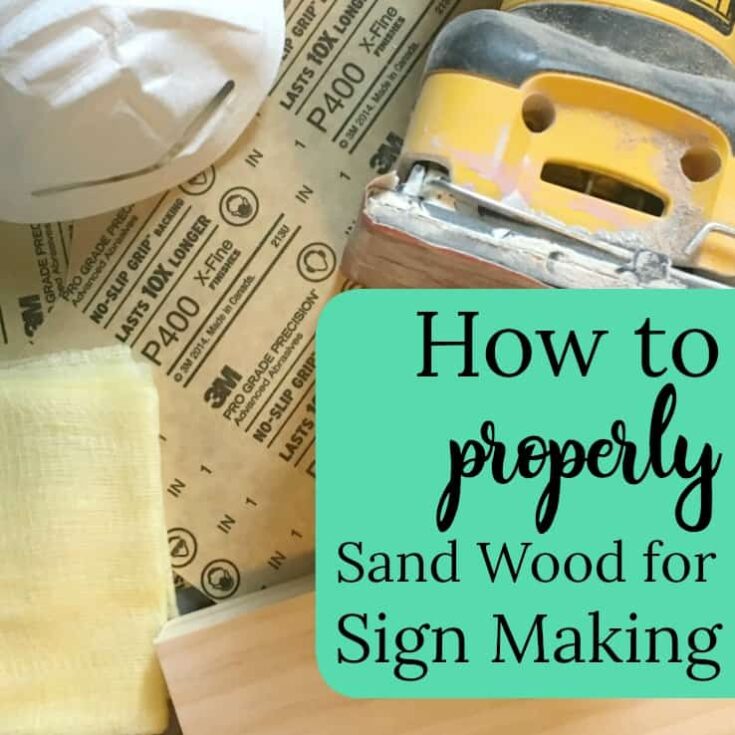
How to Properly Sand Wood for Sign Making
Why Do Vinyl Stencils Bleed?
How to Perfectly Use a Vinyl Stencil on Barnwood

FAQ: Power Tools in Your Craft Business
Since 2015, Christine Schinagl has been helping crafters start and run craft businesses through her blog, Cutting for Business. As a Silhouette and Cricut crafter herself, she has a unique take on what works and what doesn’t work in the craft business world. She also enjoys teaching other crafters how to create digital SVG designs, available through the Design with Me series.