Tutorial: Engraving with the xTool F1 Ultra
Affiliate Disclosure: As an Amazon Associate I earn from qualifying purchases. Additionally, I may get commissions for purchases made through other affiliate links in this post.
Engraving with the xTool F1 Ultra is an easy process. But, be sure that you’ve read my last article on the xTool F1 Ultra before you start this tutorial.
Table of Contents
What Materials Can the xTool F1 Ultra Engrave?
With two different types of lasers in the xTool F1 Ultra, you’ll be able to engrave many different products:
- Wood
- Paper
- Leather
- Gold
- Brass
- Silver
- Glass
- Rock
- Tile
- Stainless steel
- Acrylic
- Ceramic
- Platinum
- Titanium
- Rubber
- Food
- … and more!
Tutorial: Engraving with the xTool F1 Ultra
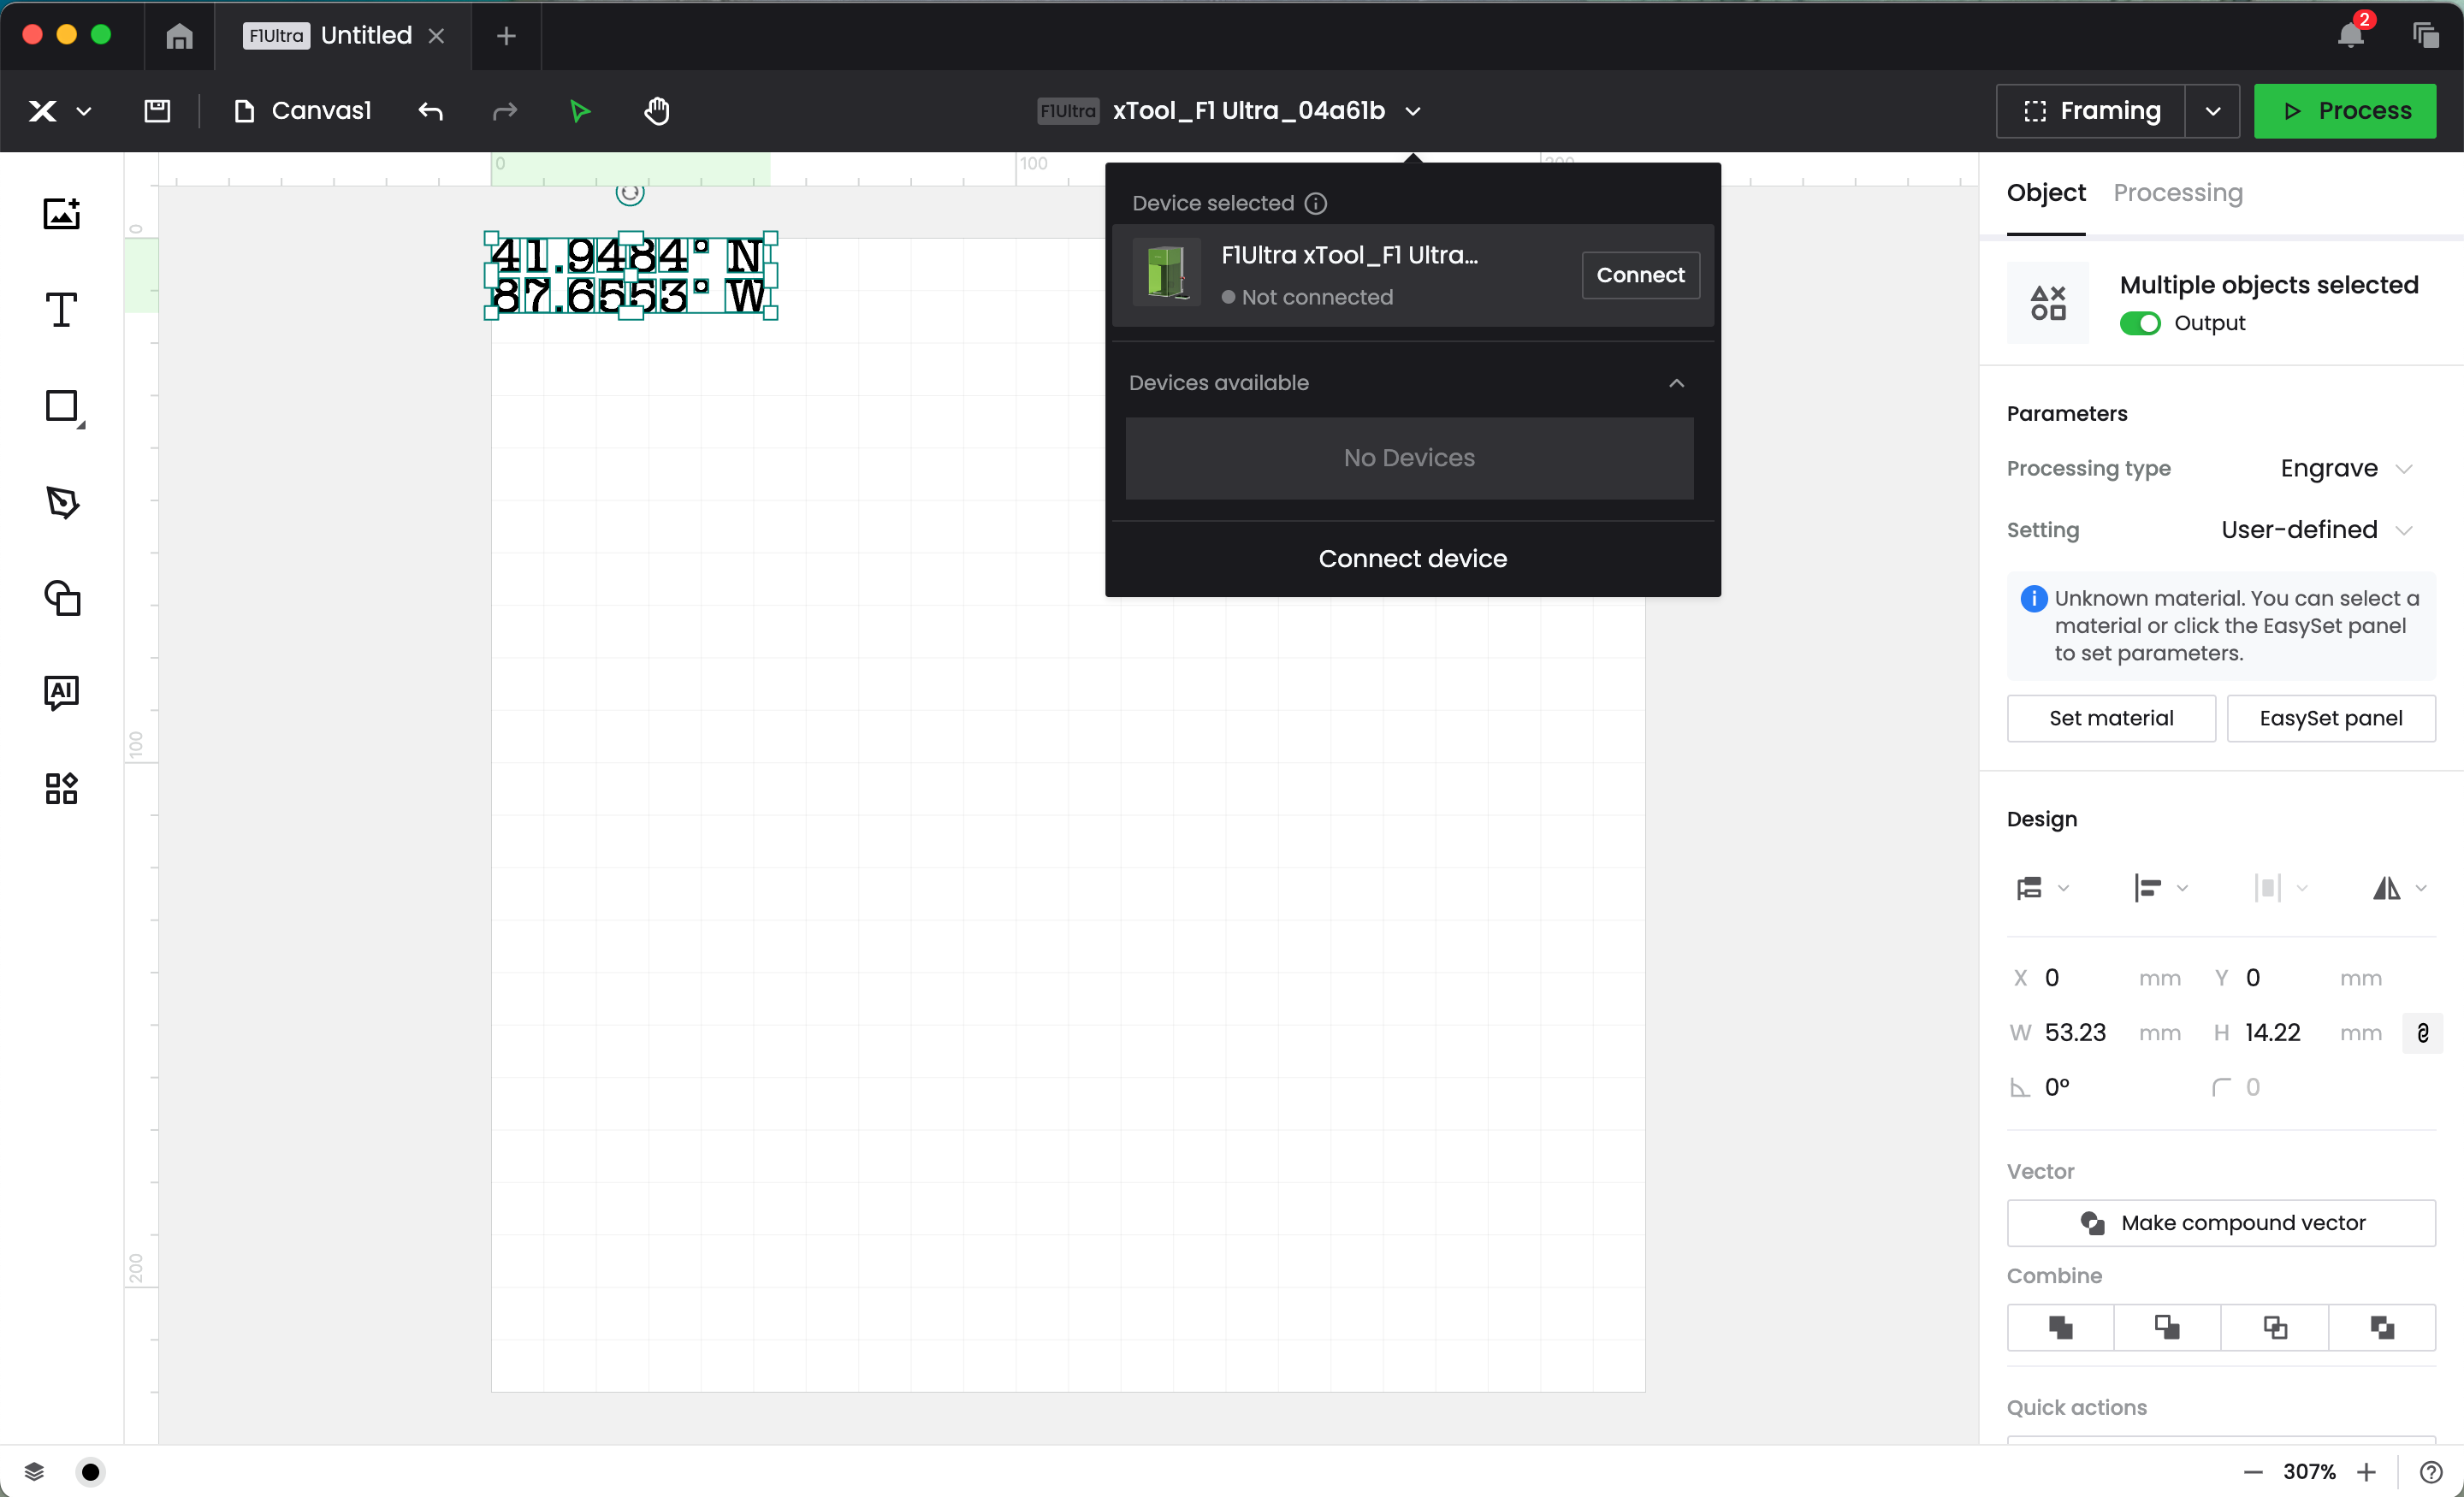
Create your design. You can create a design in xTool’s XCS (xTool Creative Studio), or your favorite design program and import it. Then, open it in XCS.
Turn on the xTool F1 Ultra and connect your machine to your computer.
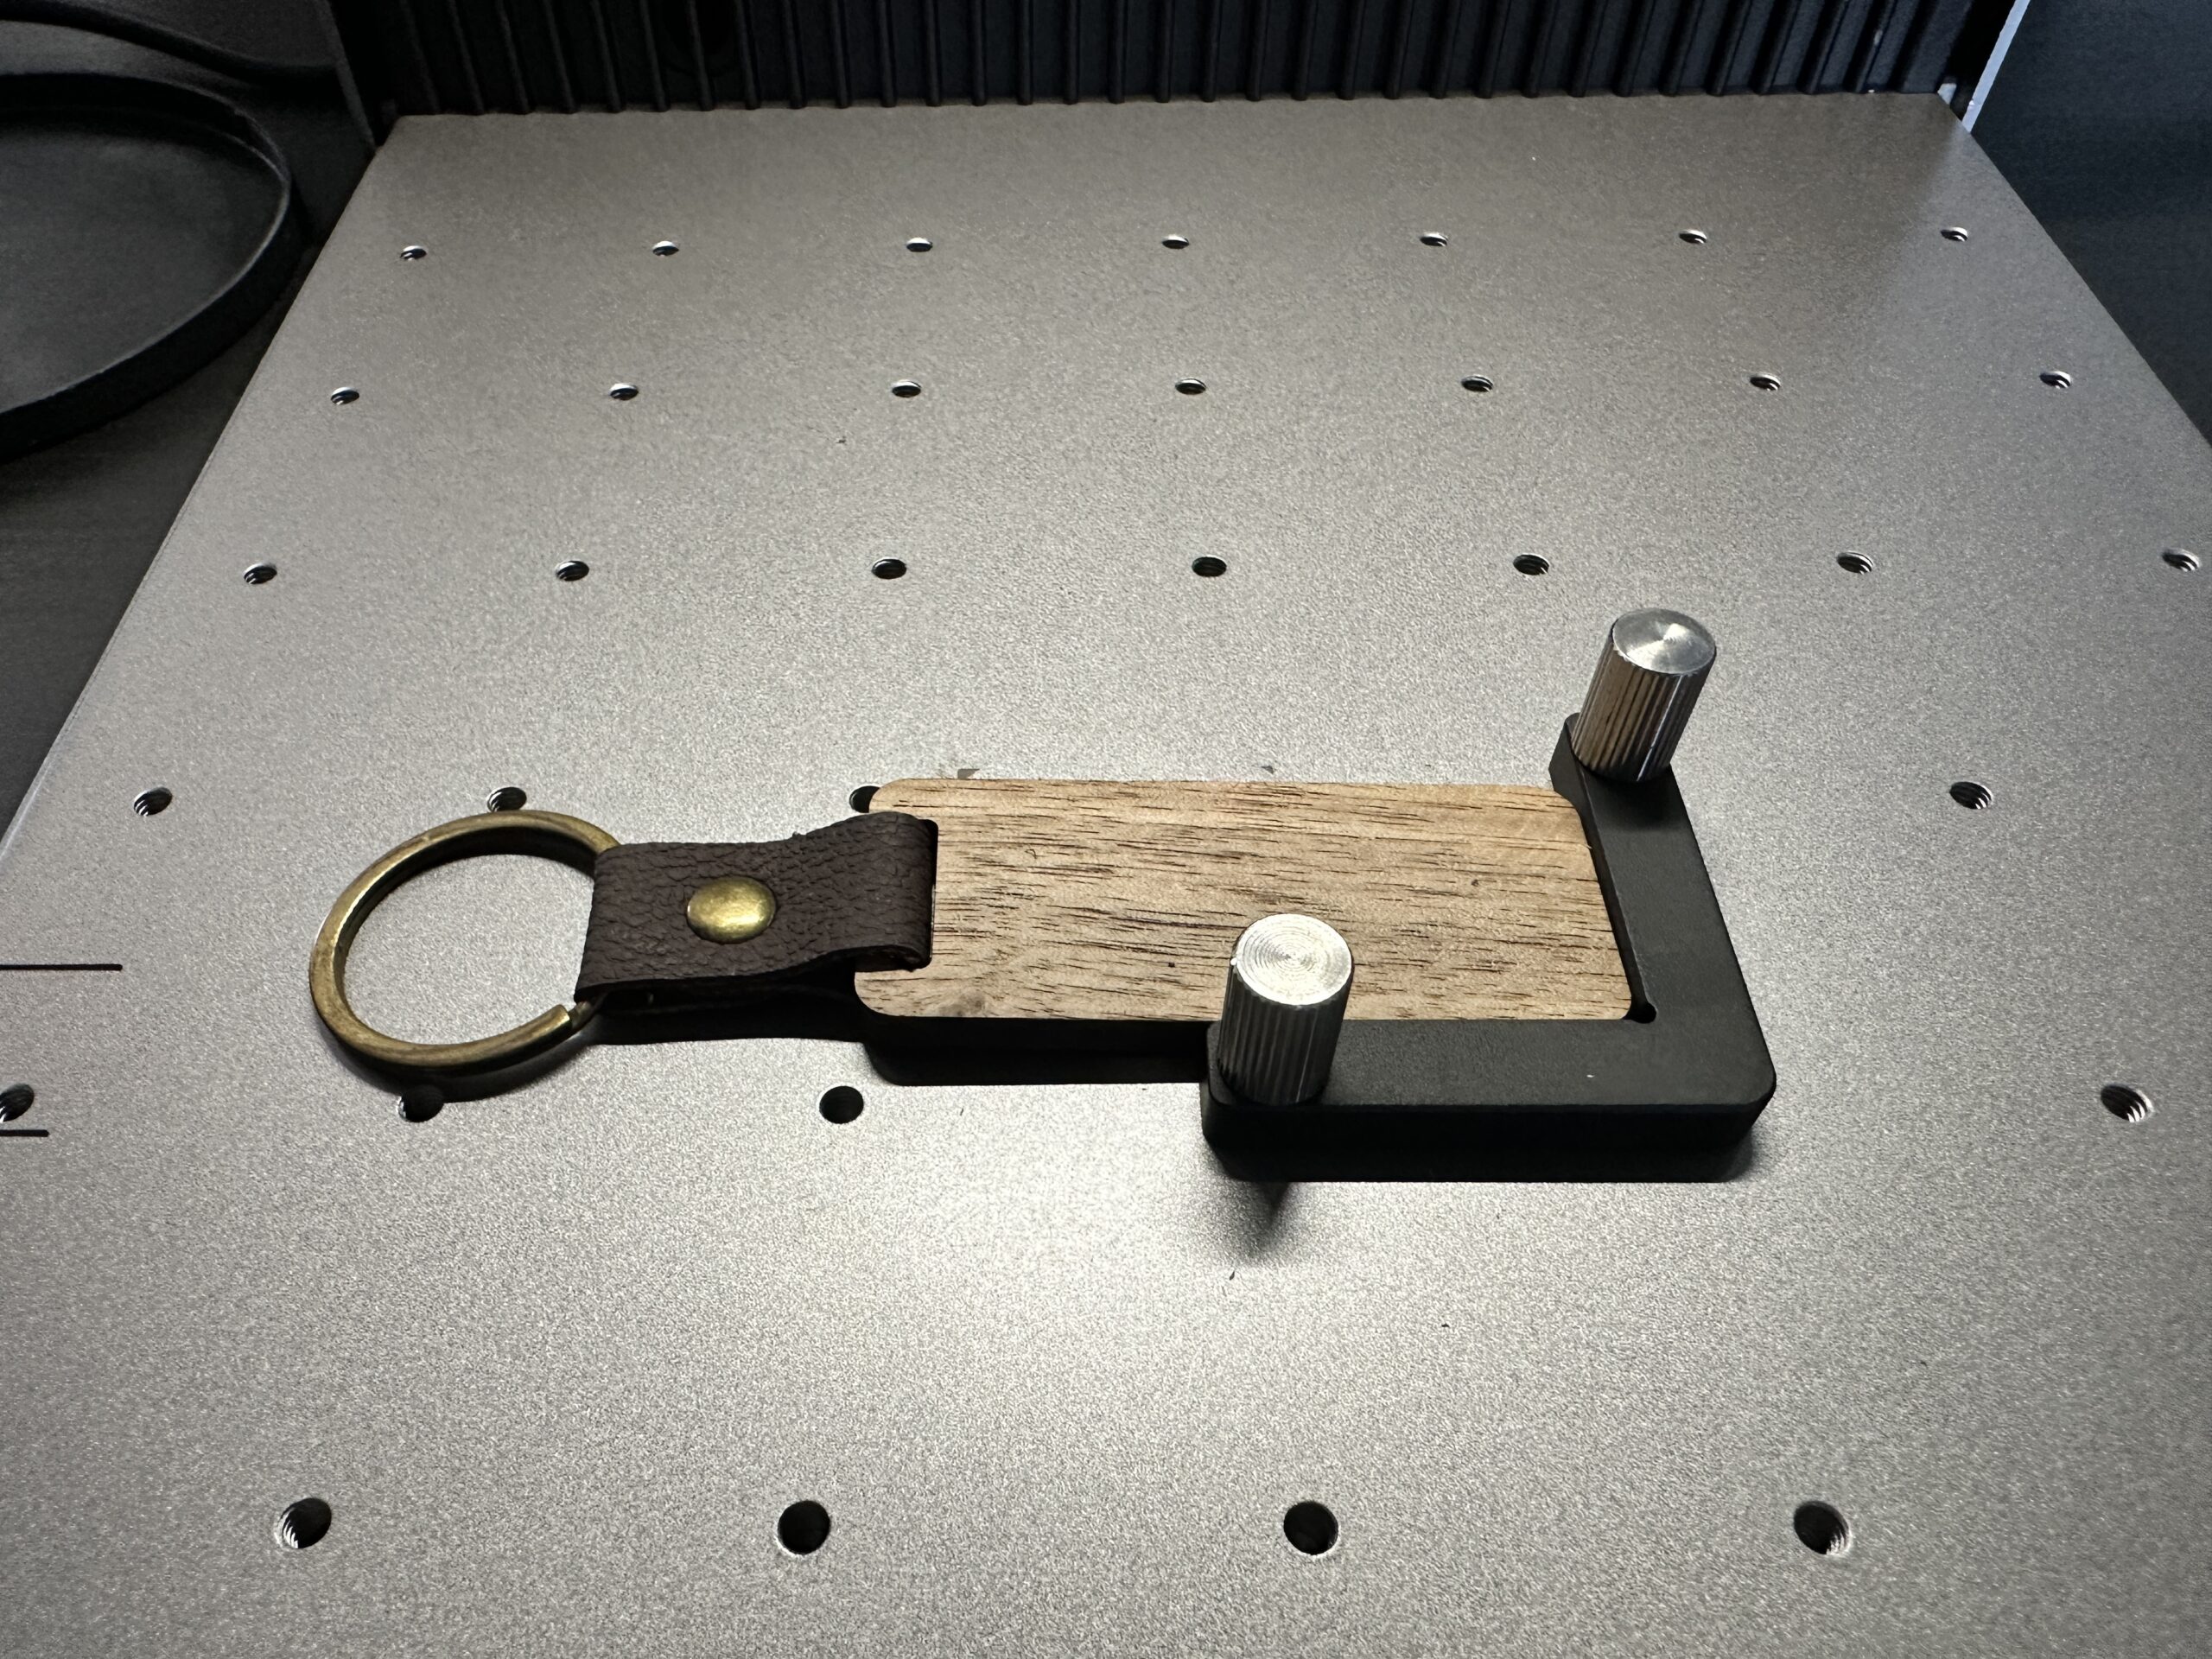
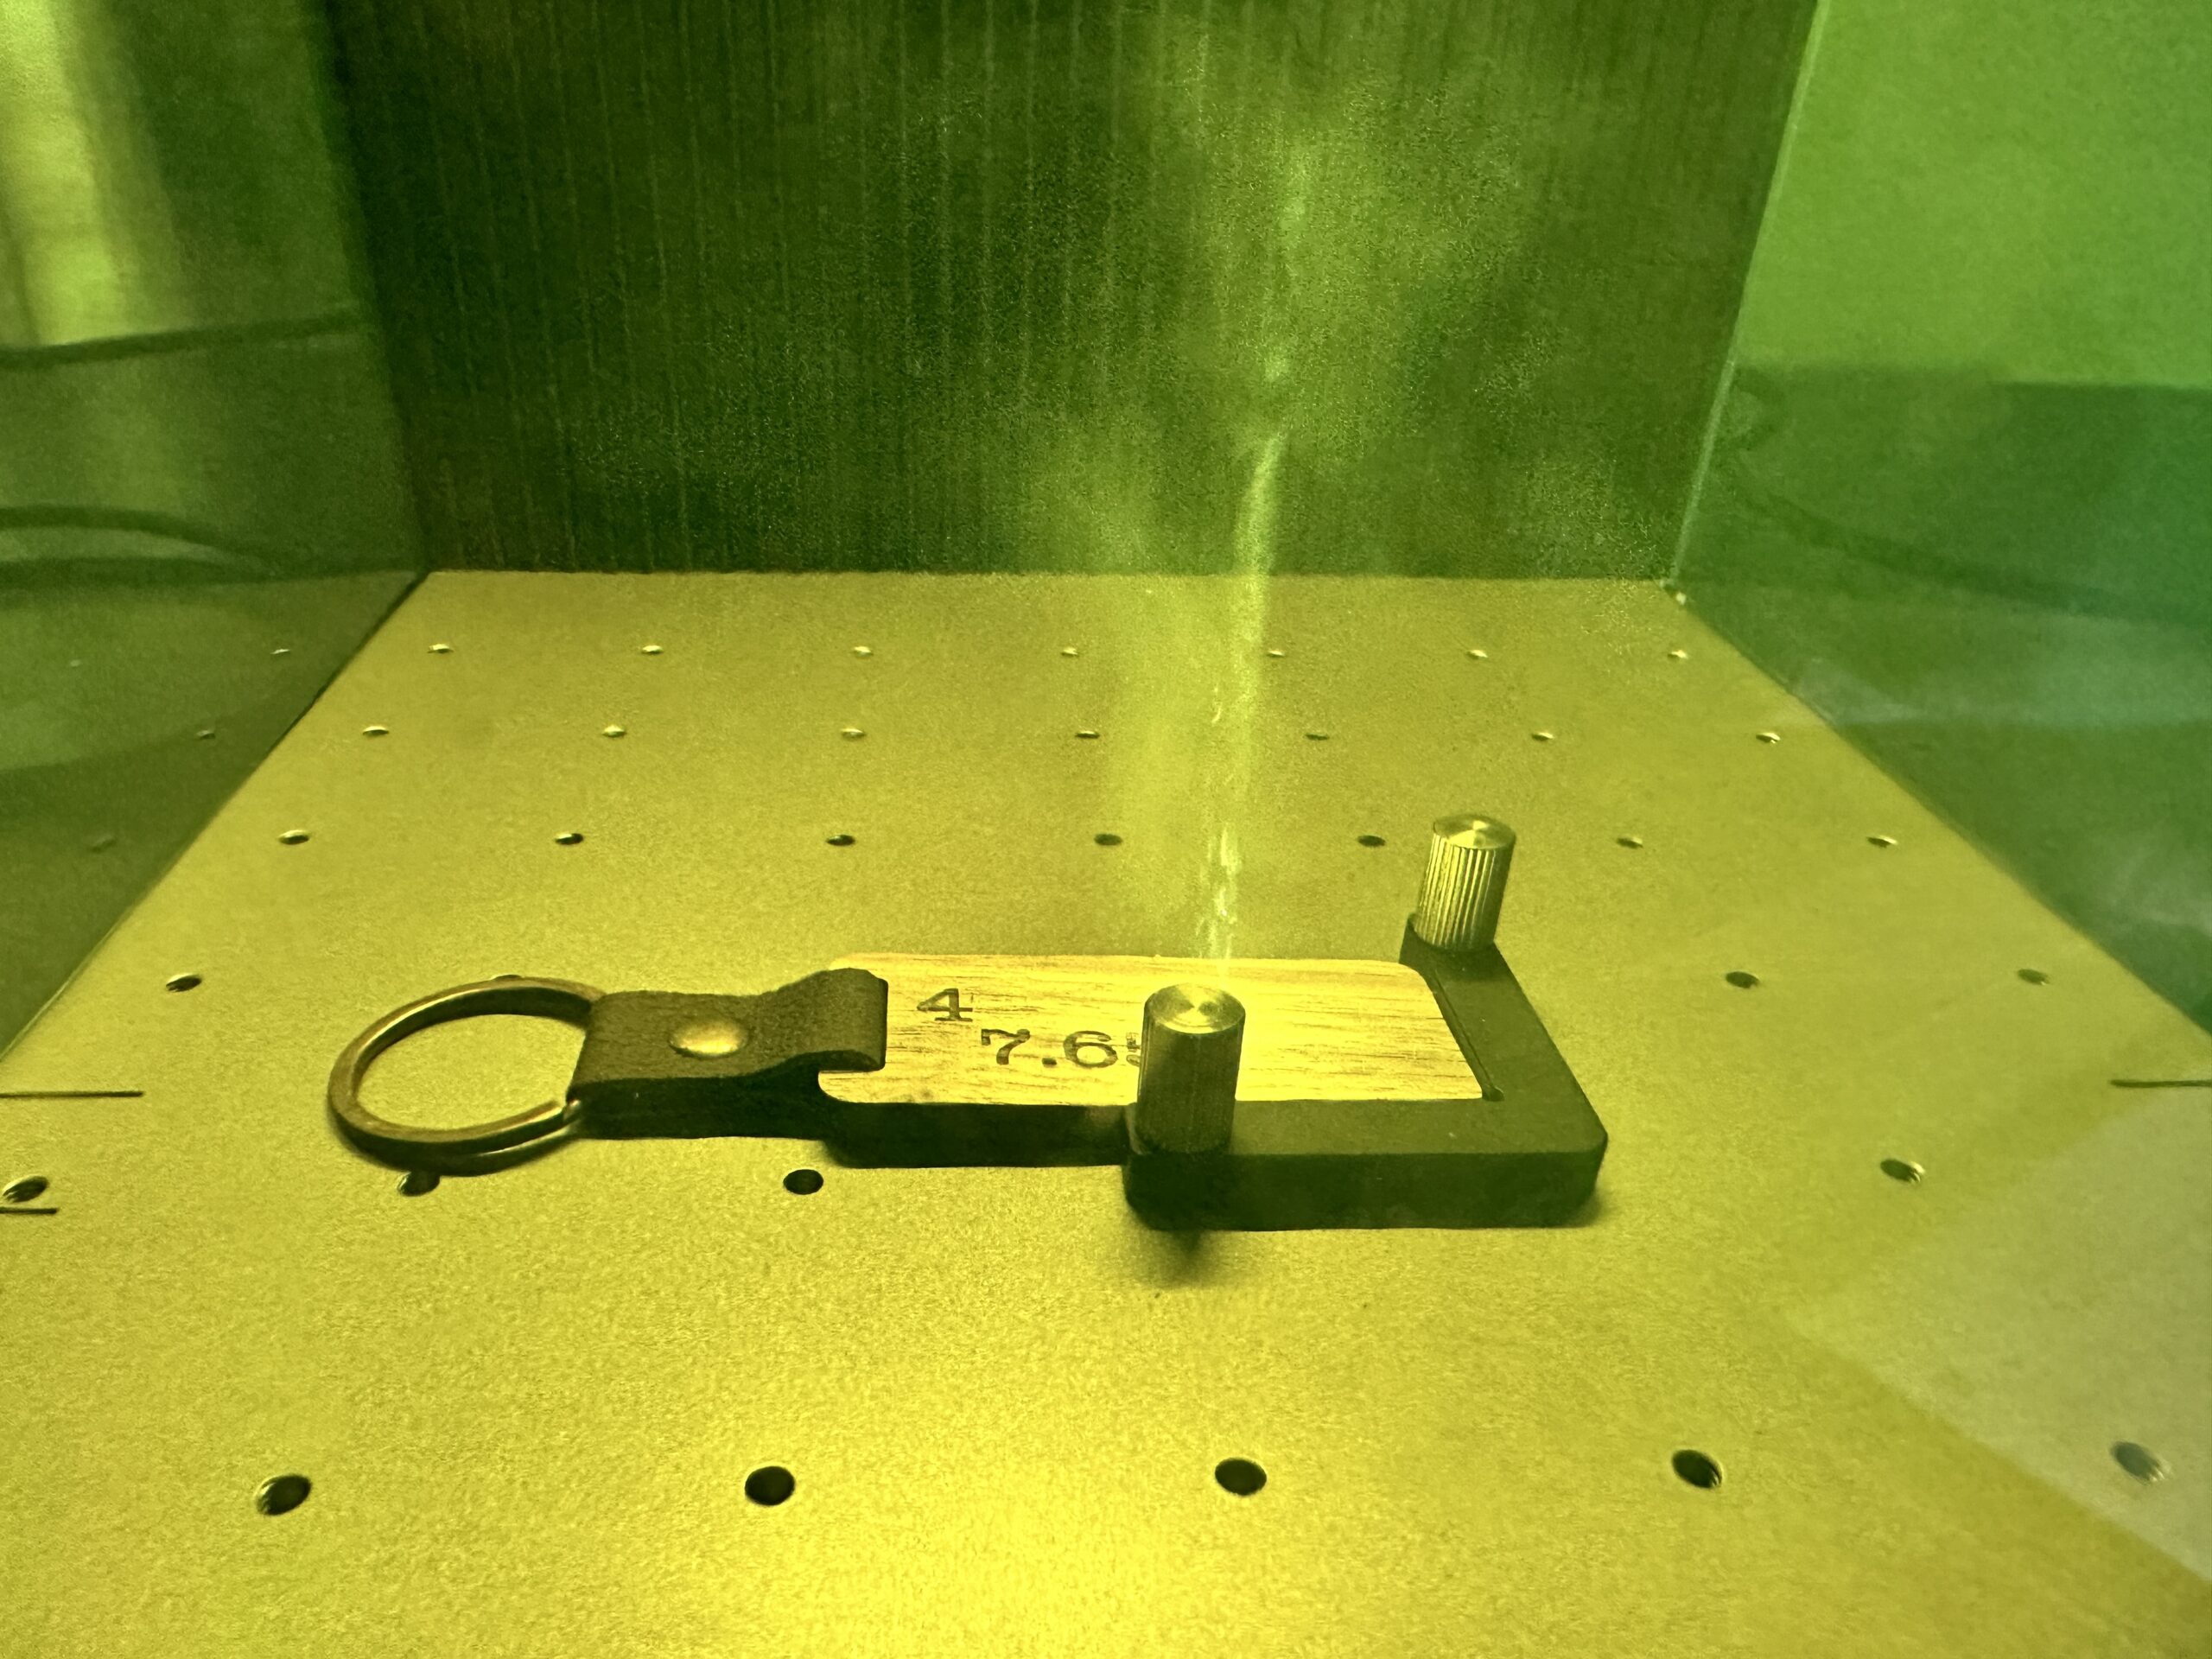
Load your blank material. In this case, I’m using a premade wood keychain. You can use the 90 degree guide – or not, your choice. (Speaking of this guide, read my information on batch processing with the xTool F1 Ultra.)
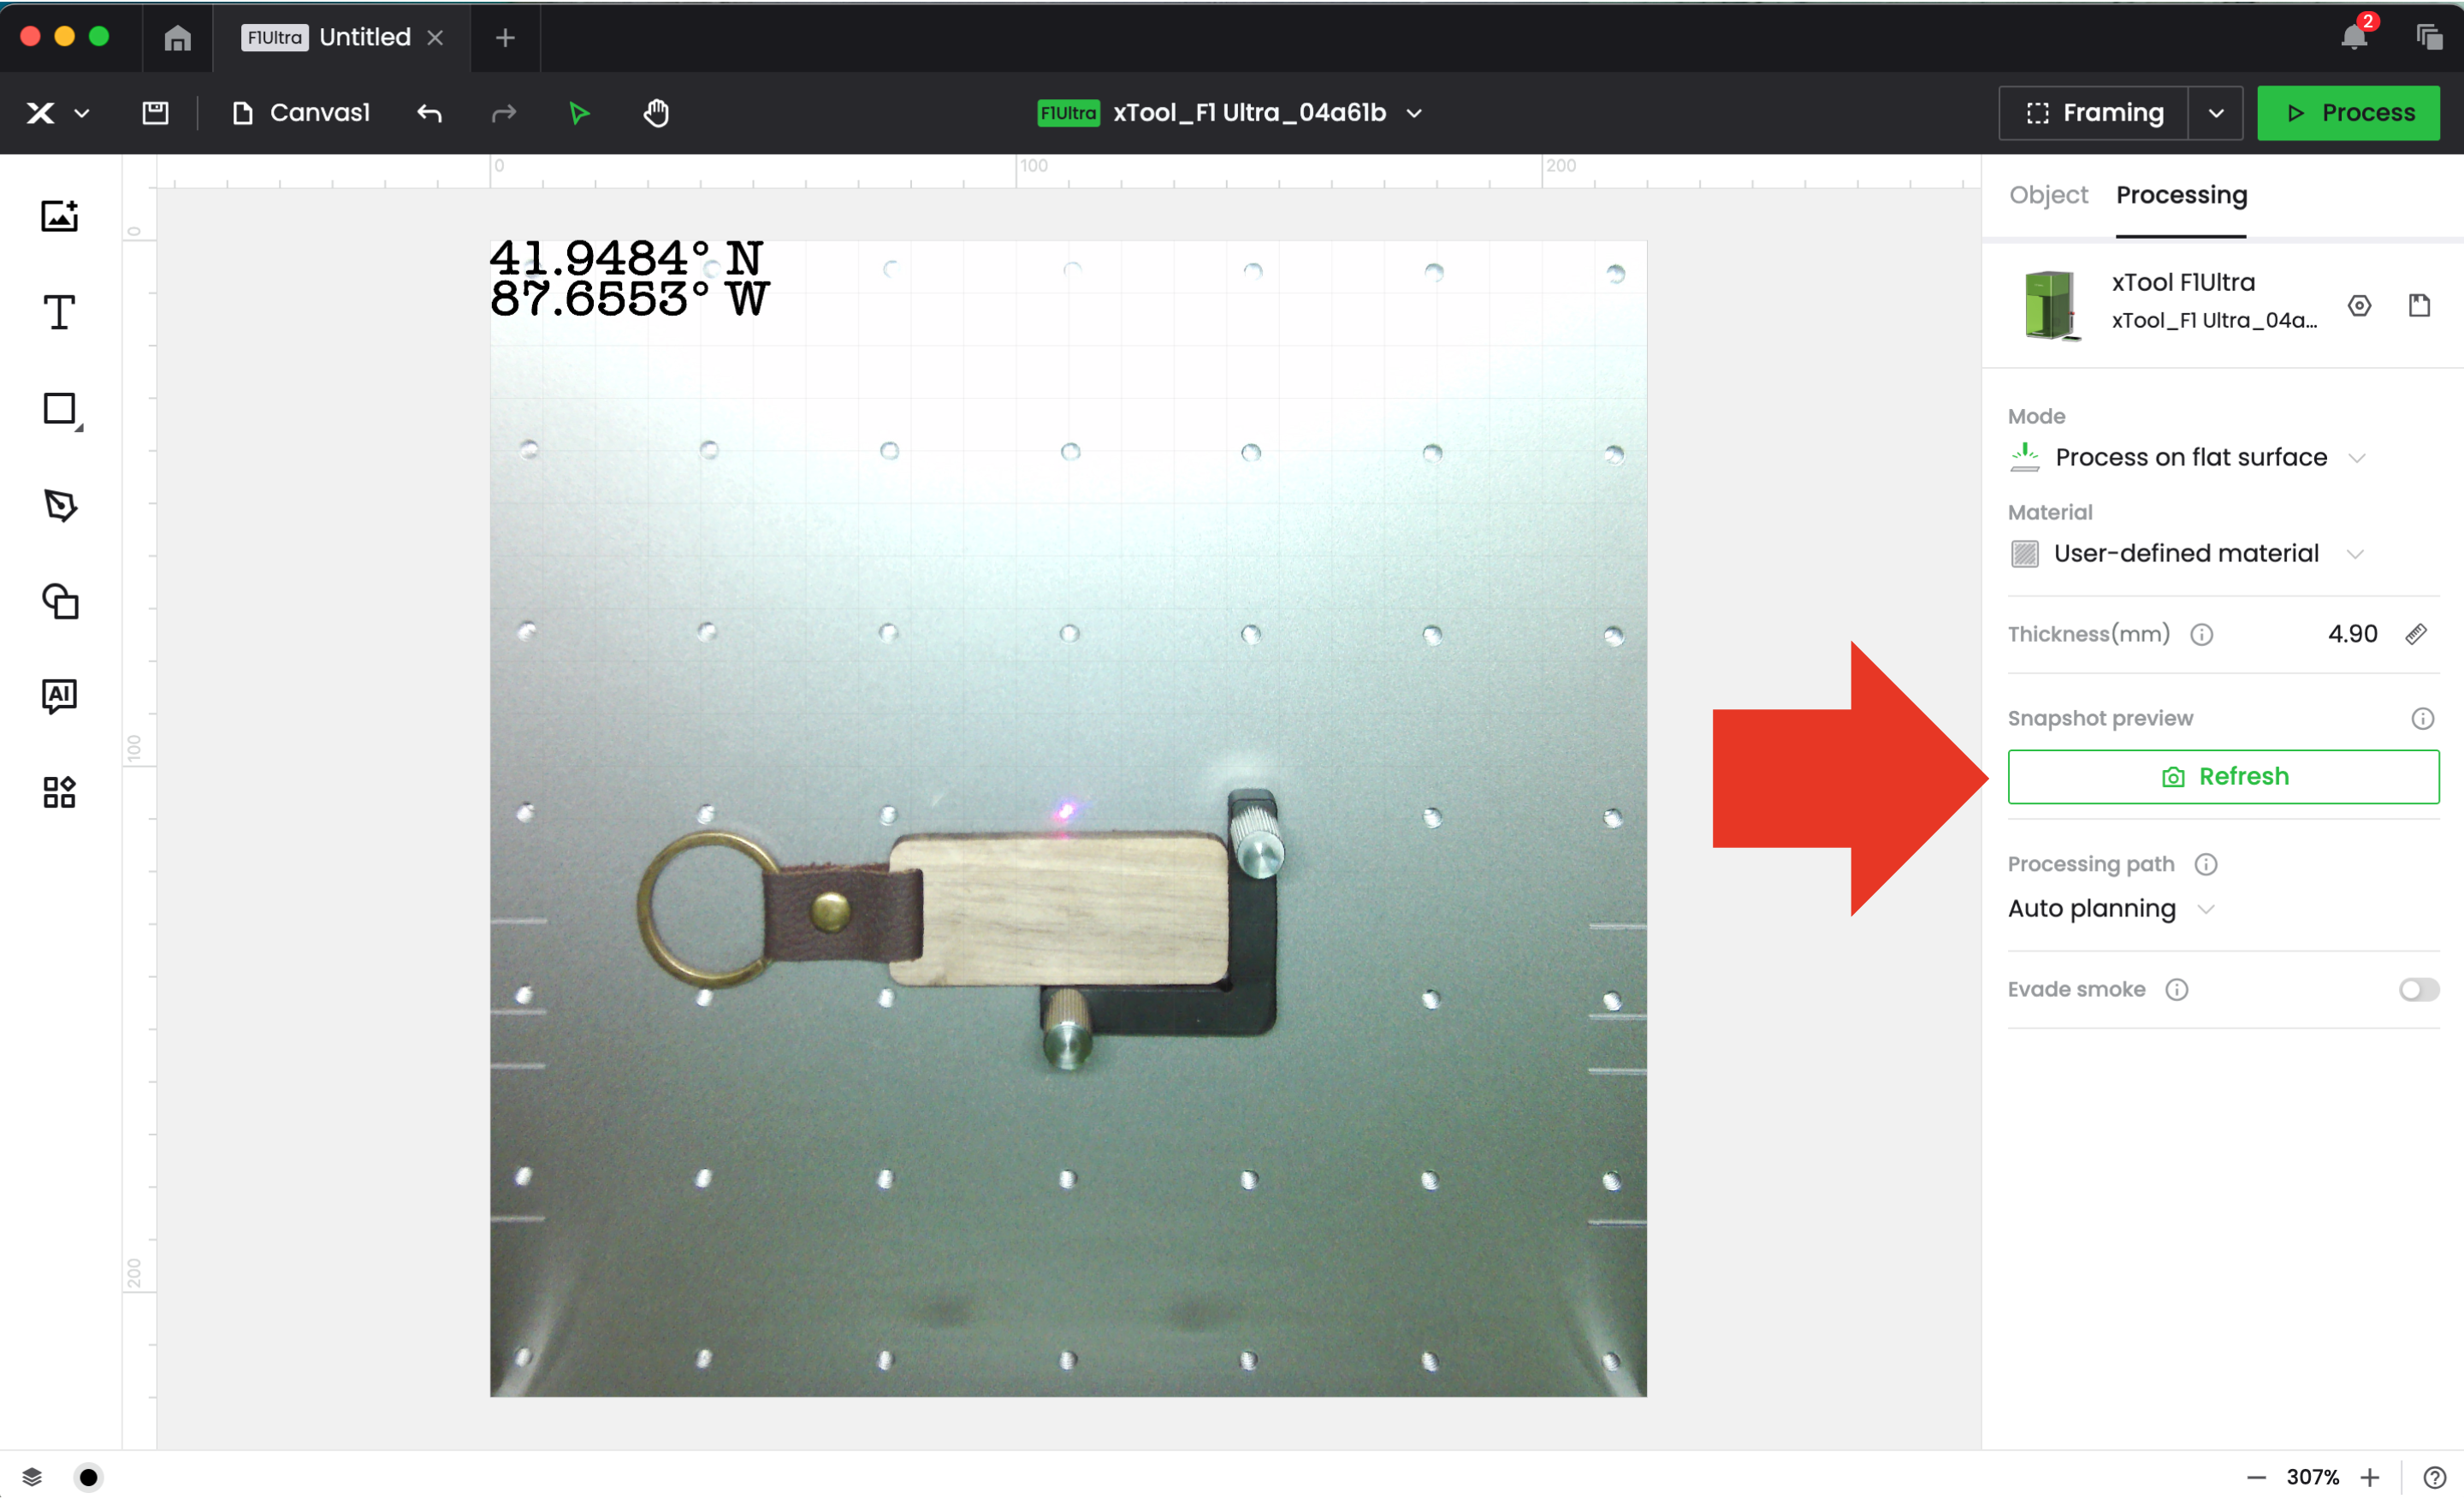
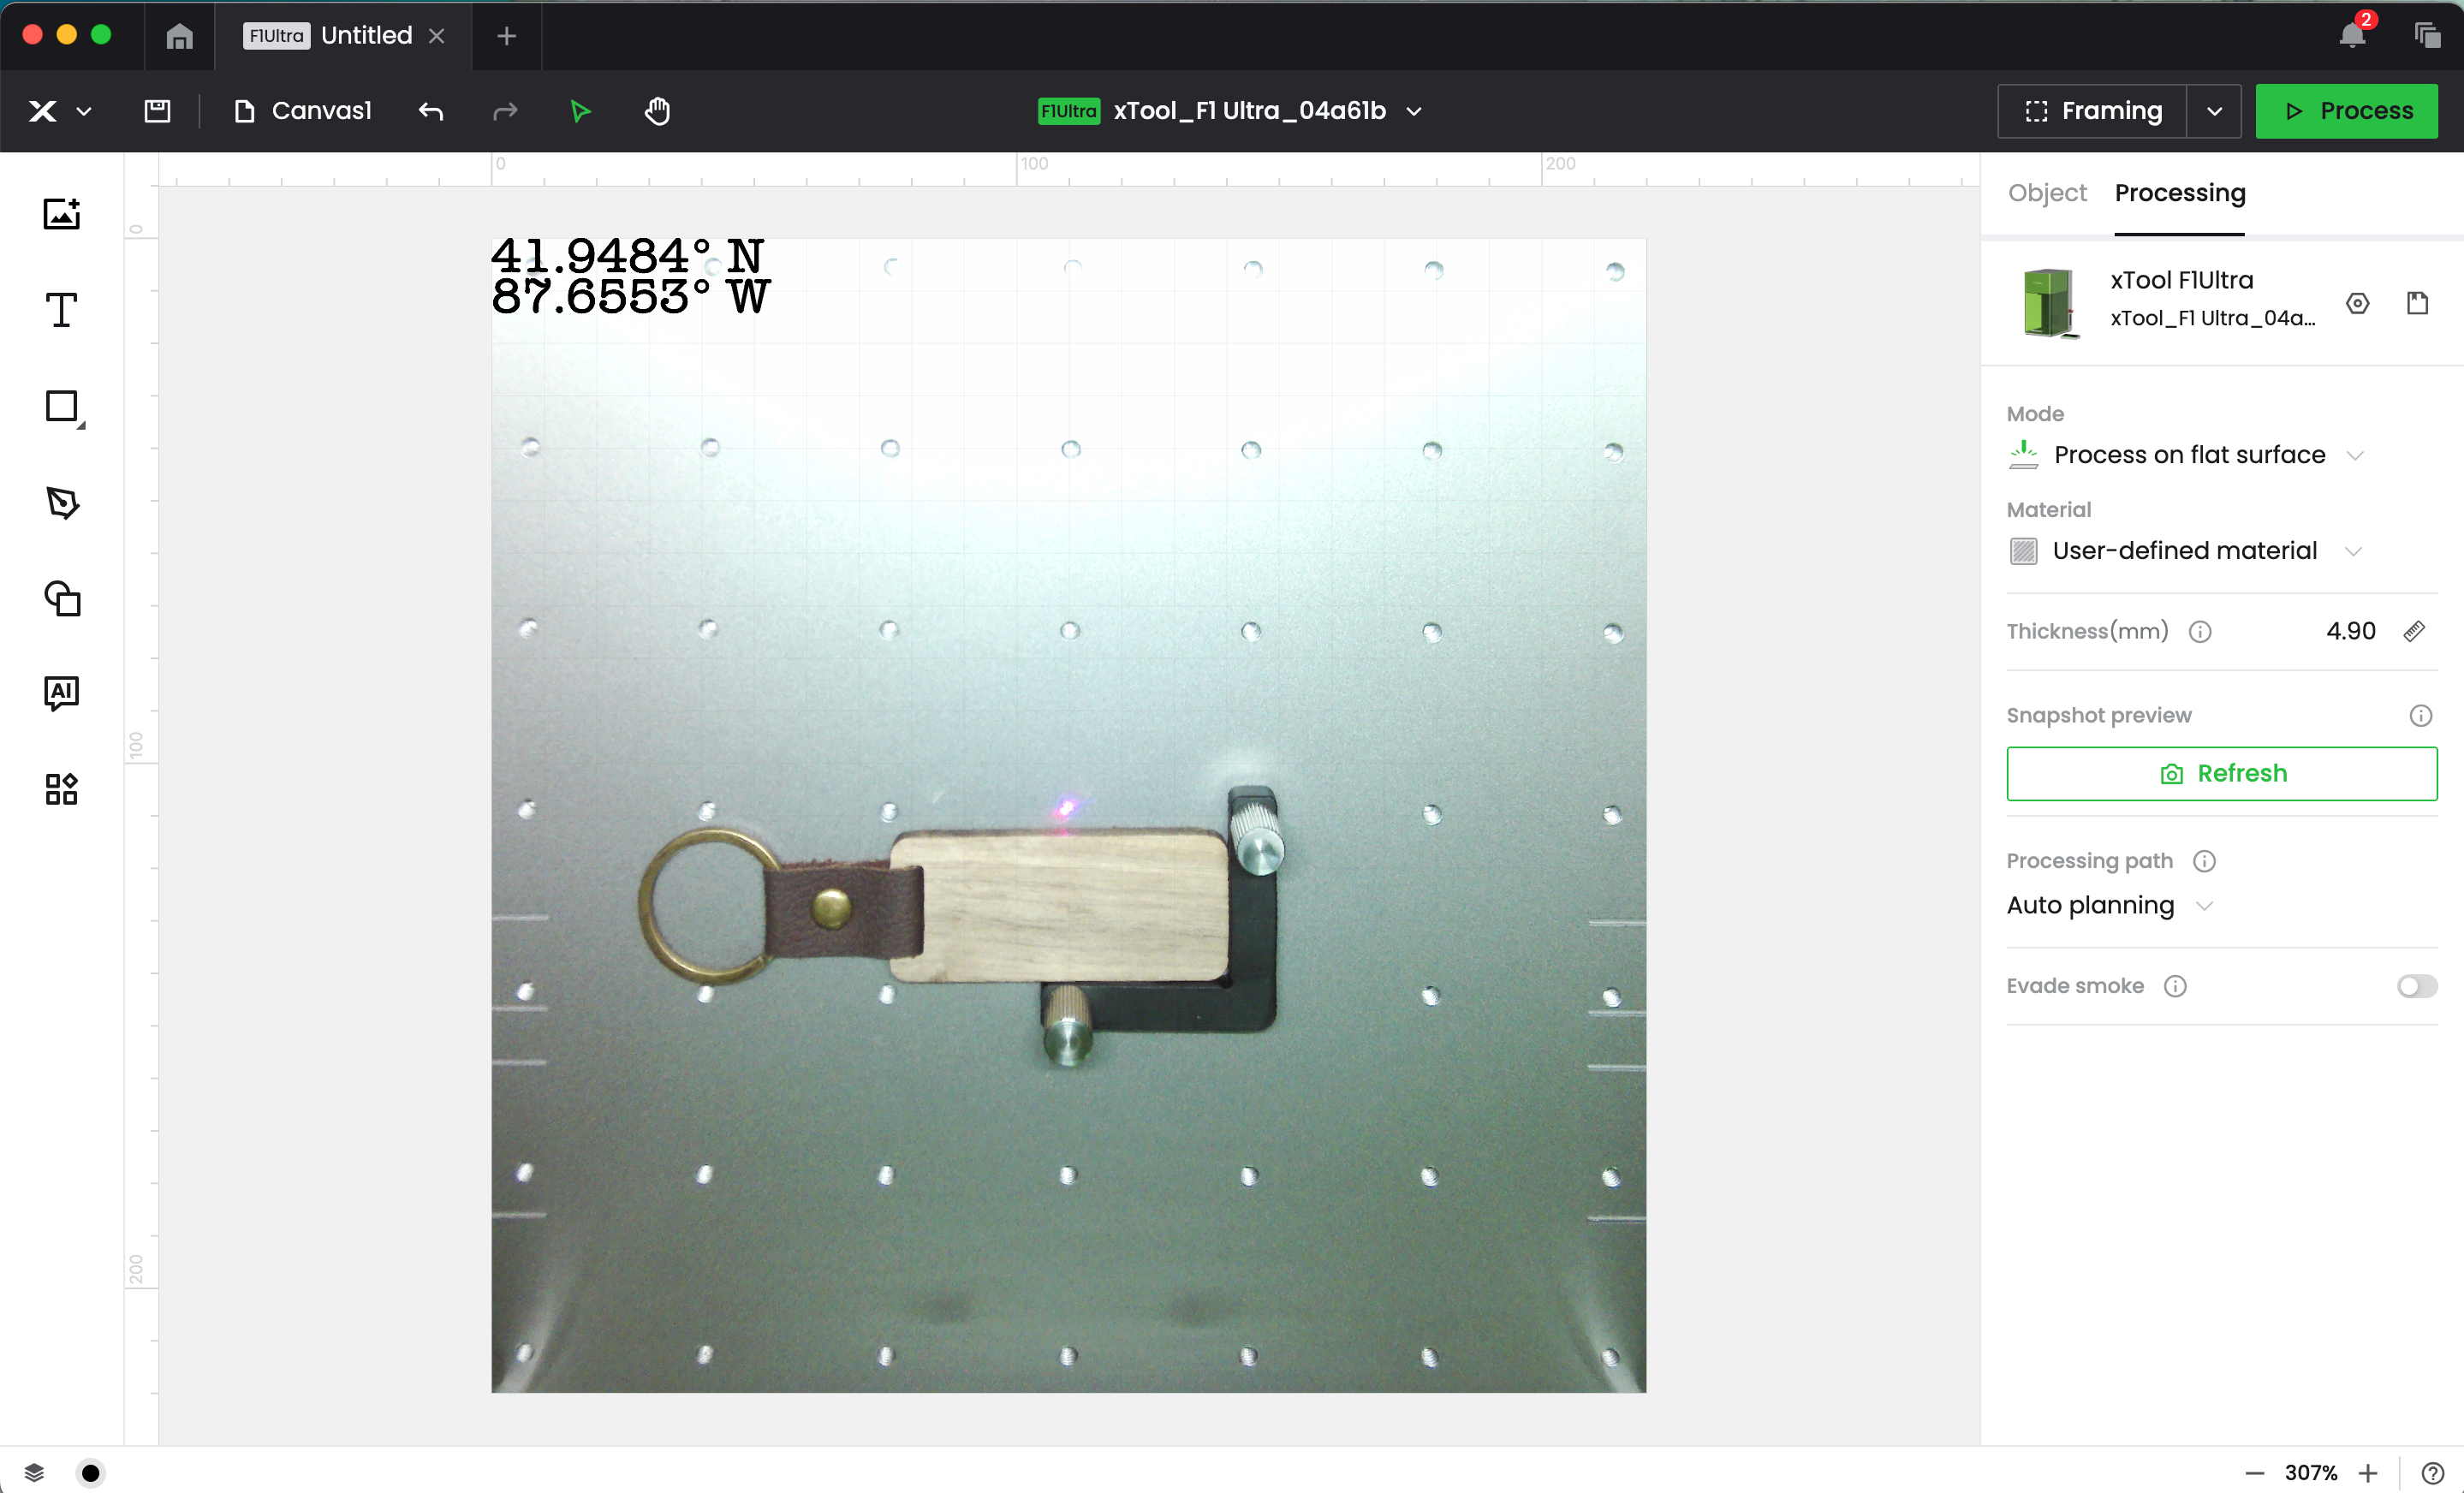
Next, take a snapshot of your blank.
Drag to move your design into place.
Close the shield on the machine.
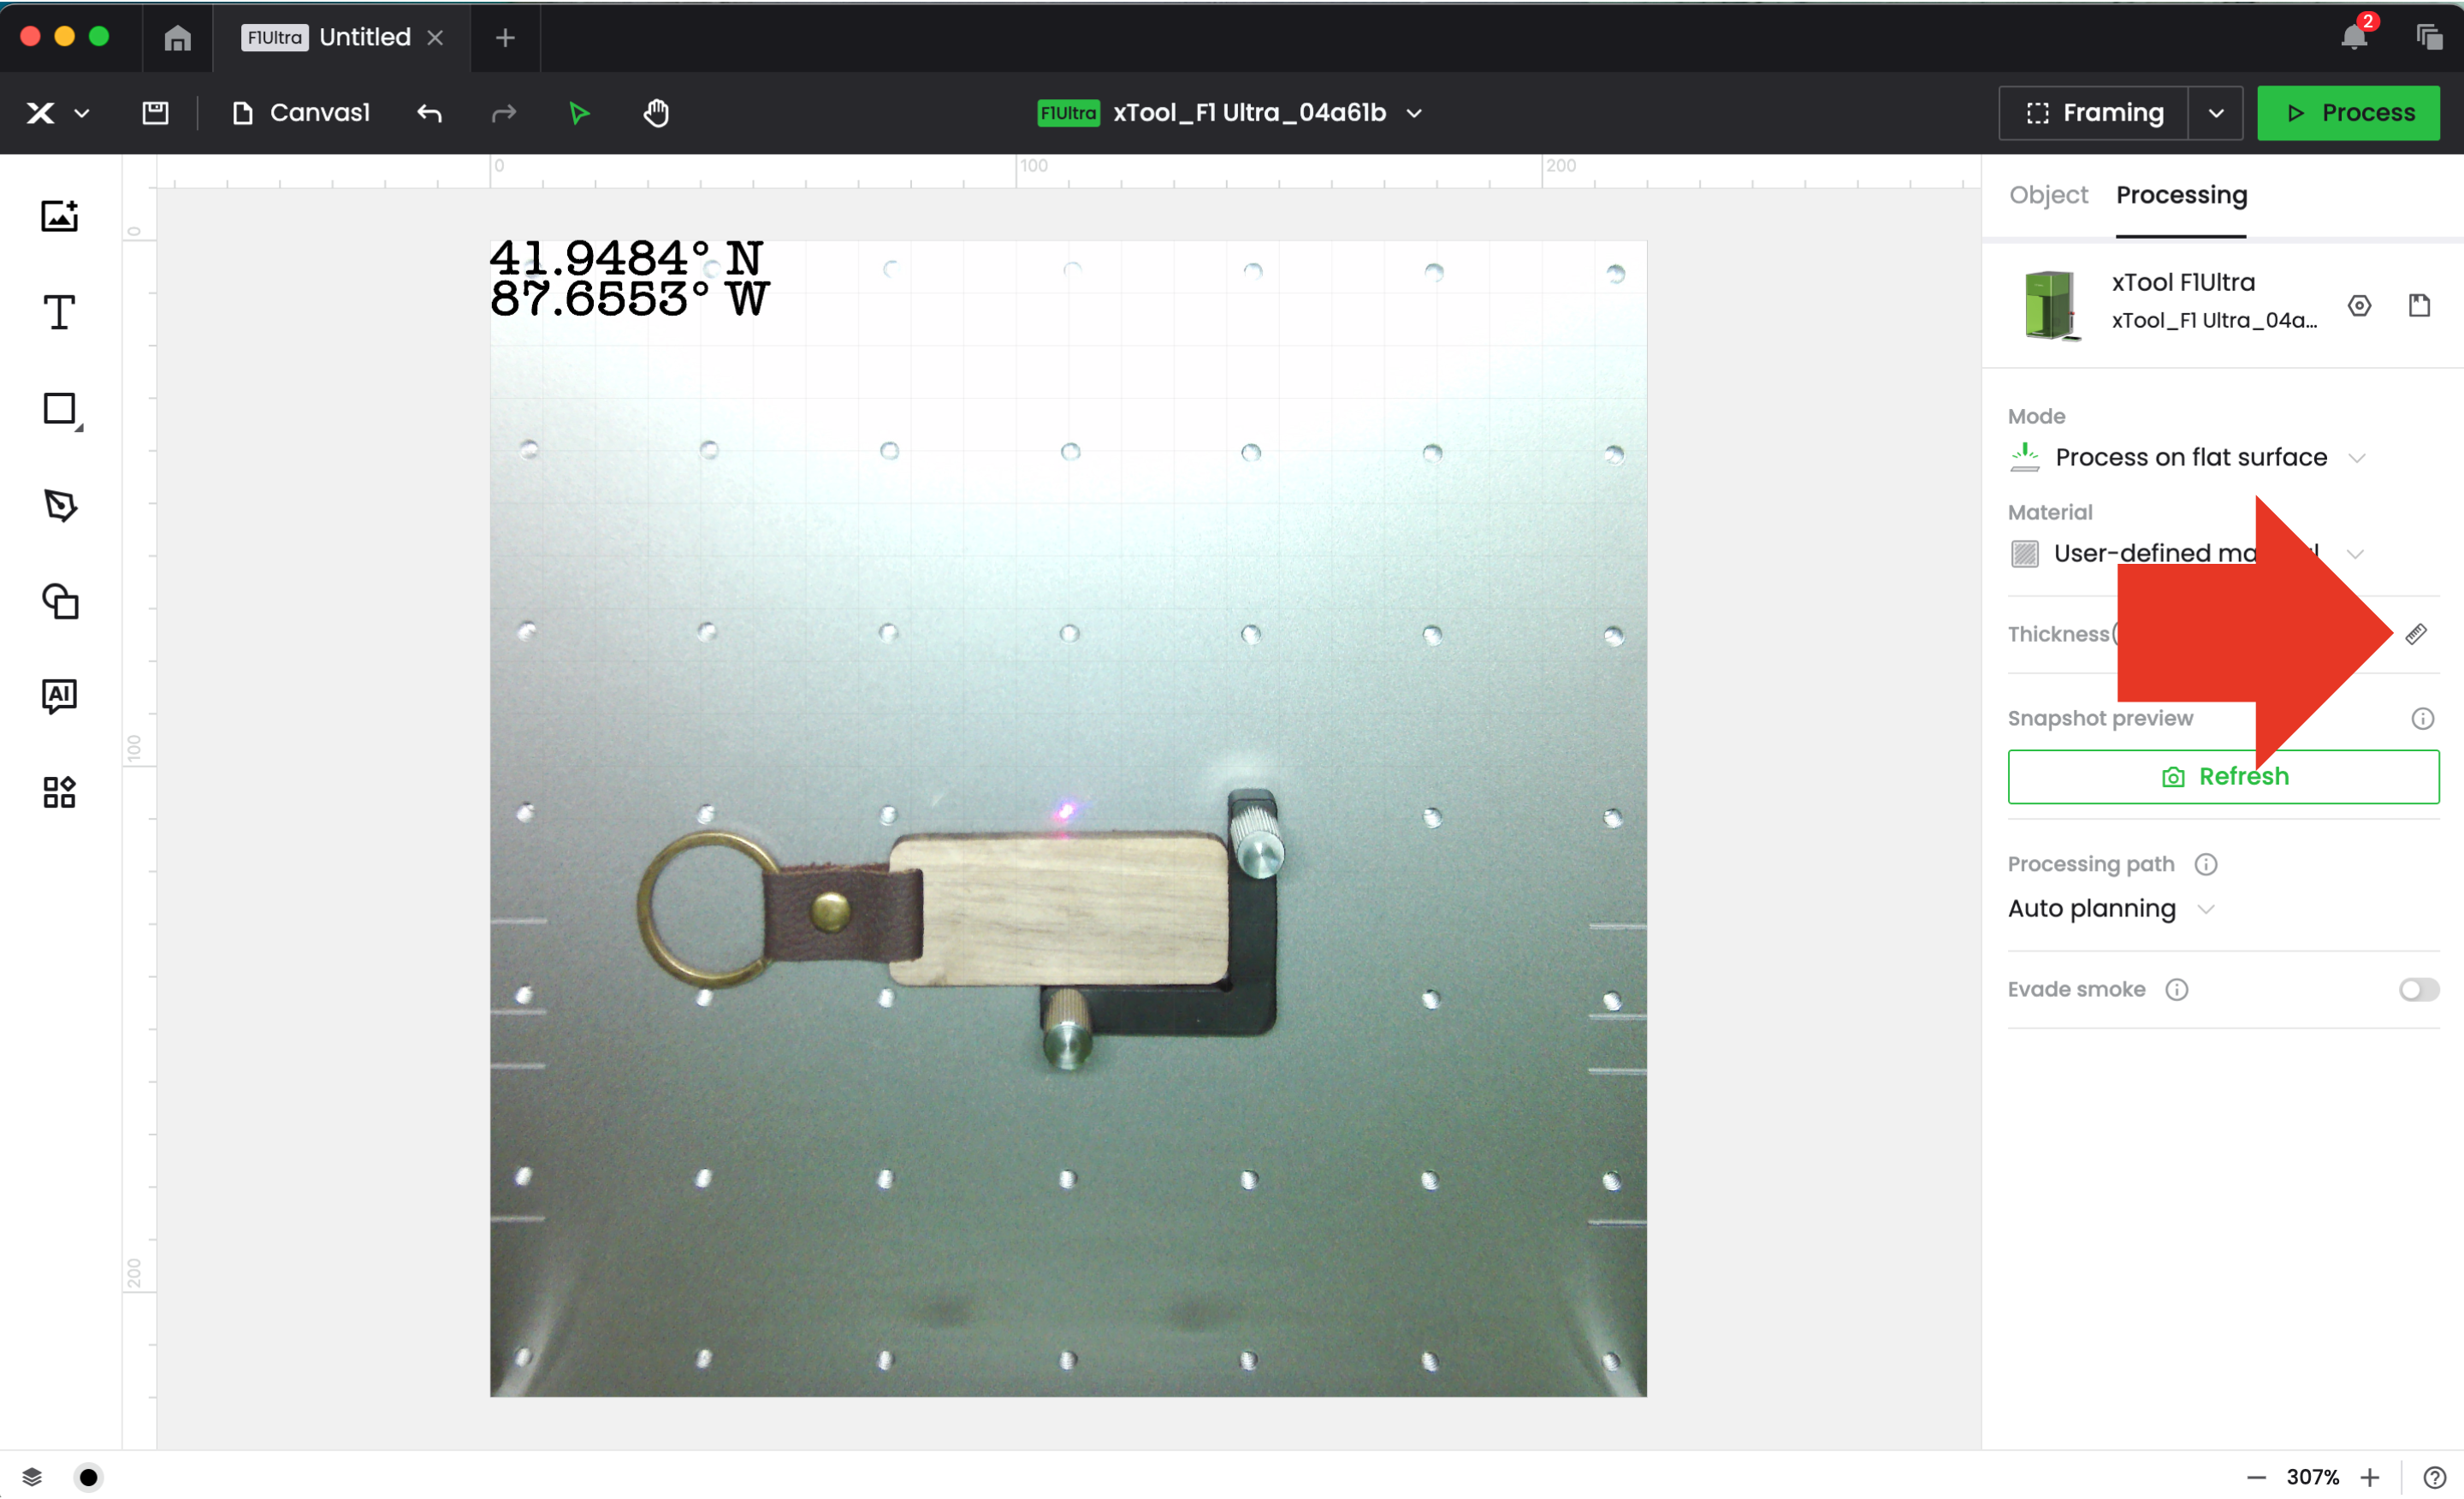
Enter the thickness of the material. You can either manually add the measurement, or use the auto measure function by clicking the ruler icon.
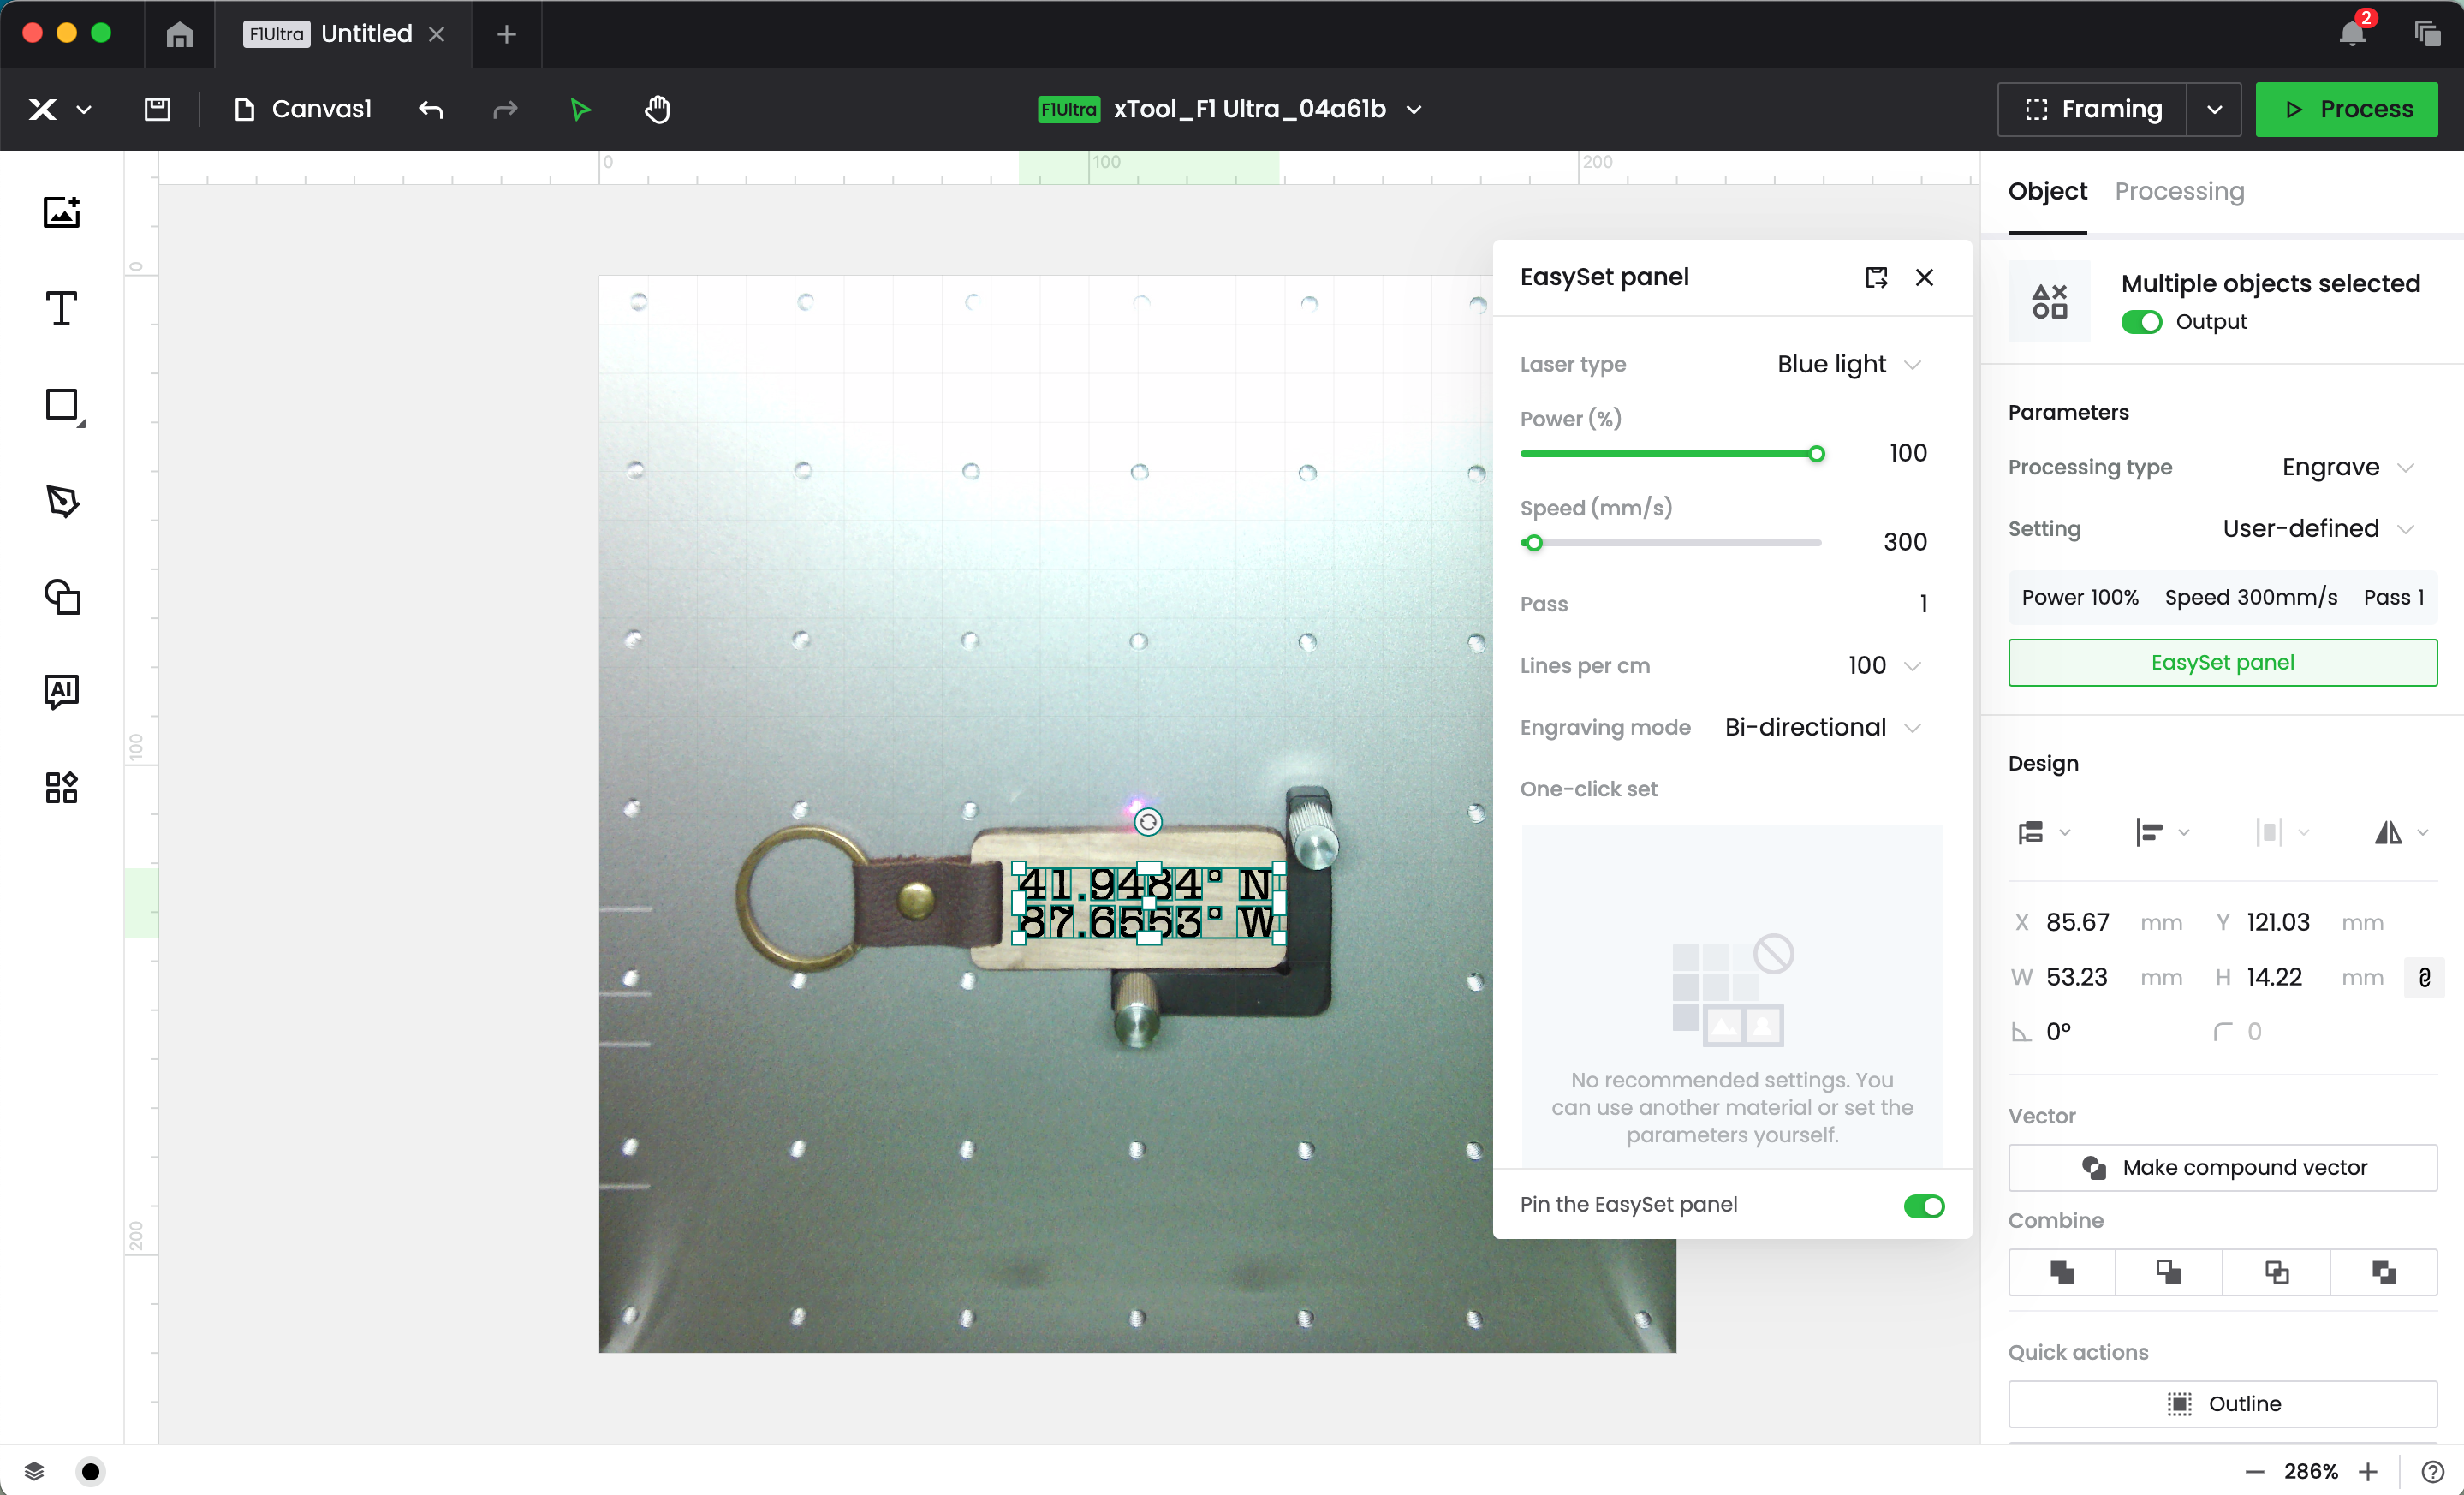
Click on your design to bring up the processing panel, then click the ‘EasySet Panel’. From here, you can choose a built in setting, or add your own.
These are the settings I used:
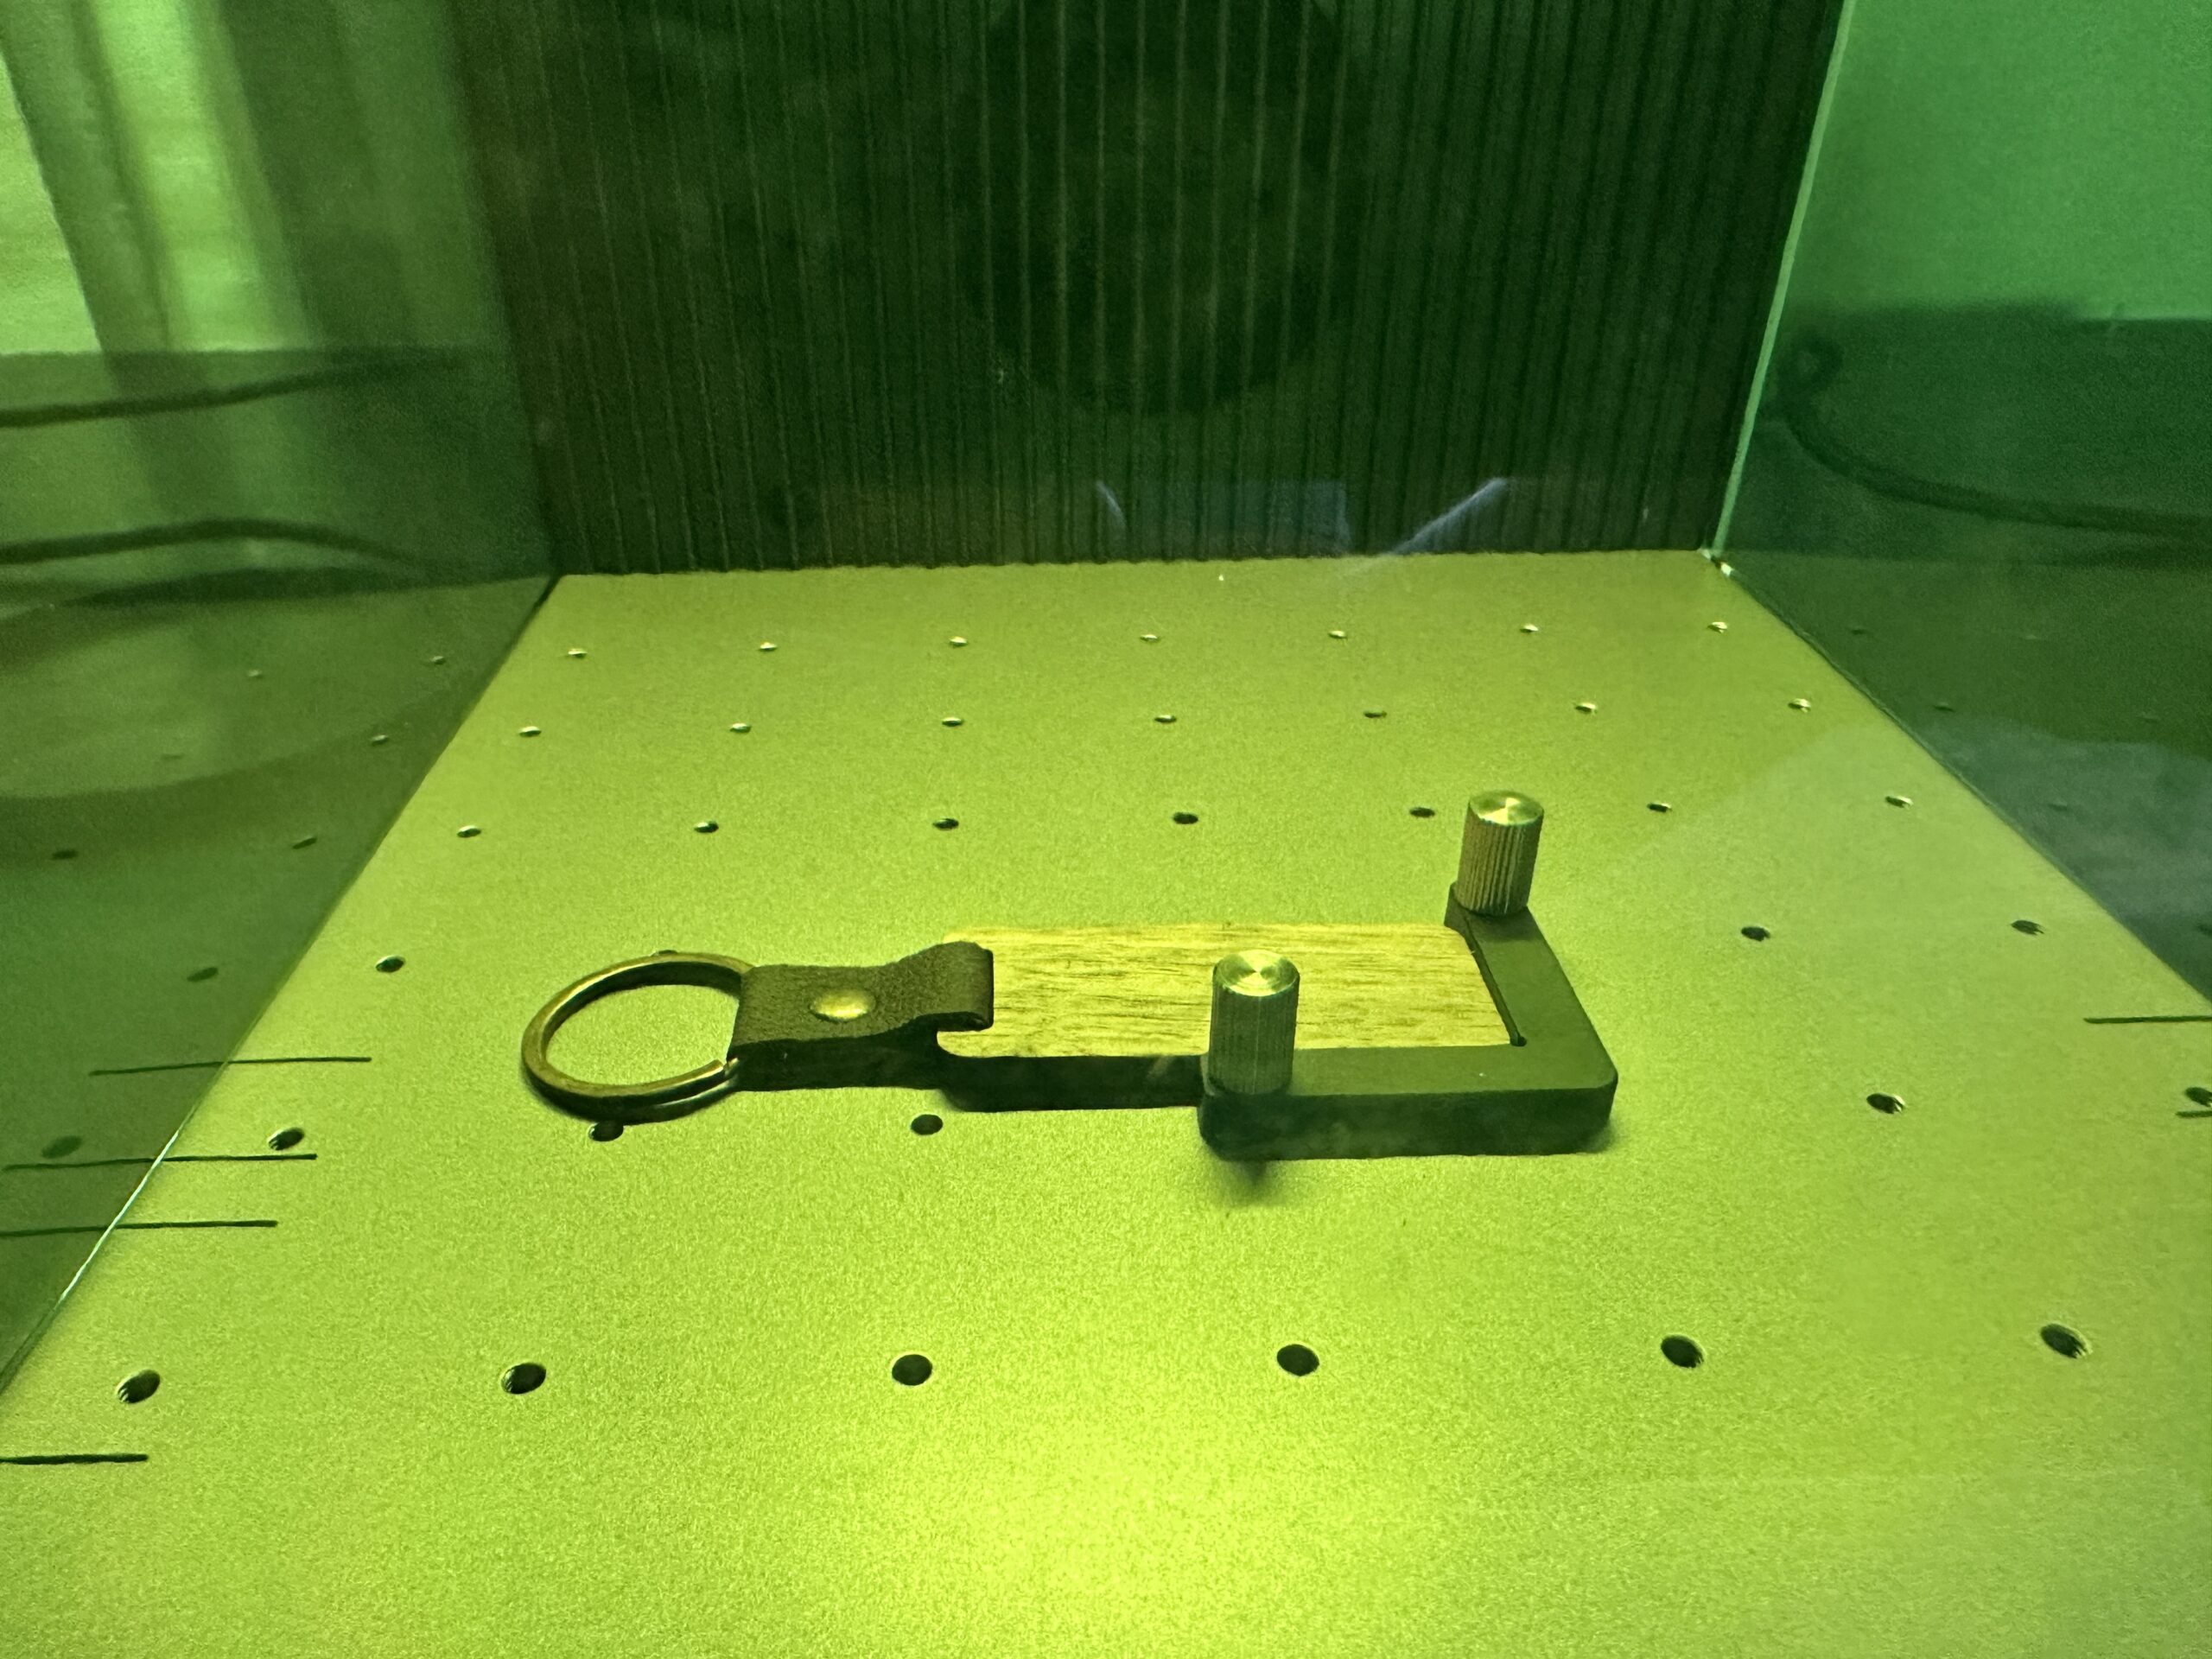
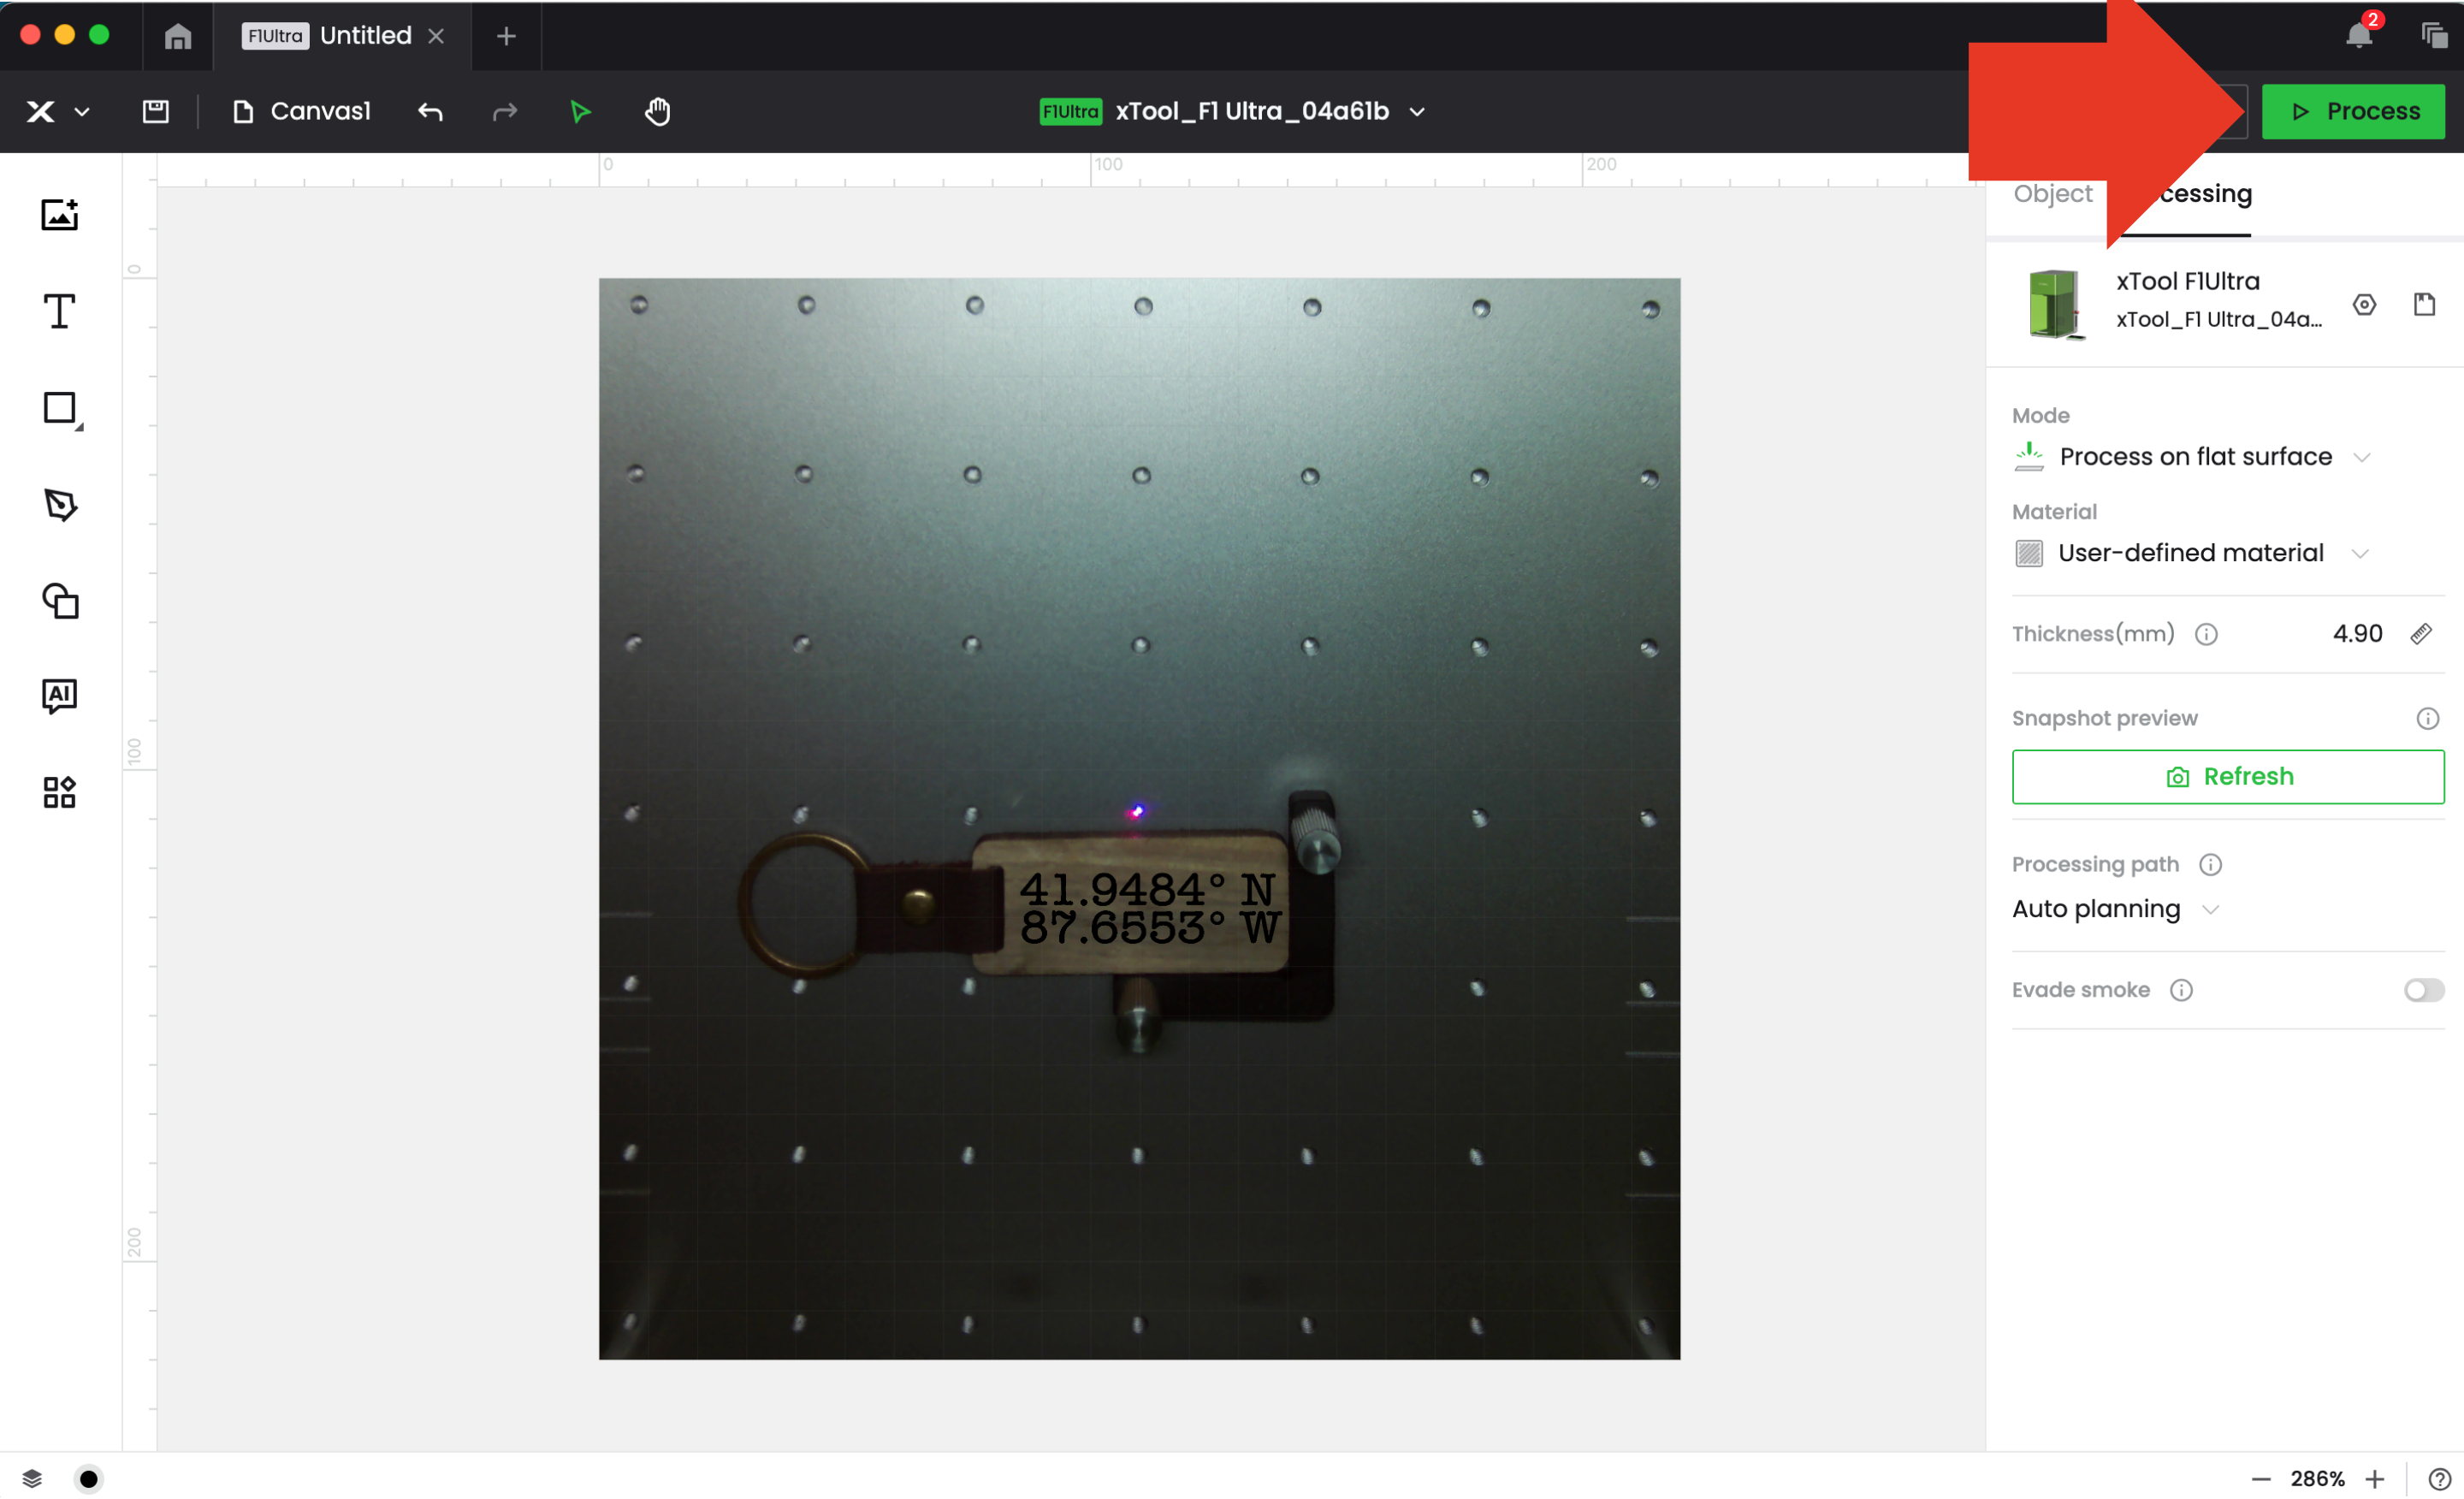
Turn on your smoke purifier, and click the ‘Process’ button.
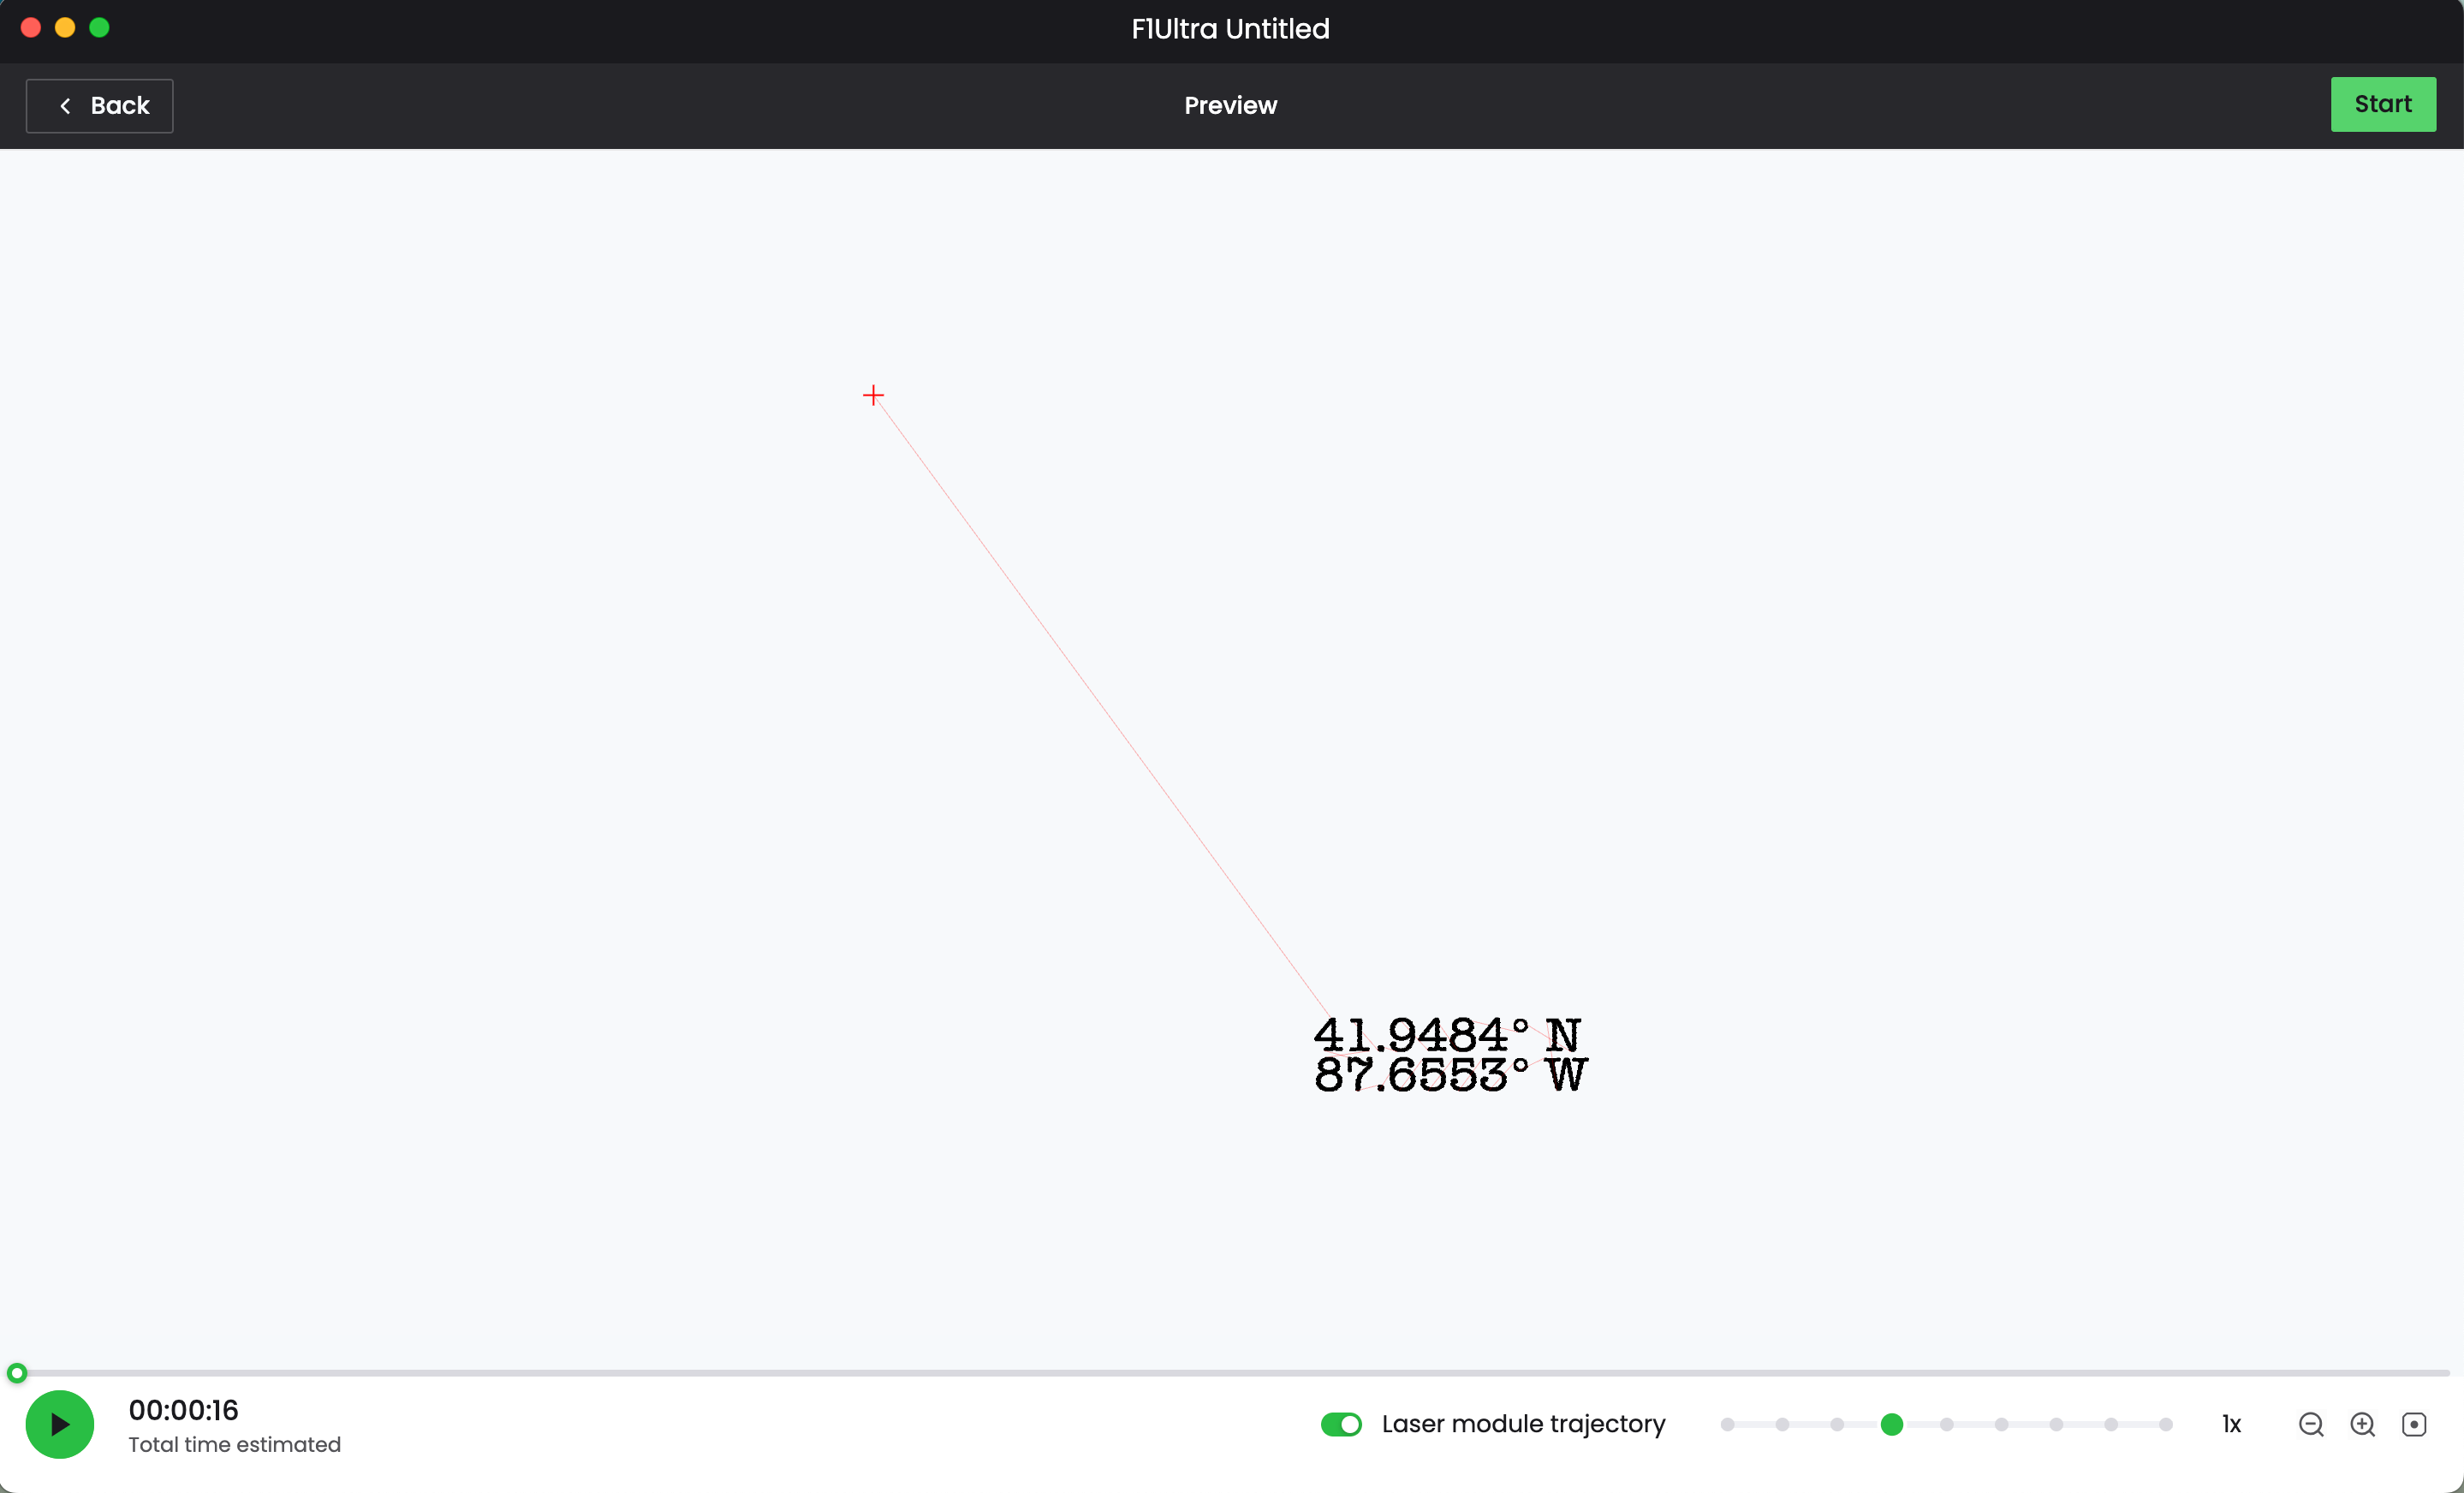
The next screen shows you how the laser will move around. I haven’t found a reason to change it – yet. Now, click the ‘Start’ button.
Finally, click the green xTool button on the touchscreen controller.
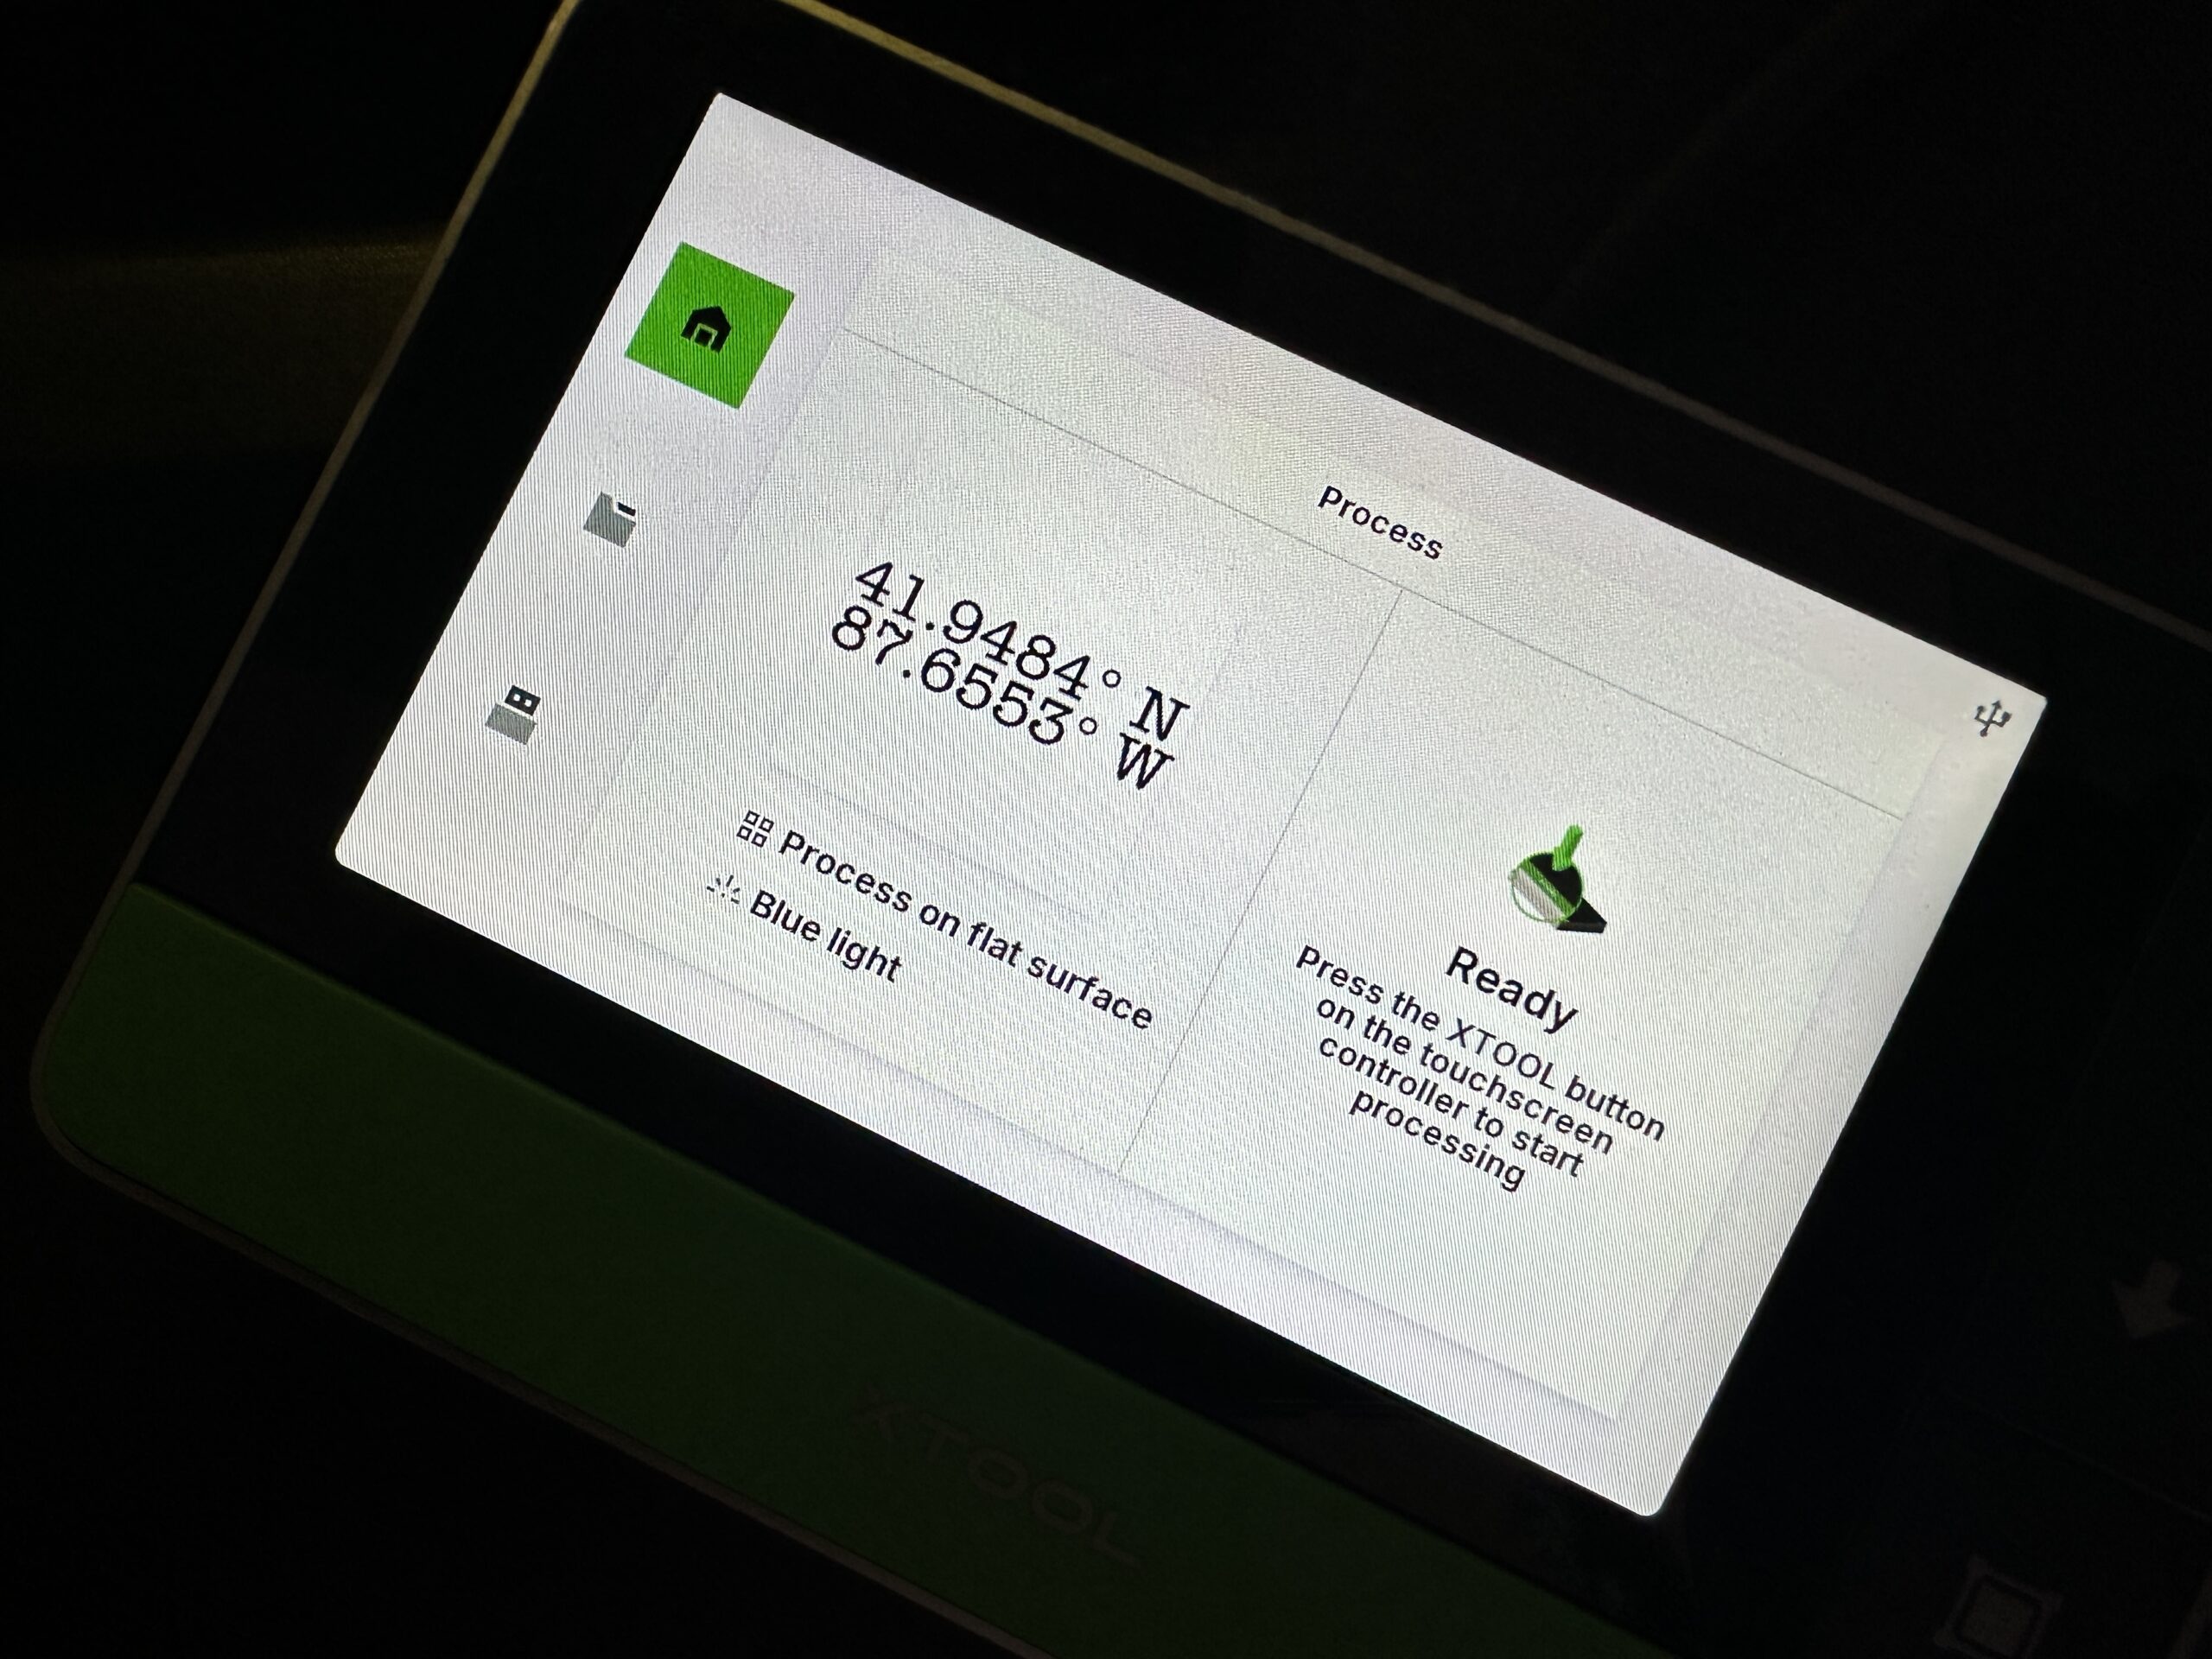
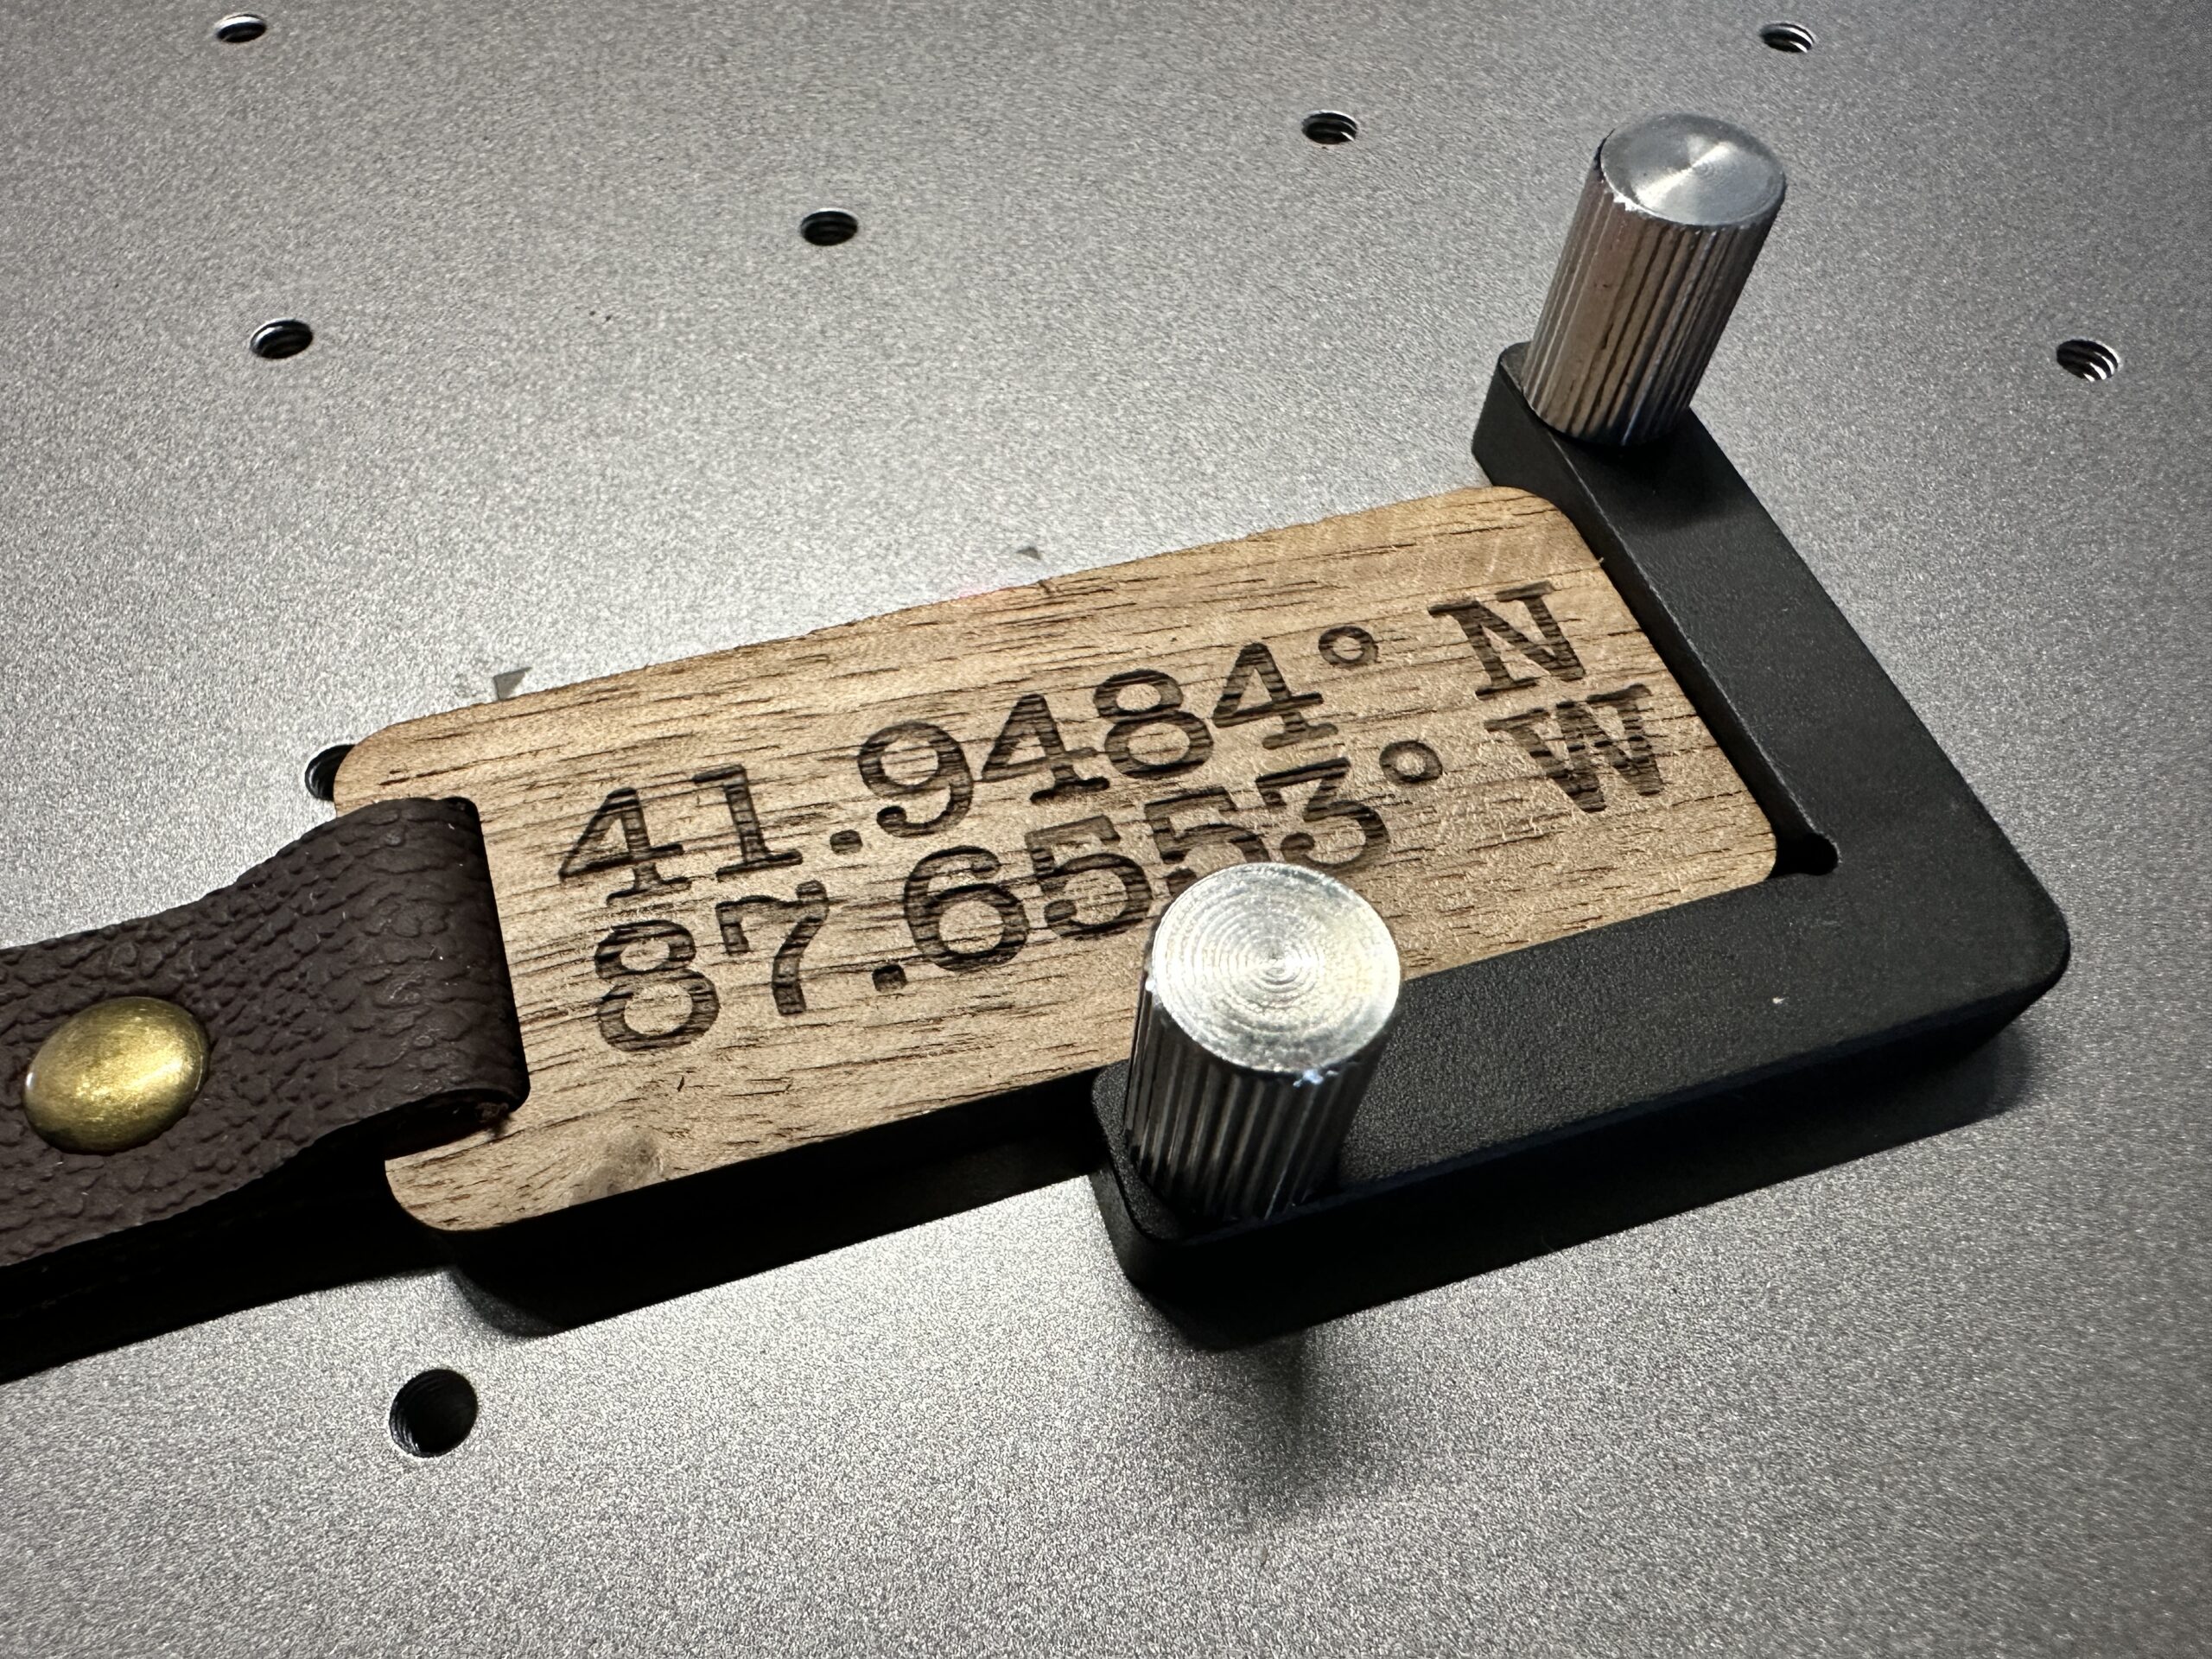
It took 16 seconds to engrave these coordinates on my wood keychain. I’ve had a handful of lasers in my crafting career, but WOW(!) this is fast – and portable!
More xTool F1 Ultra Resources
If you haven’t already read these, here you go:
Since 2015, Christine Schinagl has been helping crafters start and run craft businesses through her blog, Cutting for Business. As a Silhouette and Cricut crafter herself, she has a unique take on what works and what doesn’t work in the craft business world. She also enjoys teaching other crafters how to create digital SVG designs, available through the Design with Me series.