Tutorial: Batch Processing with the xTool F1 Ultra Conveyor
Affiliate Disclosure: As an Amazon Associate I earn from qualifying purchases. Additionally, I may get commissions for purchases made through other affiliate links in this post.
If you’ve been around Cutting for Business for a while, you know that I love all things easy and efficient. I was surprised at how easy and efficient the xTool F1 Ultra makes replicating products.
There are two ways of (easily!) replicating products with the xTool F1 Ultra.
Table of Contents
Batch Processing with the xTool F1 Ultra L-shaped Positioning Piece
Included with the xTool F1 Ultra is an L-shaped positioning piece. Here’s how it works and why I love it:
The base of the xTool F1 Ultra has screw holes that the L-shaped positioning piece screws into. You line up your design one time using the positioning piece and process it, then you switch out the blank and rerun the job. It’s that easy.
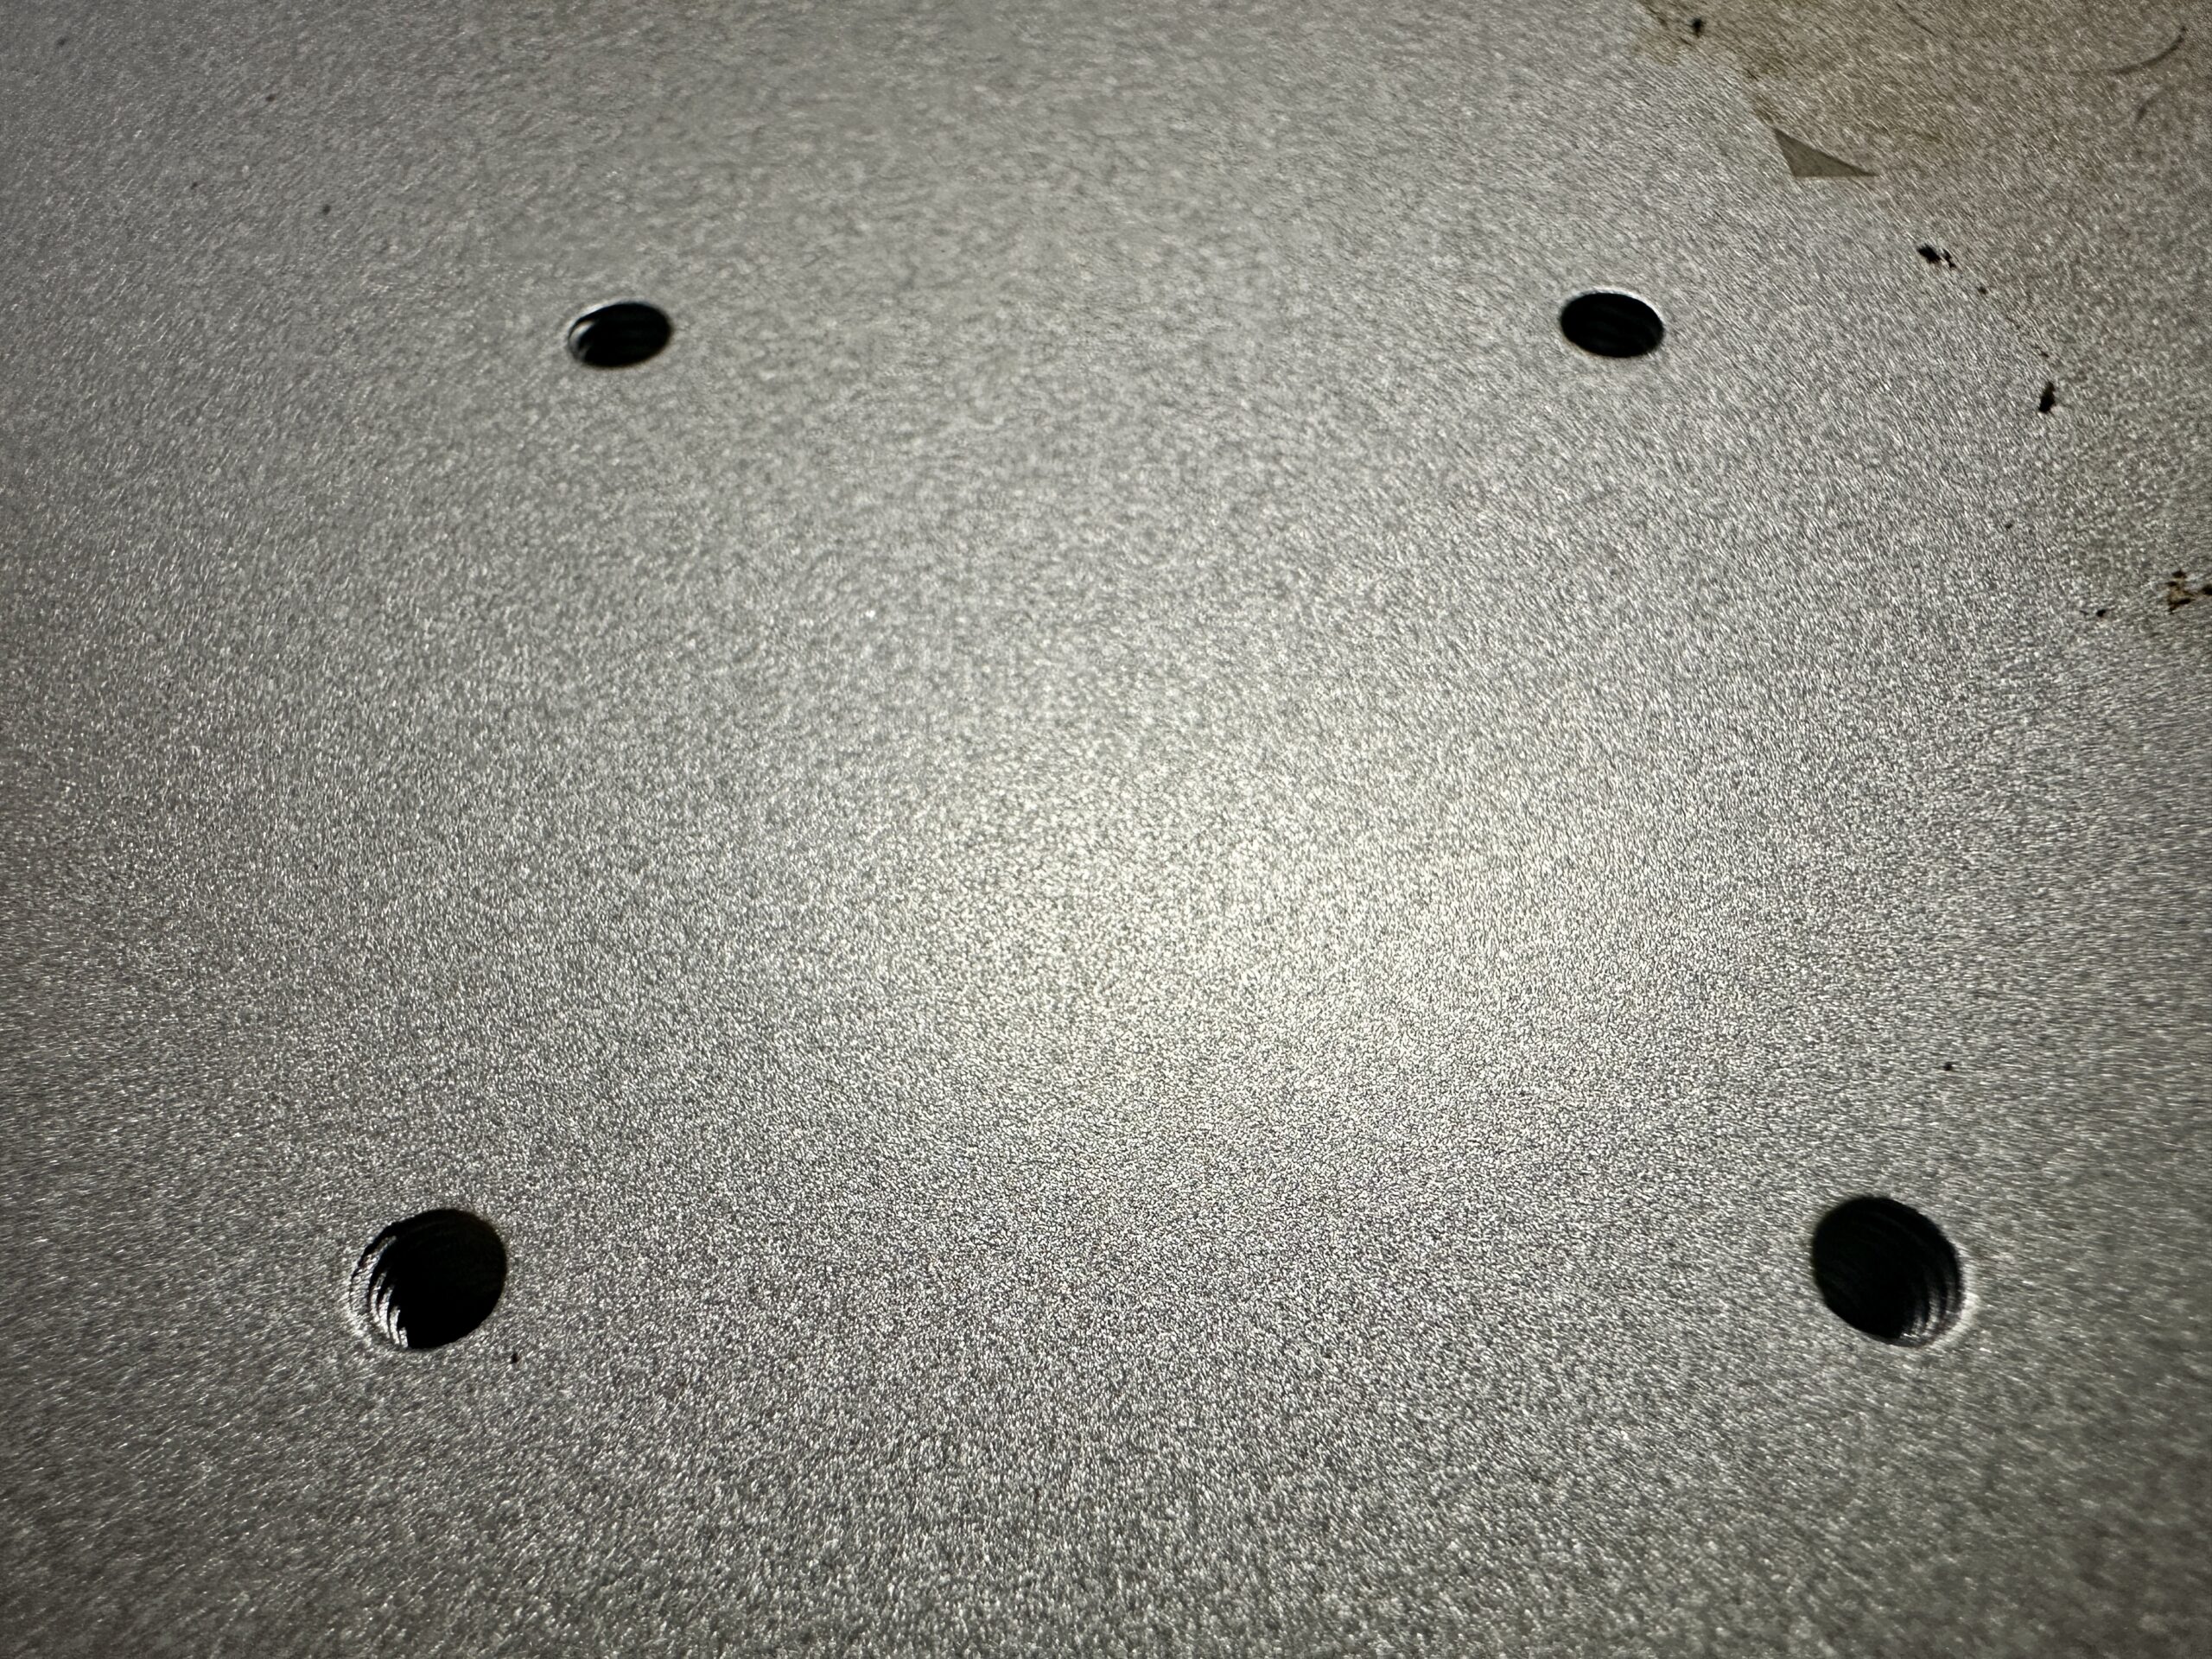
A close up look at the base of the xTool F1 Ultra with screw holes:
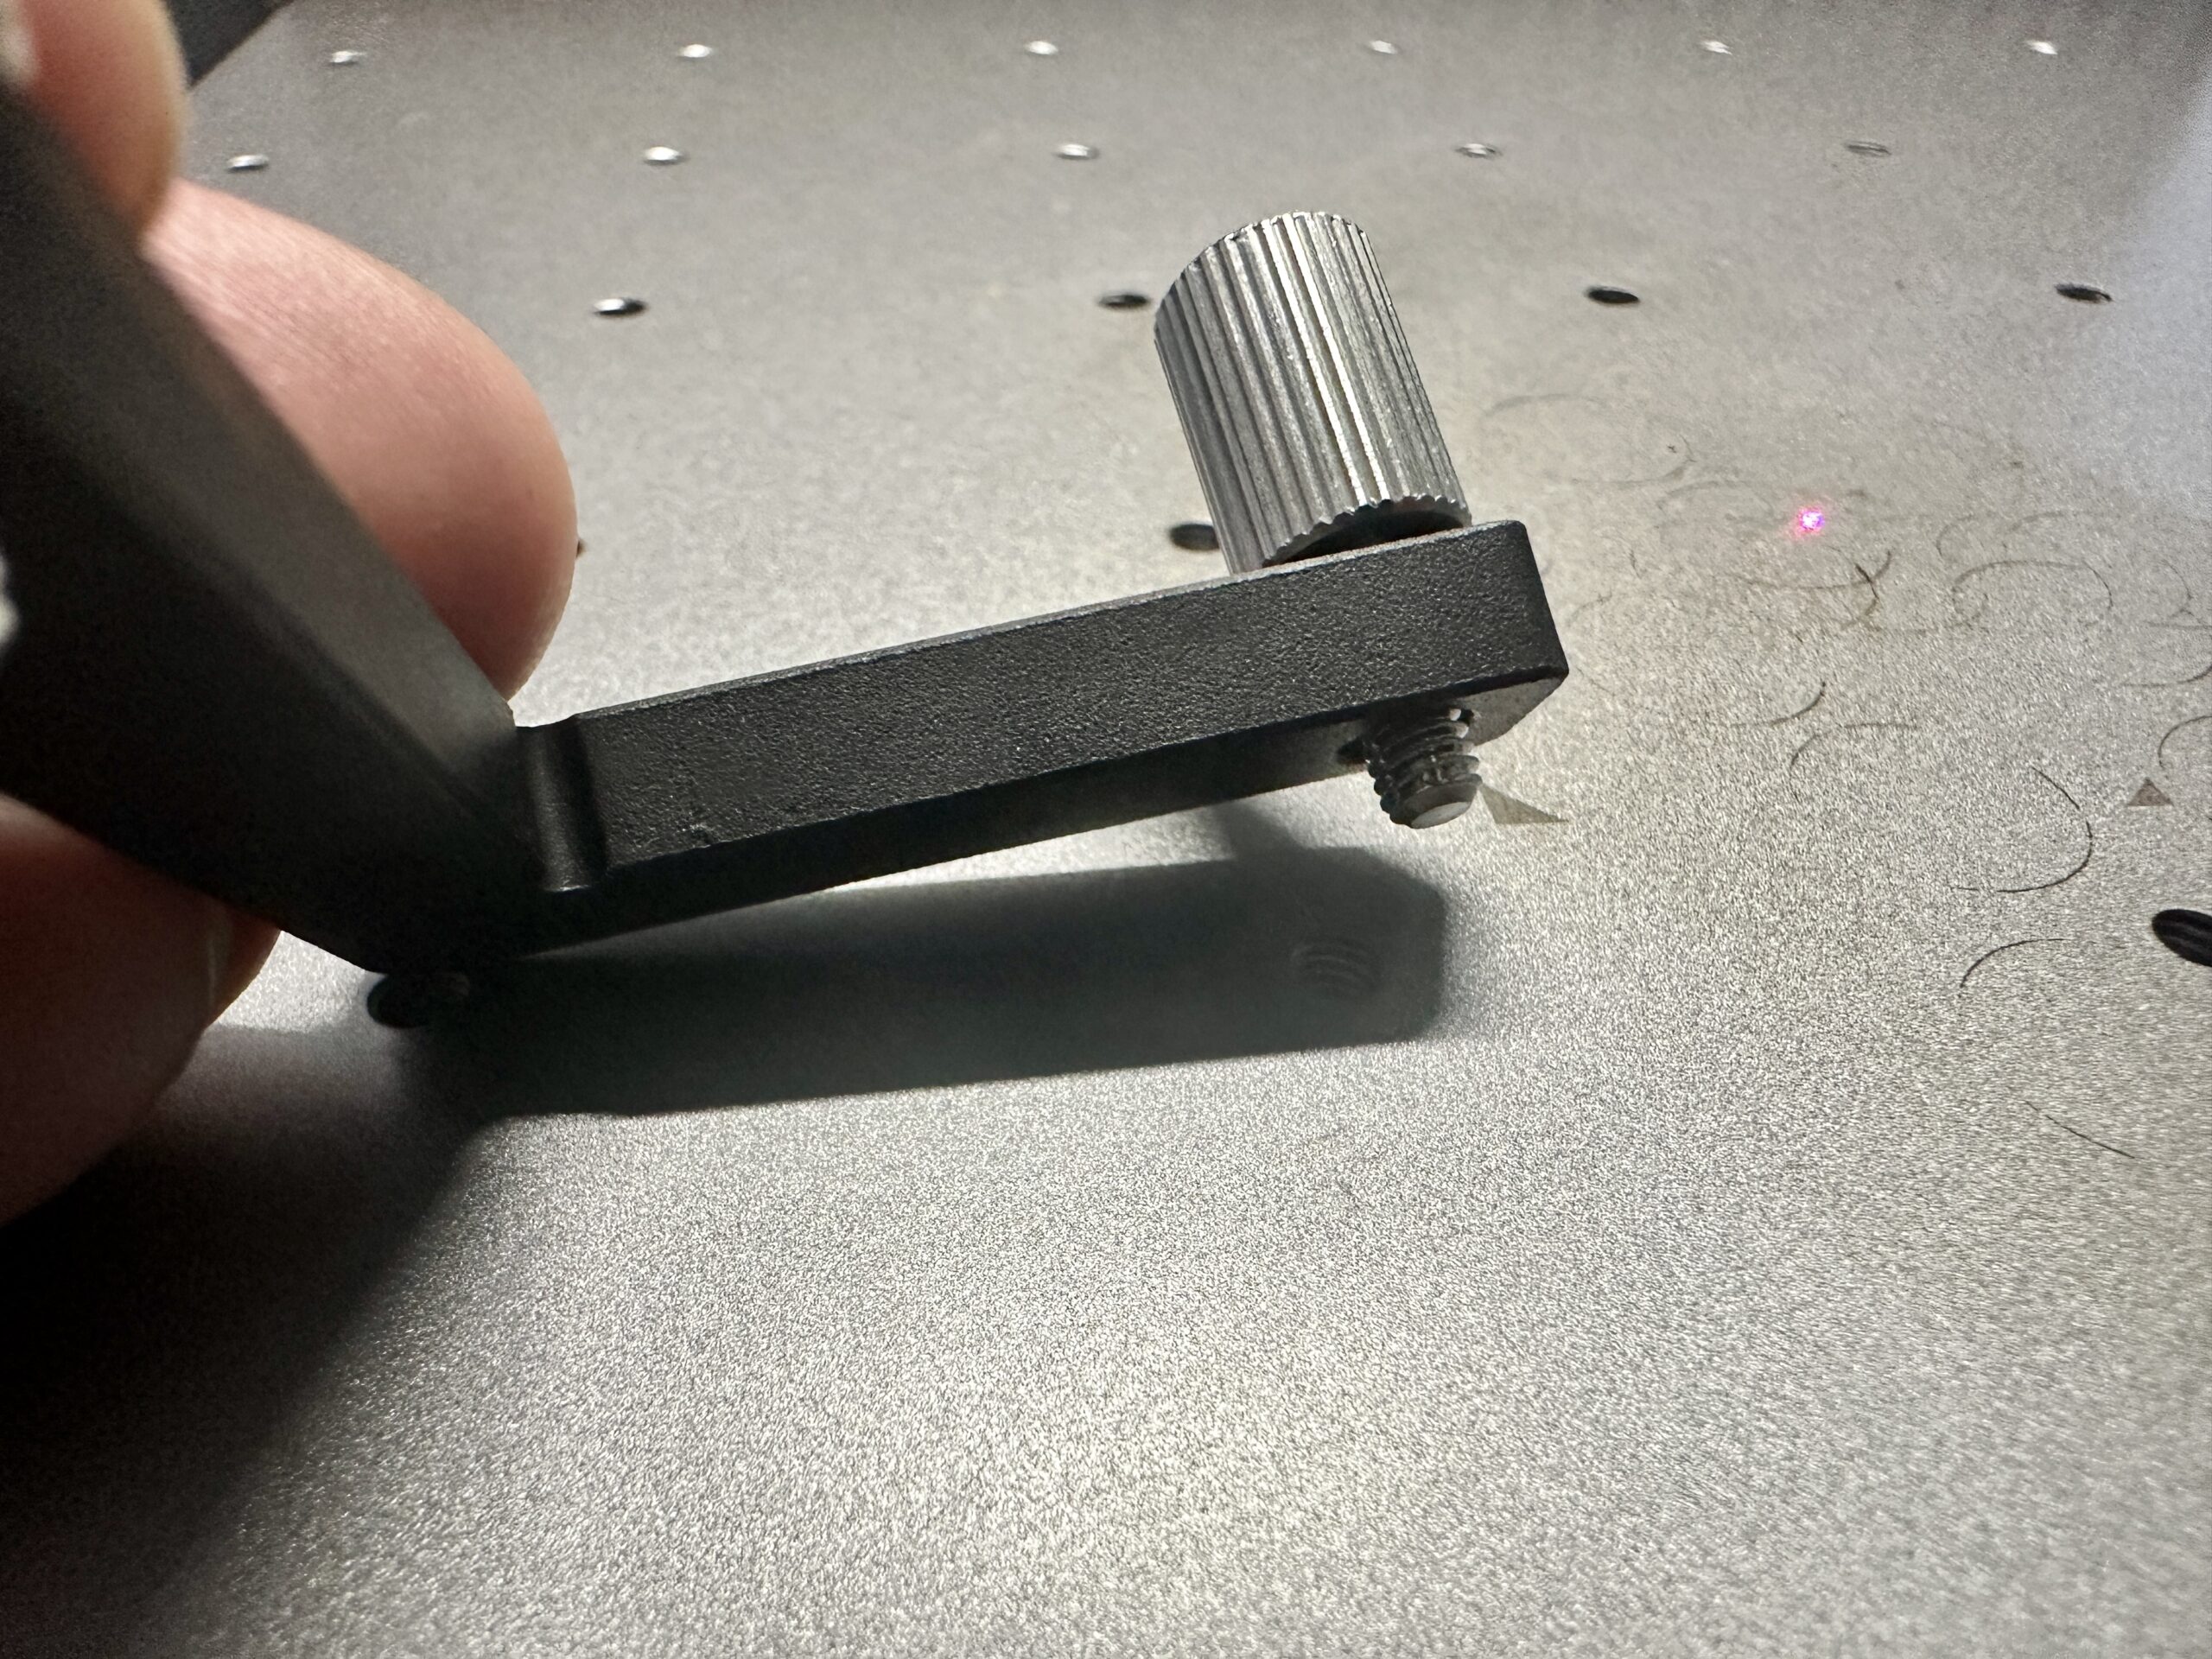
Screws on the L-shaped positioning piece:
The L-shaped positioning piece screwed into the xTool F1 Ultra base:
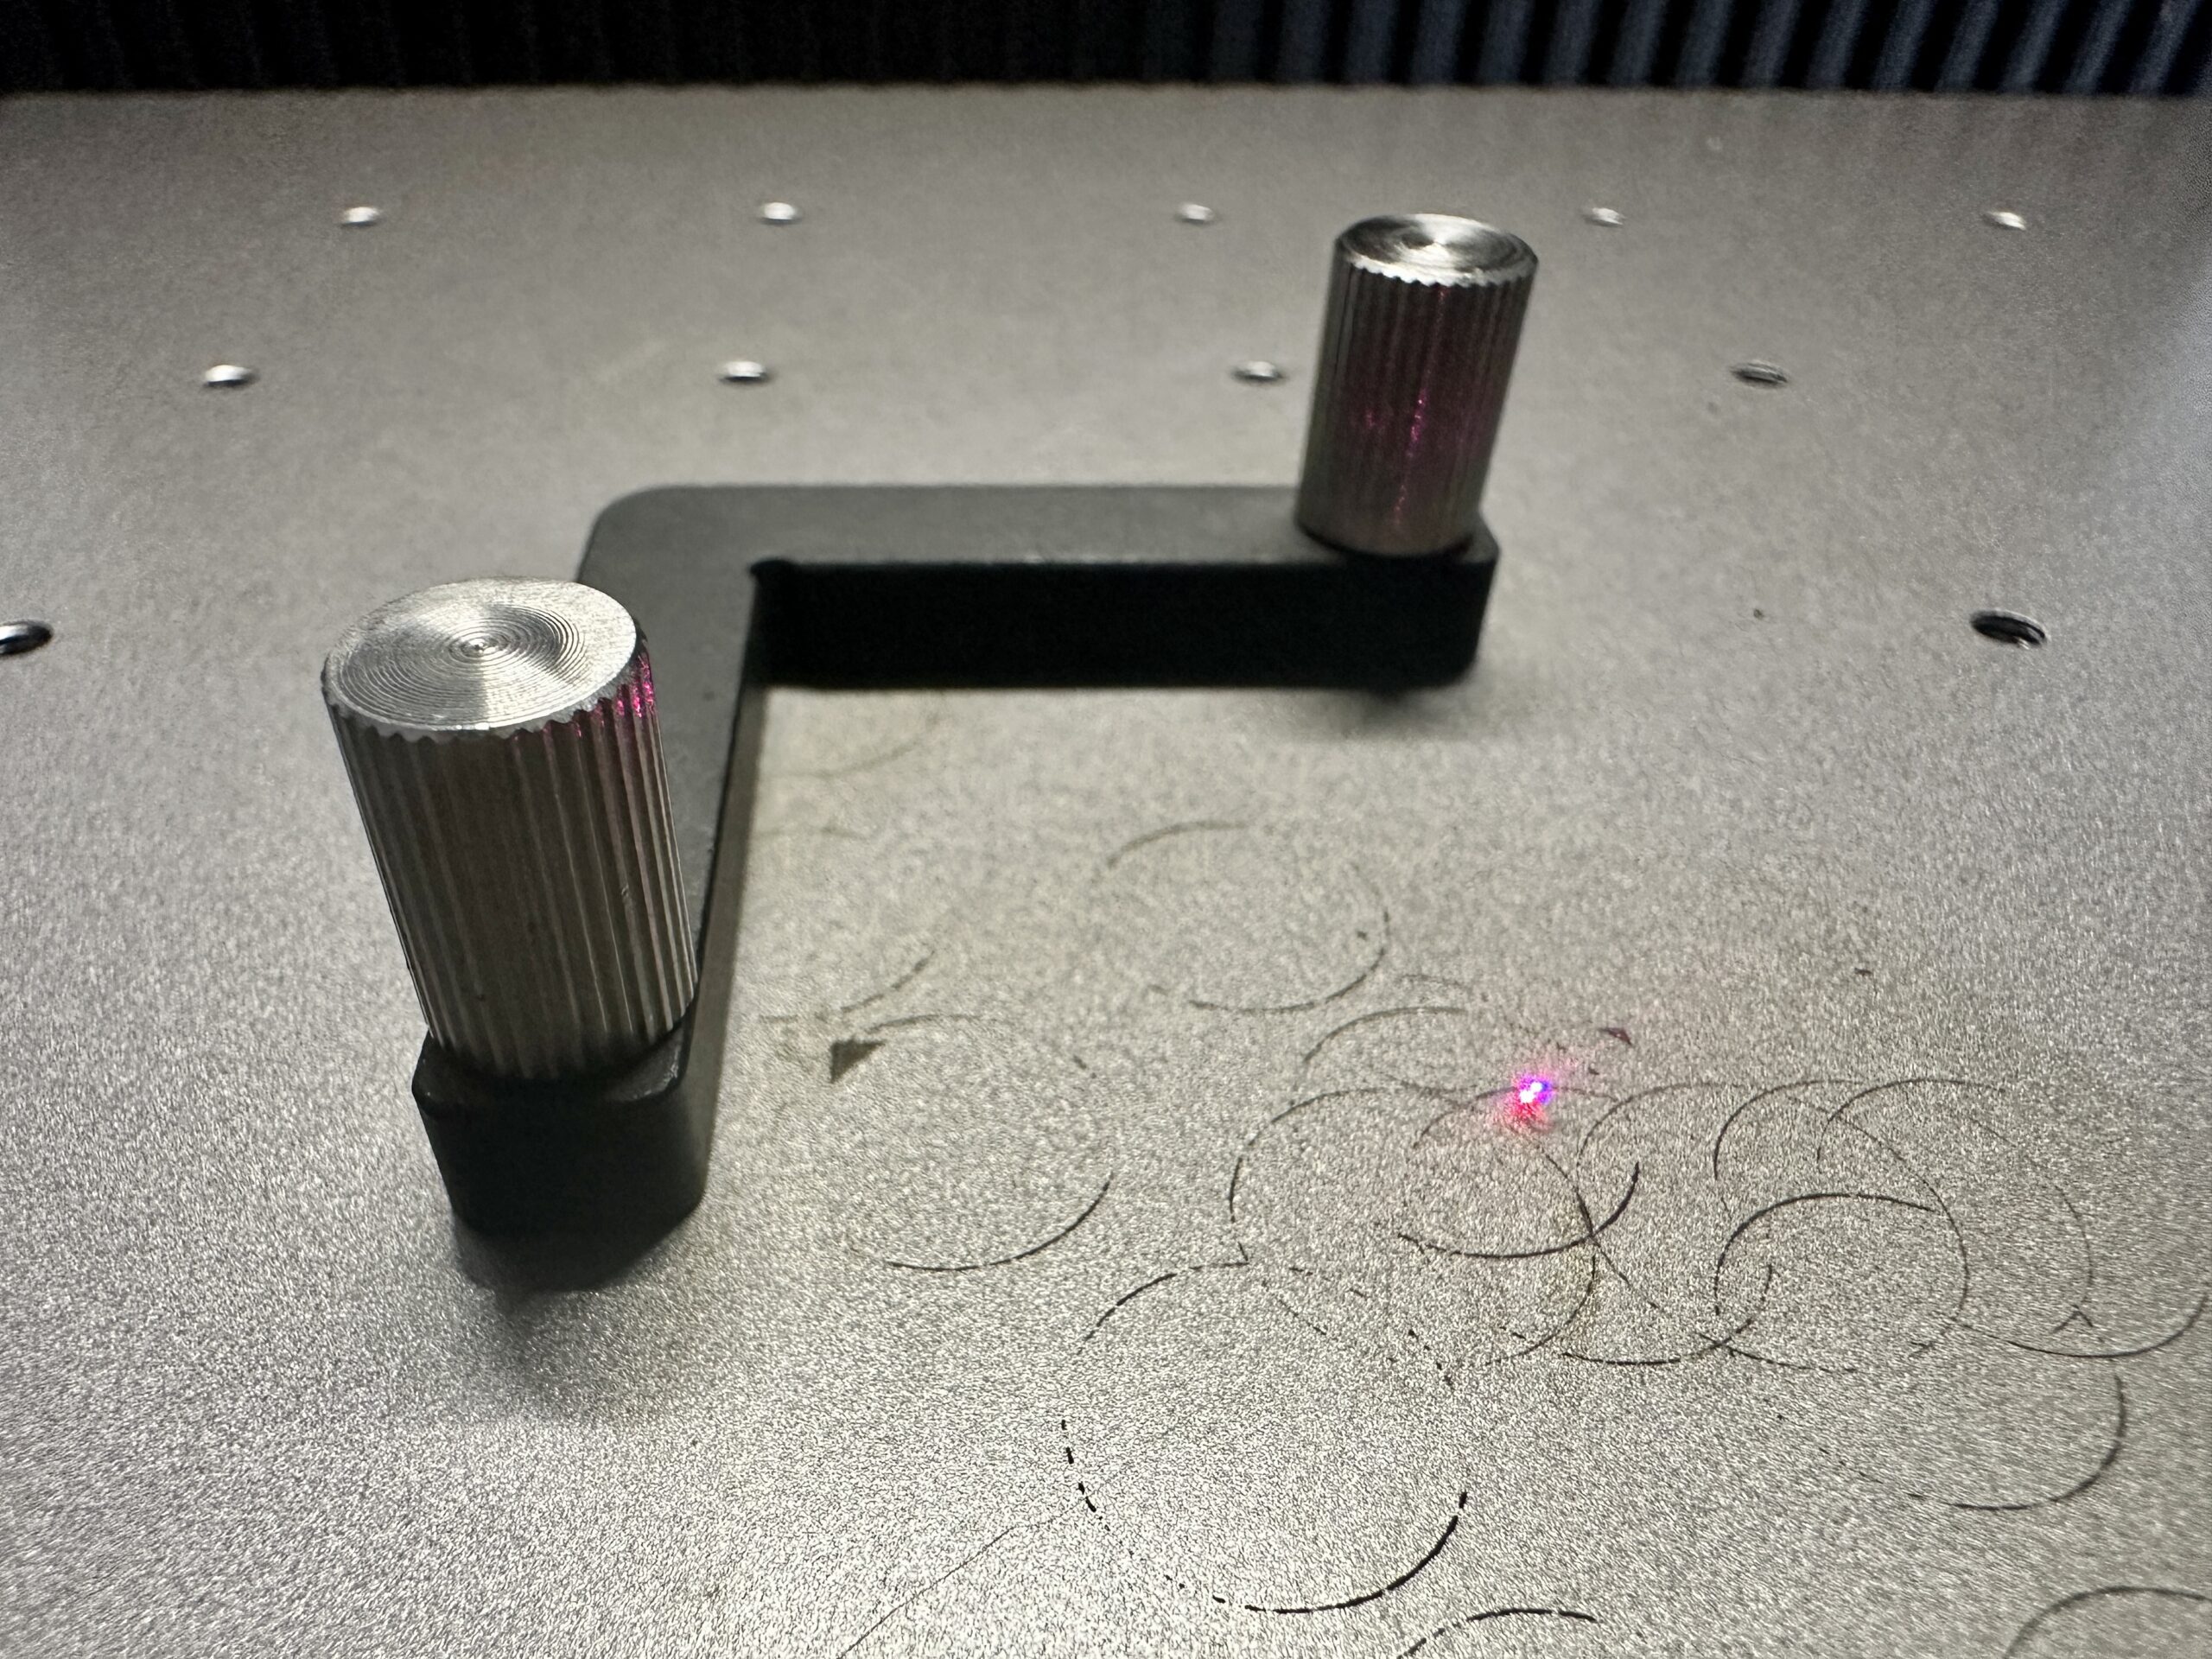
The L-shaped positioning piece works with a variety of blanks and can be moved around on the xTool F1 Ultra base.
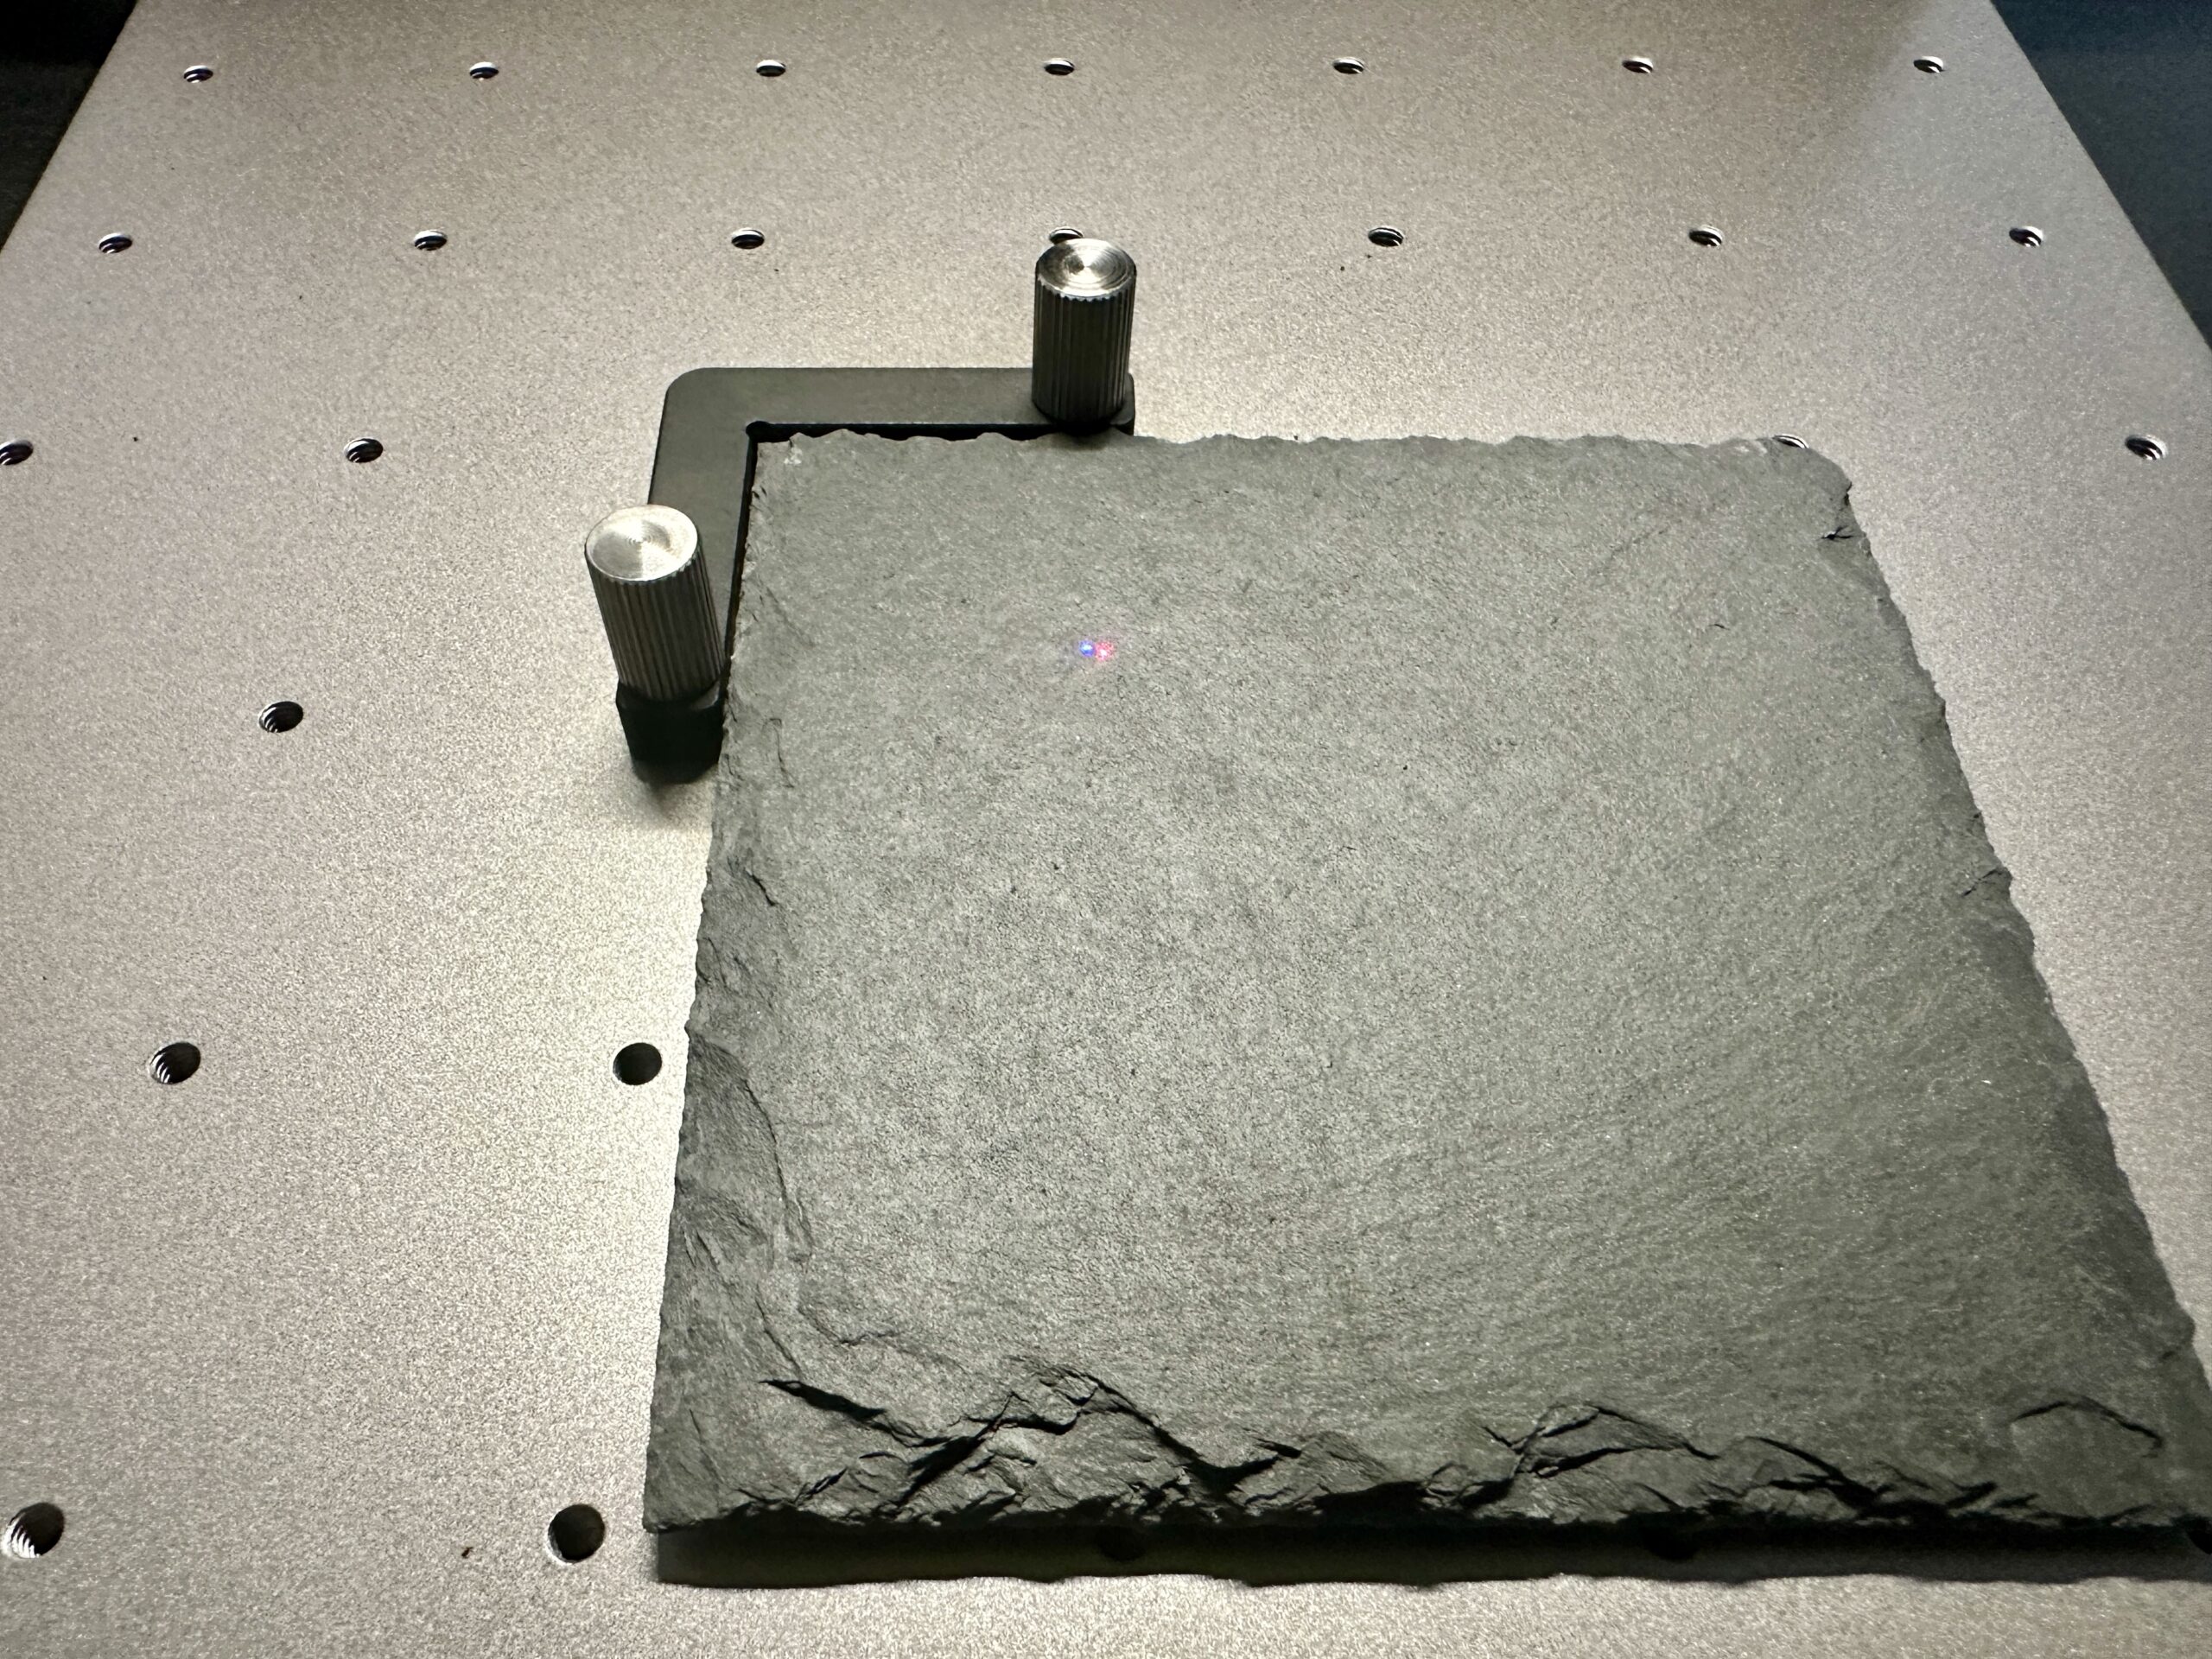
A slate coaster positioned using the xTool F1 Ultra positioning piece.
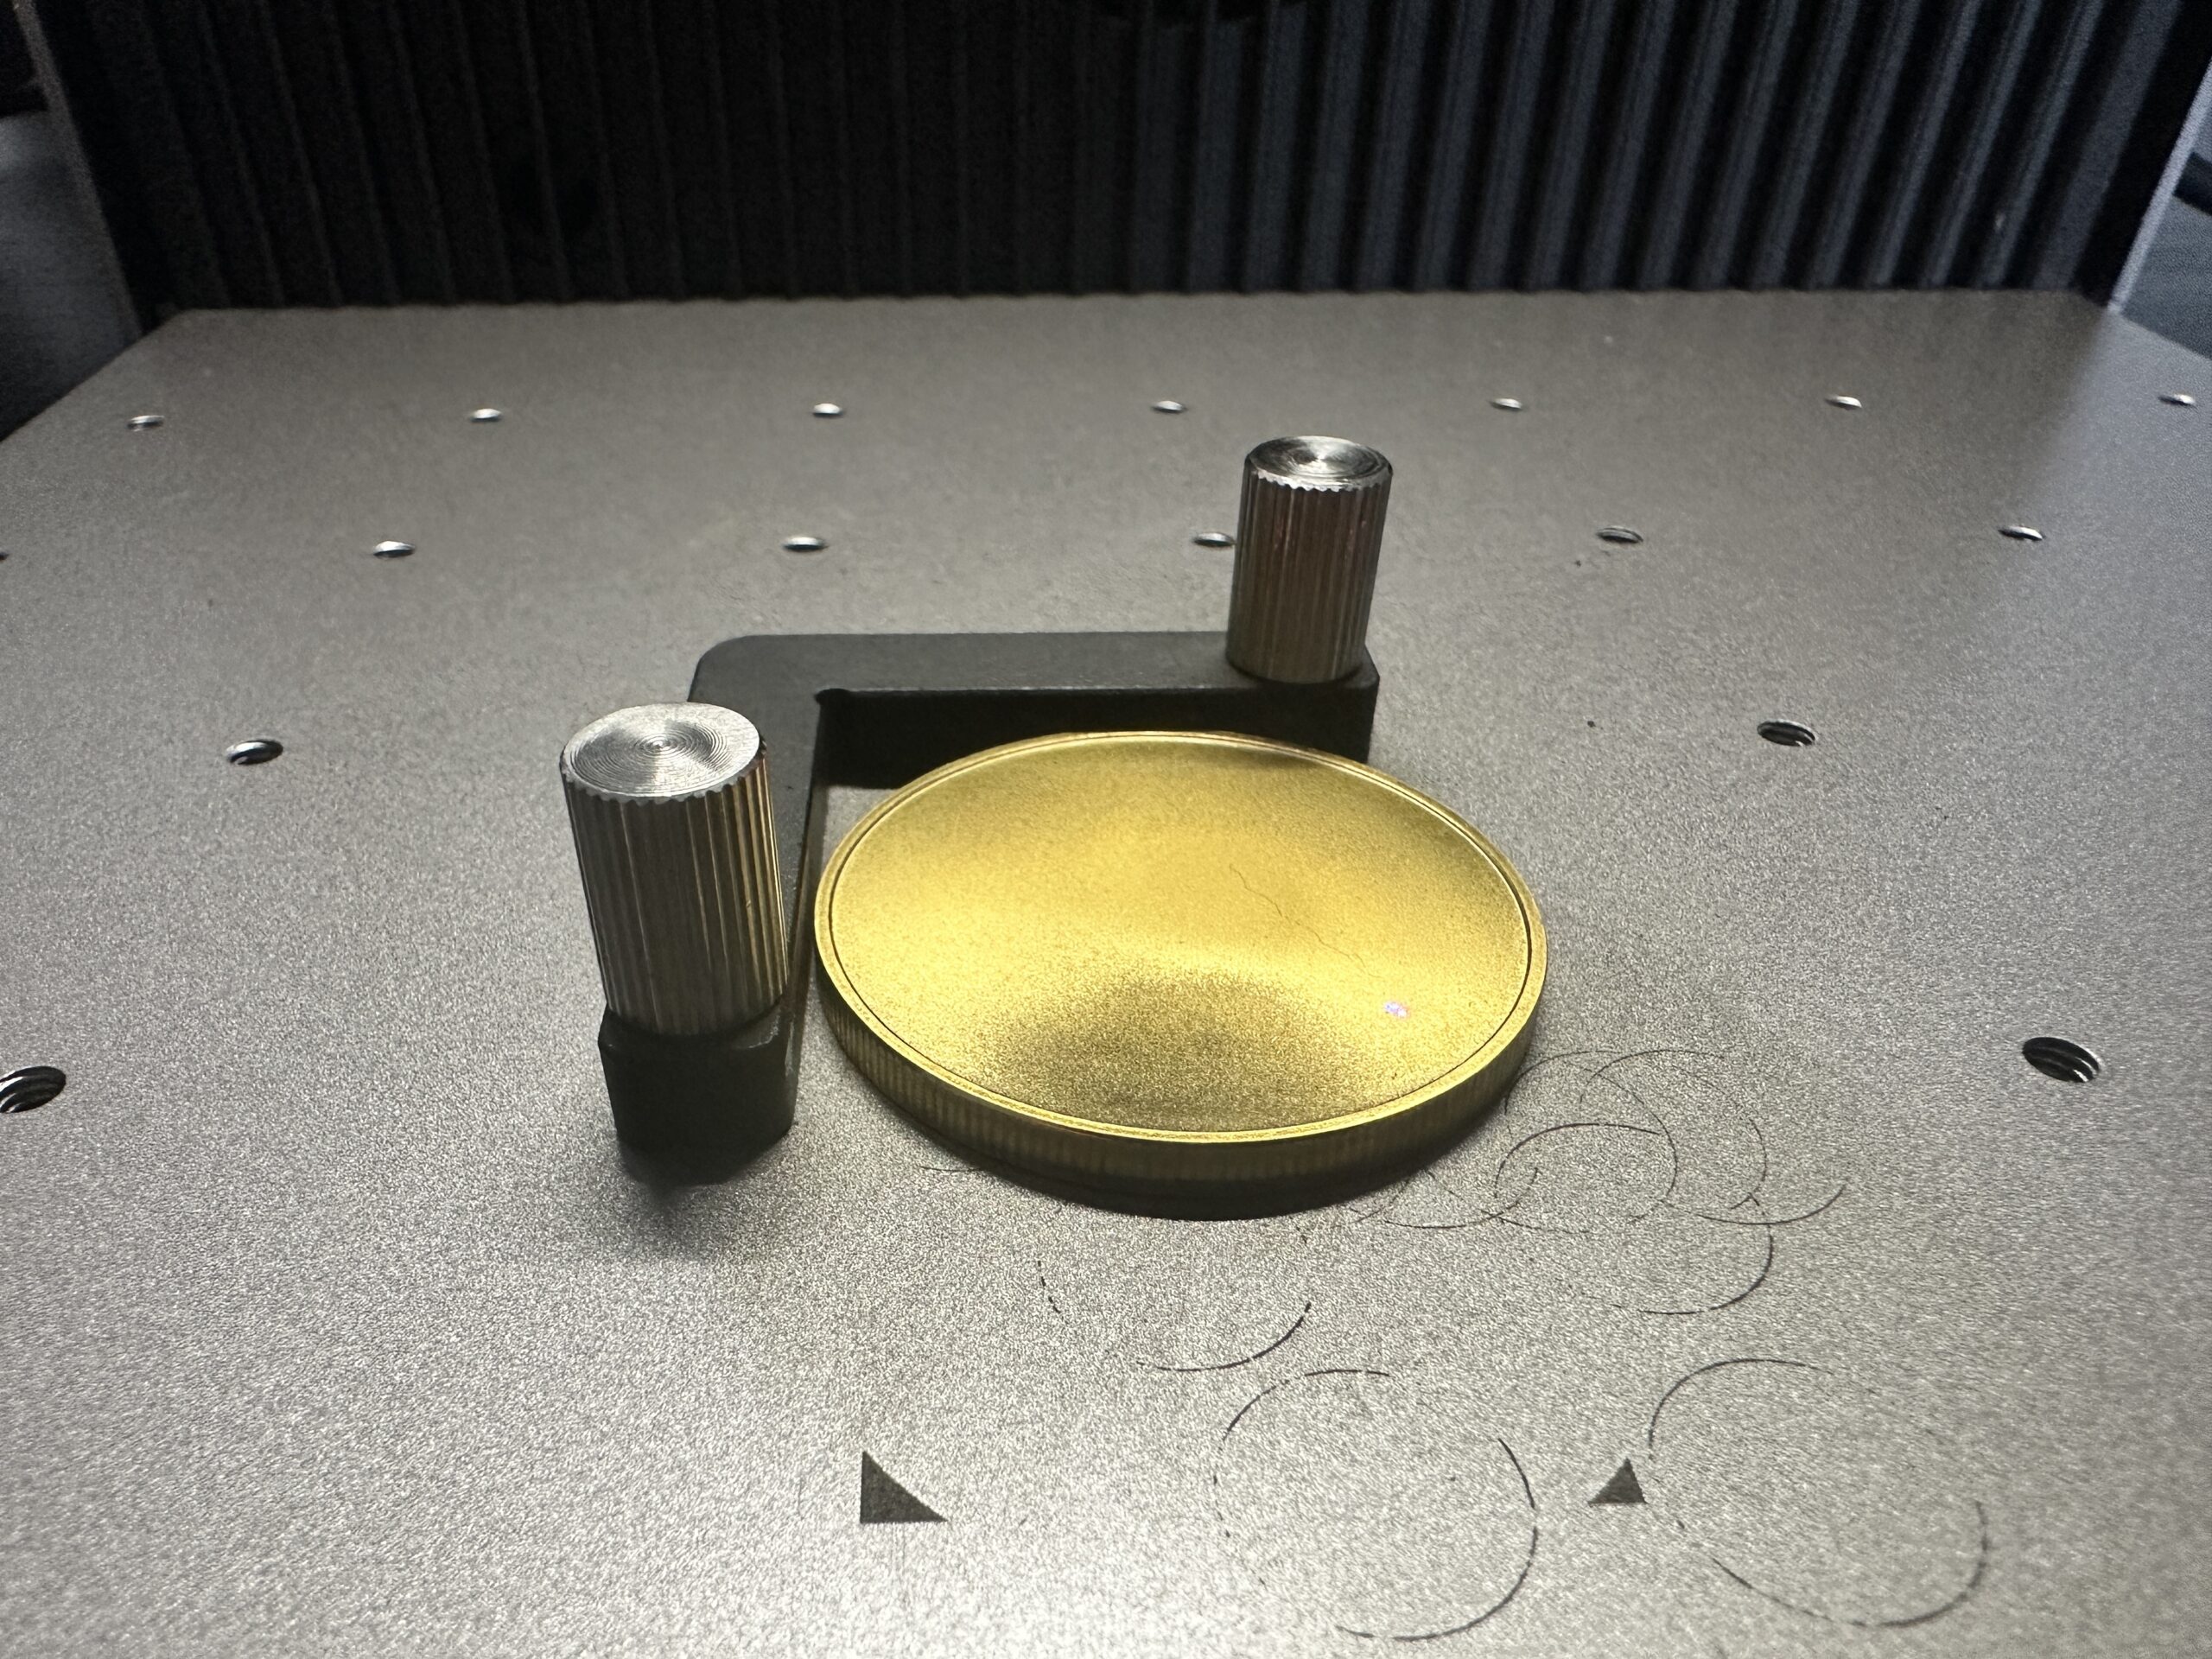
A coin blank positioned in the xTool F1 Ultra using the L-shaped positioning piece.
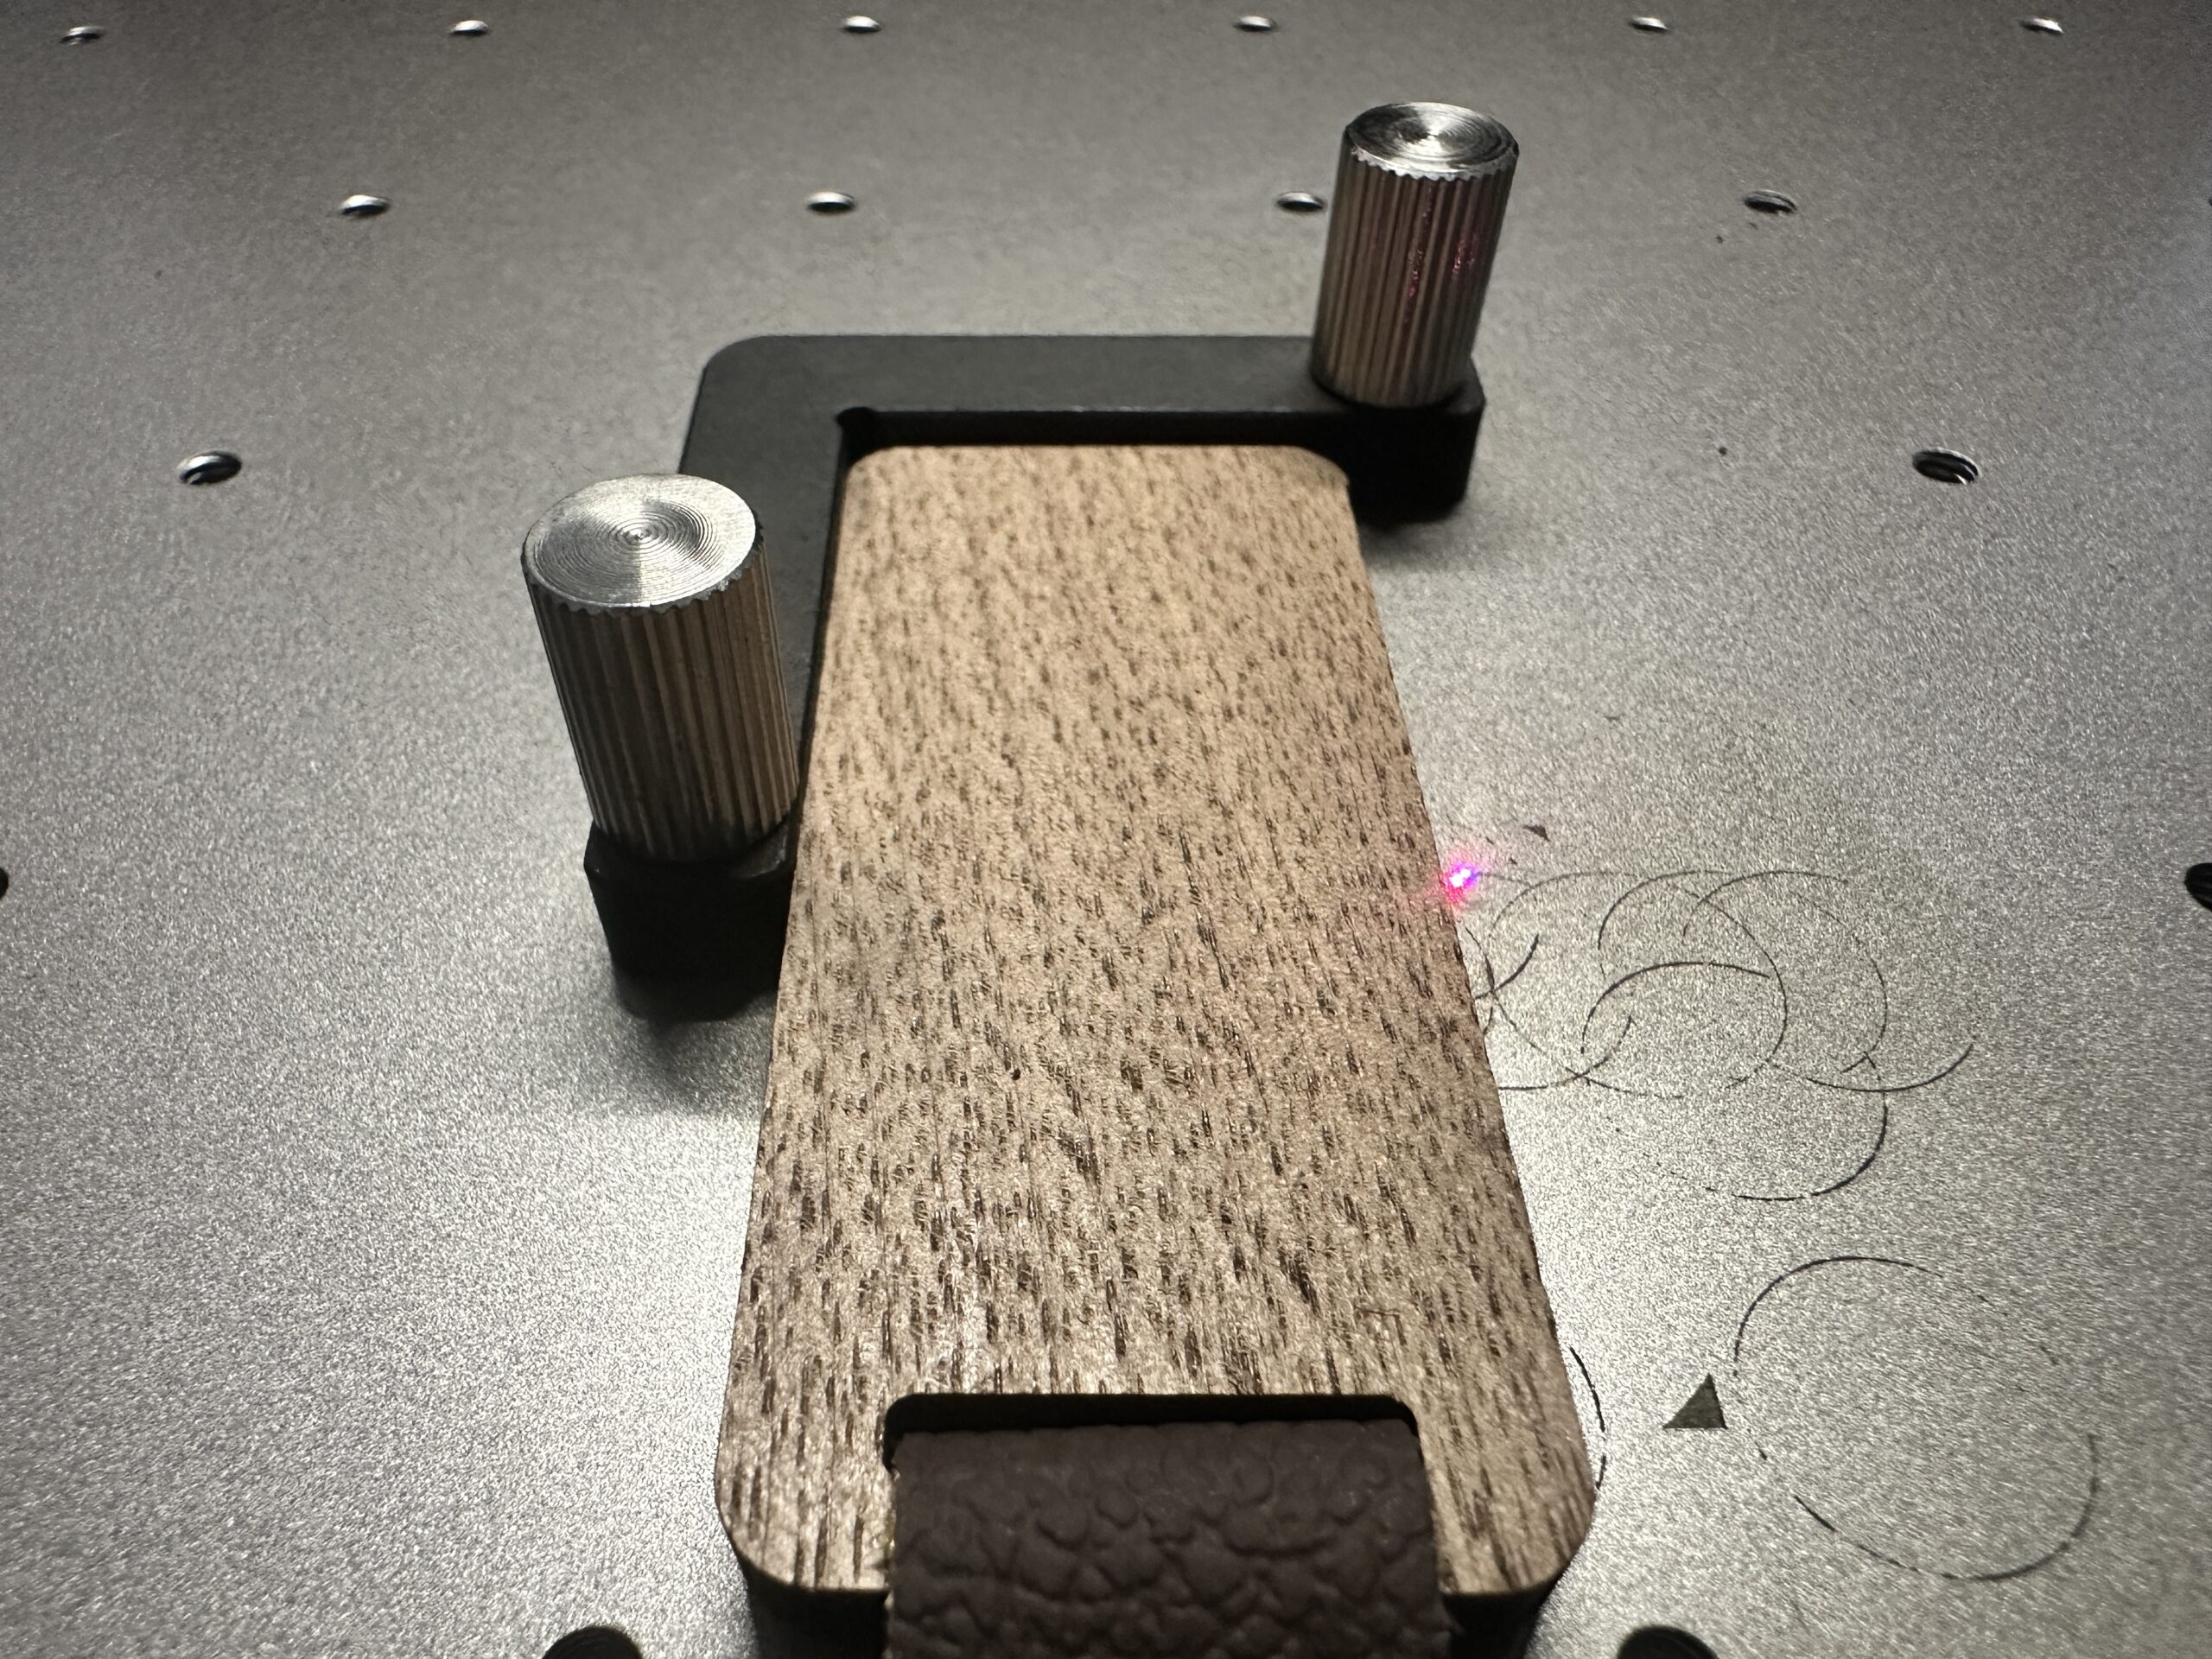
A keychain positioned in the xTool F1 Ultra using the L-shaped positioning piece.
Using the L-shaped positioning piece is great if you are doing a small batch of orders.
If you’ve got a larger batch to process, consider xTool’s conveyor belt.
Batch Processing with the xTool F1 Ultra Conveyor Belt
The xTool conveyor belt uses six screws to attach to the xTool F1 Ultra. It can be attached/unattached in less than 5 minutes.
Here’s how it works:
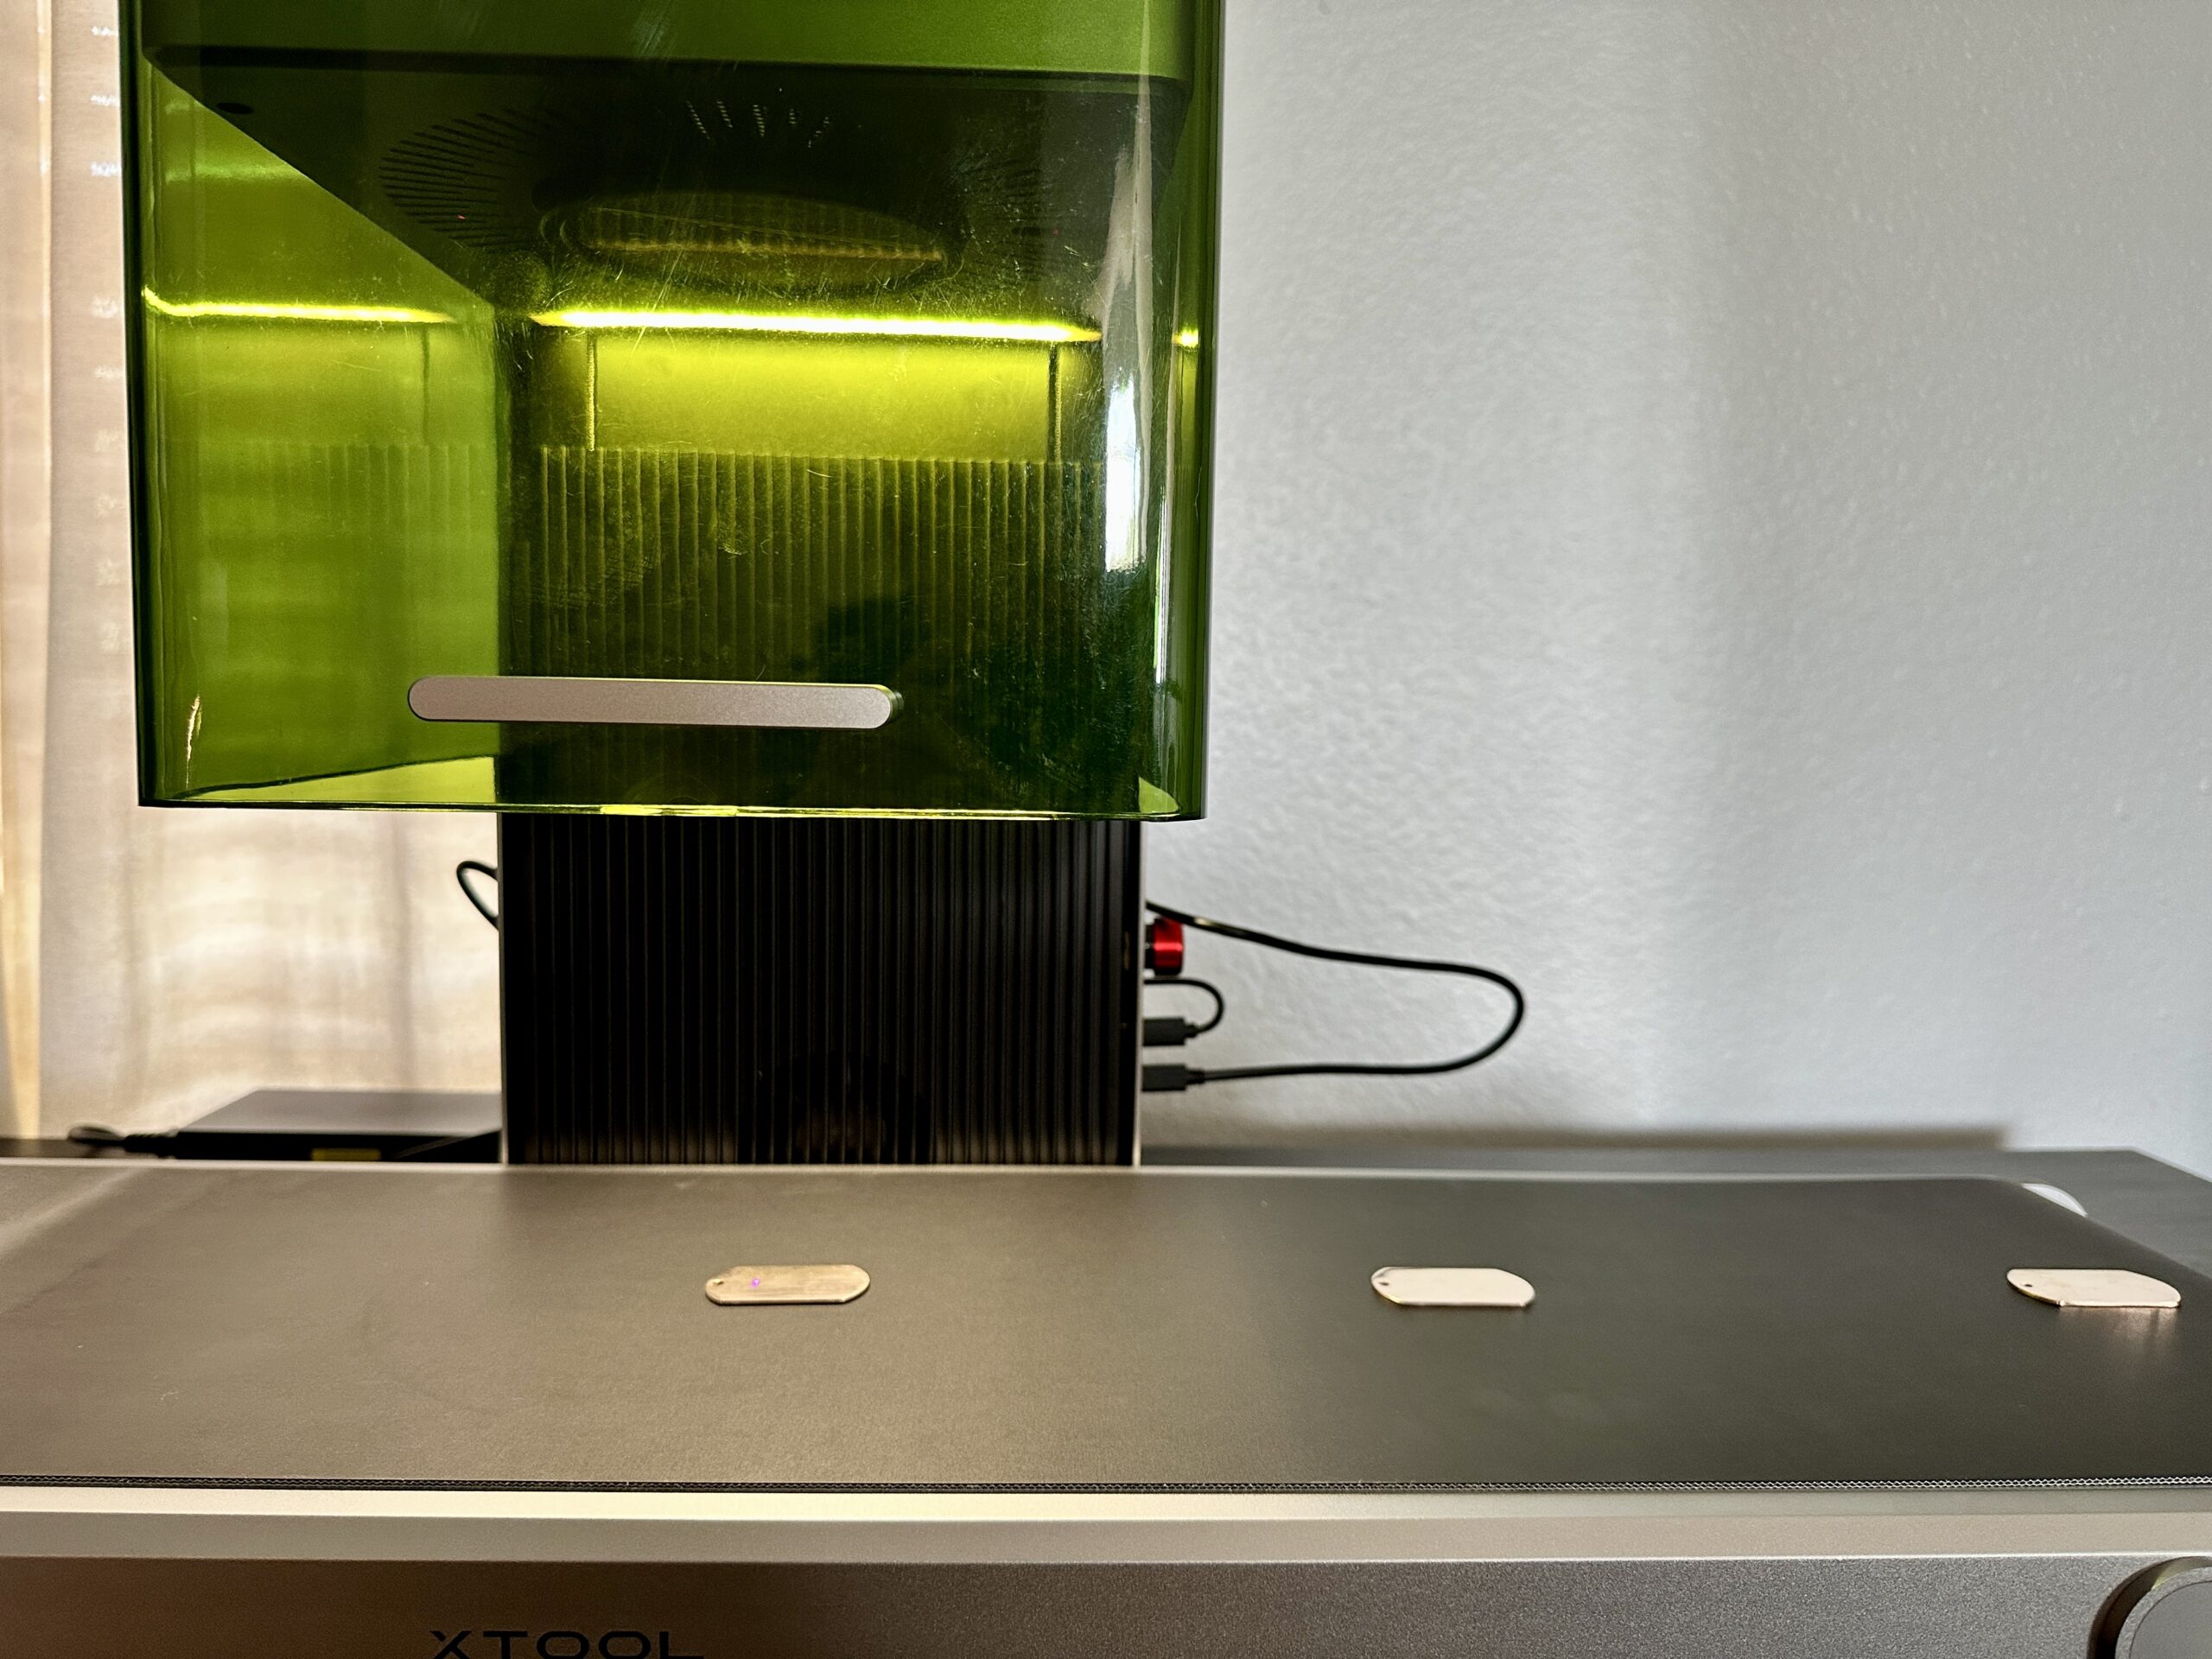
Line up your material on the conveyor belt.
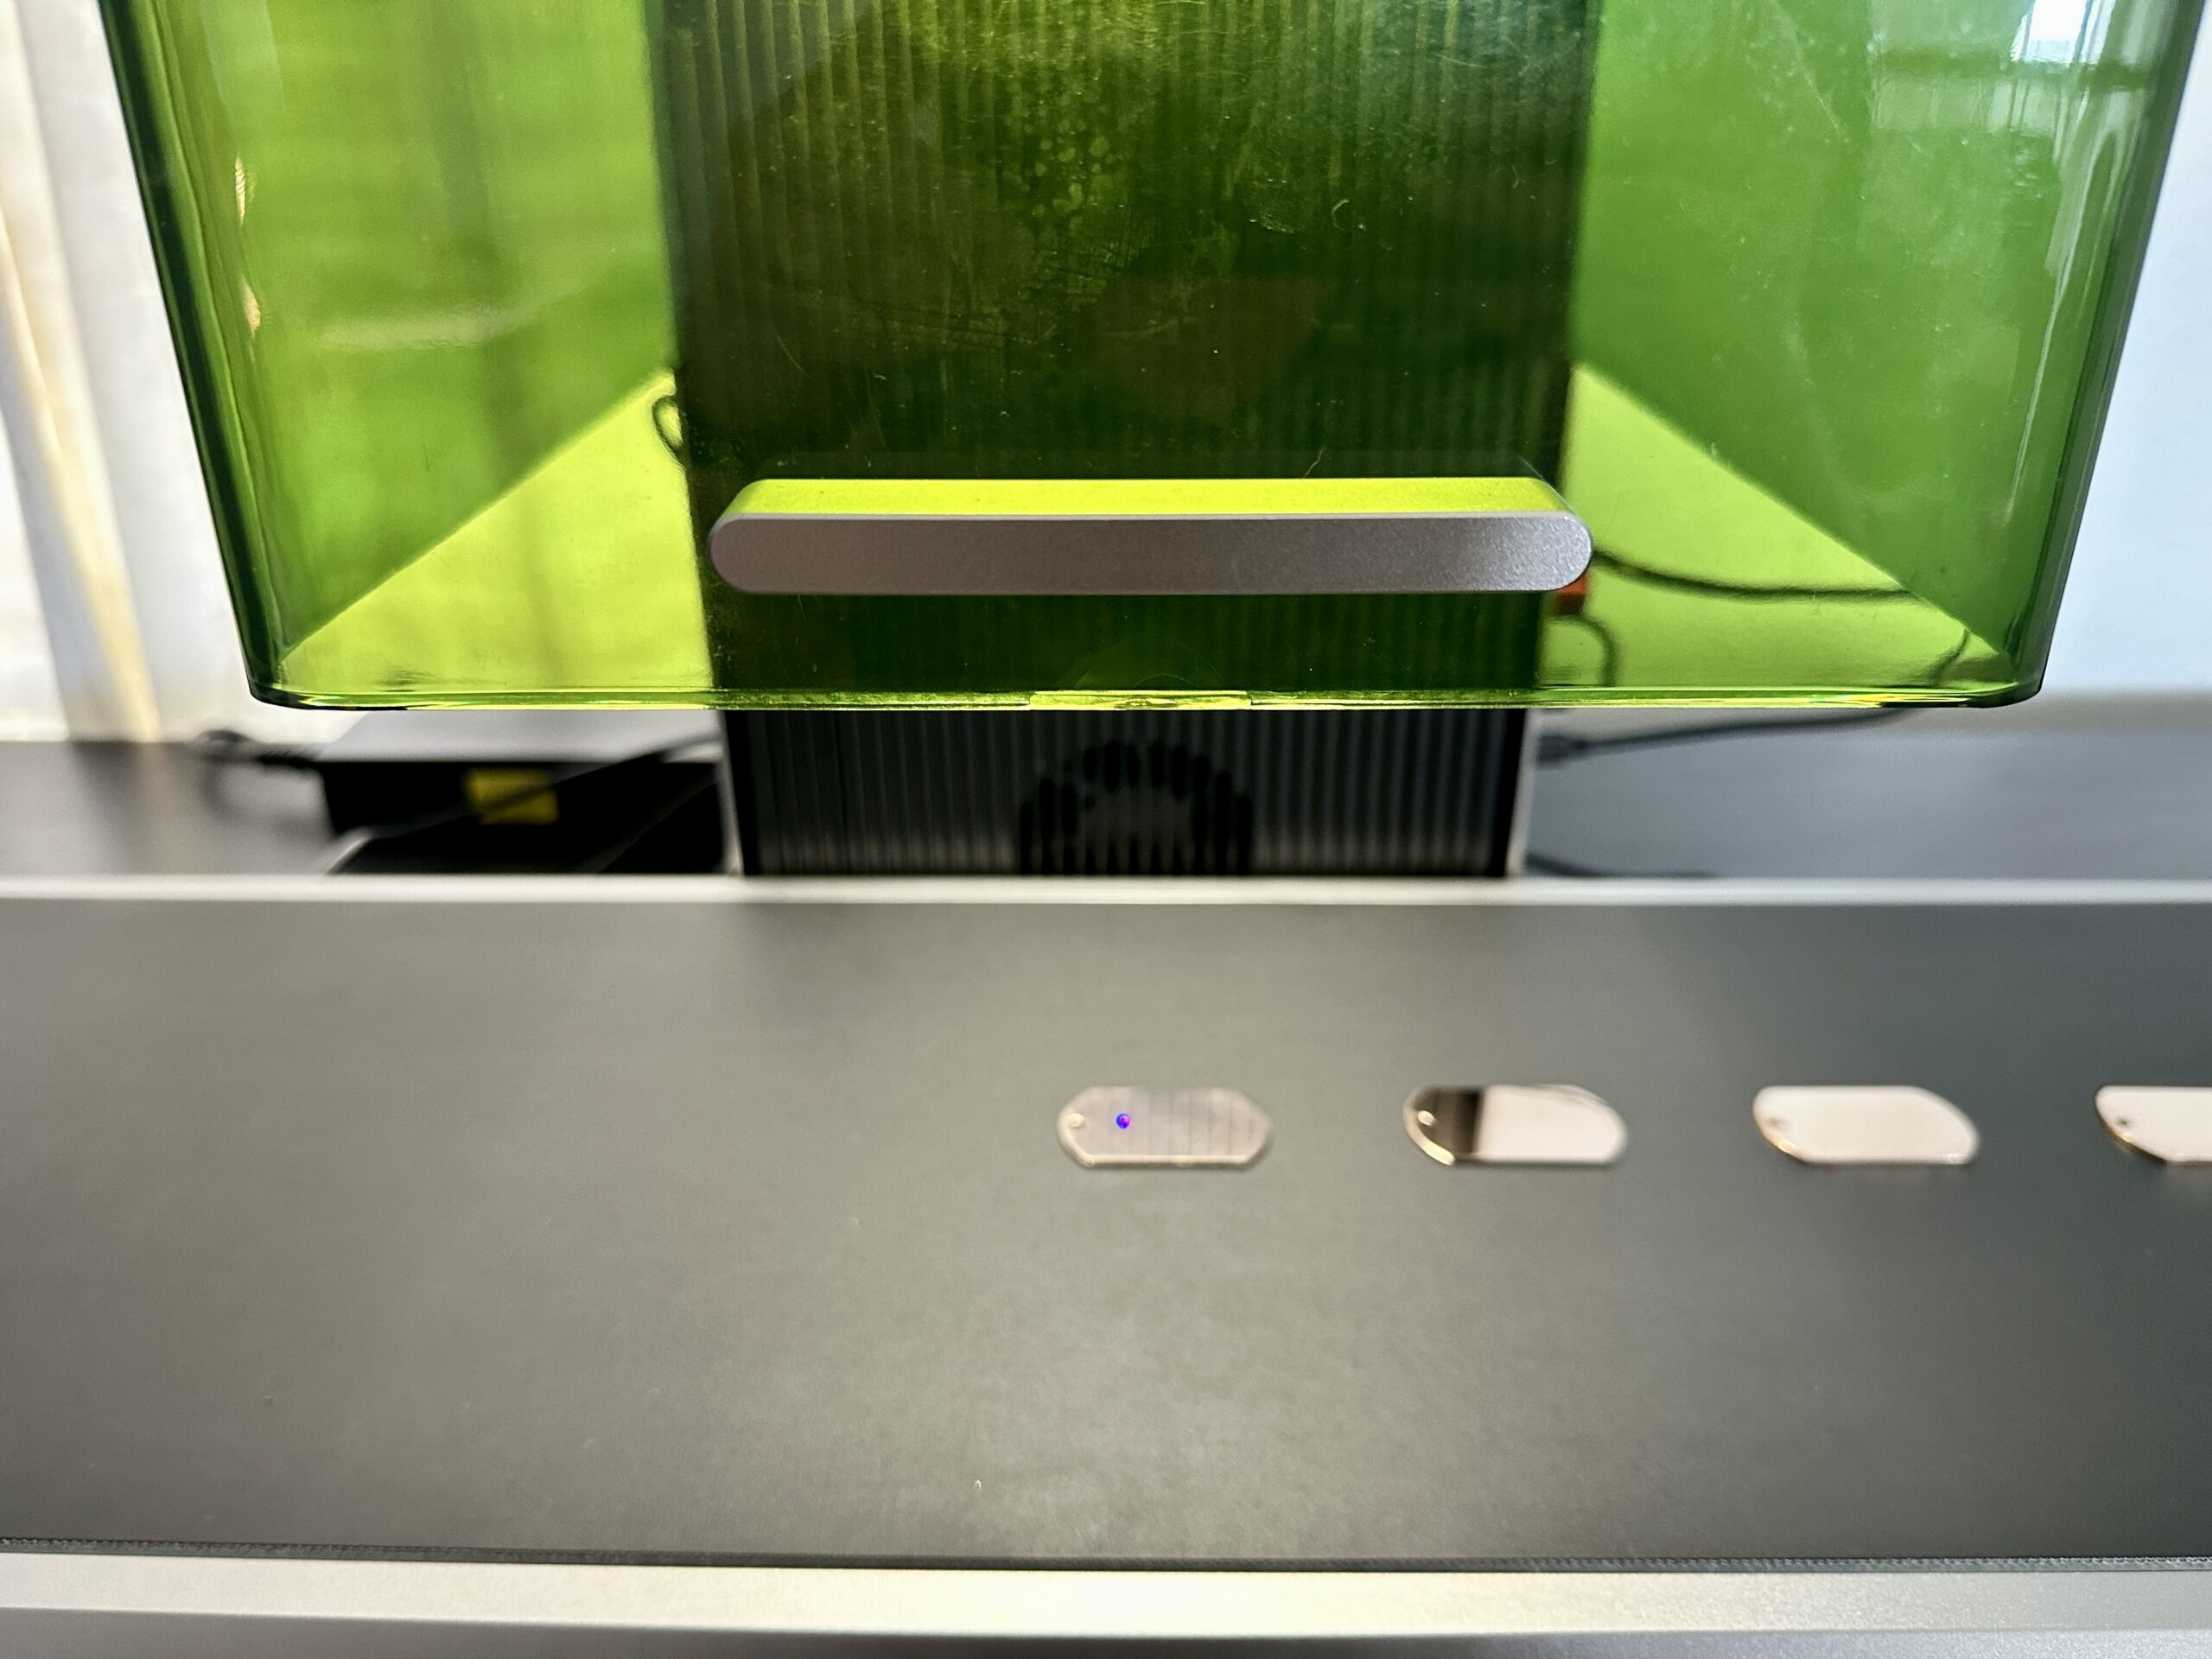
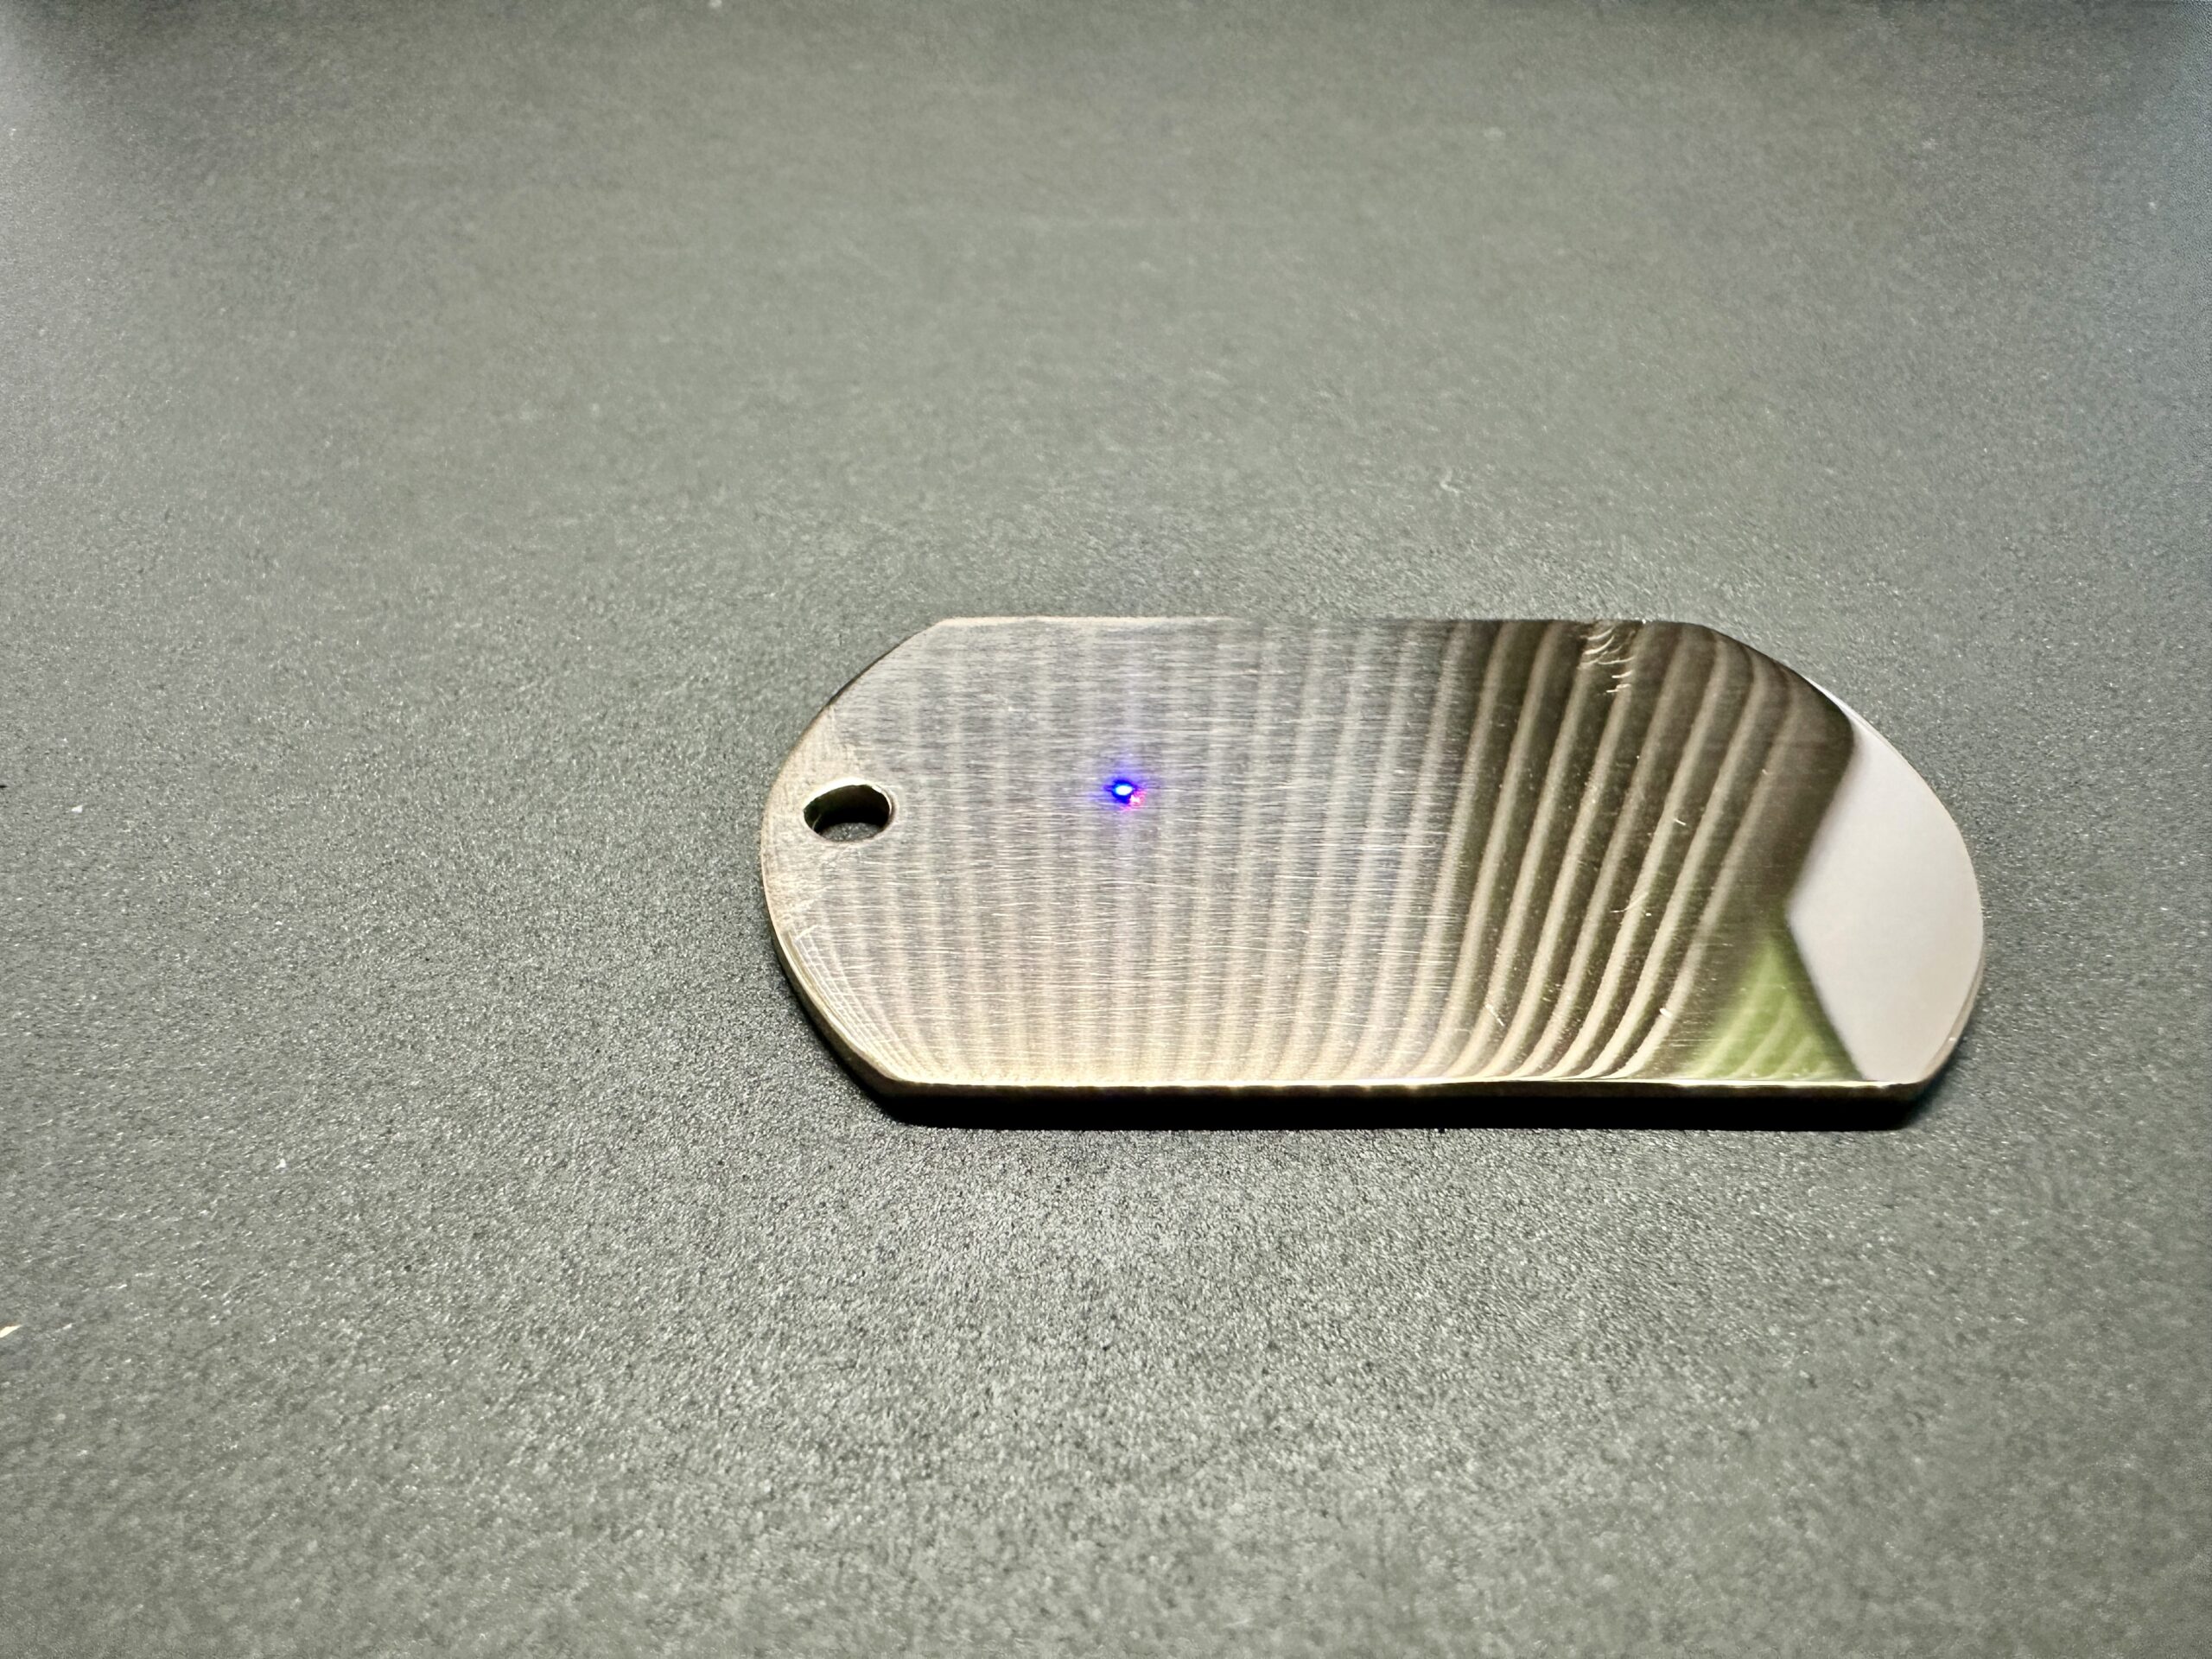
Set the laser focus on the first blank material. There are two lasers (one red and one blue), when the laser dots overlap each other – the focus is set.
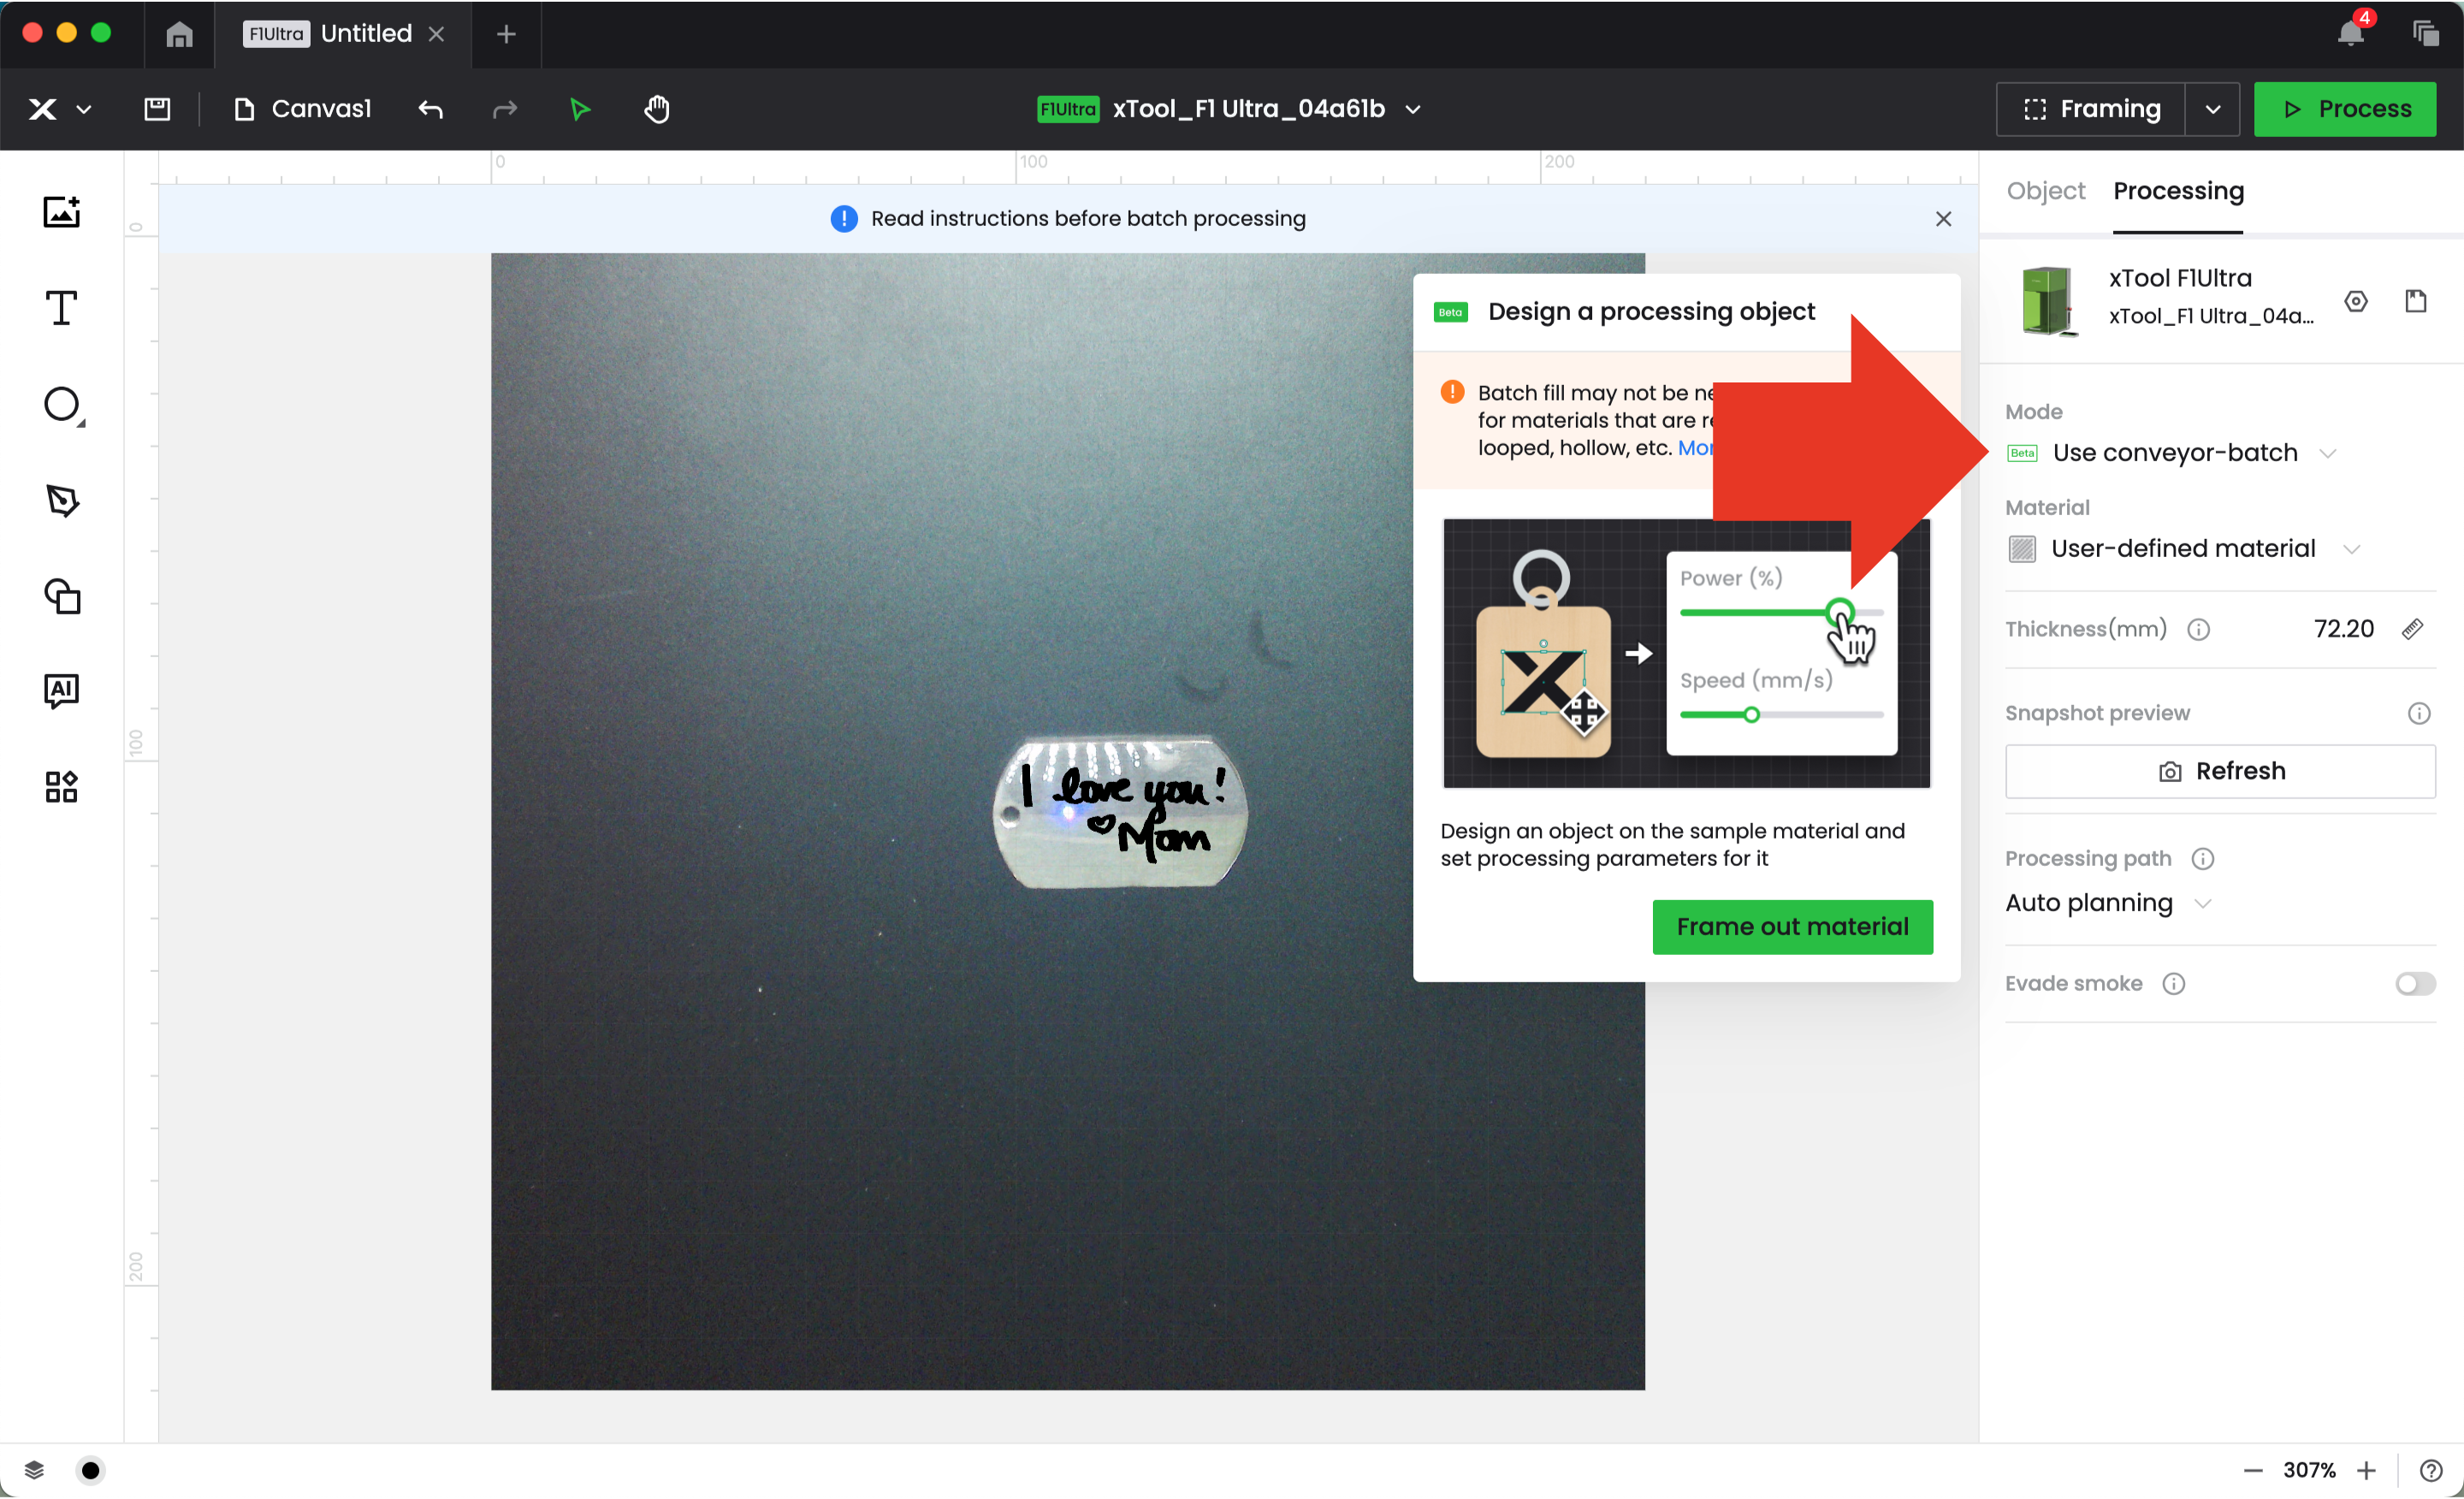
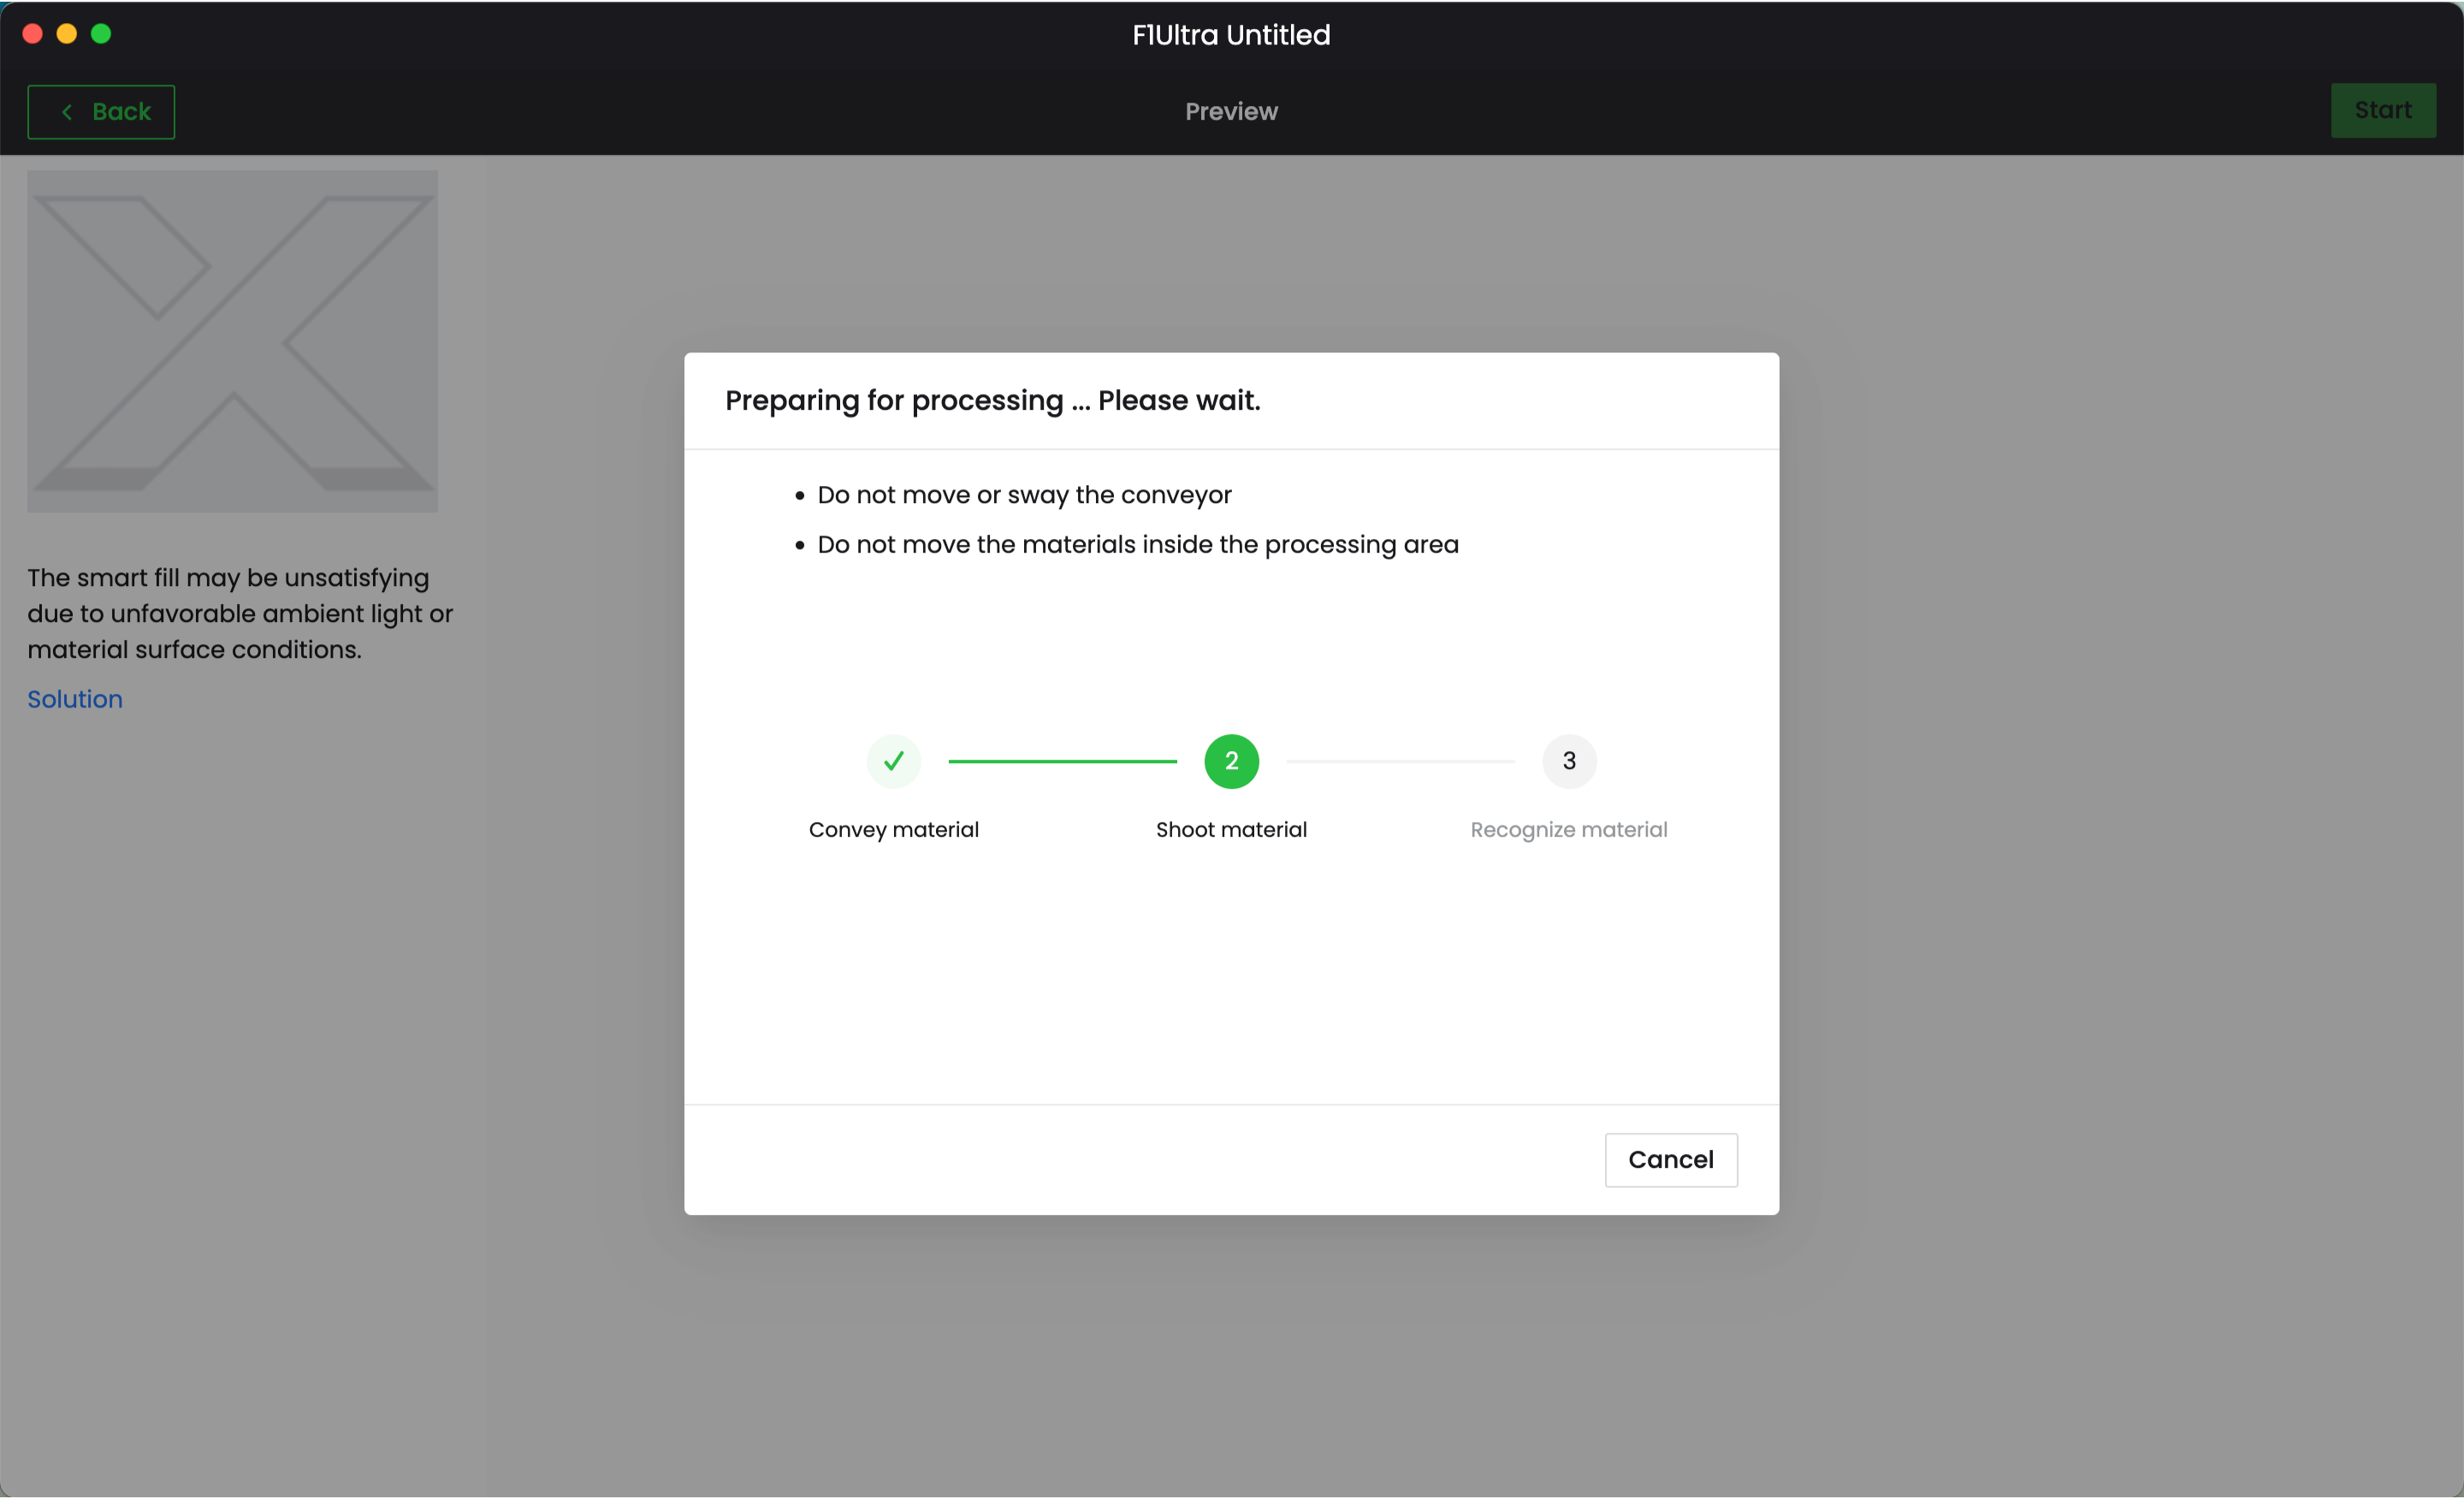
Head to the XCS software, and open your design, and choose your engrave settings. Select ‘Use conveyor – batch’ from the processing panel.
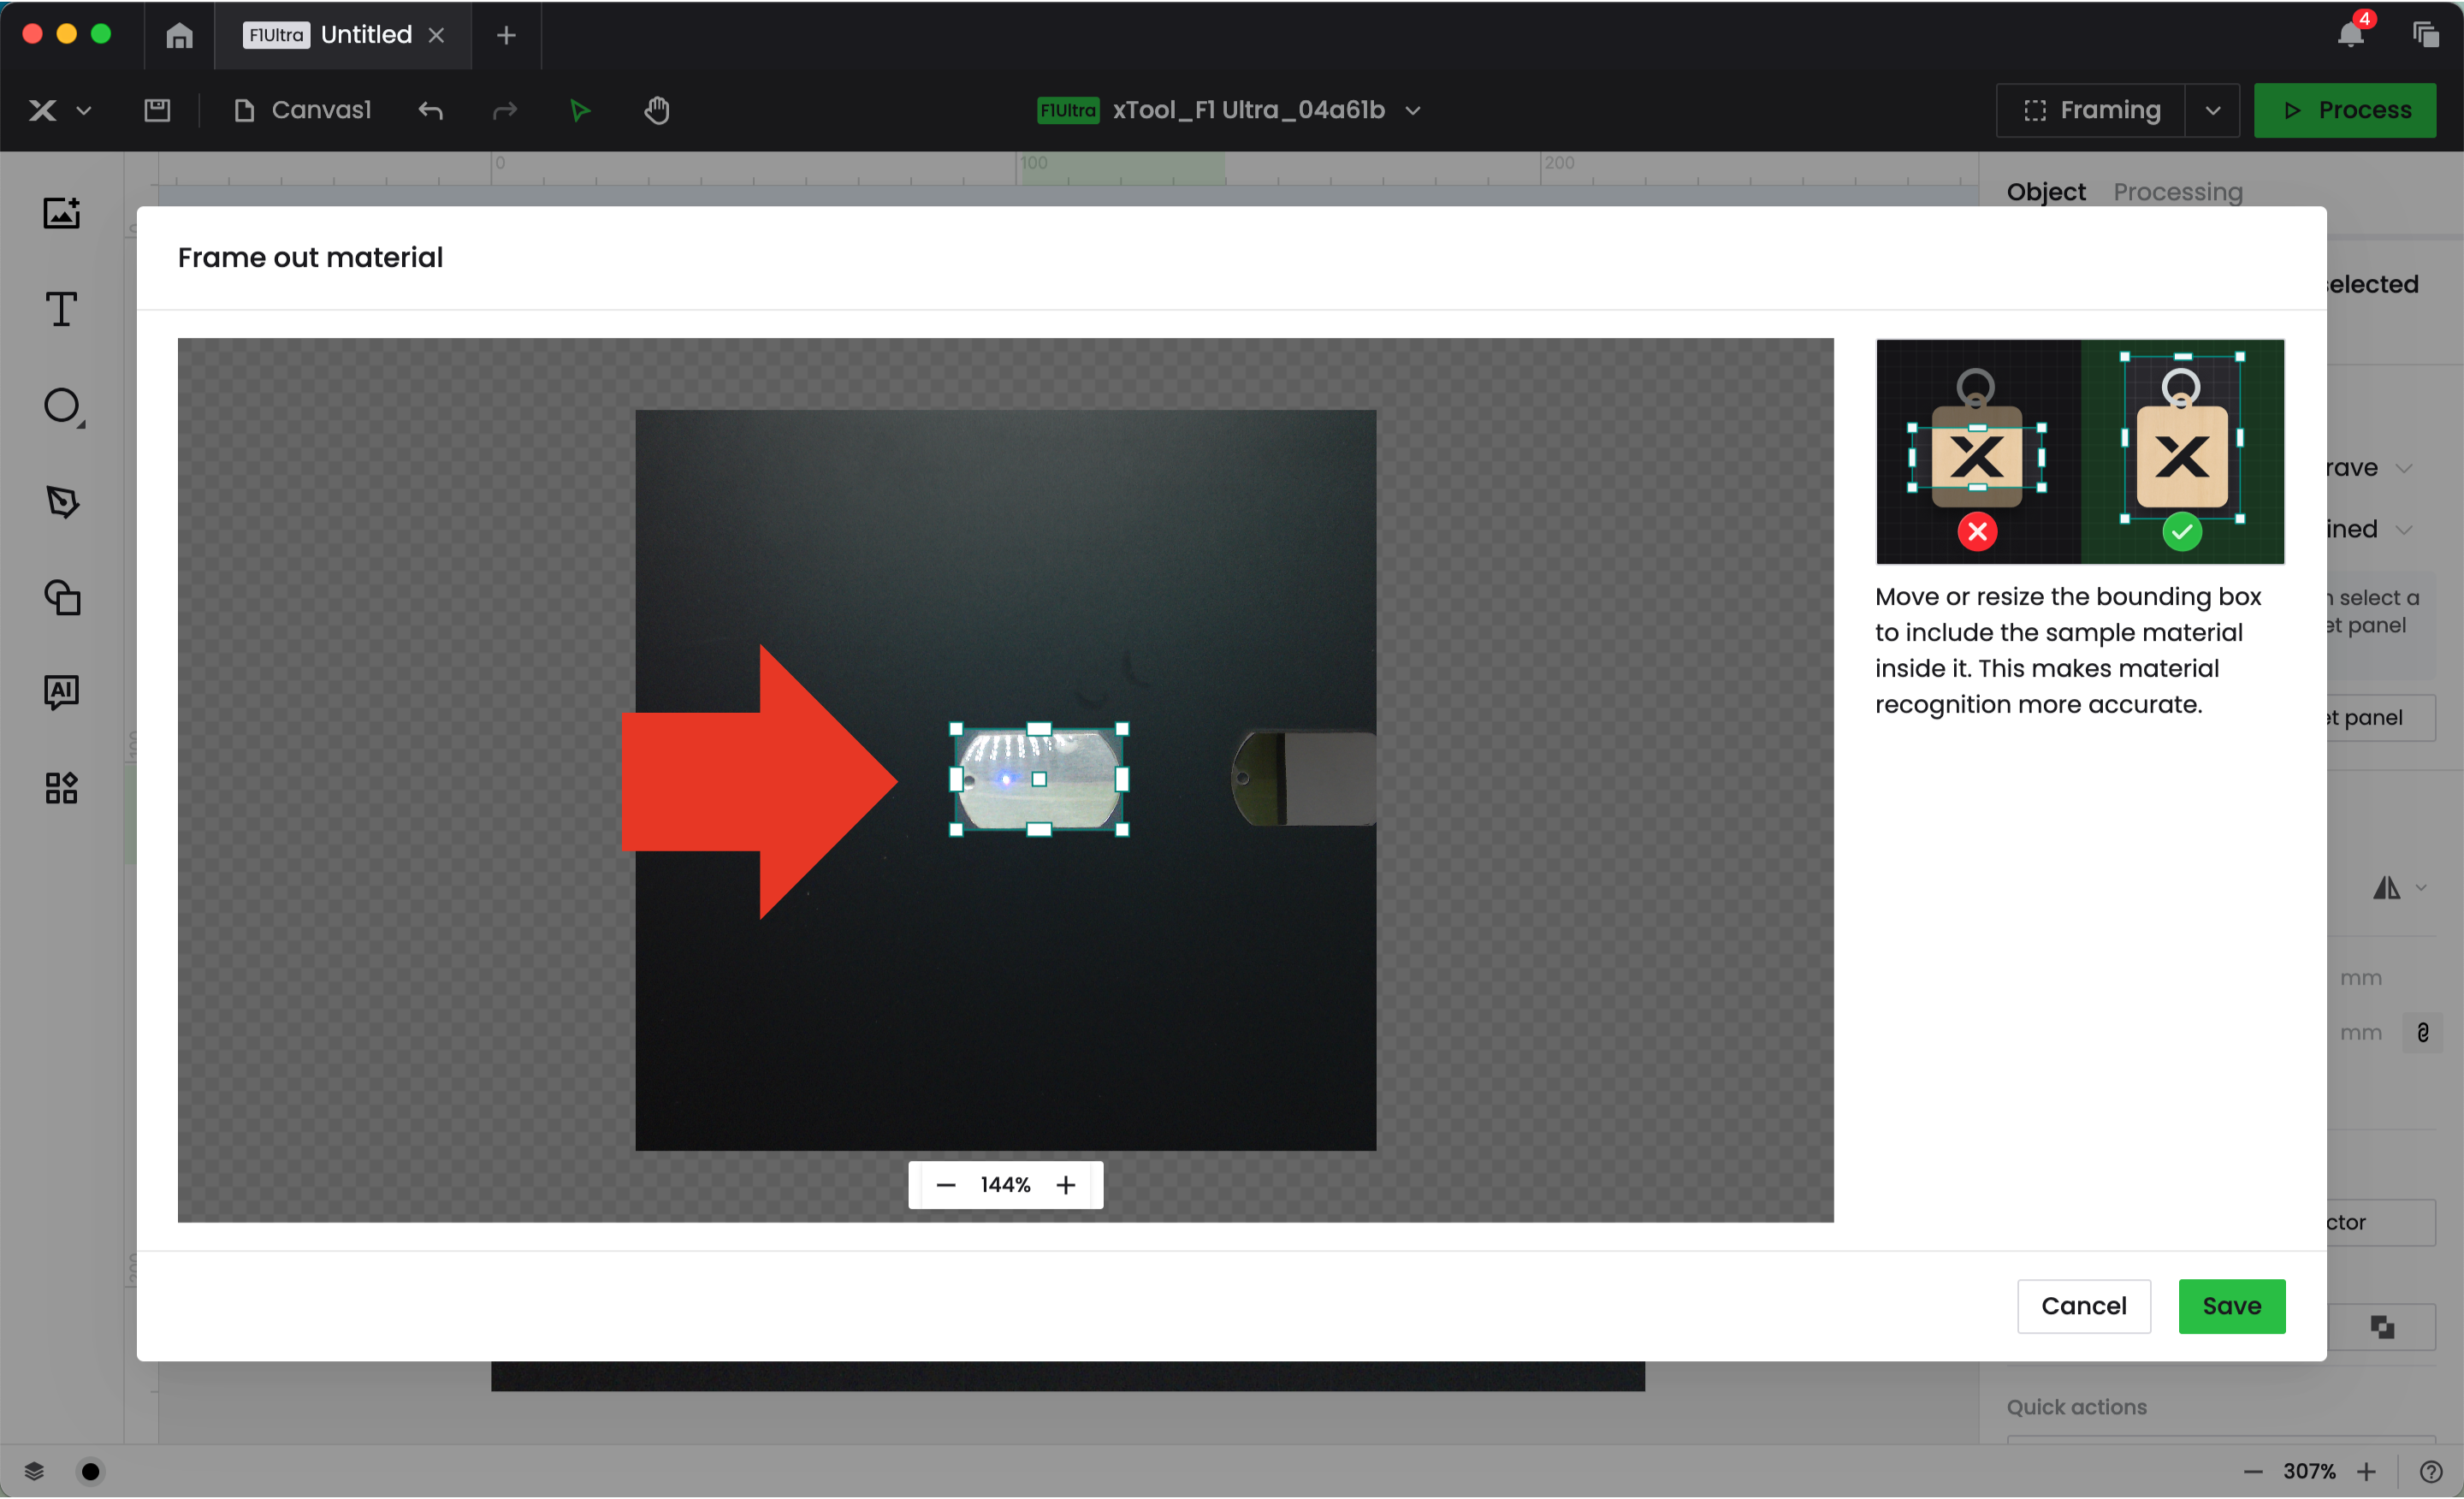
On the pop up window that appears, click the ‘Frame out material’ button. This step allows the machine to recognize your blank as it moves across the conveyor belt.
Click process in the XCS software to process the job, then click the xTool button on the touchscreen controller.

The machine will process the the batch. As the conveyor moves from right to left, you can continue adding blank materials. When the conveyor moves 5 times and cannot detect a blank, the machine will stop.
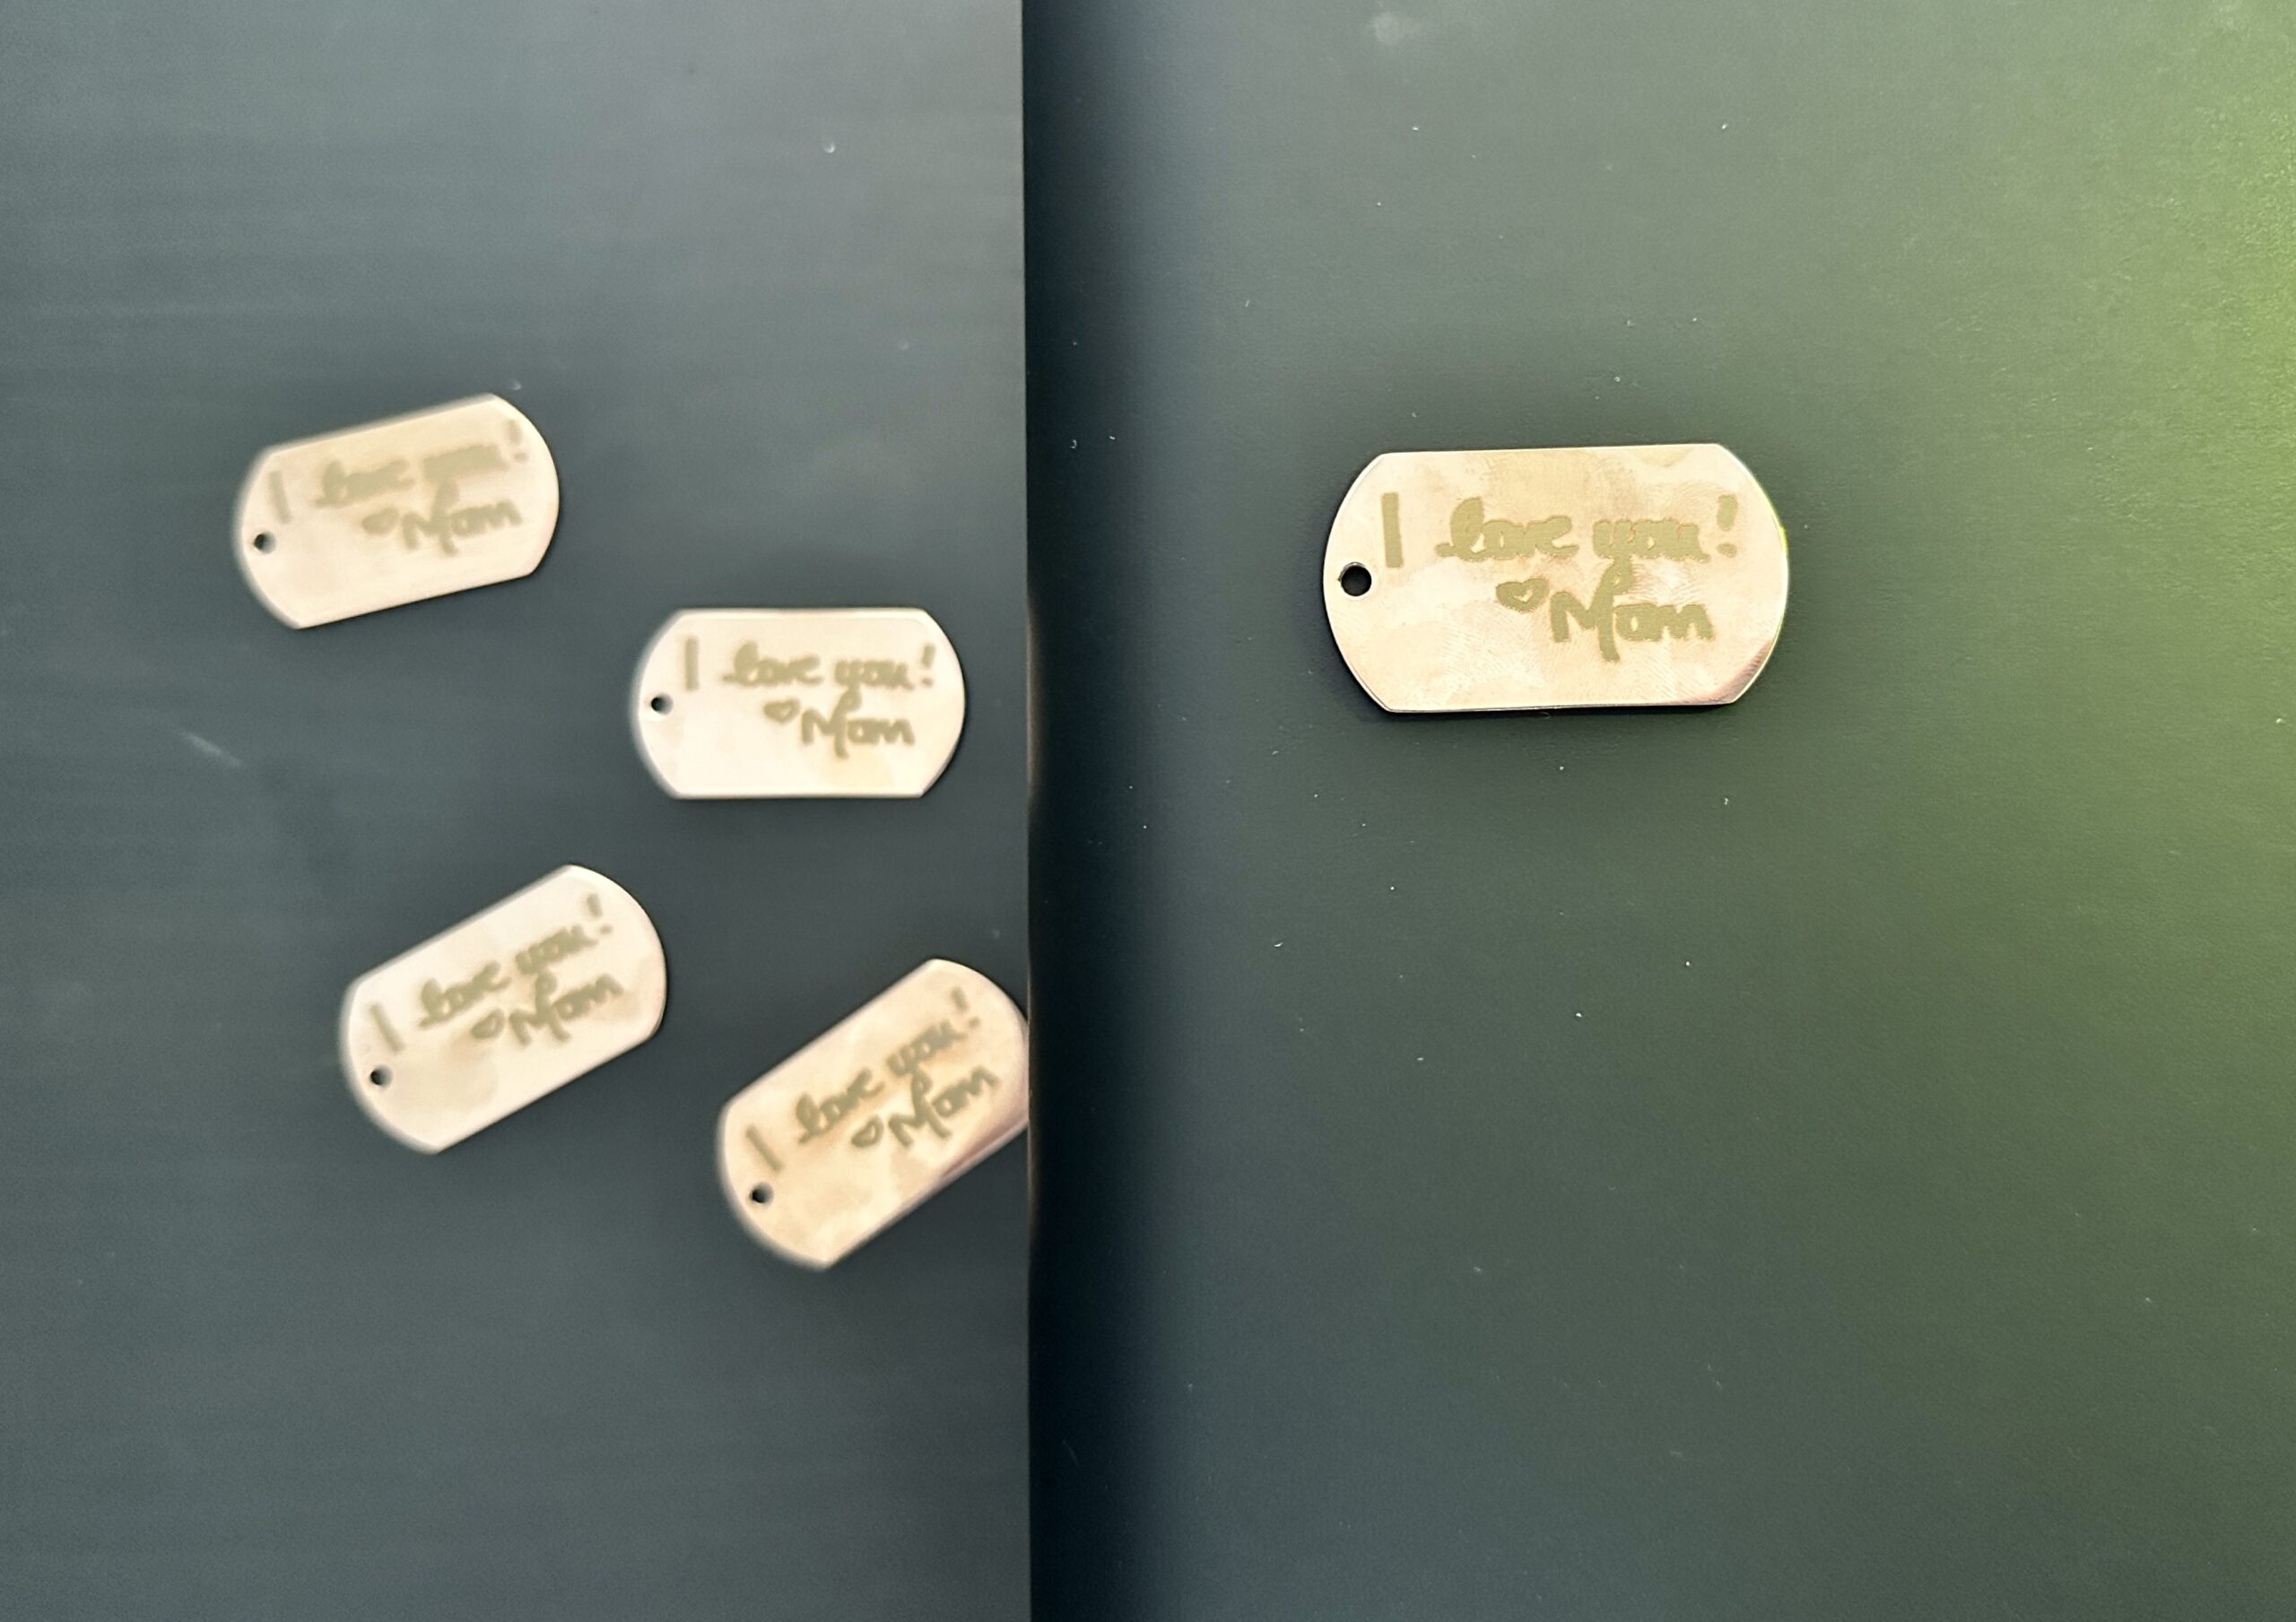
The conveyor belt in action:
As the materials are processed across the conveyor belt, they fall off on the left side. I let them fall onto my table, but you could place a container at the end for them to fall into.
Want to see the conveyor belt in action? Take a peek at my Instagram Reel.
Using the xTool F1 Ultra Conveyor Belt: Tips & Things to Know
- When framing, I had better luck with getting the machine to recognize the material on the conveyor belt when I expanded the bounding box. The software wraps the blank tightly, but expanding it slightly made sure the machine recognized it.
- The conveyor belt only works with engraving at this time.
- Since you are engraving with the green shield open when using the conveyor belt, you’ll want to pick up a pair of goggles that can shield laser beams of 455 nm and 1064 nm wavelengths. (I wish these were included, but I picked up this pair on Amazon.)
- When using the conveyor, the machine can only process one design element at a time.
- Do not stack or overlap your materials on the conveyor belt.
- Do not use paper, cloth, or other thin materials on the conveyor. You might laser through the materials and damage the conveyor.
- You can also use the conveyor to process larger materials, but I haven’t experimented with this yet.
More xTool F1 Ultra Resources
If you haven’t already read these, get to it:
Since 2015, Christine Schinagl has been helping crafters start and run craft businesses through her blog, Cutting for Business. As a Silhouette and Cricut crafter herself, she has a unique take on what works and what doesn’t work in the craft business world. She also enjoys teaching other crafters how to create digital SVG designs, available through the Design with Me series.