Tutorial: Engraved Paw Print Jewelry with xTool M1
Affiliate Disclosure: As an Amazon Associate I earn from qualifying purchases. Additionally, I may get commissions for purchases made through other affiliate links in this post.
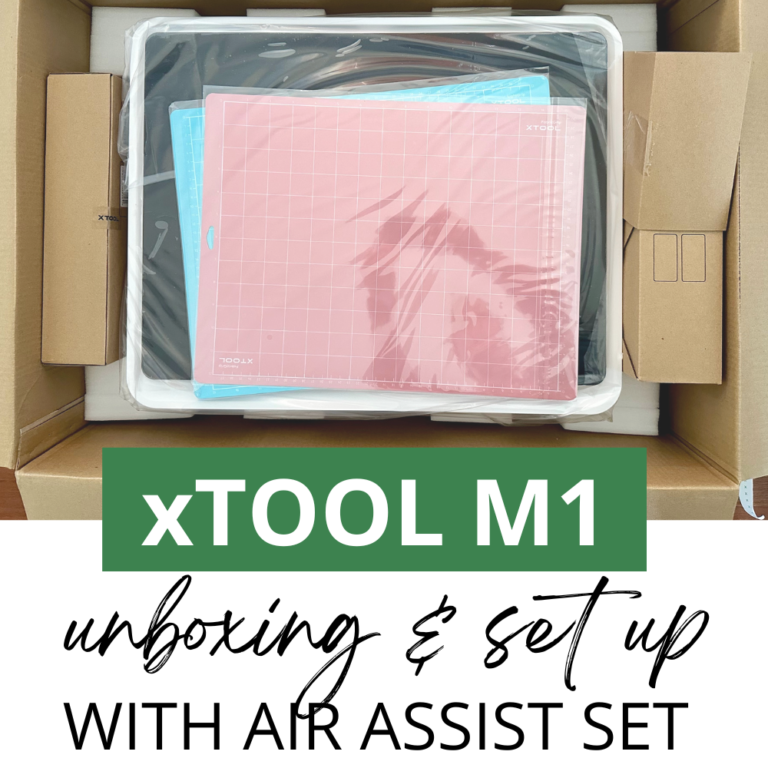
If you’ve been on the blog recently, you’ll know that I recently received an xTool M1 machine to try out and share a few projects. If you haven’t seen the first post, go back.
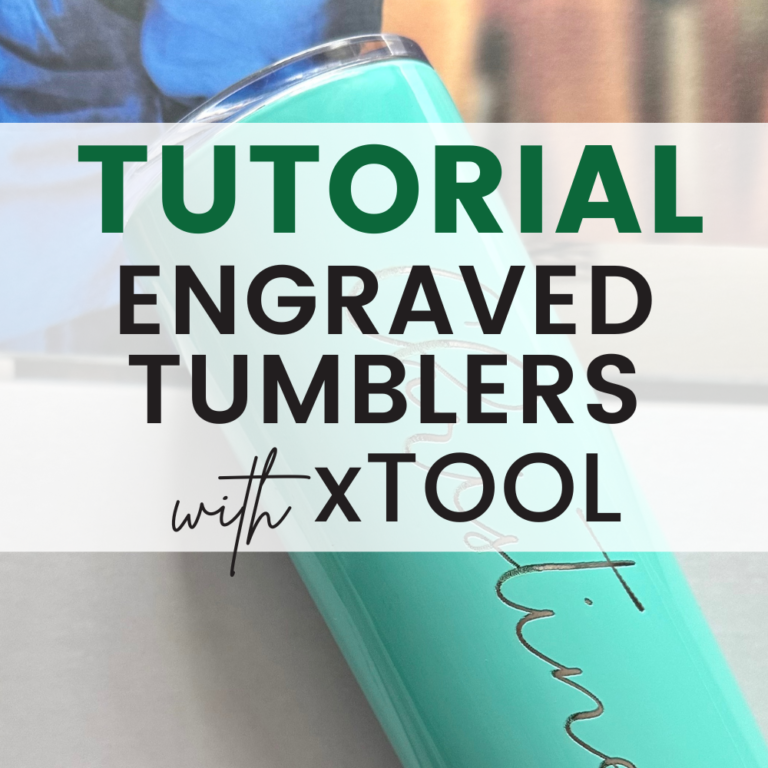
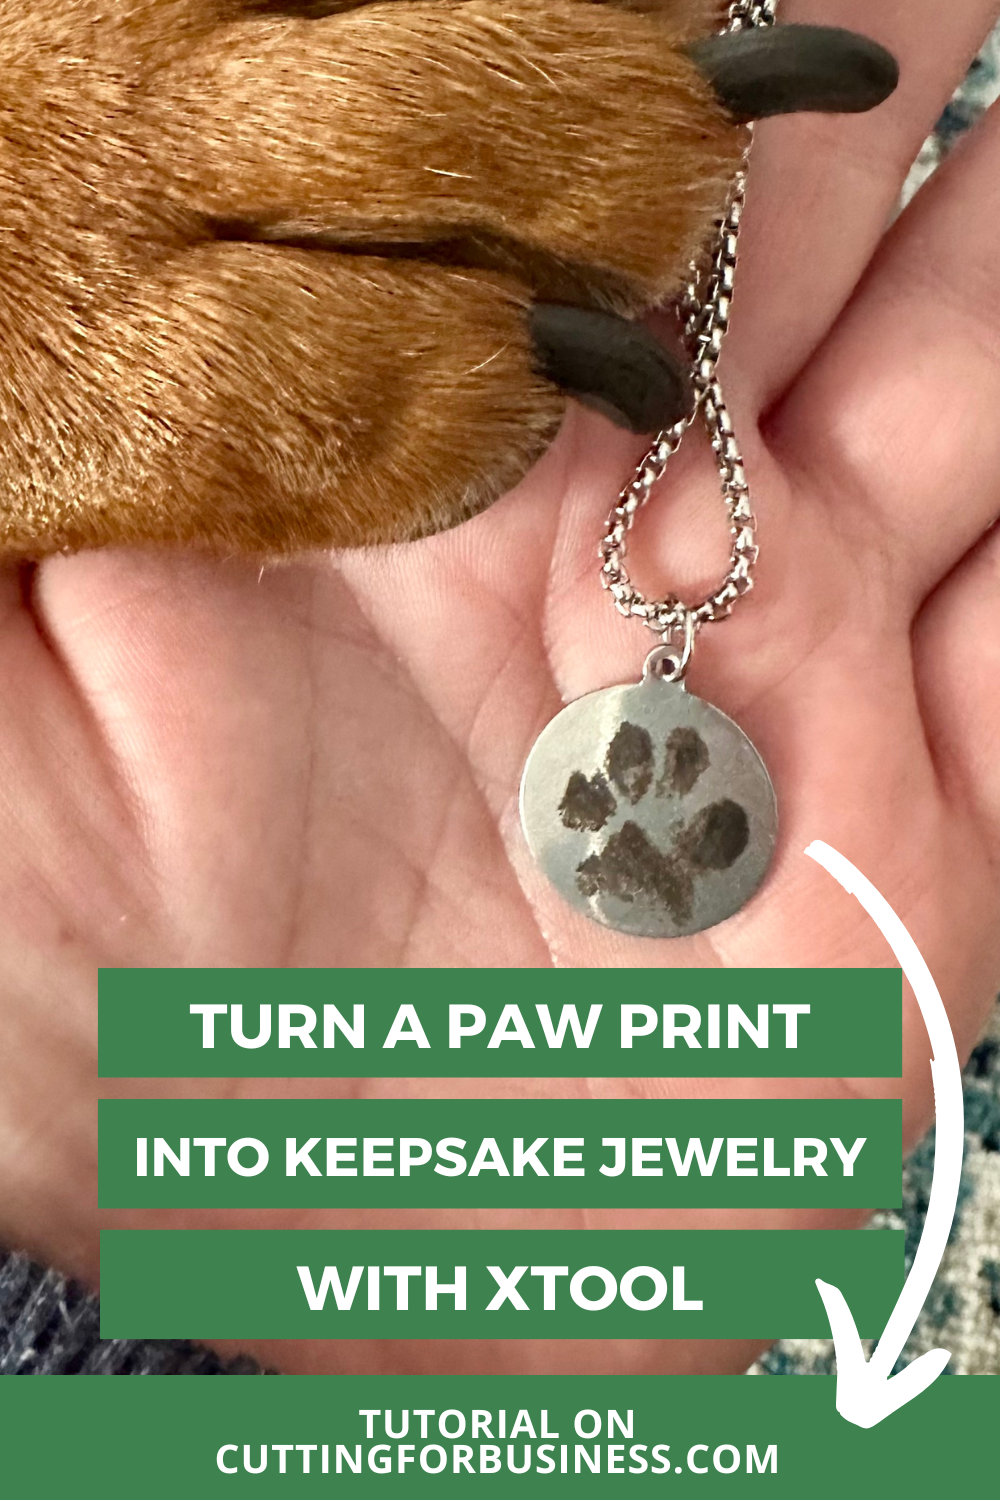
The first project I’m sharing is a step-by-step tutorial to create engraved paw print jewelry.
Tutorial: Paw Print Jewelry with xTool M1
- “Fingerprint” your pet. I used an ink pad, patted Tank’s paw onto the pad, stamped it onto a white sheet of printer paper, then washed his paw. I’d share a few photos of the process, but as you can imagine – Tank wasn’t incredibly helpful. 😂
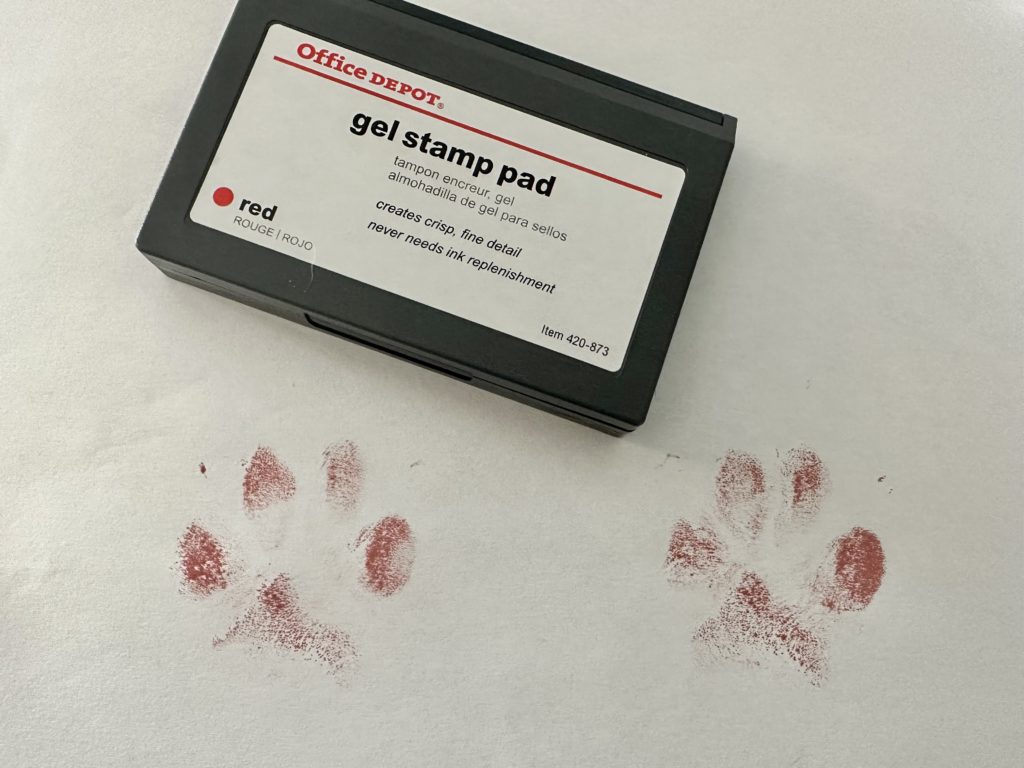
2. Scan the pawprint onto your computer. (I used the paw print on the right.) I no longer have a flatbed scanner, so I used a phone app TinyScanner, which did a pretty good job.
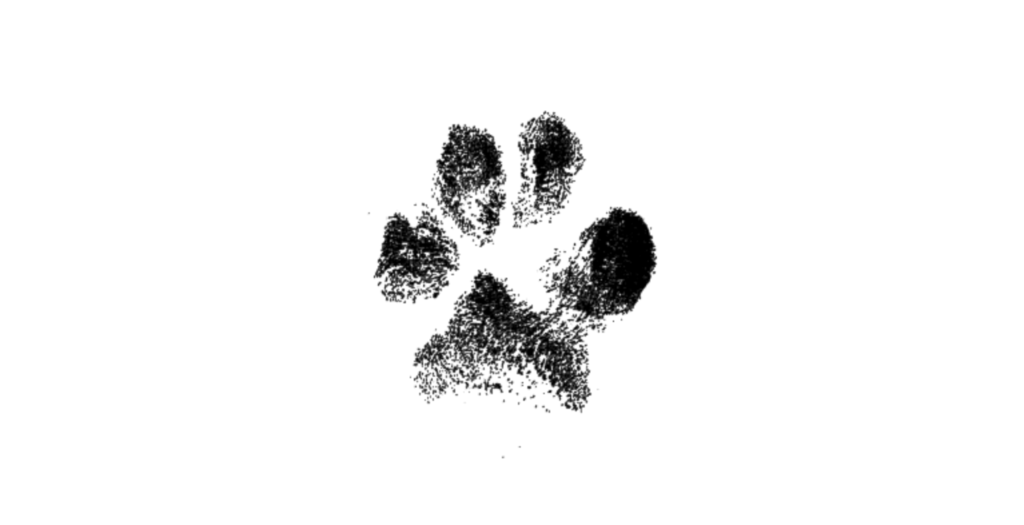
3. Use an online editor to remove the background. I used PicMonkey, but you could also use LunaPic or Canva.

4. In the xTool software, click the ‘Image’ button to load your image.
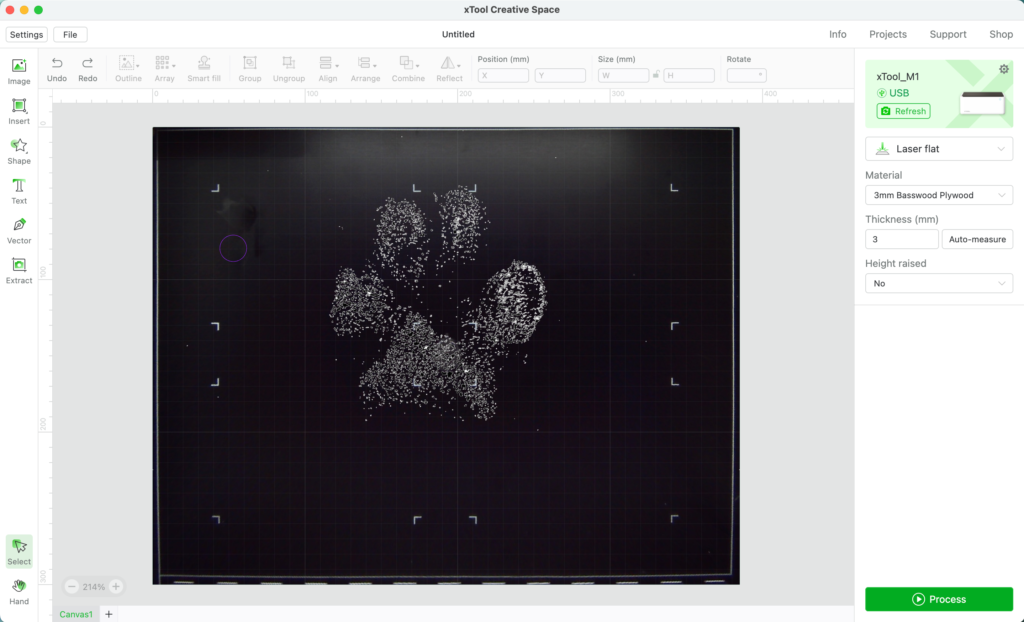
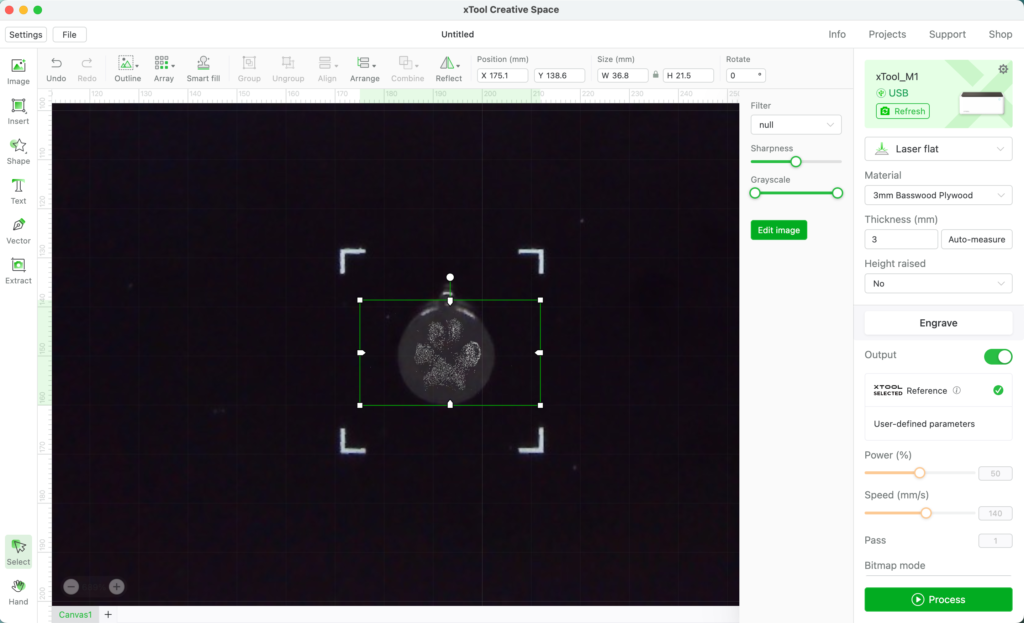
5. Resize the image and move it on top of the jewelry blank. You can pan the view around the screen with the ‘Hand’ tool on the left bottom corner.
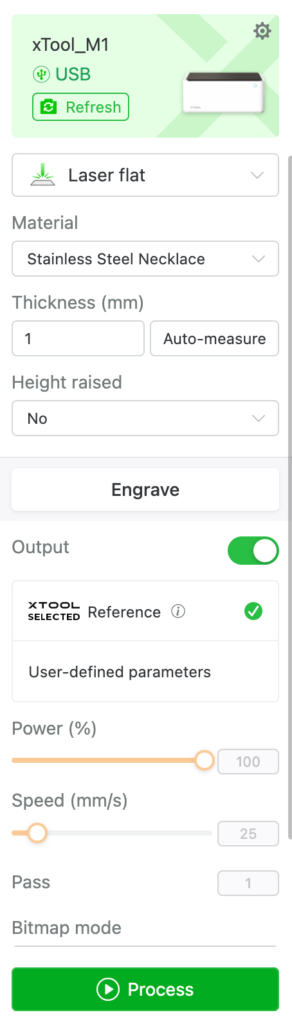
6. Input the correct settings. In this case, I chose ‘Laser flat’, ‘Stainless Steel Necklace’, and Height raised ‘No’. Click the ‘Process’ button.
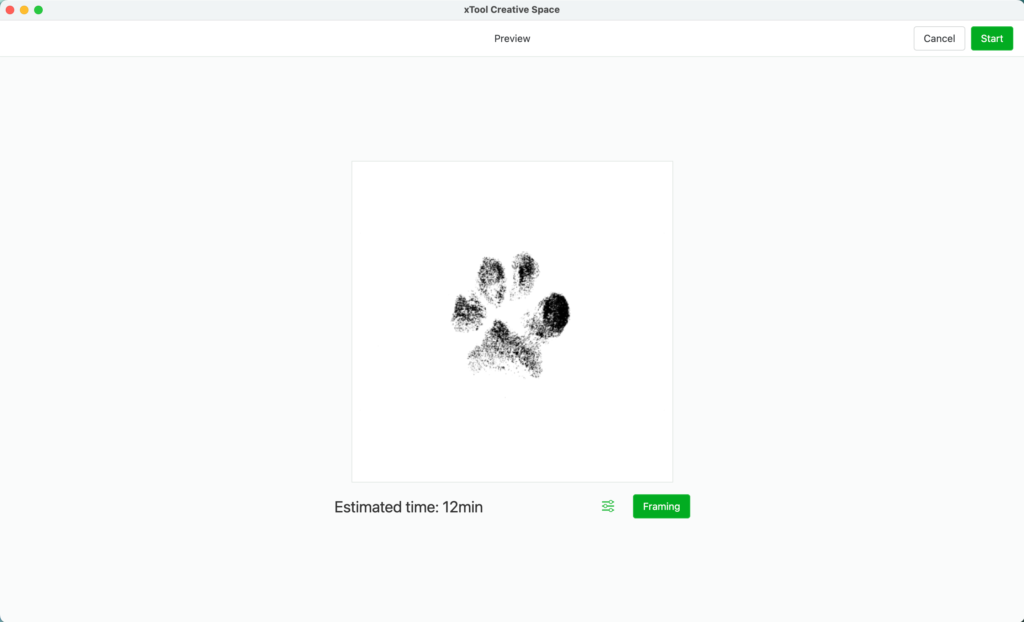
7. Turn on your xTool, the air assist fan, and then click the ‘Start’ button. The software states it’ll be about 12 minutes. Click the ‘Start’ button and then the button on your xTool.
Here’s how it looks after engraving.
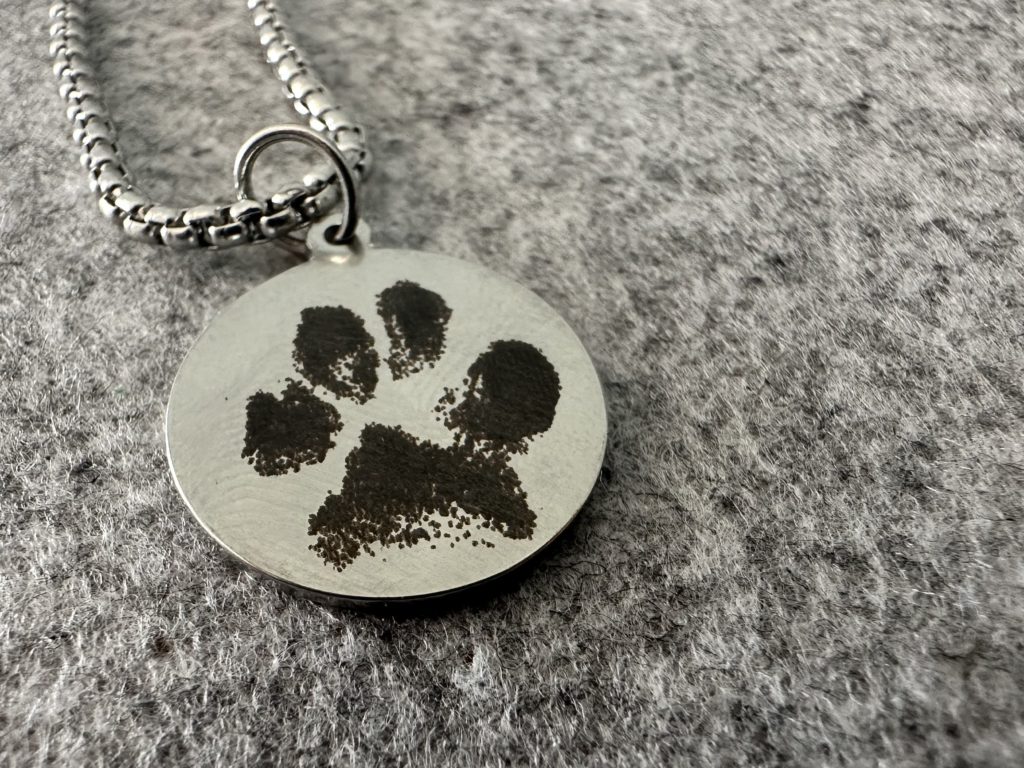
Fun and successful first xTool project! It’s a nice dark engrave on the stainless steel disk. I added a jump ring and put it on a necklace.
A Paw Print Jewelry Business Idea
You could create a niche out of paw print jewelry with the xTool M1. Here’s how I imagine this could work:
- Customers buy a small kit on your website containing a piece of paper, a non toxic stamp pad, alcohol wipes, and directions for taking their pet’s paw print.
- After the customer takes a print of their dog’s paw, they send it to you digitally – likely through email.
- You use the xTool to engrave their jewelry.
- Package the jewelry and send it off.
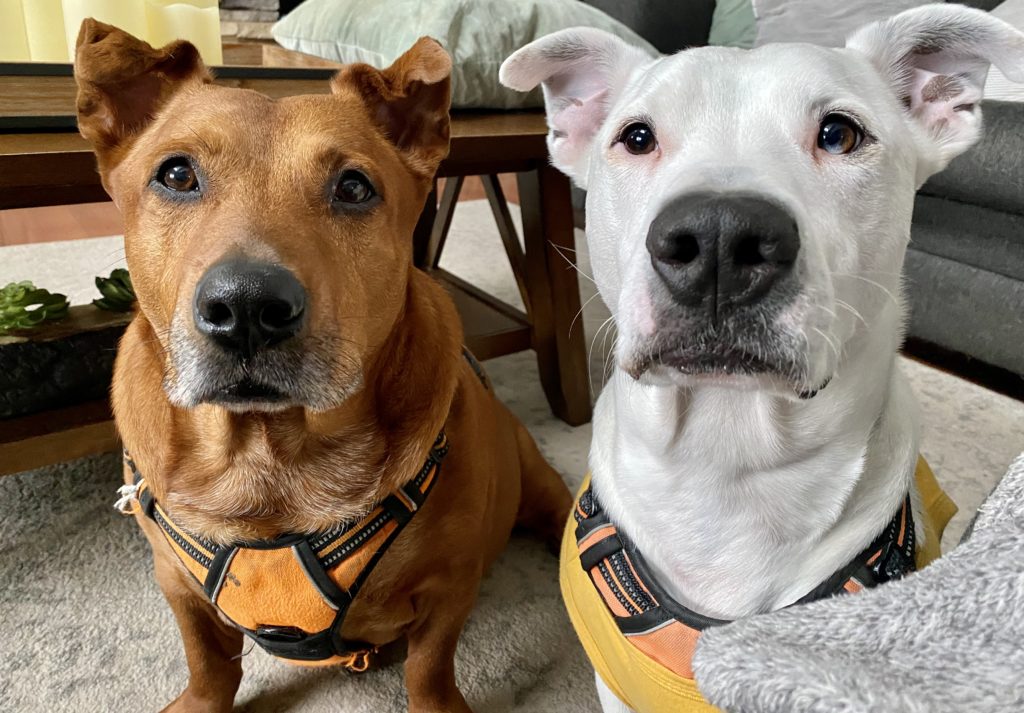
Thanks, Tank!
This tutorial wouldn’t be complete without a picture of Tank, who received a Milkbone for his cooperation. (Tank, left. Chopper, right.)
Next up on this xTool series: Designing in the xTool software.
Since 2015, Christine Schinagl has been helping crafters start and run craft businesses through her blog, Cutting for Business. As a Silhouette and Cricut crafter herself, she has a unique take on what works and what doesn’t work in the craft business world. She also enjoys teaching other crafters how to create digital SVG designs, available through the Design with Me series.