Walkthrough: xTool M1 Set Up
Affiliate Disclosure: As an Amazon Associate I earn from qualifying purchases. Additionally, I may get commissions for purchases made through other affiliate links in this post.
In the last year or so, my Facebook feed has had so many ads for xTool laser products. In fact, xTool has reached out to me multiple times to review their products and I have declined. In December, curiosity got the best of me and I agreed to review their latest laser machine, the xTool M1.
This article provides a step-by-step picture tutorial of the xTool M1 set up.
What is the xTool M1?
The xTool M1 advertises as an integrated laser processing and blade cutting system, produced in China. This means that the xTool M1 contains a laser (like a Glowforge) and a blade (like a Silhouette or a Cricut).
The laser inside the xTool M1 is a diode laser, which differs from the Glowforge’s CO2 laser. There are a number of comparison’s of diode lasers to CO2 lasers all over the internet – including this one written by xTool.
What Did I Receive from xTool to Review?
I received the xTool M1 10W Deluxe Package which included the machine, a large package of sample materials, the rotary unit, and the air assist set. In exchange for receiving these materials, I agreed to complete six blog posts for xTool – an unboxing with general information and five projects. While the materials and tools were provided free of charge, the experience and opinions are my own.
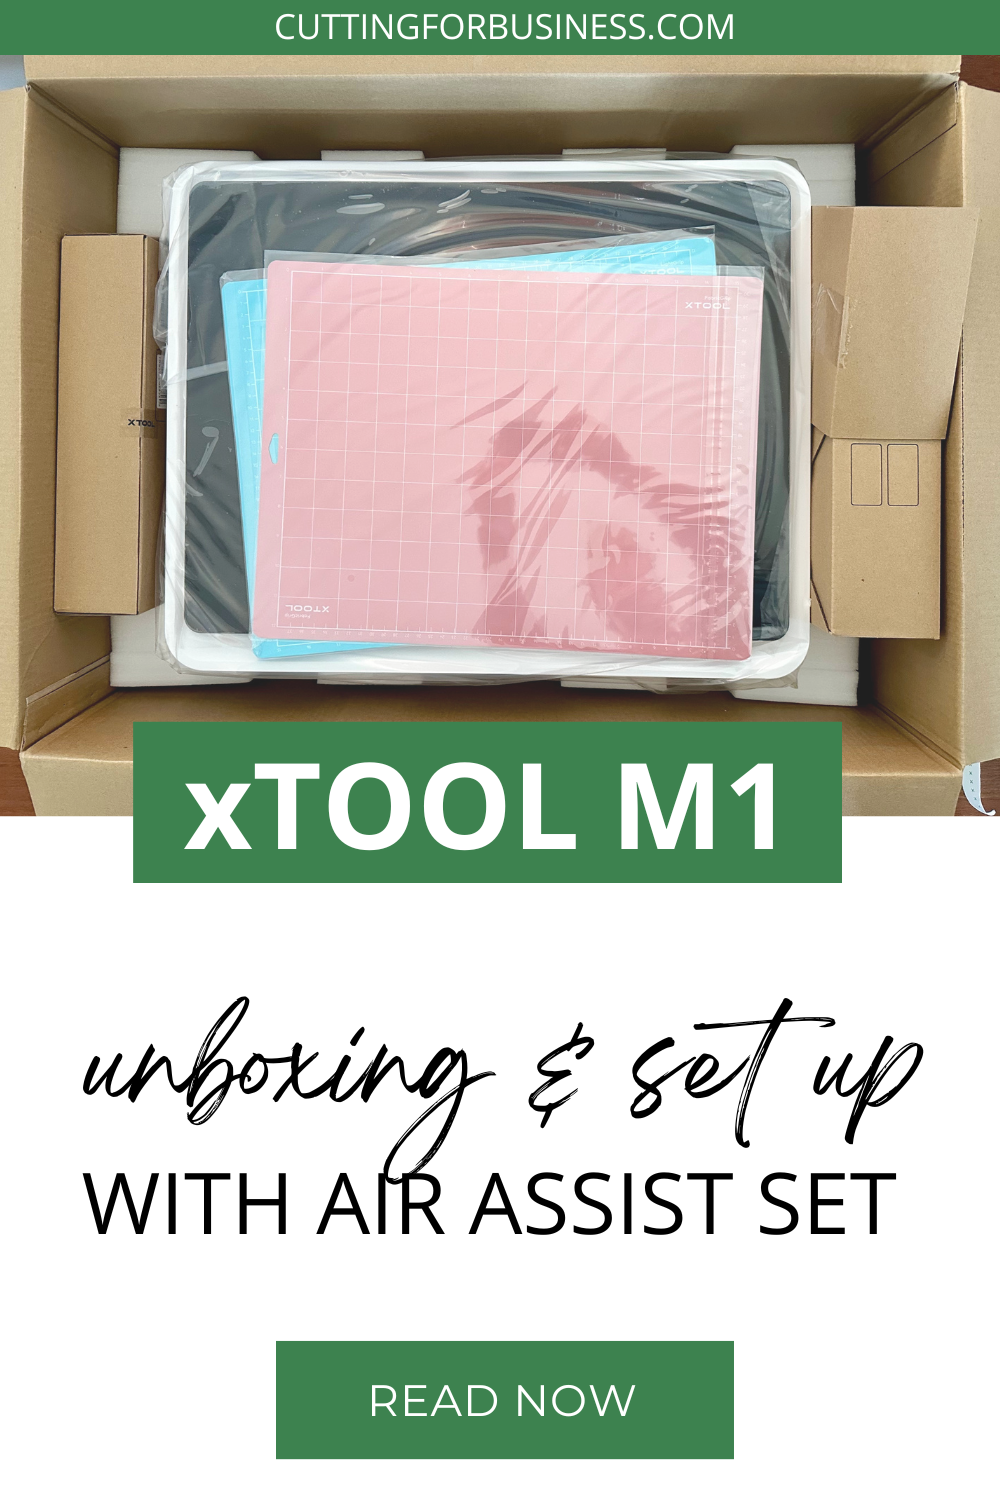
xTool M1 Set Up
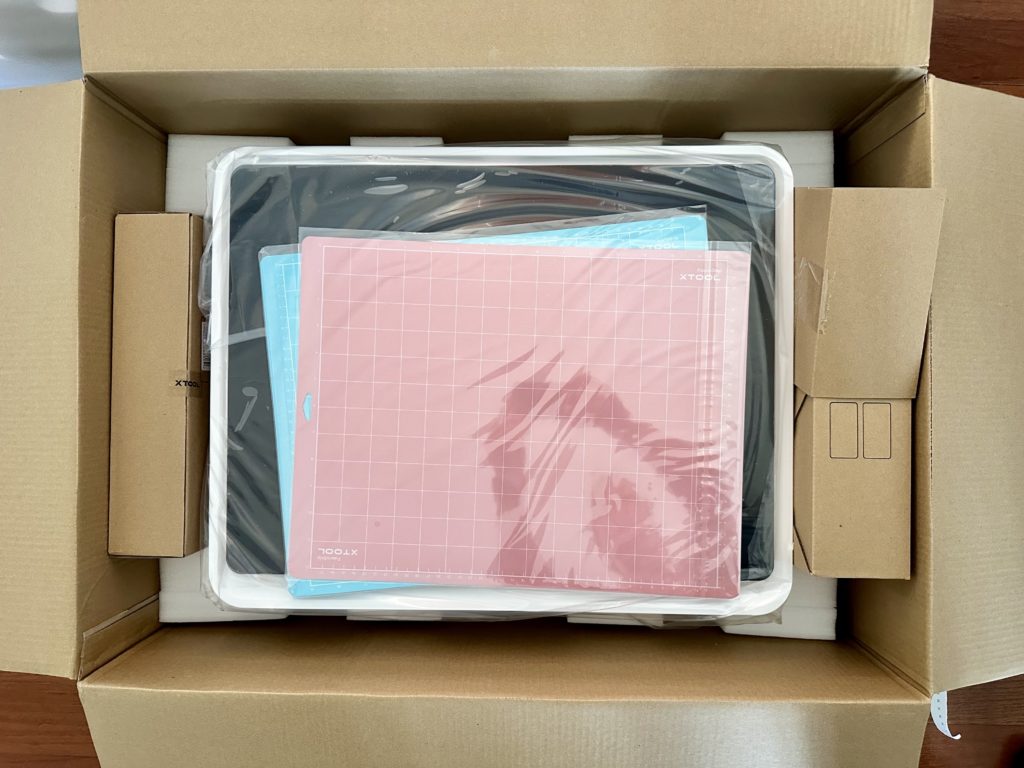
- The xTool M1 was packaged well and arrived undamaged. My first thoughts about the unit are that it is smaller than I expected (22″ x 18″ x 8.5″).
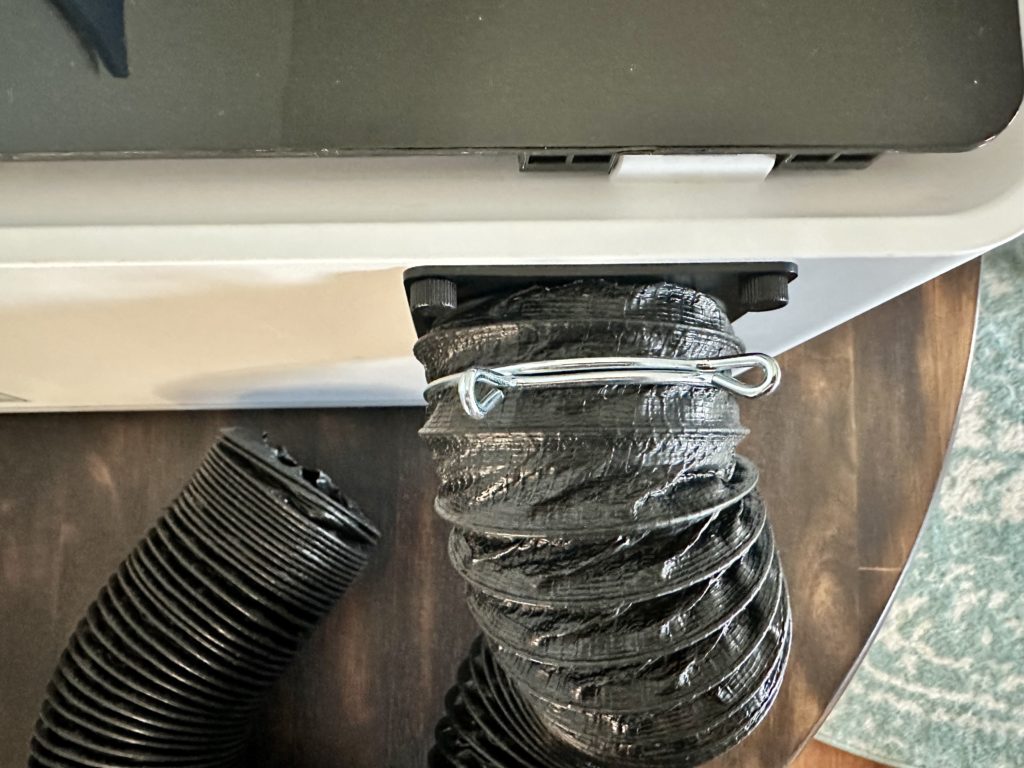
2. The first step after removing the xTool from the packaging is to attach the hose. Use the four hand screws to place the bracket, then fit the hose over the bracket. The xTool will need to be vented out a window or into a filter.

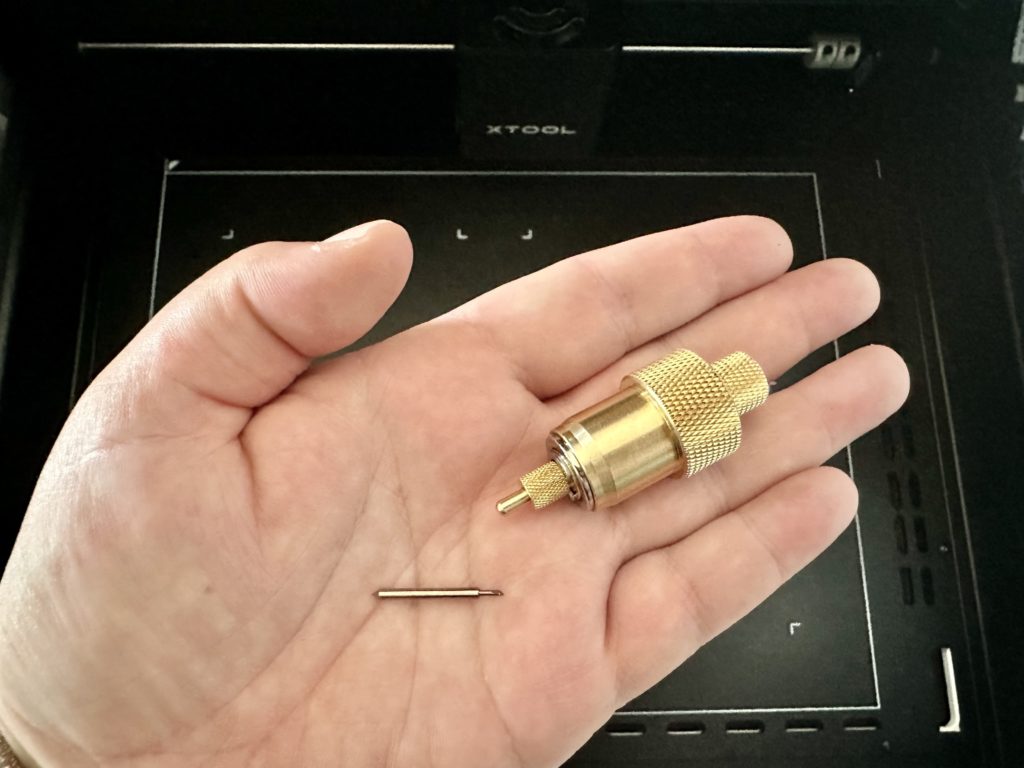
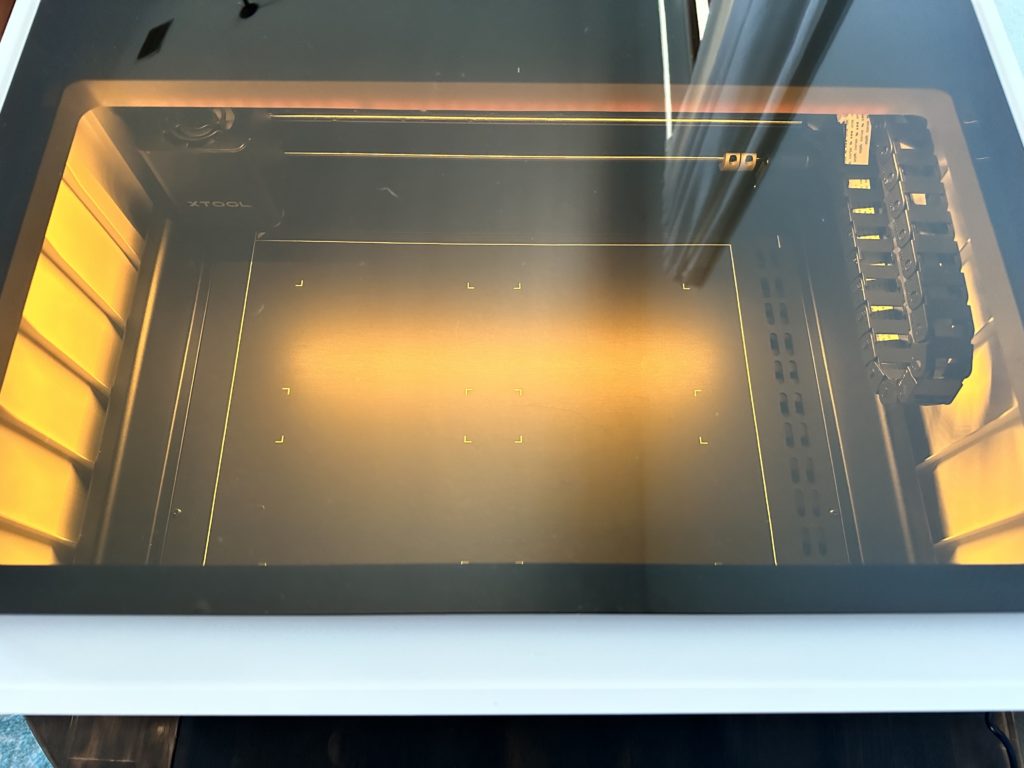
3. Next, place the blade into the blade housing, then insert the blade housing into the machine. You’ll just have to feel around, but it will snap in using magnets.
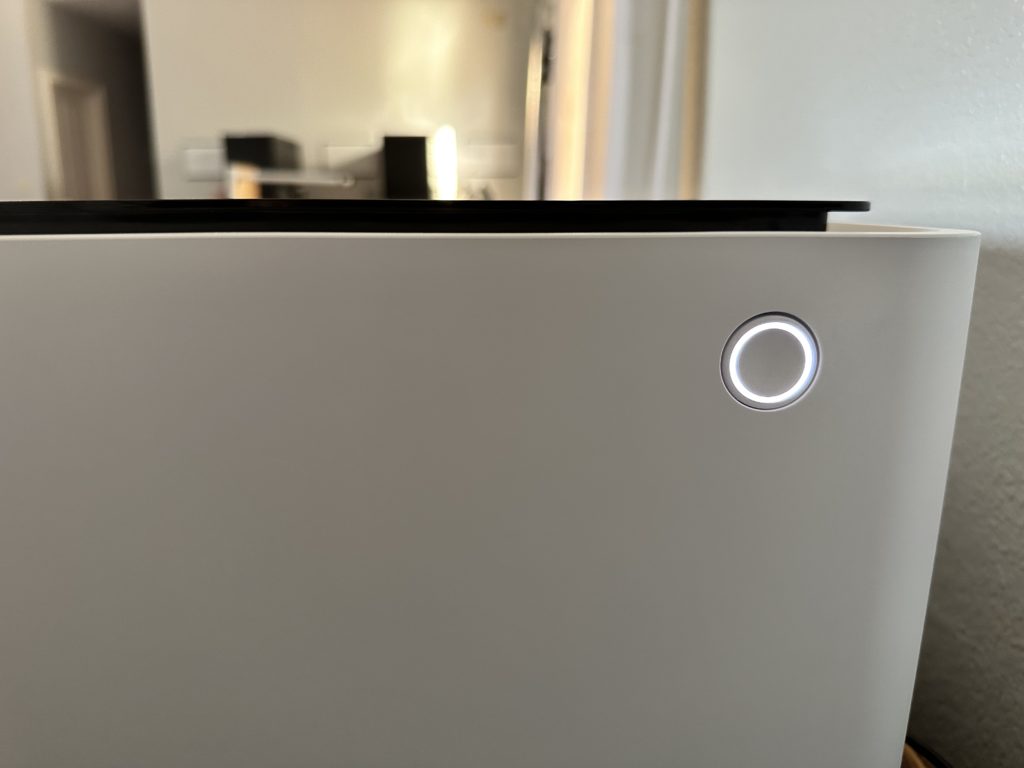
4. Now, plug in the xTool and turn it on.
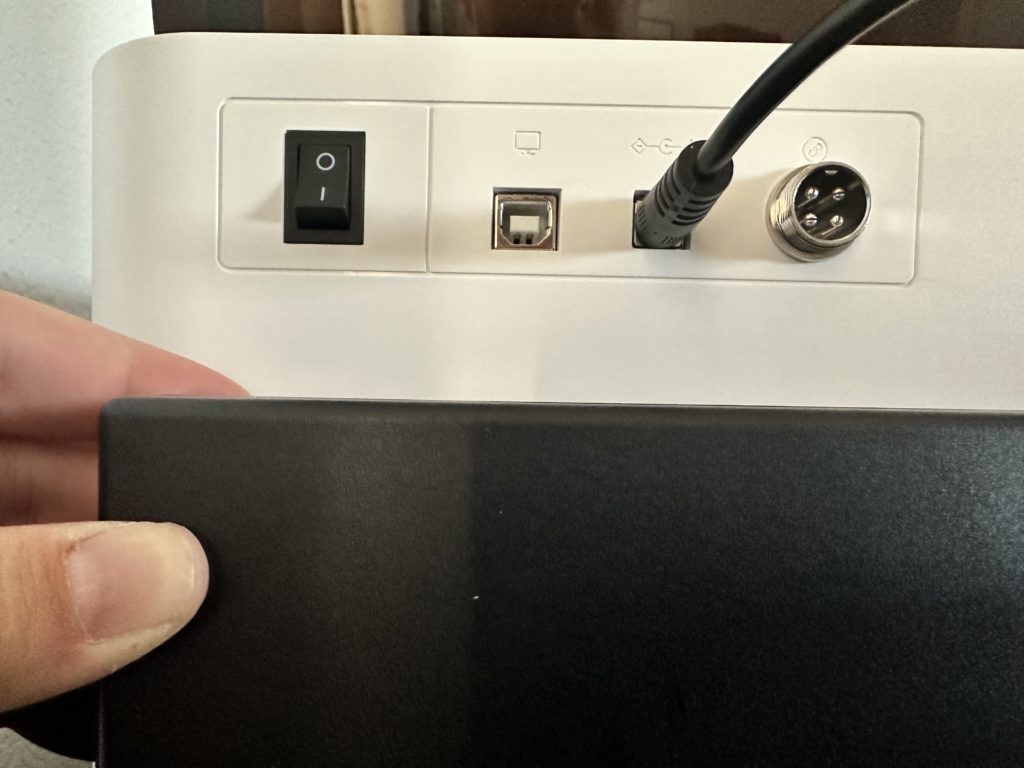
That’s it. Installing the xTool software on your computer and connecting the machine to your computer is the only thing left to do.
However, as part of the review materials, I was given the air assist set. Let’s take a look at attaching it.
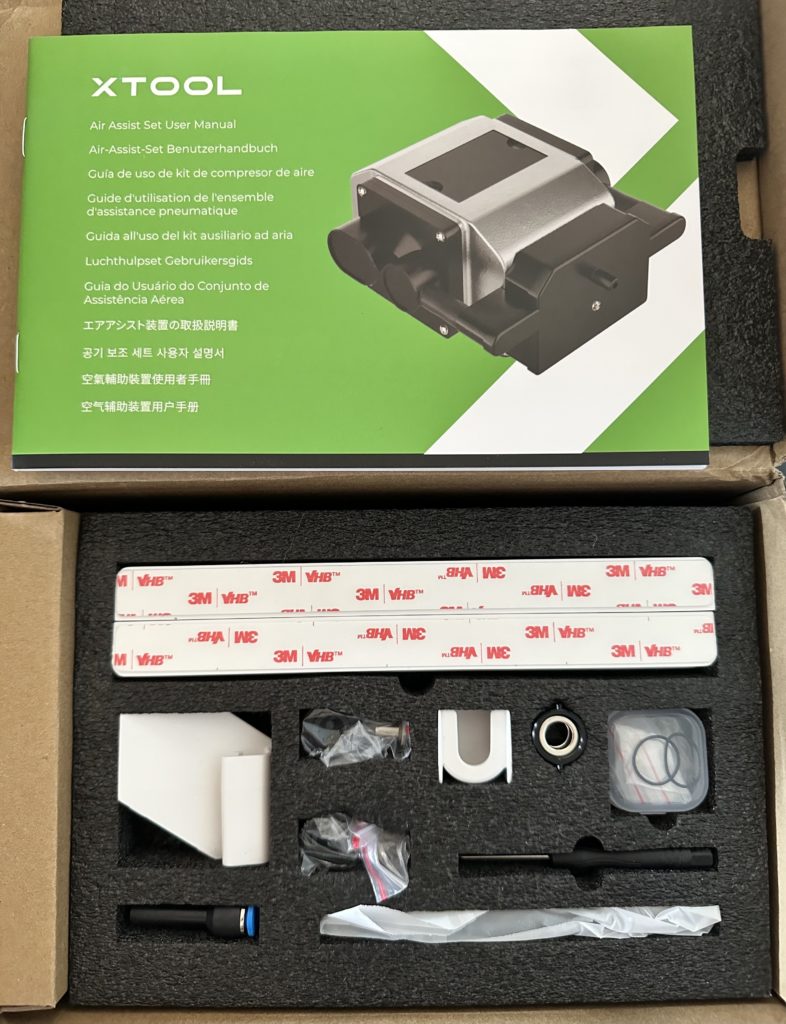
xTool Air Assist Set Installation in the M1
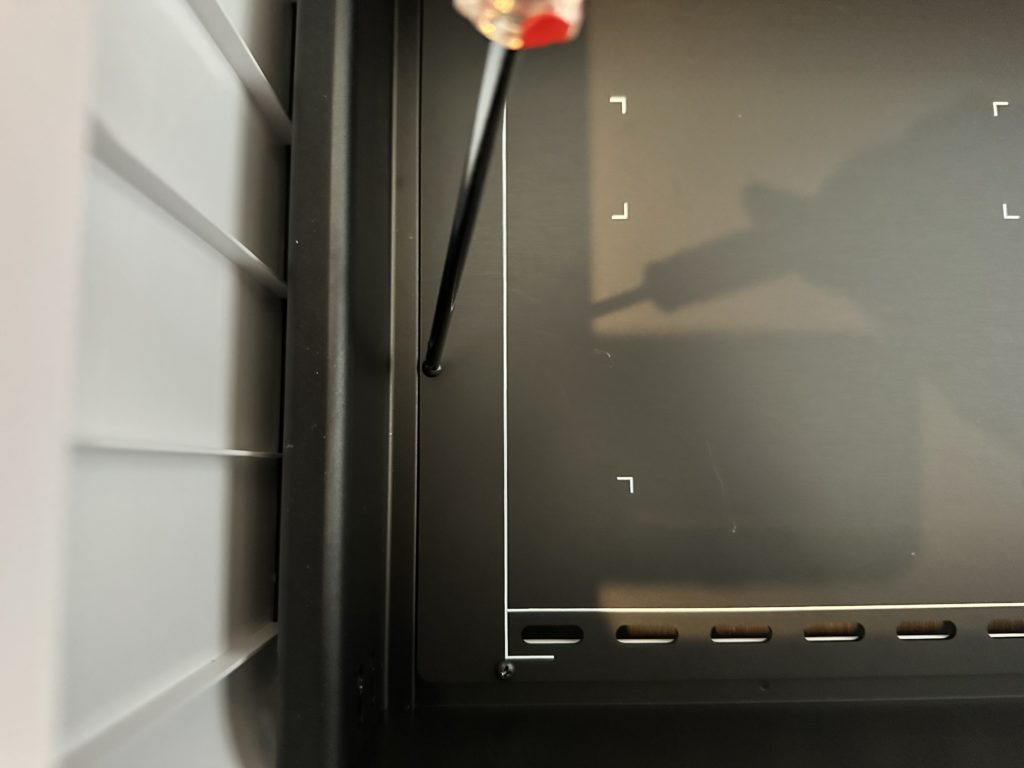
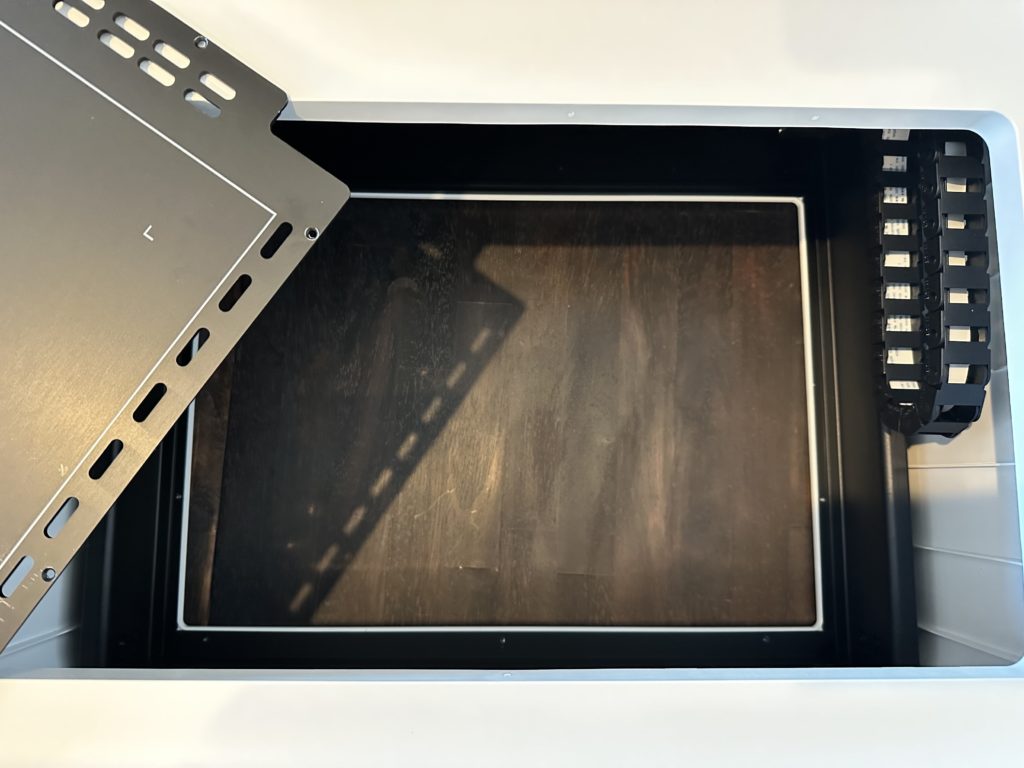
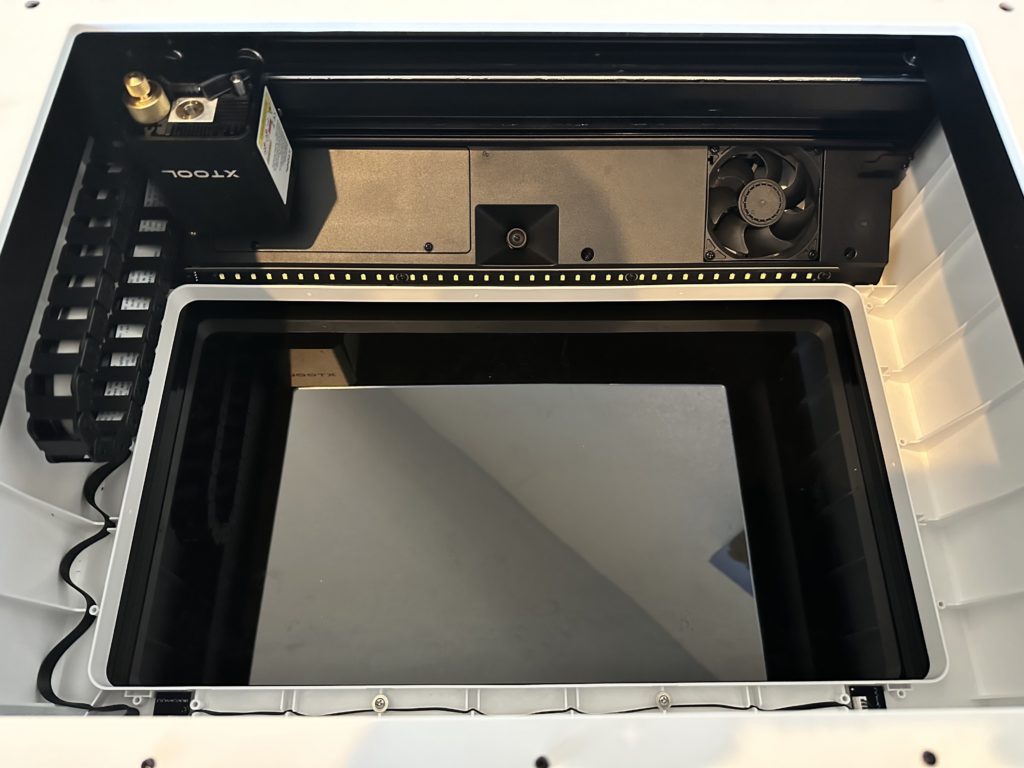
- Remove the base by removing 5 screws that hold the base in place. Then, lift the base out.
2. Flip the xTool machine upside down.
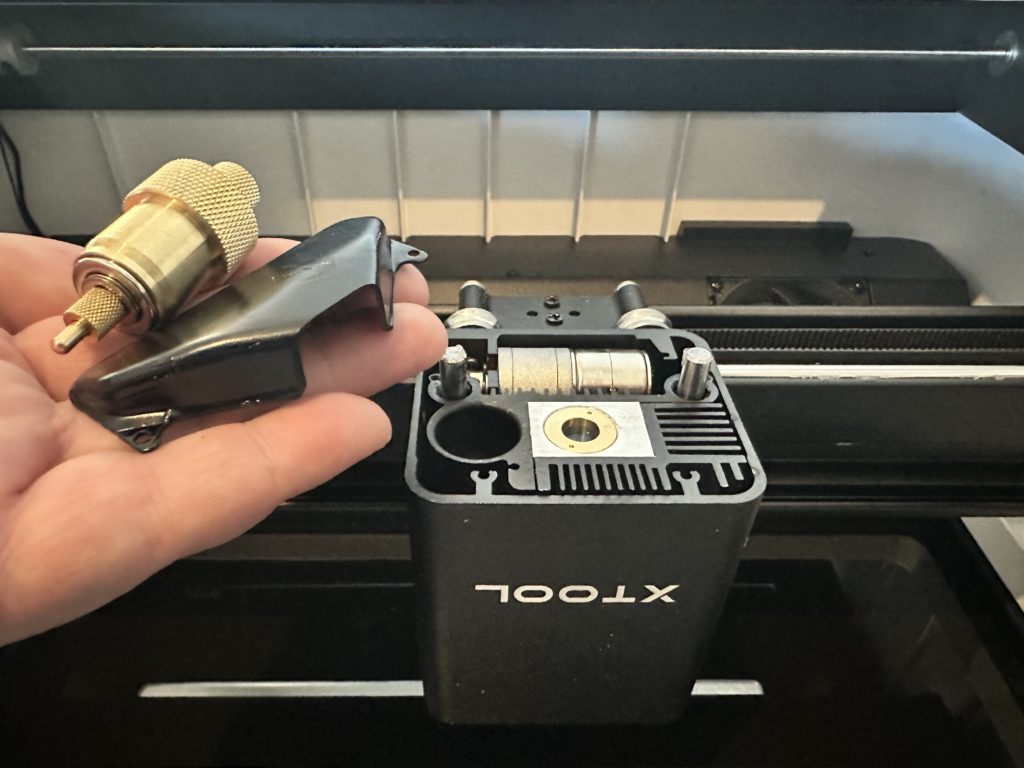
3. Unscrew the two screws holding the triangular piece in, then remove it and the blade.
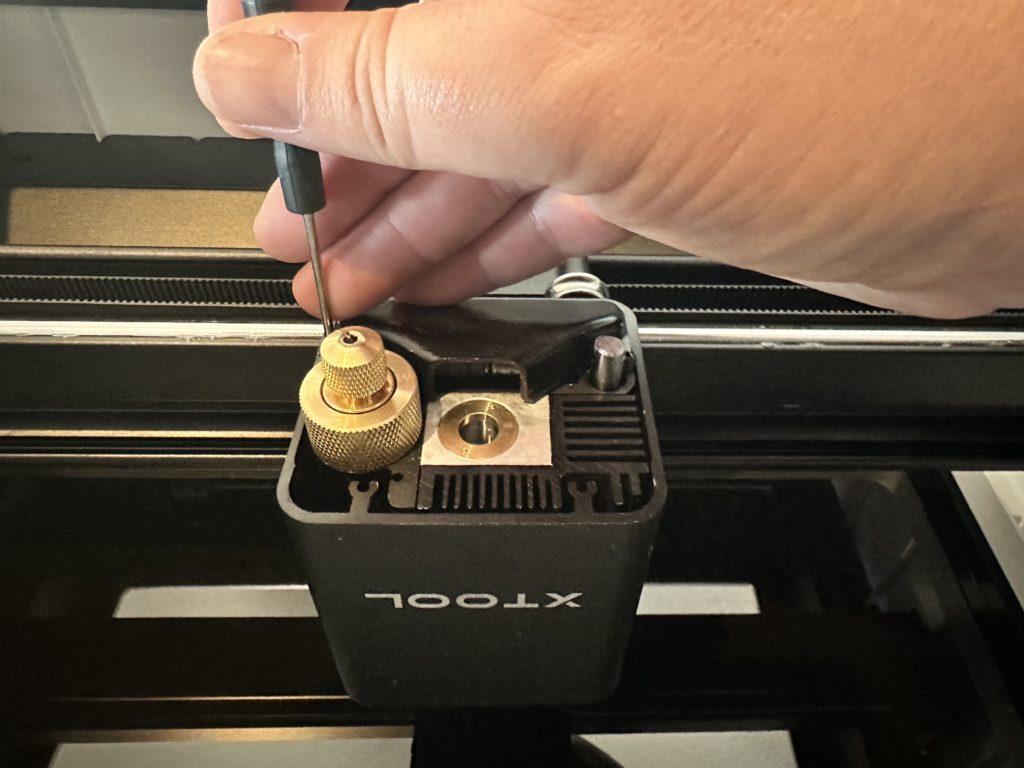
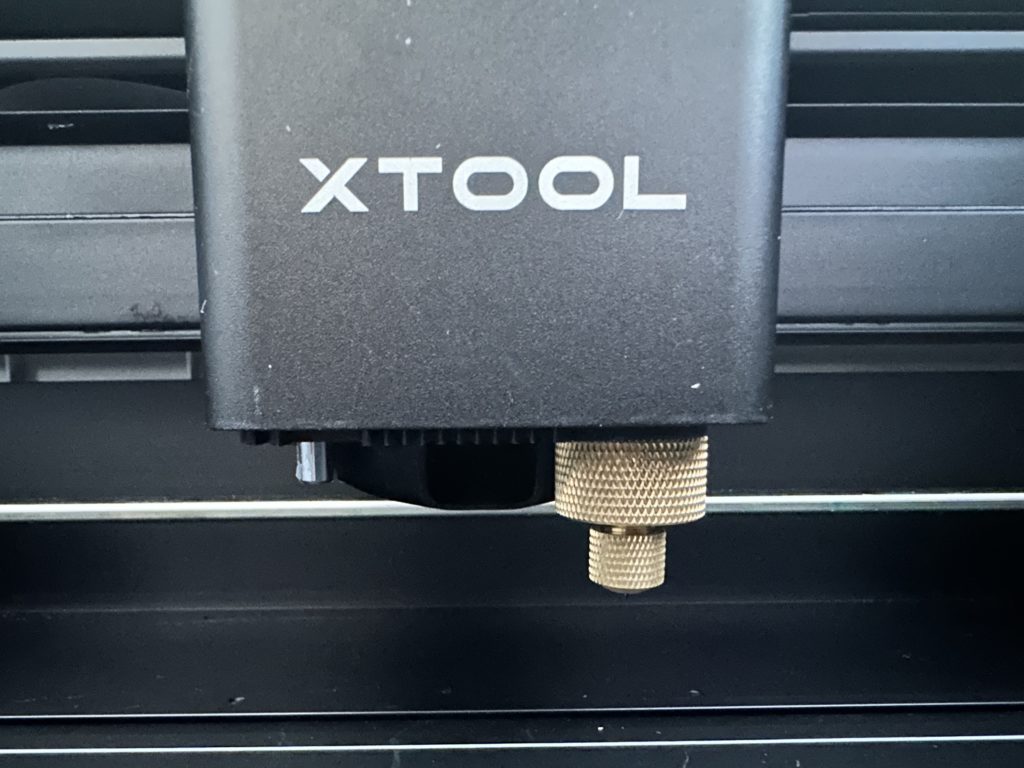
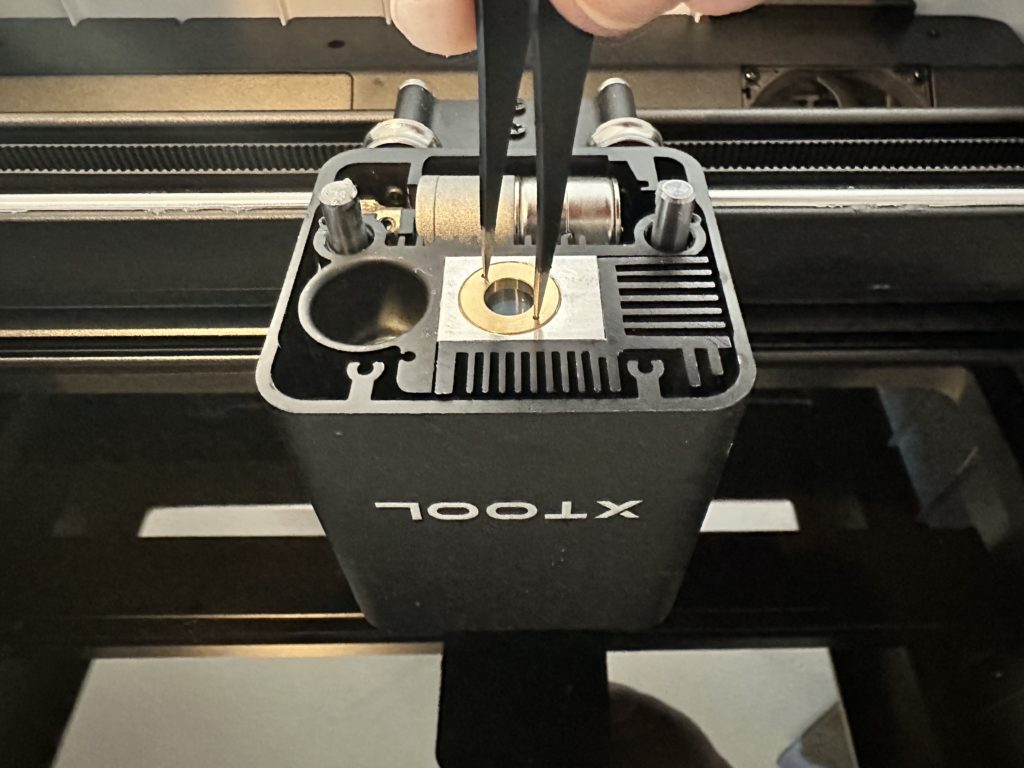
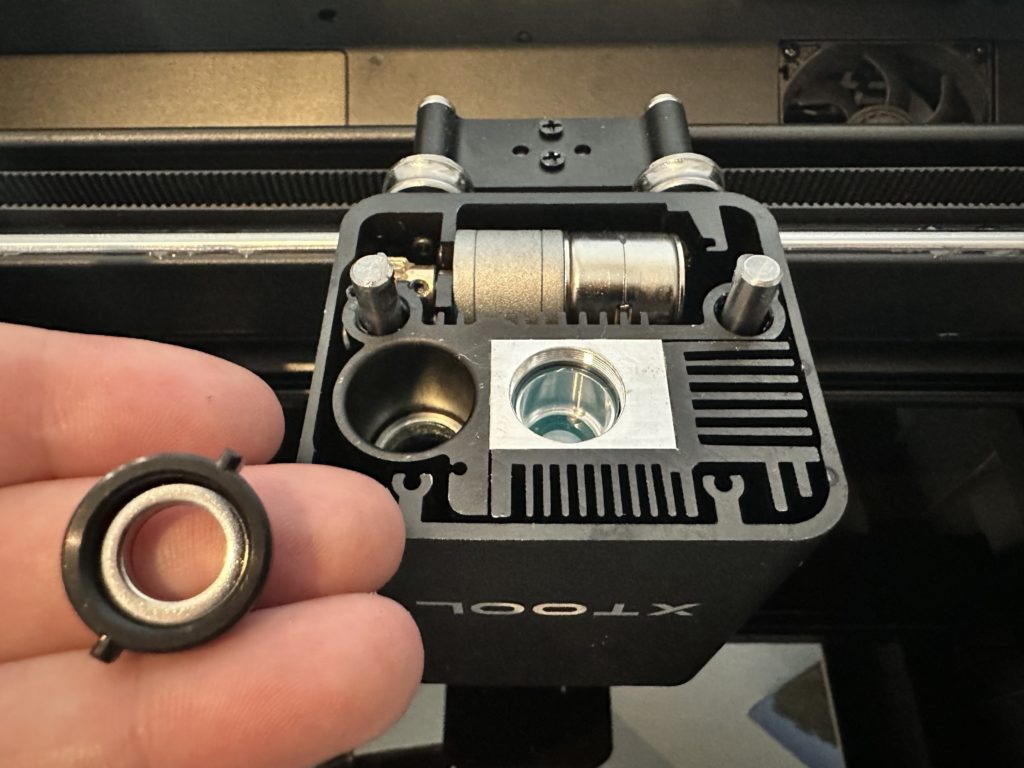
4. Using the included tweezers, unscrew the gold ring and lift it out.
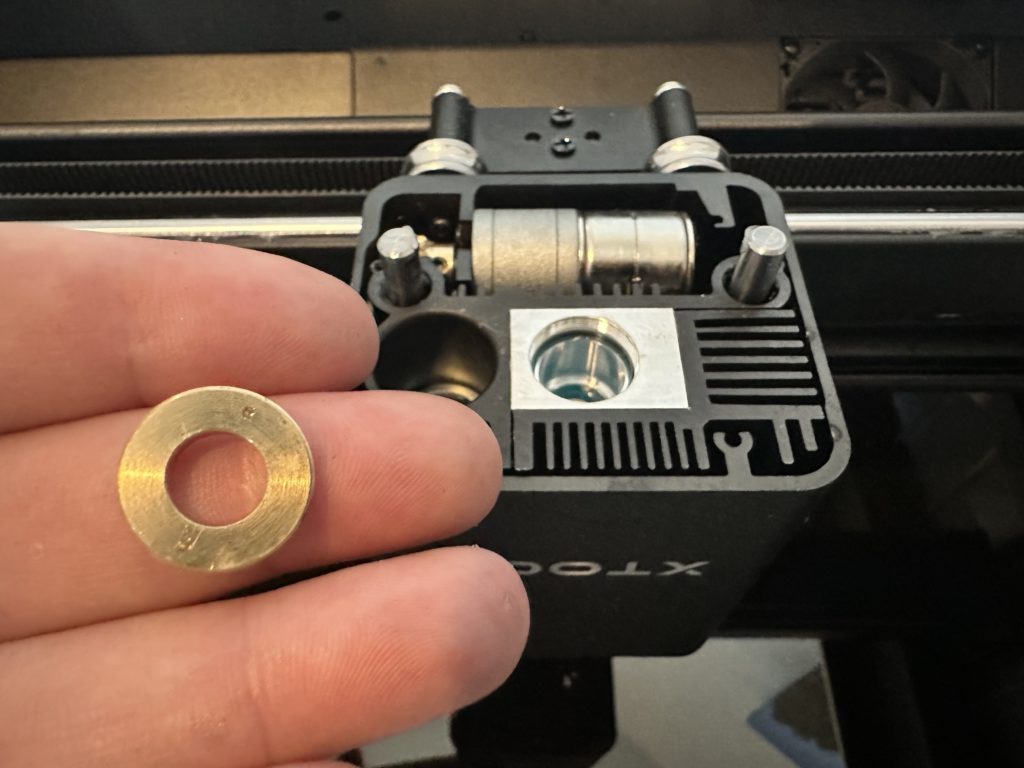
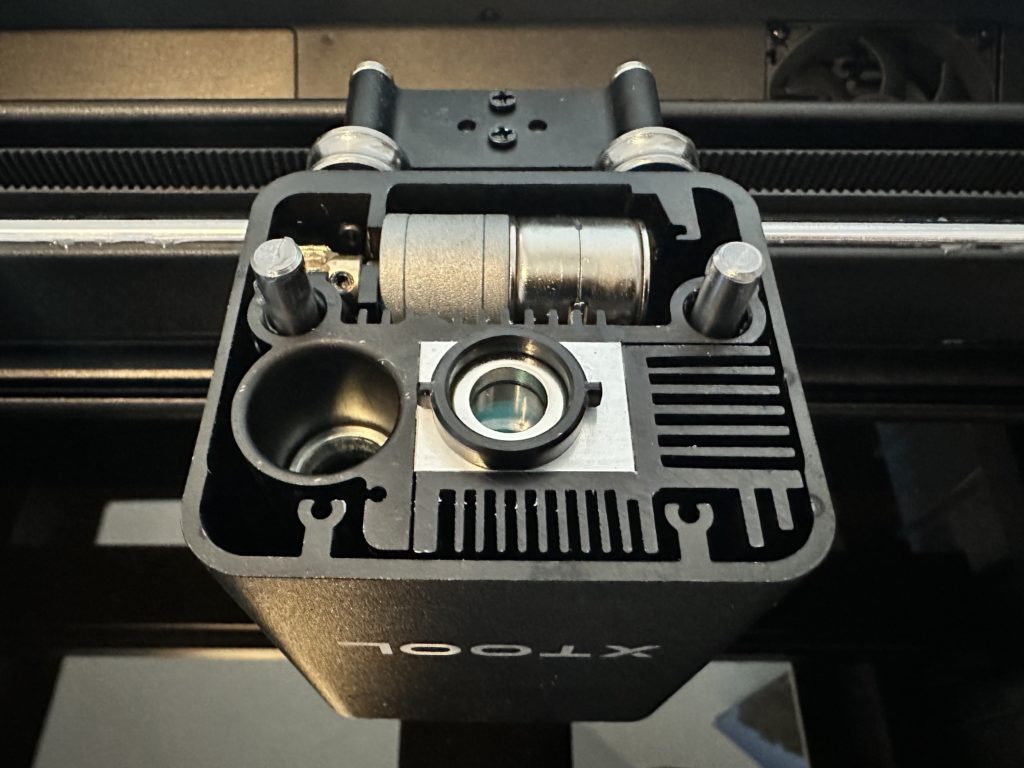
5. Replace the gold ring with the plastic washer. Ensure that the ridges on the outside are horizontal.
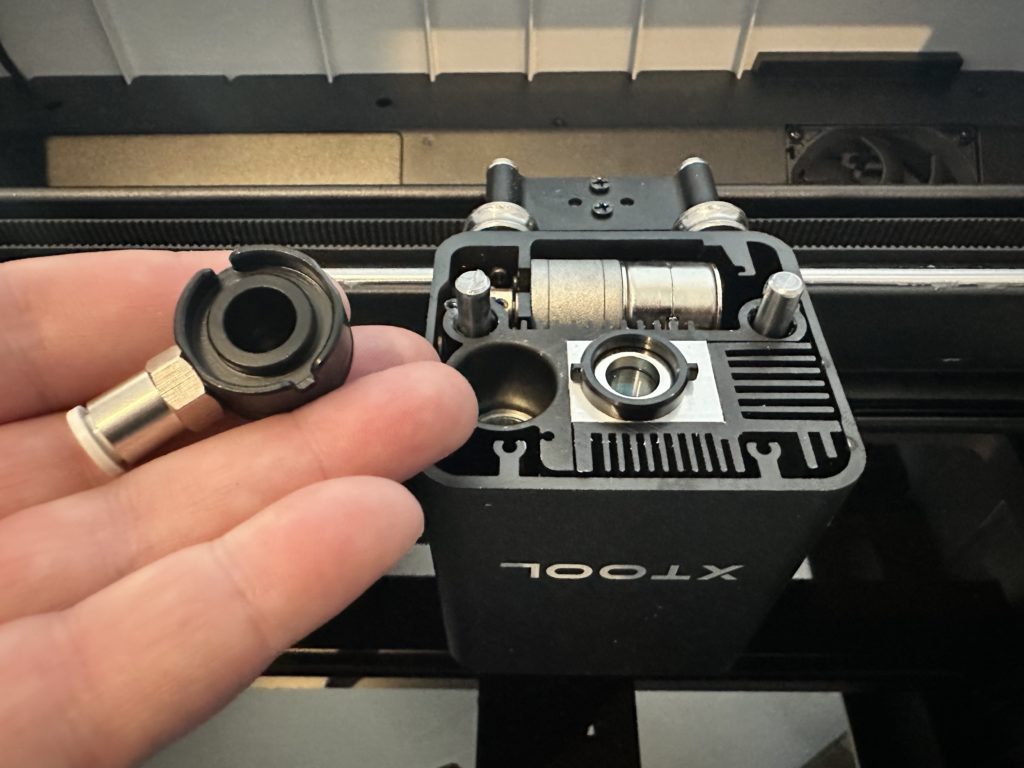
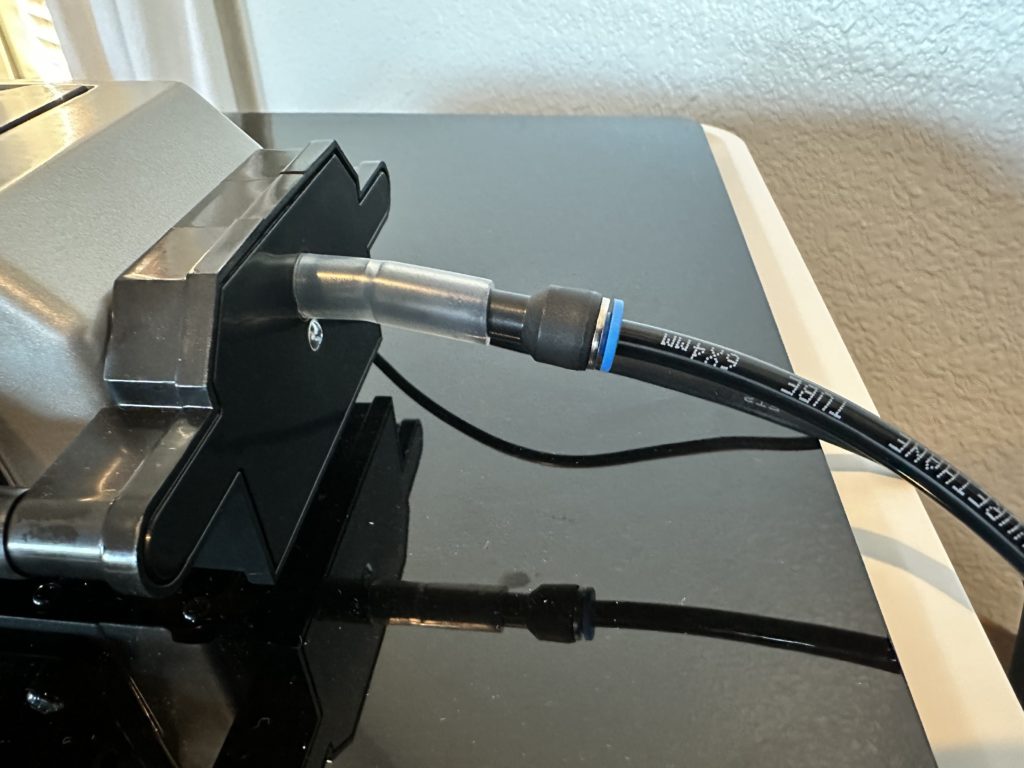
6. Attach the hose connector to the washer, then connect the air hose.
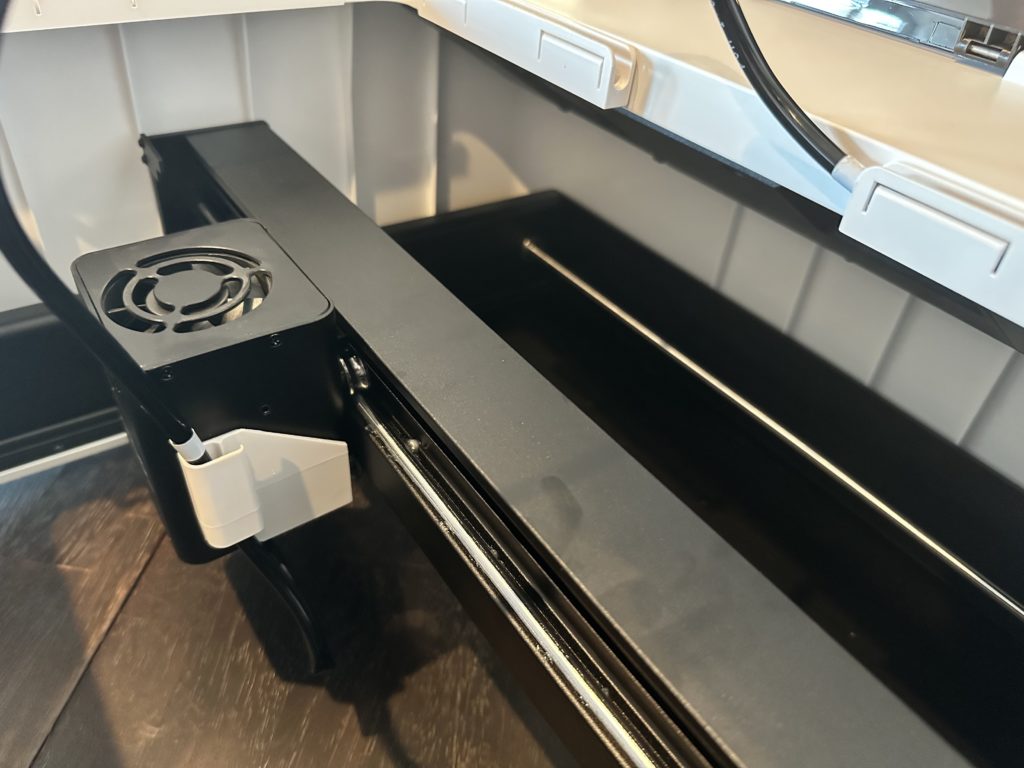
7. Flip the xTool back over and install the hose guides. These tape into place around the edge of the machine.
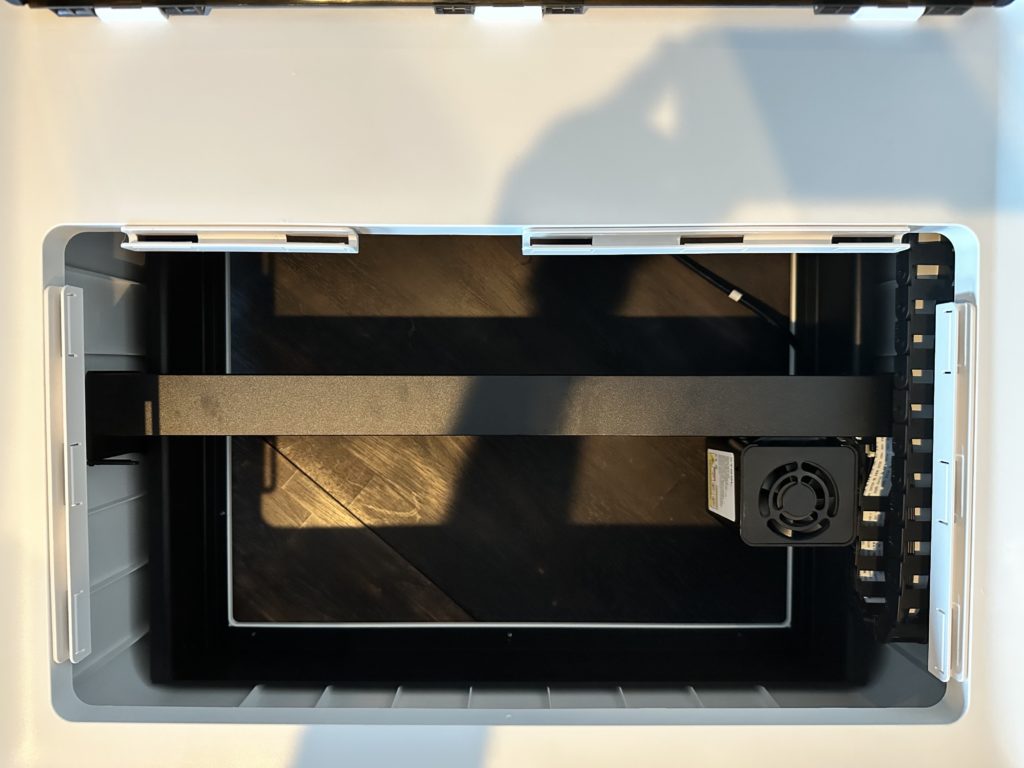
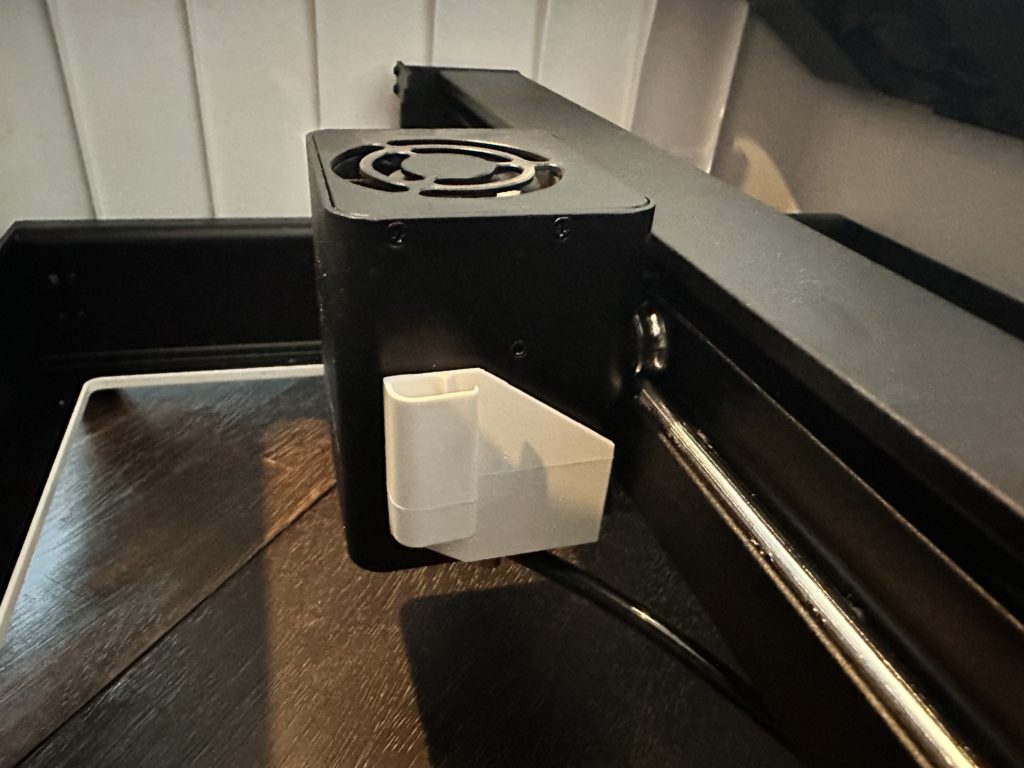
8. Add the hose holder to the side of the laser housing.
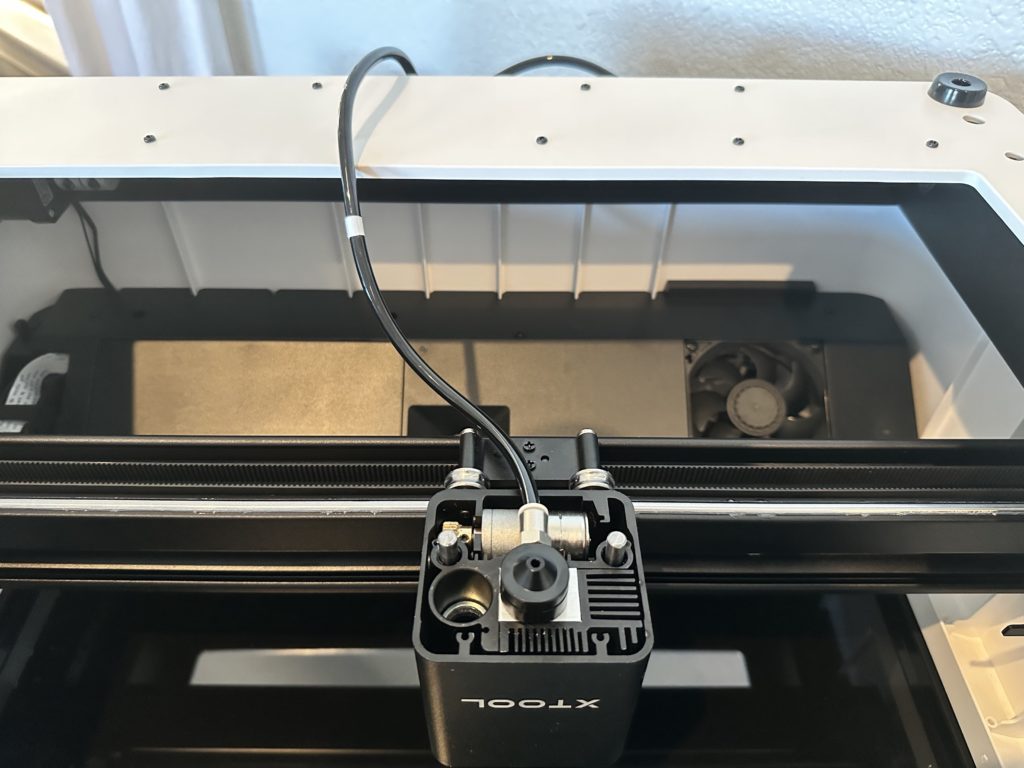
9. Finally, feed the hose into the guide. There are white marks on the hose to help you figure out where it should snap in.
10. Connect the hose to the xTool Air Assist set.
That’s it. The xTool M1 is set to go with the optional air assist set. The air assist is advertised as providing a “cleaner and smoother laser cutting finish”. When turned on, the noise it makes is a slight hum. If you’ve ever had a fish tank before, the unit’s look and feel reminds me of an air pump.
Tomorrow, I’m tackling my first project: Engraved Paw Print Jewelry!
Since 2015, Christine Schinagl has been helping crafters start and run craft businesses through her blog, Cutting for Business. As a Silhouette and Cricut crafter herself, she has a unique take on what works and what doesn’t work in the craft business world. She also enjoys teaching other crafters how to create digital SVG designs, available through the Design with Me series.