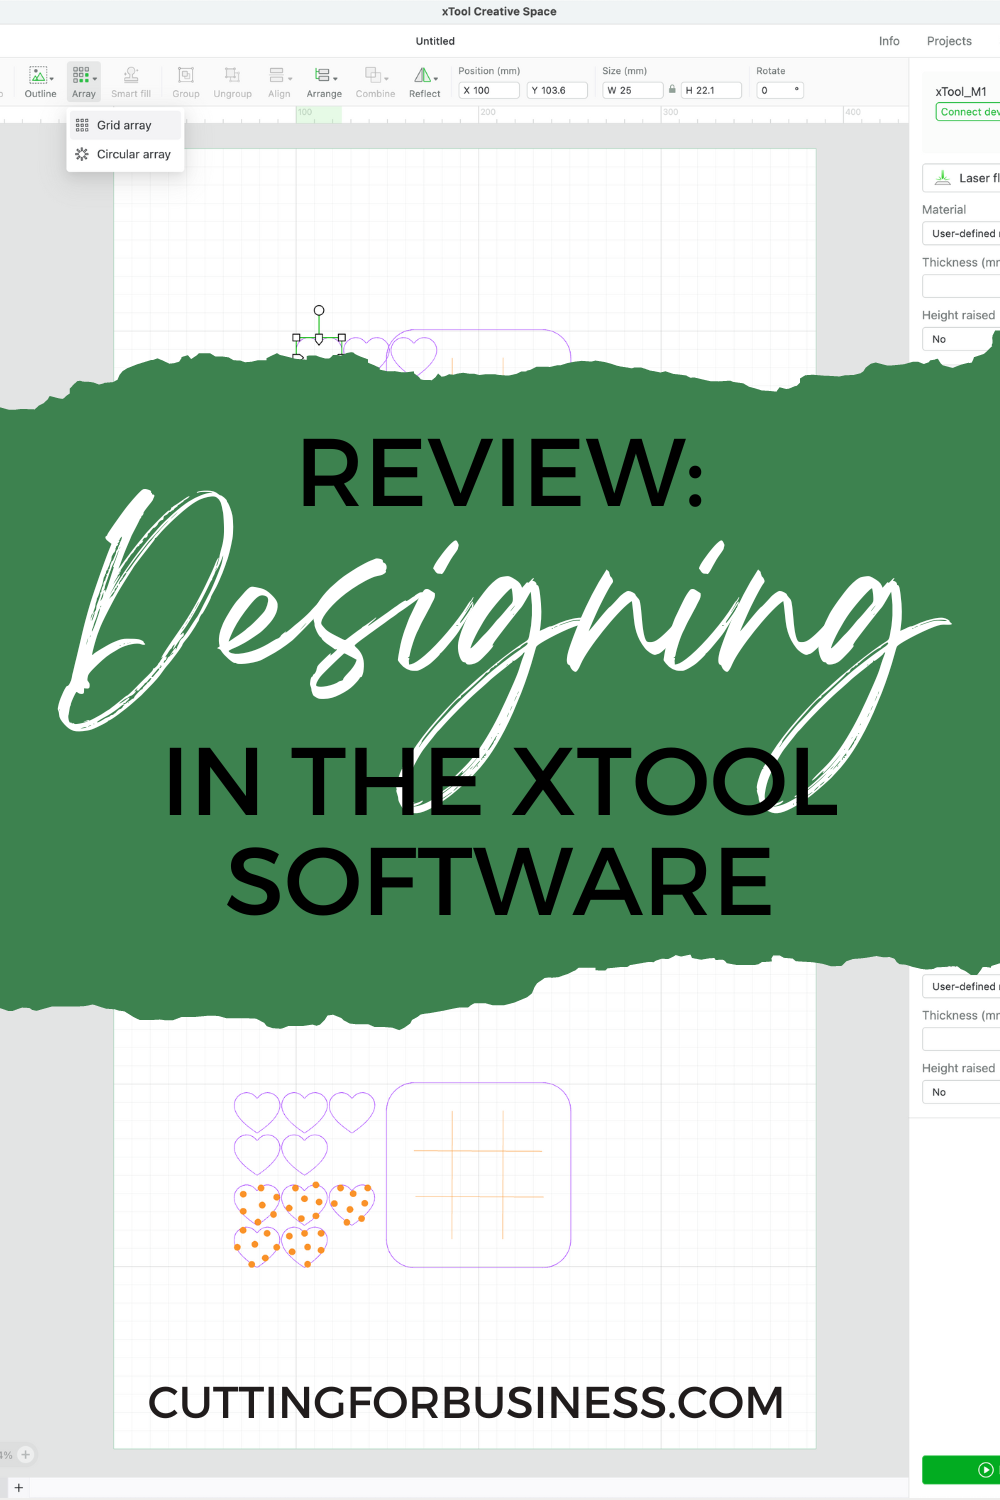
Review: Designing in the xTool Software
Affiliate Disclosure: As an Amazon Associate I earn from qualifying purchases. Additionally, I may get commissions for purchases made through other affiliate links in this post.
My first project with the xTool M1 was engraved paw print jewelry. Today, I’m experimenting with designing right inside the xTool software. Let’s design a Tic Tac Toe game with 10 markers.
If you missed the previous xTool posts: xTool M1 set up and engraved paw print jewelry.
As a reminder, I received the xTool M1 machine in exchange for a review. All experiences and opinions are mine.
Designing in the xTool Software
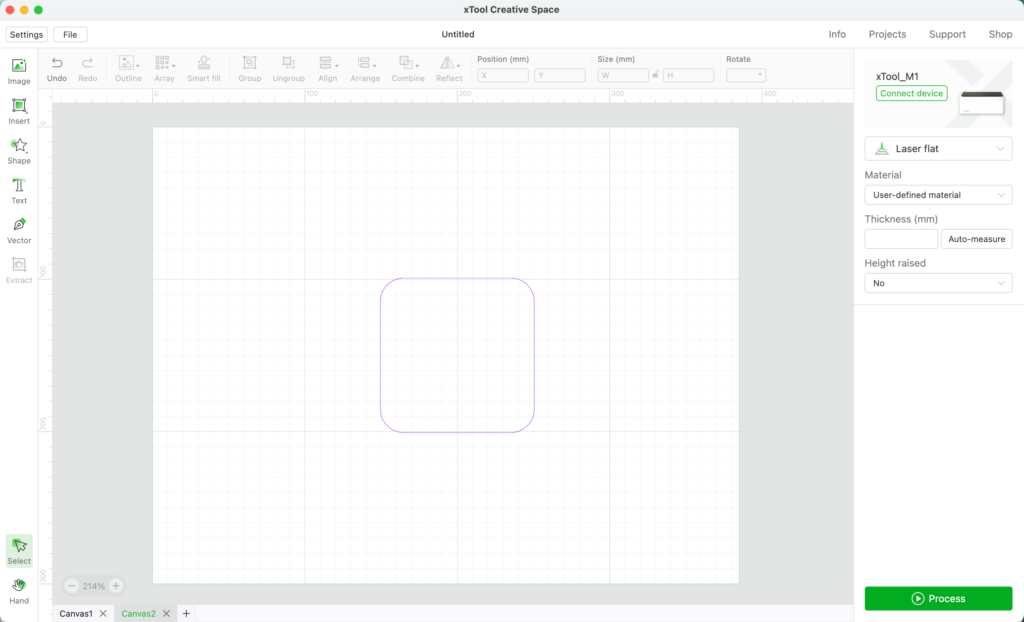
- First, we will need a shape for the Tic Tac Toe game. I’ll use a square with rounded corners. The first small issue I ran into was I wasn’t quite sure how big my square was – as sizing is listed in millimeters. I quickly converted mm to inches on Google. 4 inches is about 101 millimeters.
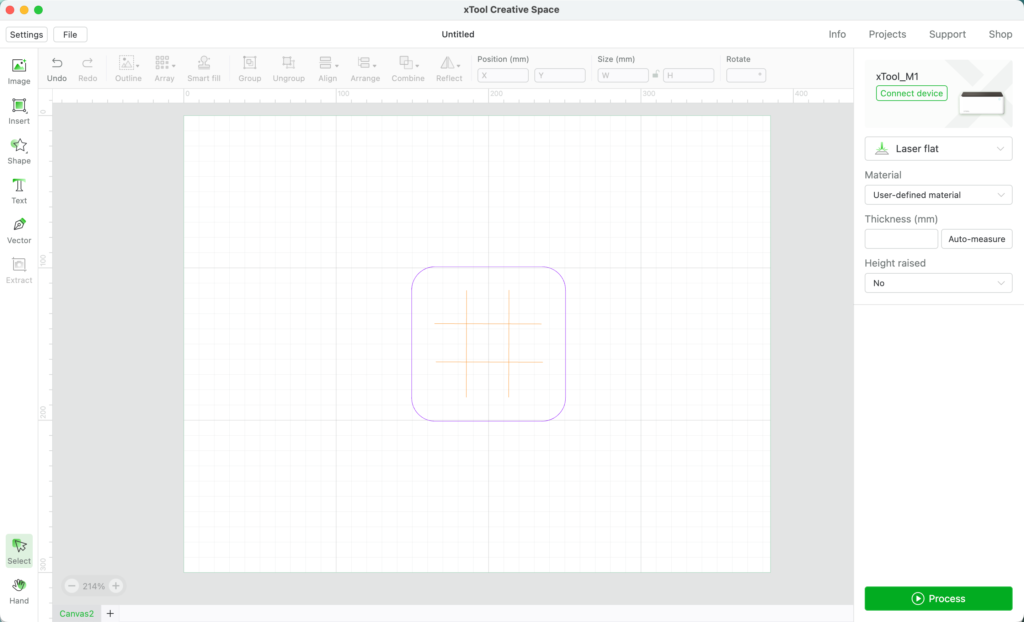
2. Next, I added lines for the board. I added these from ‘Insert’, ‘Line’. Spacing guides popped up when I was placing the lines. I was able to align the lines using the grid in the program.
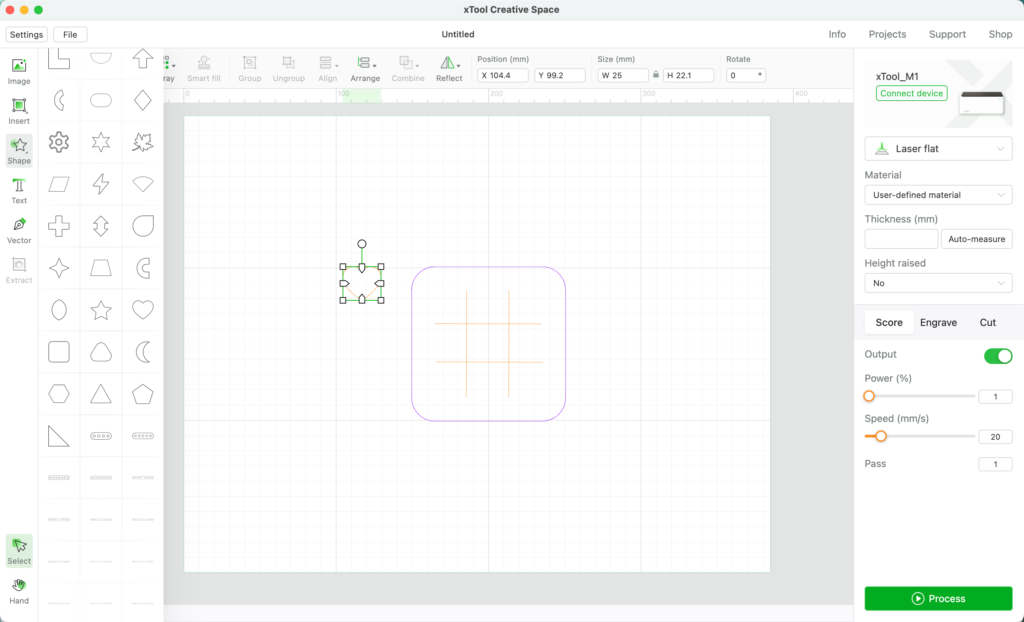
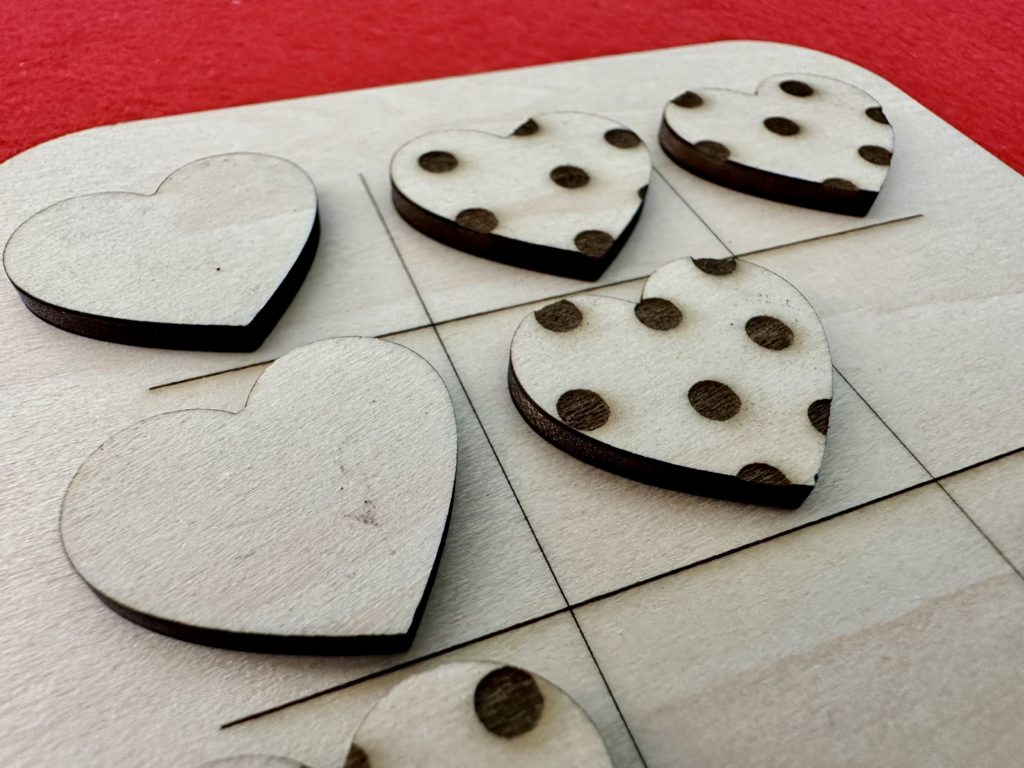
3. Next, let’s make the game markers. From the ‘Shape’ icon on the left, there are a large number of shapes. I chose a heart – that I made 1 inch (25mm).
4. Copy and paste the marker 5 times. I was able to use the ‘Grid Array’ button to duplicate the heart 6 times – then I deleted one. Using copy and paste would have worked, too.
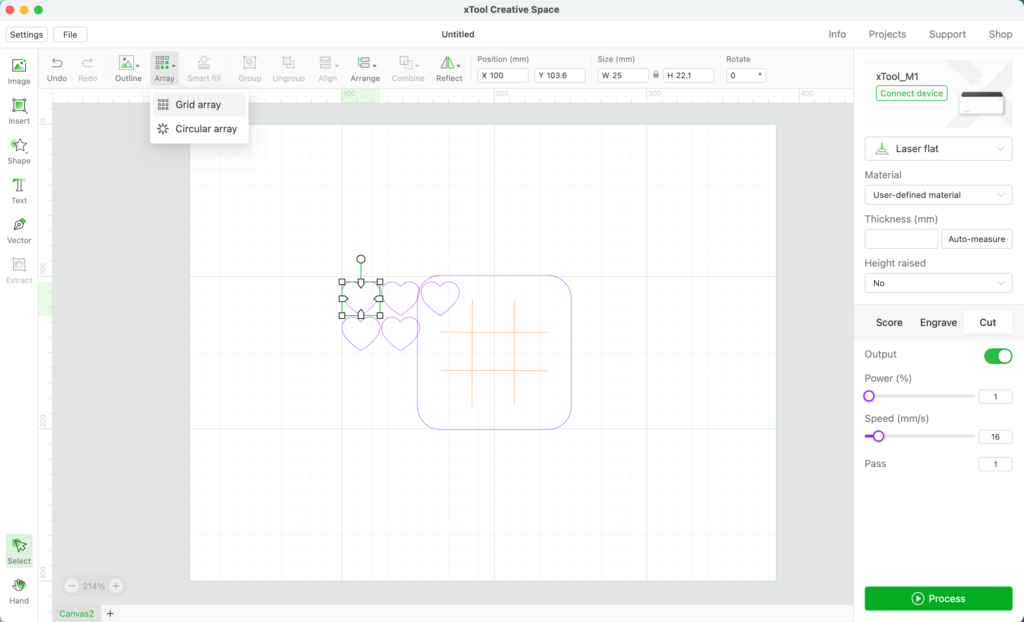
5. I didn’t find a second shape I liked for the marker, so I added 5 more hearts. I had wanted to fill them with a pattern, but didn’t find a way besides drawing the pattern myself. I added some circles on one set of heart markers to be able to tell them apart.
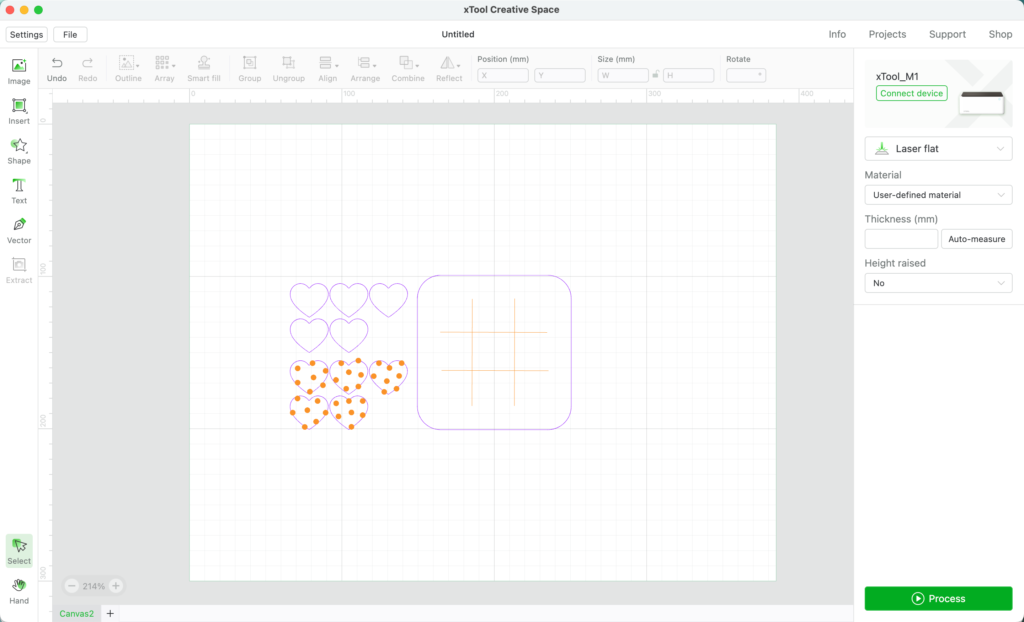
6. Next, I click on each element and choose either ‘Score’, ‘Engrave’, or ‘Cut’. The program turns the element orange for scoring and engraving and purple for cutting.

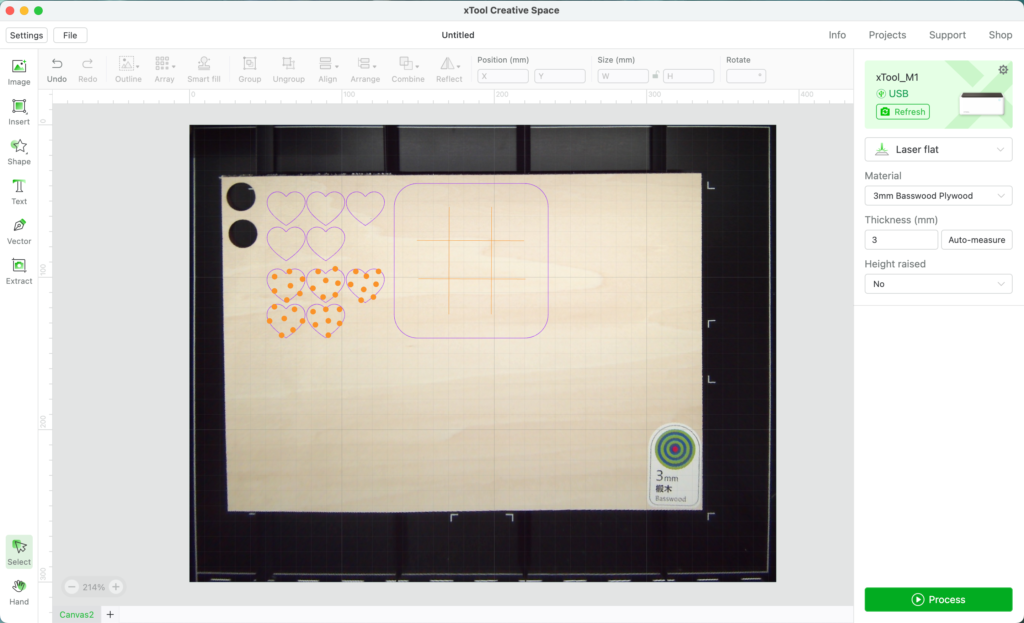
7. It’s time to connect the xTool M1, turn on the air assist fan, and process the design. I’m creating using sample material from xTool – specifically the 3mm Basswood Plywood. All other settings are already programmed into the software.
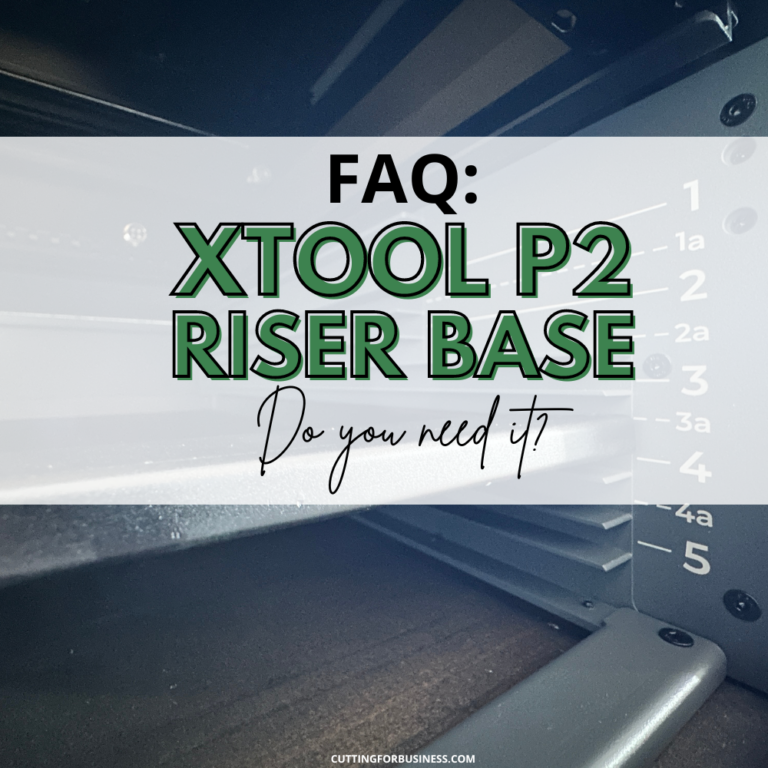
Since I am not masking the plywood, I added the triangle prism risers included with the machine below the material. (You can see the risers in the image below.)
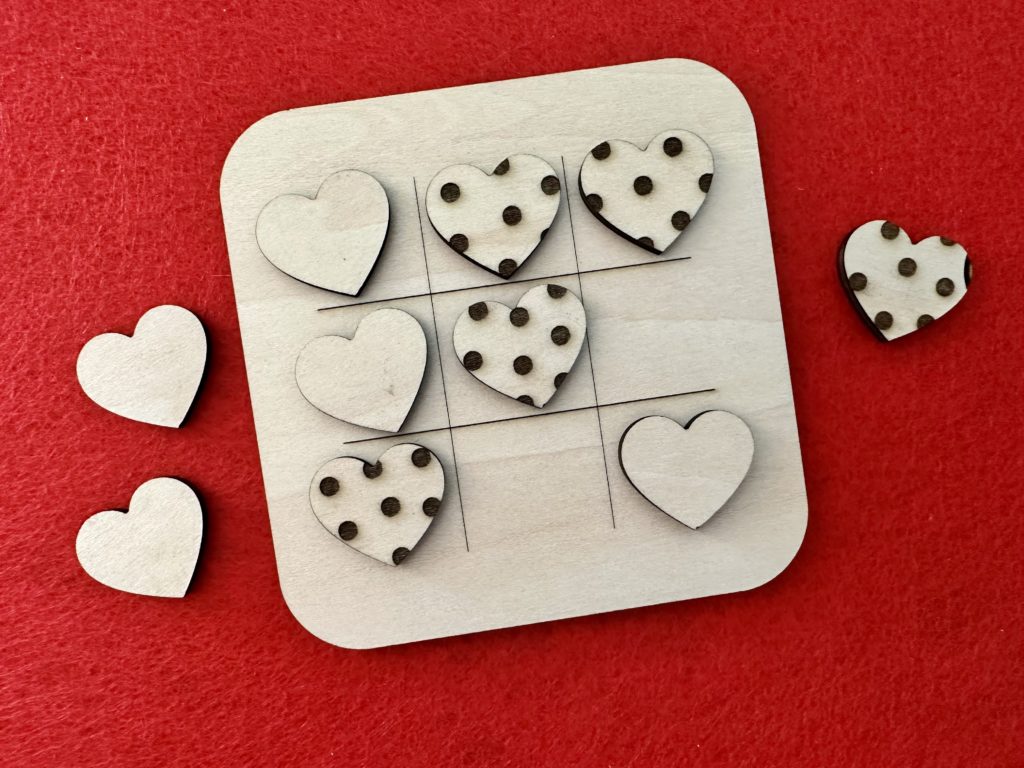
8. It took just under 13 minutes to process the design. Even without masking, there is no charring on the cut pieces and the board, and very little charring around the engraved dots.
There is one engraved spot on the heart on the far left that shouldn’t be there. It isn’t in the design, and shouldn’t be there. If I were selling this product, I’d have to recut that heart marker.
Opinions on Designing in the xTool Software
If you are interested in purchasing an xTool, I’d recommend using a different software to design your products. The xTool software is basic – and somewhat clunky to design in with limited options. However, after creating your design, the xTool software accepts many file formats, including: JPG, PNG, JPEG, BMP, TIFF, SVG, and DXF.
Since 2015, Christine Schinagl has been helping crafters start and run craft businesses through her blog, Cutting for Business. As a Silhouette and Cricut crafter herself, she has a unique take on what works and what doesn’t work in the craft business world. She also enjoys teaching other crafters how to create digital SVG designs, available through the Design with Me series.