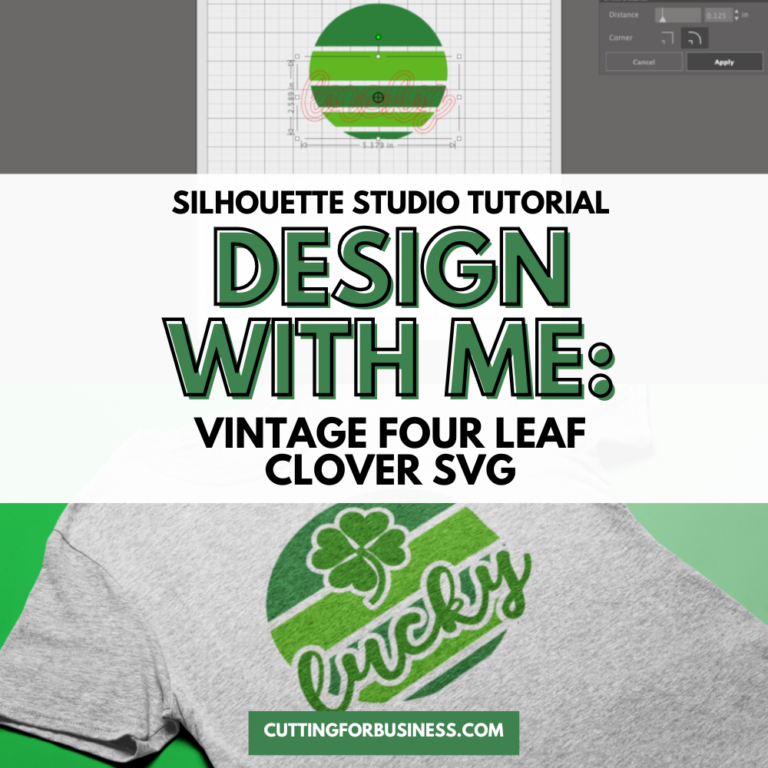
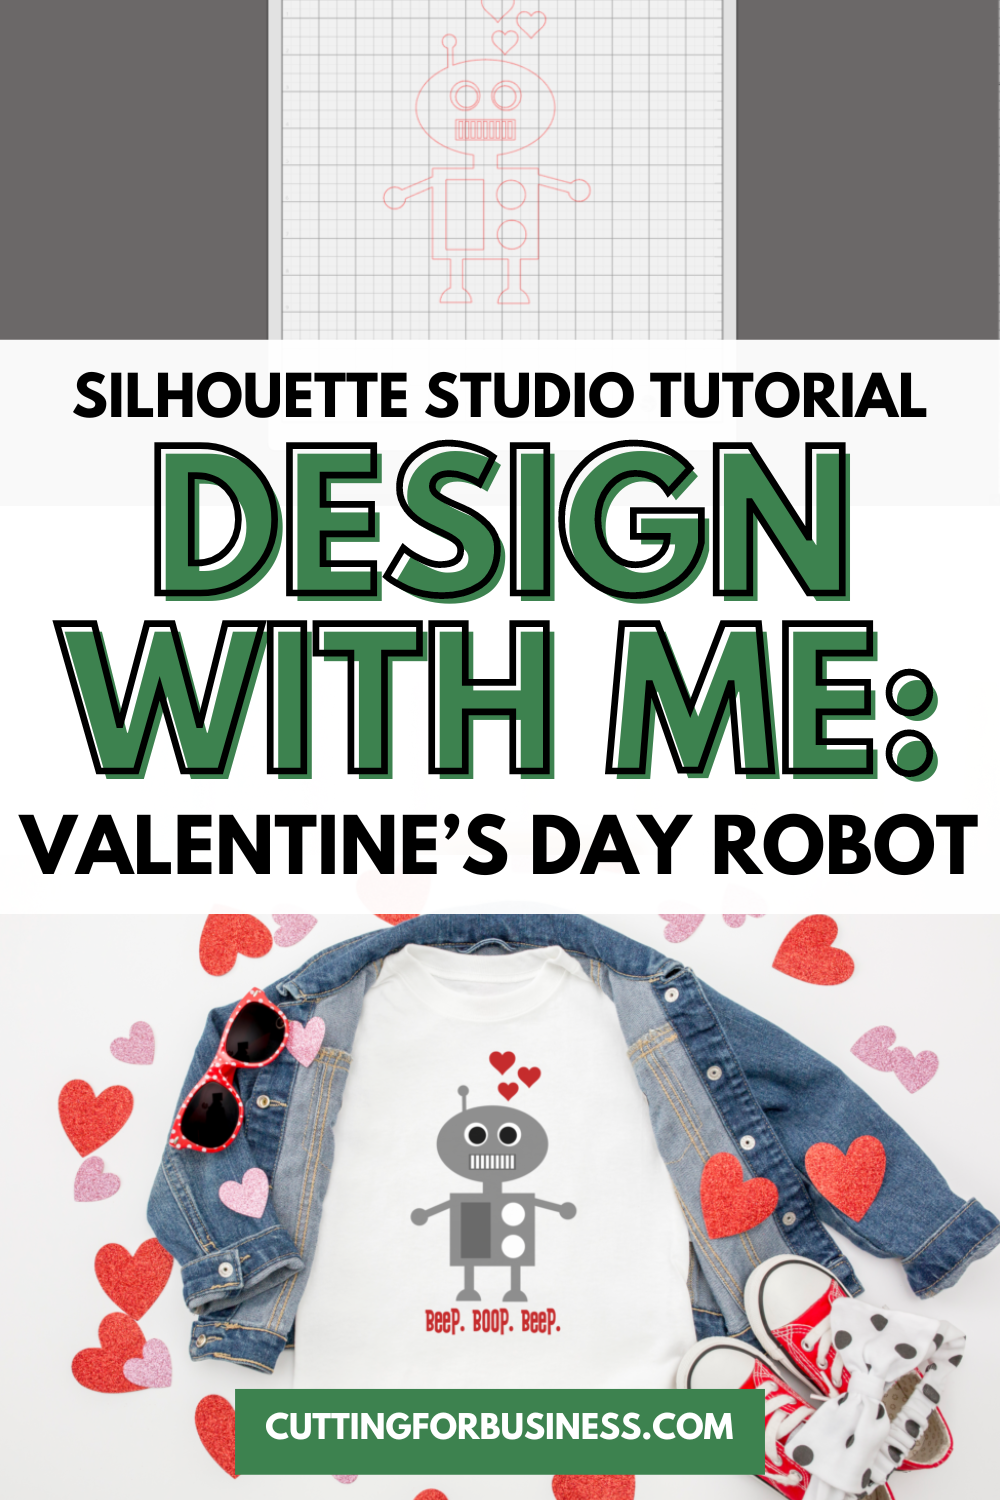
Silhouette Studio Tutorial: Valentine’s Day Love Robot SVG
Affiliate Disclosure: As an Amazon Associate I earn from qualifying purchases. Additionally, I may get commissions for purchases made through other affiliate links in this post.
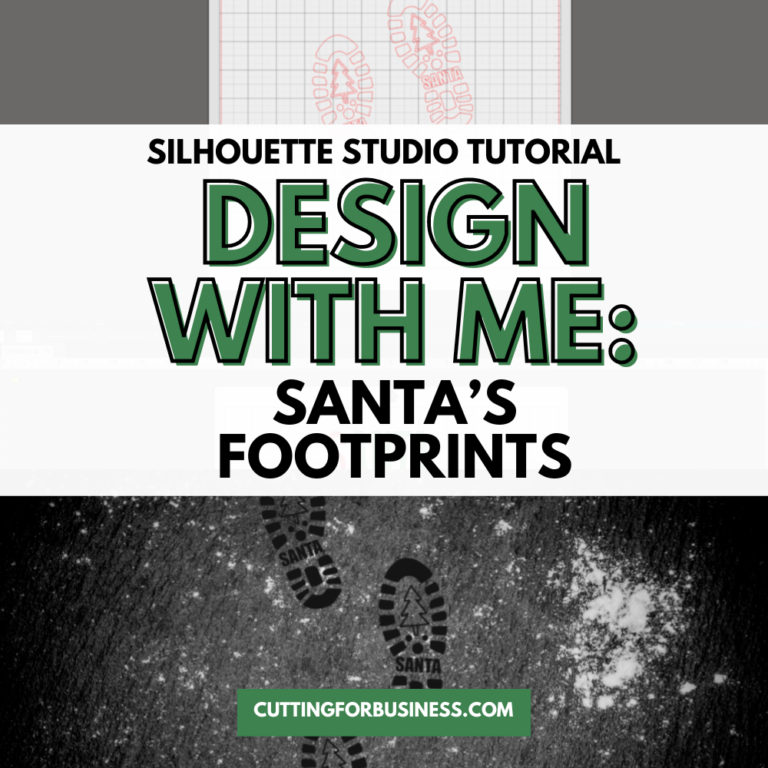
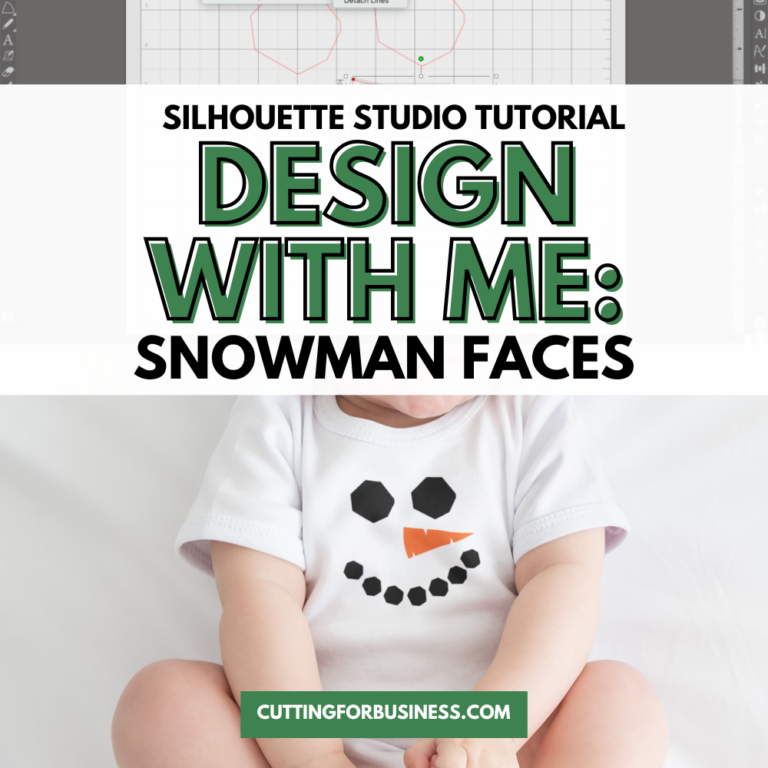
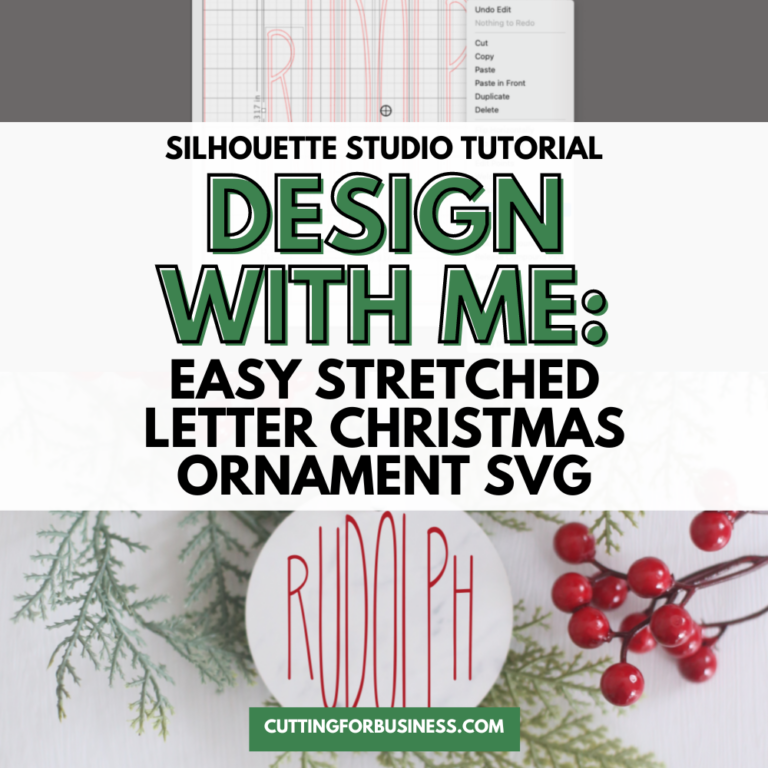
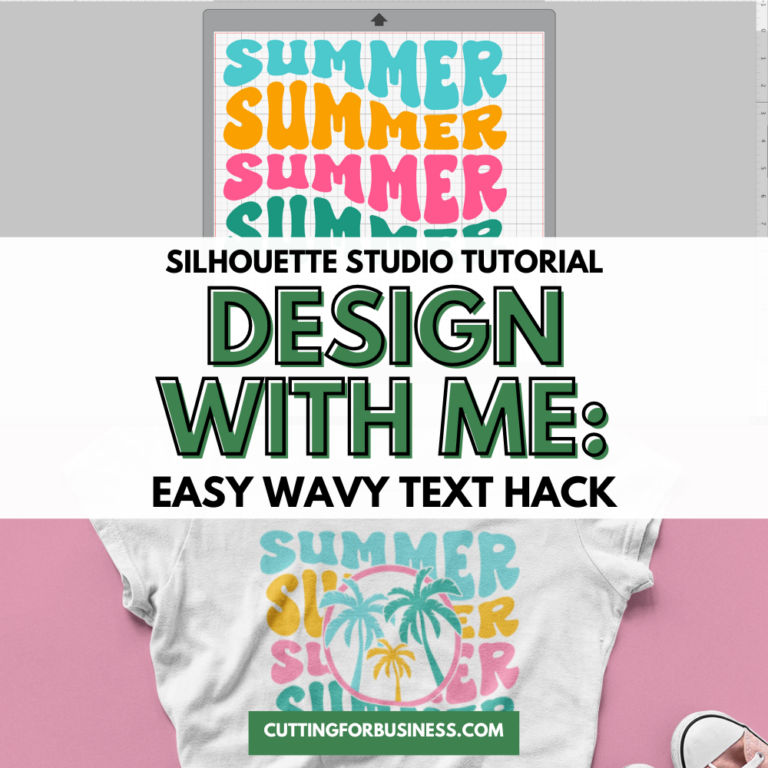
Design with Me is a new regular feature on Cutting for Business! Each Friday, I’ll bring you a new Silhouette Studio tutorial featuring how to design an SVG.
Let’s talk Valentine’s Day today, specifically – how to make the cutest robot you’ve ever designed.
About Design with Me Tutorials
Design with Me Tutorials are created with intermediate Silhouette Studio users in mind. It’s helpful to know the basics of designing in Silhouette Studio before starting the tutorials.
All Design with Me tutorials use Silhouette Studio Business Edition. If you do not have Silhouette Studio Business Edition, some tools may not be available in your Silhouette Studio Edition. Get Silhouette Studio Business Edition.
Silhouette Studio Tutorial: Love Robot SVG
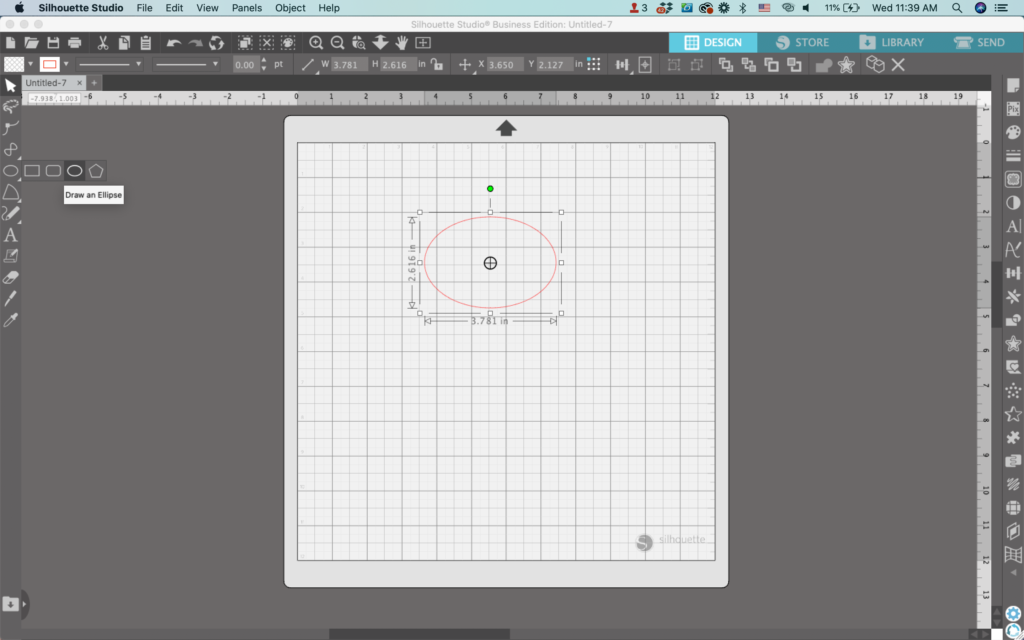
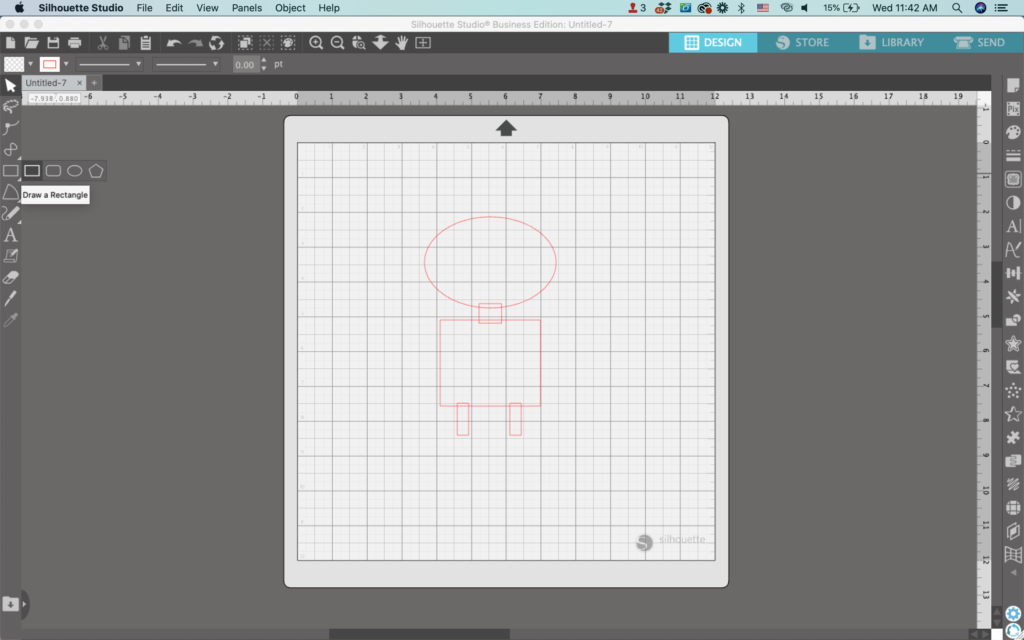
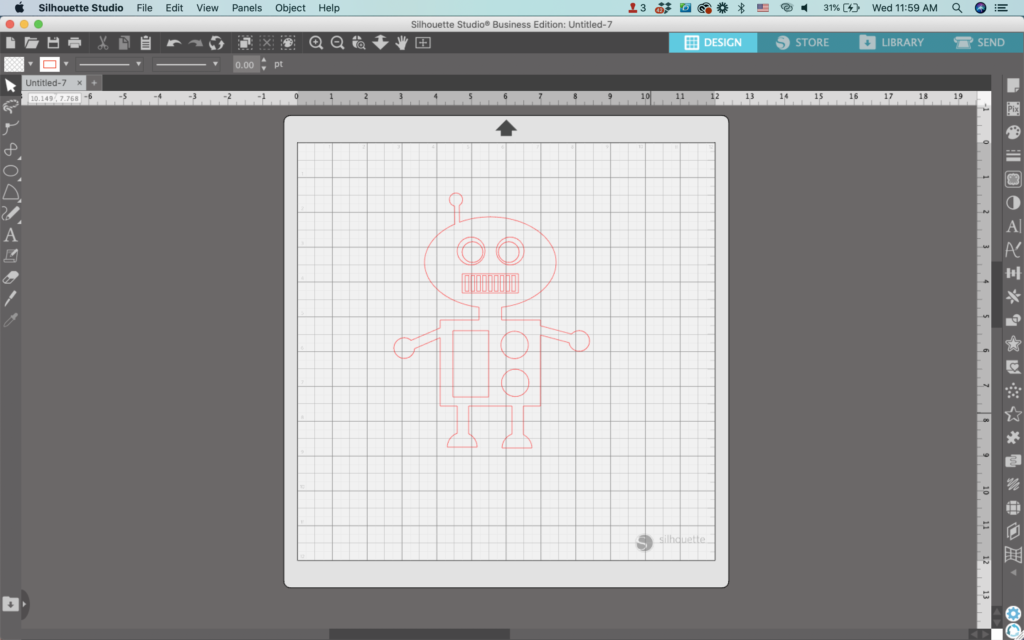
- In Silhouette Studio, use the ‘Draw an Ellipse’ tool to draw an oval. This will be the robot’s head.
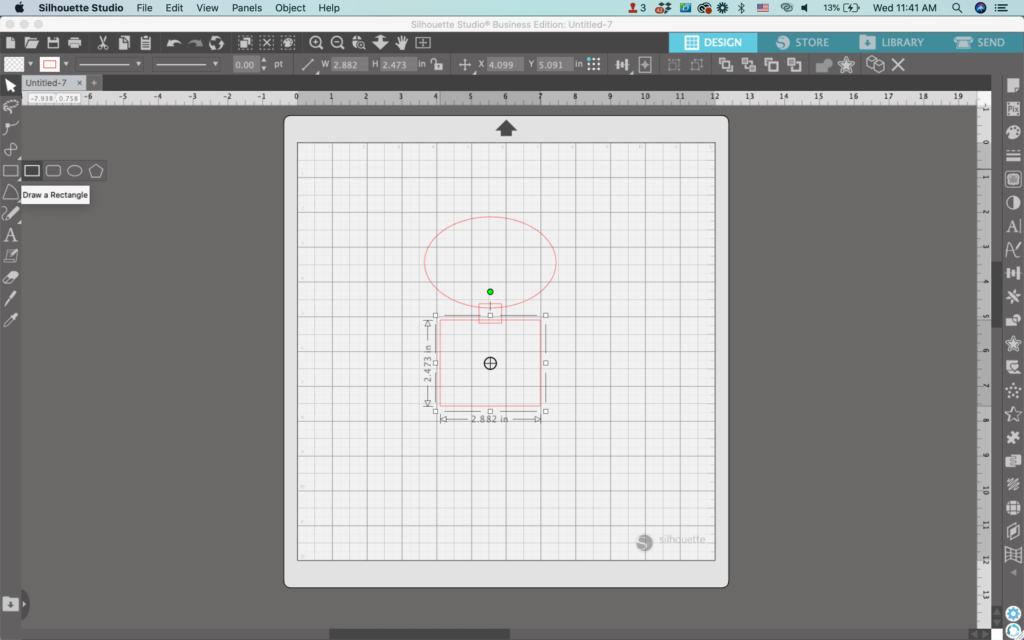
2. Use the ‘Draw a Rectangle’ tool to draw both a neck and a body. Make sure that each body part slightly overlaps the next.
3. Draw two additional rectangles for the robot’s legs. Again, make sure they slightly overlap the body.
4. Use the ‘Draw an Ellipse’ tool while holding down the SHIFT key to make a perfect circle.
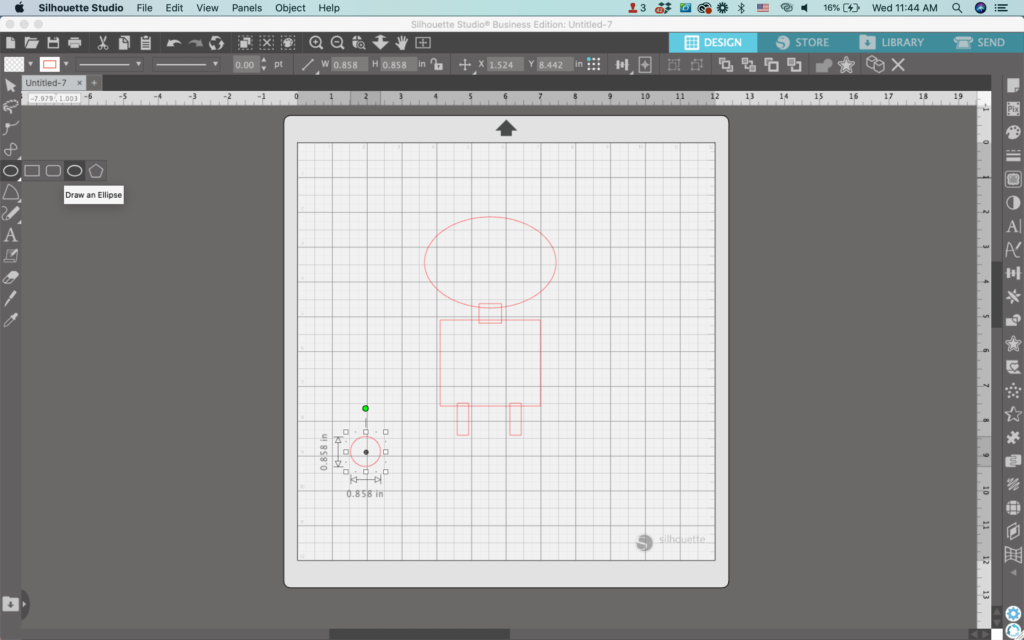
5. With the ‘Knife Tool’ (it’s second from the bottom on the left hand side), slice the circle in half. Be sure the knife setting is set to ‘Solid’.

6. Move the half circles into place to make the robot’s feet. Of course, make sure they overlap slightly.

7. Draw three additional rectangles using the ‘Draw a Rectangle’ tool. Move them into place as the robot’s arms and an antenna. Again, overlap them slightly with the shape next to it.
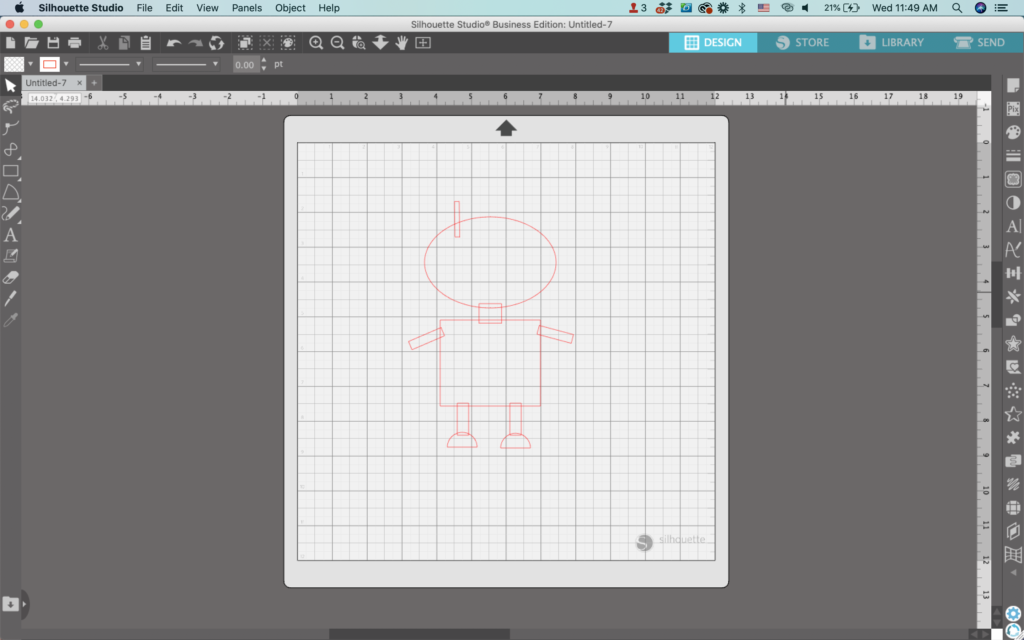
8. Draw three circles using the ‘Draw an Ellipse’ tool. Move them into place as the robot’s arms and antenna topper. You guessed it: They should overlap the other pieces slightly.

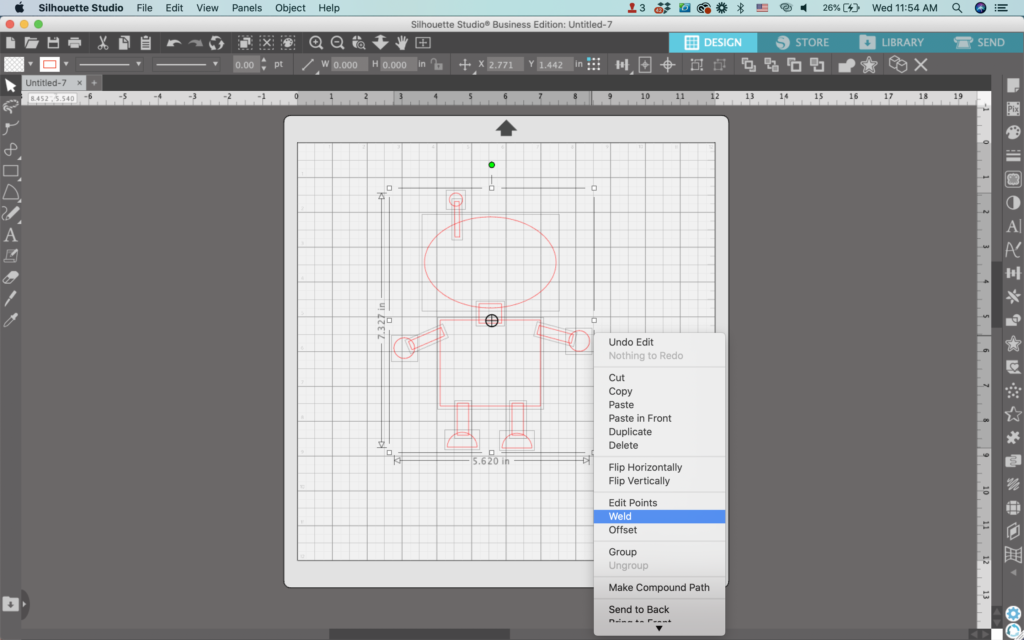
9. Select all the robot’s pieces and right click, then select ‘Weld’ to group the pieces together.
10. Using shapes, add additional details like buttons on the robot’s body, eyes, and a mouth.
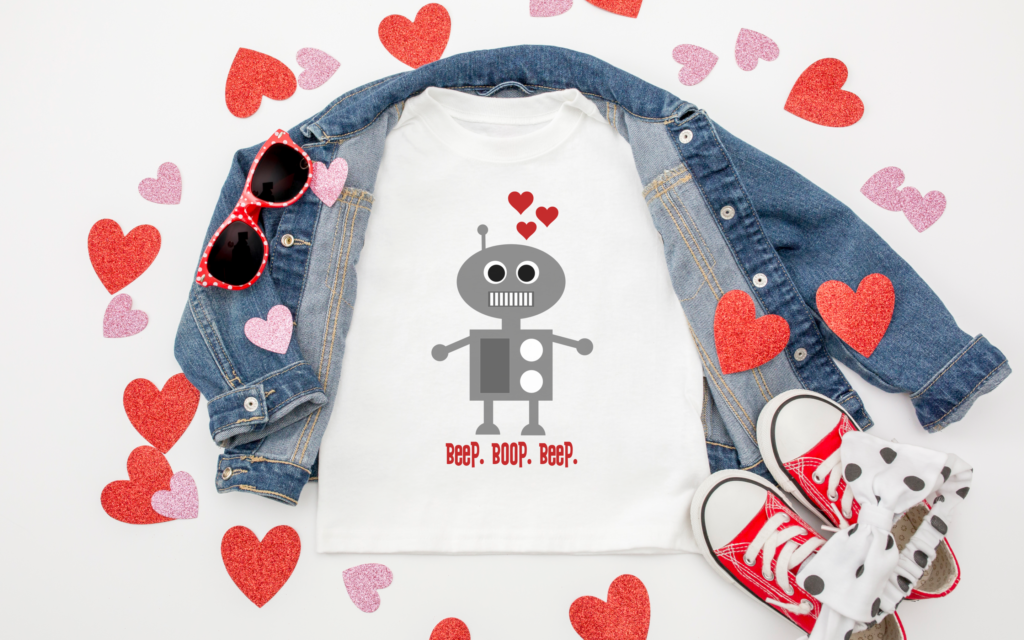
11. Add a few hearts around the robot. To make the hearts, I used the Border Bits font.

12. Fill your design with color and add any additional details. I added some robot ‘words’ to the bottom of my design using the ZP Ex Boyfriend font. My final design looks like this:
That’s it! Your design is ready to go!
Don’t Forget to Save!
To save your new SVG creation, head to ‘File’, ‘Save As’, ‘Save to Hard Drive’, name the file, then select ‘SVG’ from the dropdown menu.
Want More SVG Tutorials?
View more Design with Me SVG tutorials.
Since 2015, Christine Schinagl has been helping crafters start and run craft businesses through her blog, Cutting for Business. As a Silhouette and Cricut crafter herself, she has a unique take on what works and what doesn’t work in the craft business world. She also enjoys teaching other crafters how to create digital SVG designs, available through the Design with Me series.