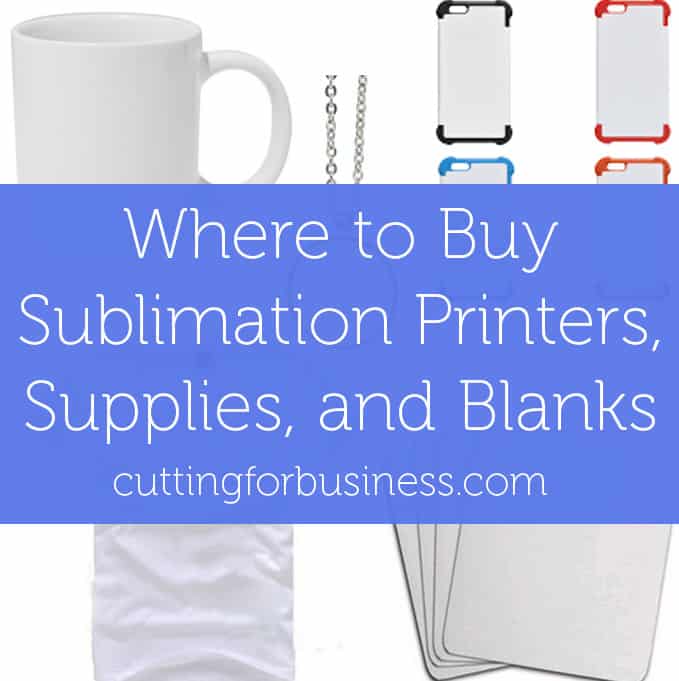
Tutorial: How to Use Sublimation Markers
Affiliate Disclosure: As an Amazon Associate I earn from qualifying purchases. Additionally, I may get commissions for purchases made through other affiliate links in this post.
I’ll be honest, before Clay from Coastal Business Supplies reached out and offered to send me some sublimation markers – I had never heard of them. But, once the package arrived I couldn’t wait to try them out! Today I’m sharing some information and a tutorial on how to use sublimation markers.
What are Sublimation Markers?
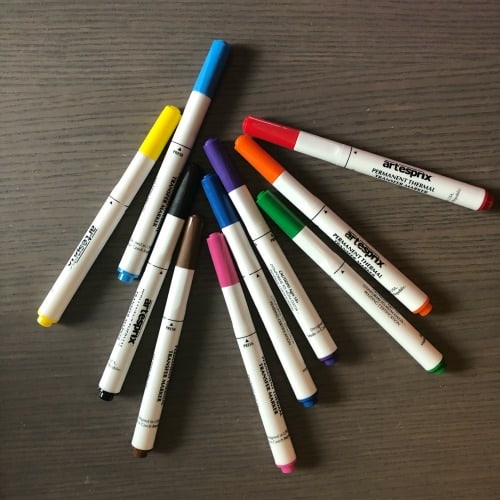
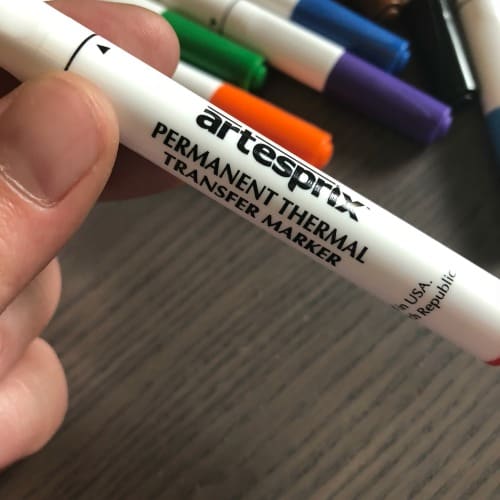
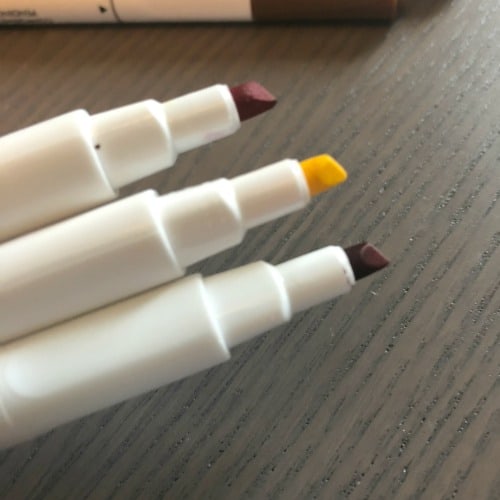
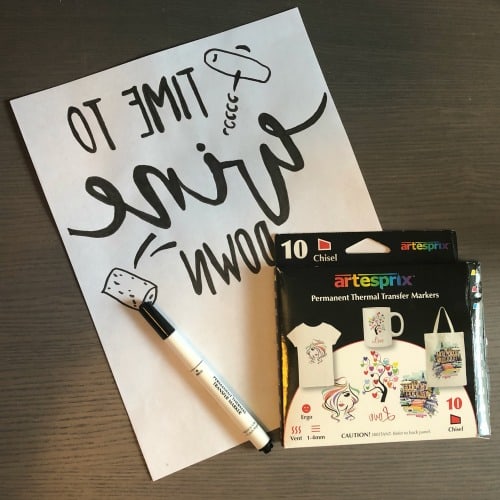
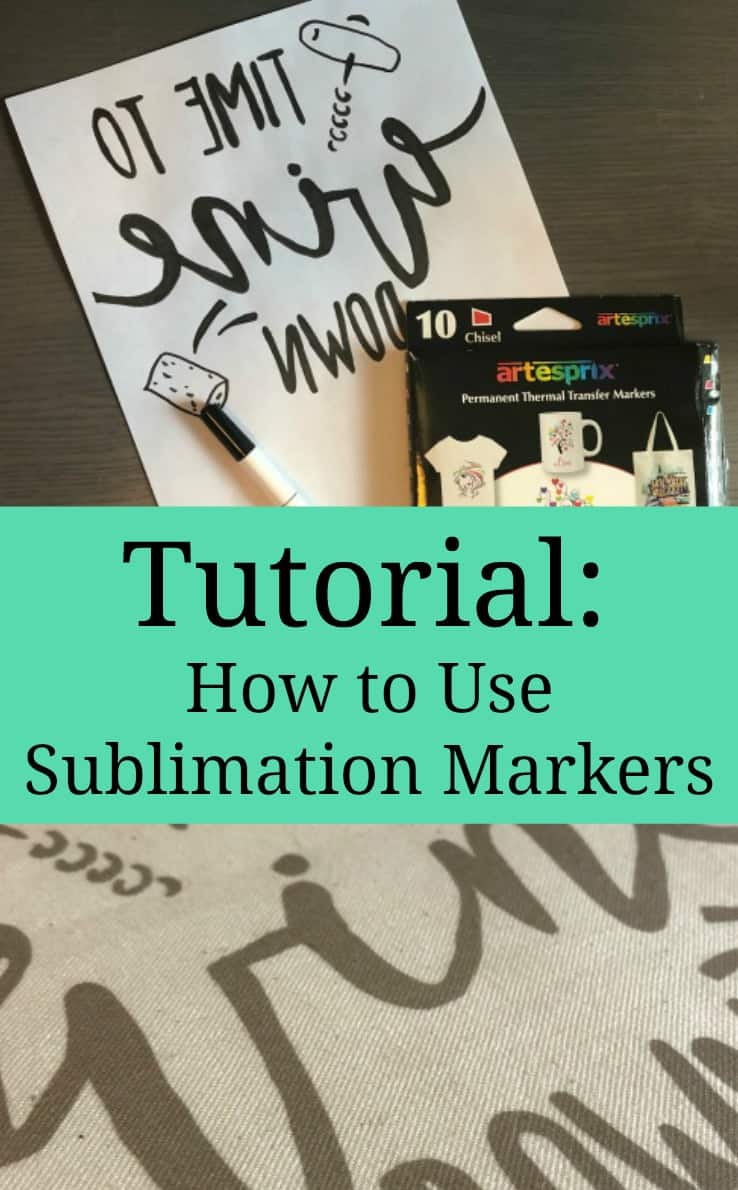
Sublimation markers are markers that have sublimation ink inside of them. They look and work like a regular marker. The markers I received are made by Artesprix and had 10 markers in the package.
Stop! If you aren’t familiar with the process of sublimation, head to this post first. Good news for those wanting to use the sublimation markers? You don’t need any sublimation supplies, just a heat press or iron, plain paper, and the sublimation markers.
Tutorial: How to Use Sublimation Markers
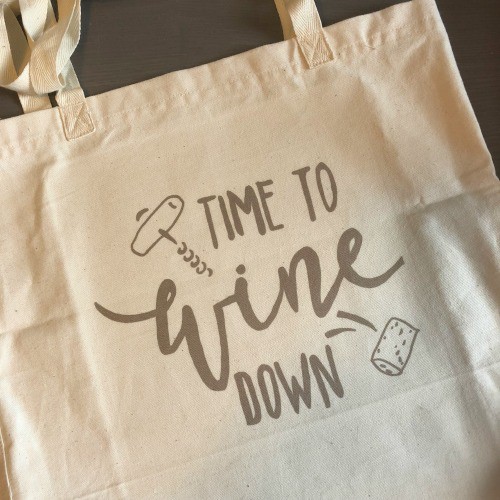
- Draw a design on a blank piece of plain paper using the sublimation markers. I used white printer paper. When drawing, remember that your design will be pressed onto your blank item and it will be a mirror image of whatever you draw. (This means that if you are writing text, your text will need to be written backwards!) I’m no artist, so I purchased this design and traced it mirrored with the markers. If you do handlettering or calligraphy though – these are a must buy for you!
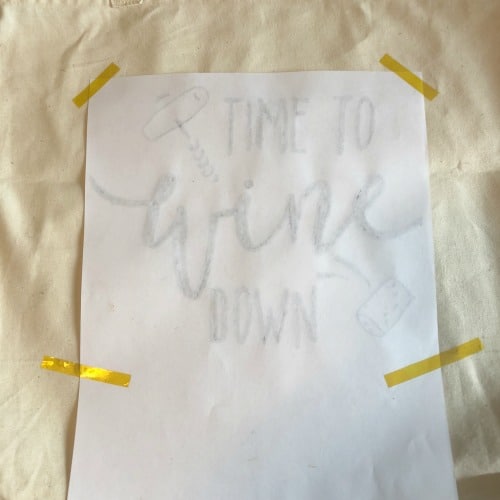
- Place the design onto your blank product. You must use a polyester blank or a specially prepared sublimation blank. I taped my design in place with heat transfer tape so that it wouldn’t slide around when I closed my Happy Crafters Pink Press.
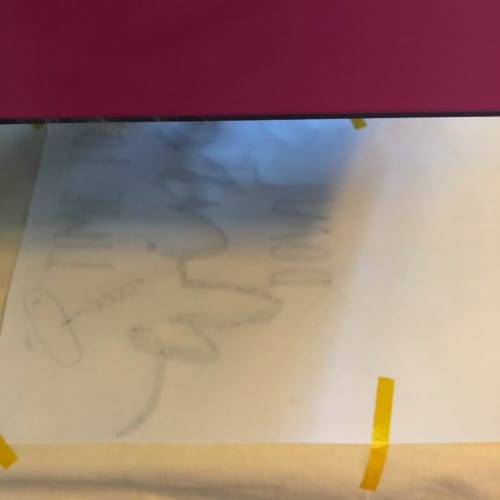
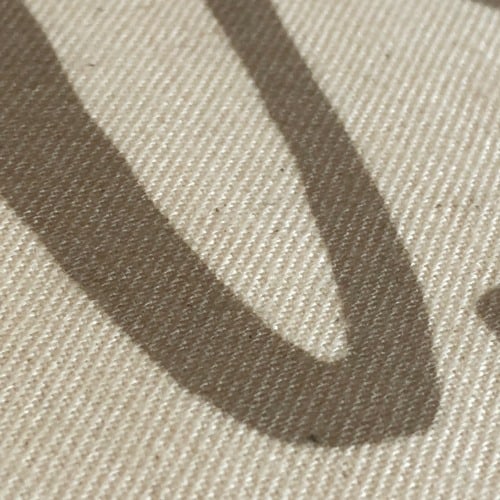
- Press the design. Now, the marker box instructions say to press for 45 to 300 seconds with a heat press or iron at 350 to 400 degrees. I settled with 100 seconds – but there was no logic to this. I actually think I should have pressed longer to get brighter colors.
- Remove the paper and tape and admire your work!

Originally, when I knew these markers were being sent to me I had planned on letting my kids draw on paper and press the design onto something for them. The back of the box states to ‘Keep out of reach of children’, so I gave that a pass – but might supervise them while drawing and see how that goes.
Using the sublimation markers was quick, easy, and fun. I plan to experiment with them more in the future.
If you love this idea or tutorial, save the image below to Pinterest.
Since 2015, Christine Schinagl has been helping crafters start and run craft businesses through her blog, Cutting for Business. As a Silhouette and Cricut crafter herself, she has a unique take on what works and what doesn’t work in the craft business world. She also enjoys teaching other crafters how to create digital SVG designs, available through the Design with Me series.