Tutorial: How to Use a Tee Square It With Adhesive Vinyl
Affiliate Disclosure: As an Amazon Associate I earn from qualifying purchases. Additionally, I may get commissions for purchases made through other affiliate links in this post.
My post a few days ago on the Tee Square It 3 has brought lots of questions. Some Cutting for Business readers were concerned about the $45 price tag, while others wanted to know if it could be used for projects other than HTV. I’ve noted a few times that I feel like it pays for itself in a few uses when you see how much time you will save and the accuracy of placing your designs. I’ve also been using my Tee Square It 3 to line up adhesive vinyl projects. Since I mostly create wooden signs, that’s what I will demonstrate today.
(If you have not already, please see this post for a more detailed tutorial on how to use this neat gadget.)
How to Use the Tee Square It 3 with Adhesive Vinyl Projects
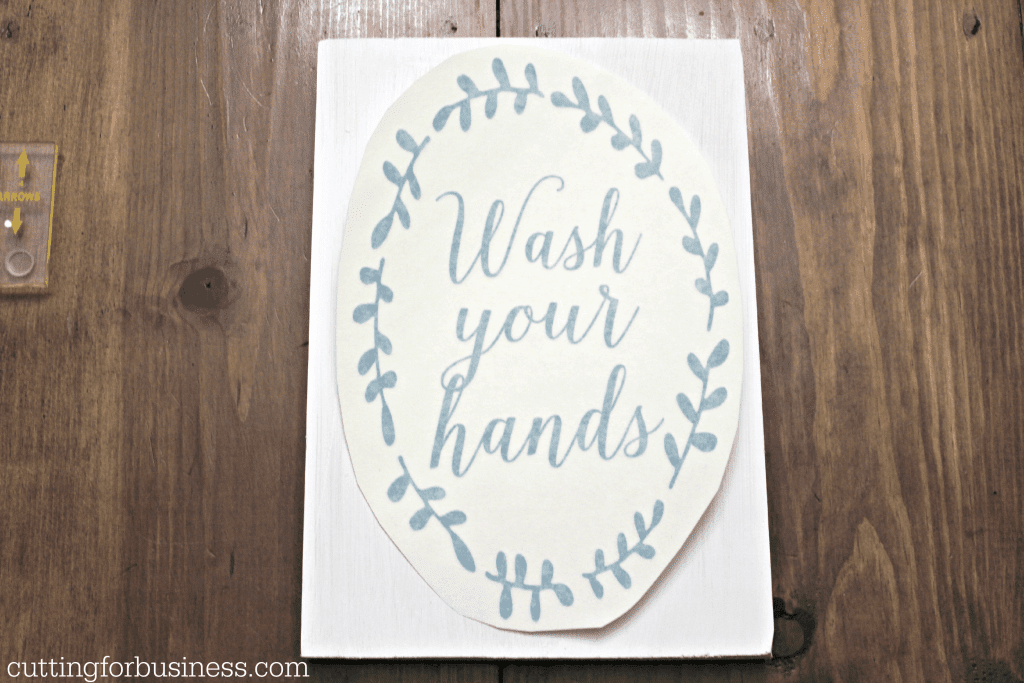
- Design and cut your adhesive vinyl design, weed it, and apply transfer paper or tape to it.
- Place your design on top of your wood (or other project).
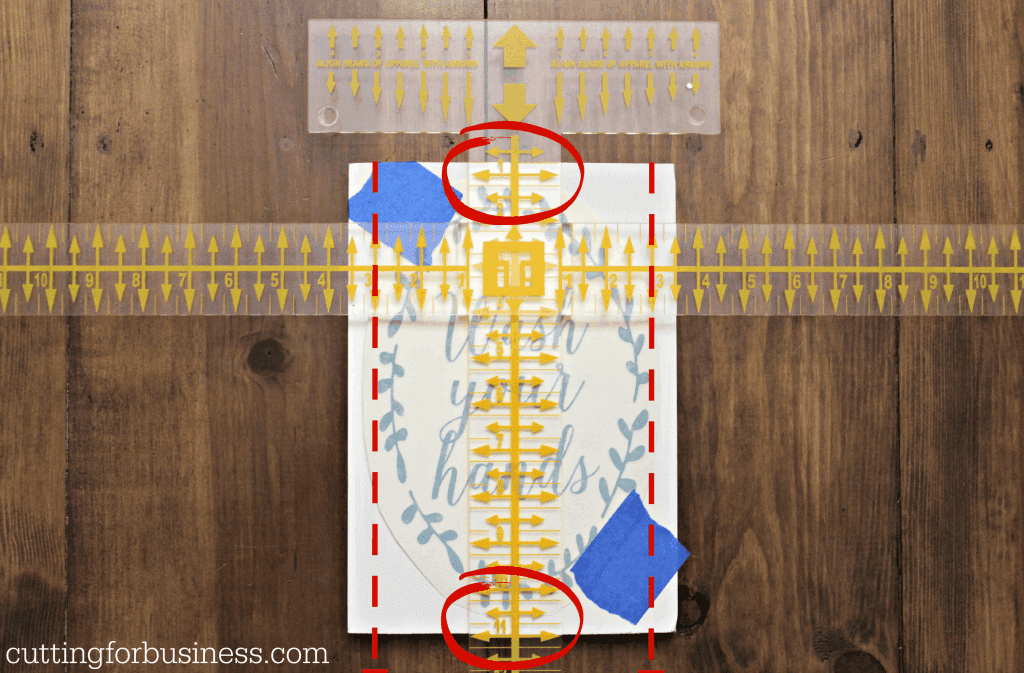
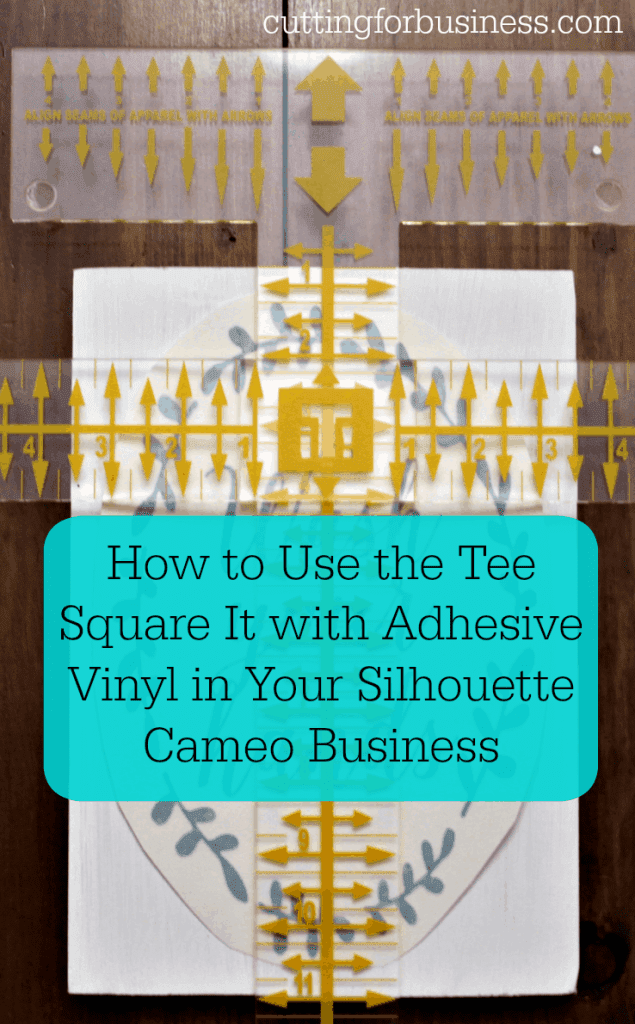
- Lay the Tee Square It 3 on top of your wood. Line up your adhesive vinyl both vertically and horizontally using the Tee Square It 3. You’ll see that I marked where I lined up my adhesive vinyl in red. After lining the vinyl up, tape it in place with blue painter’s tape.
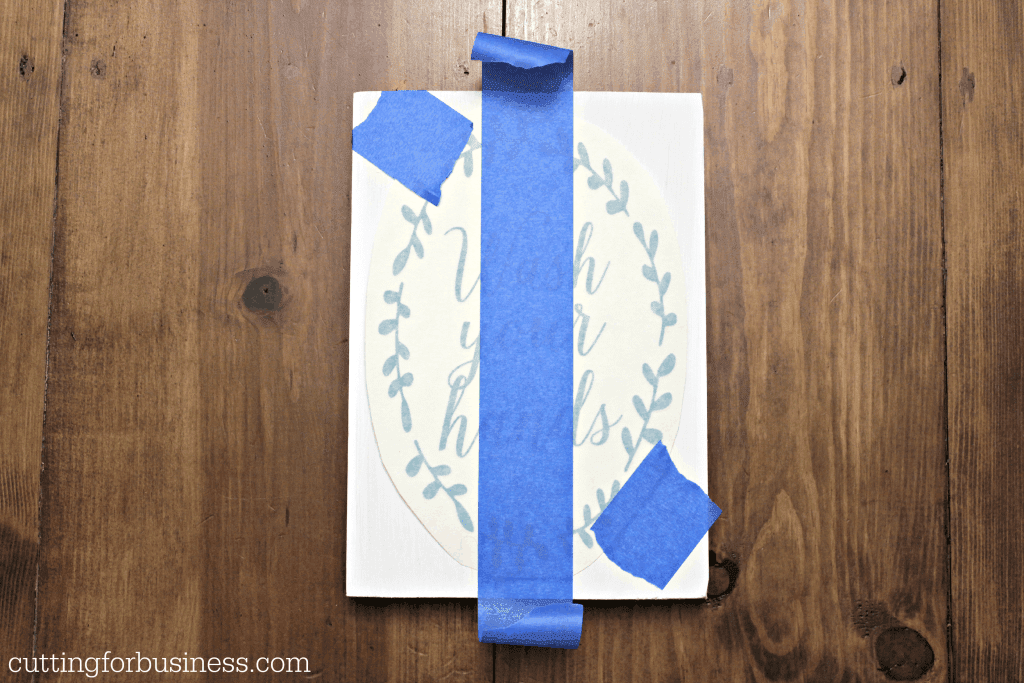
- Remove the Tee Square It 3 and place a piece of tape down the center of your design.
- Remove the tape from the right side of the adhesive vinyl. Peel back the transfer tape backing to the center and tear it off. Apply the right side of the design to your project.

- Remove the remaining painter’s tape and peel back the remaining transfer backing, then apply the left side of the design.
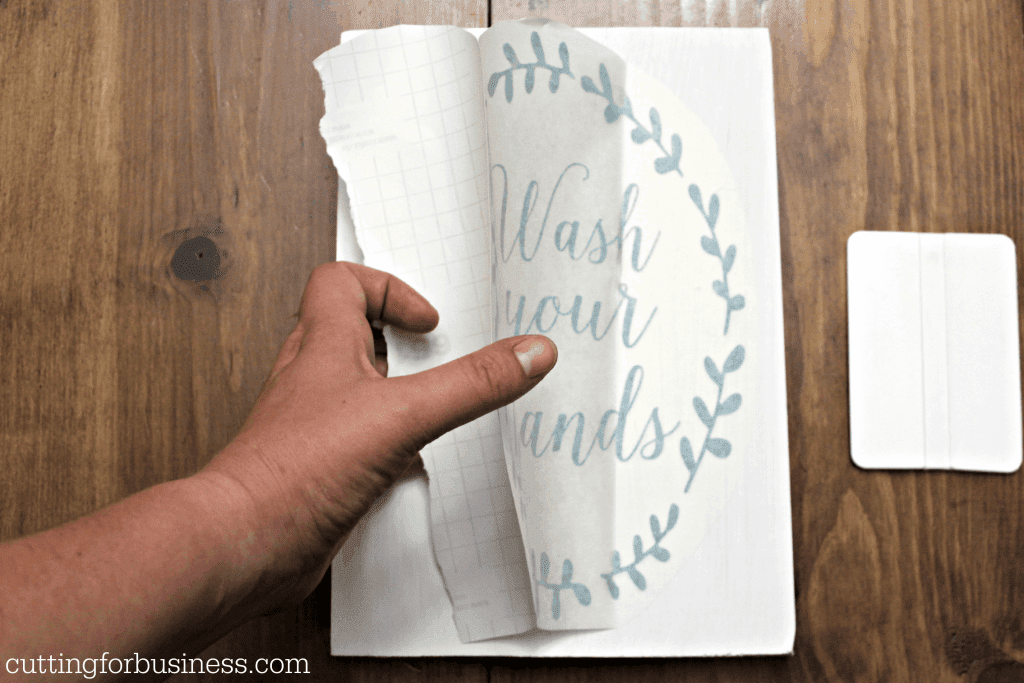
- Remove your transfer tape or paper and you are set to go – your design should be centered!

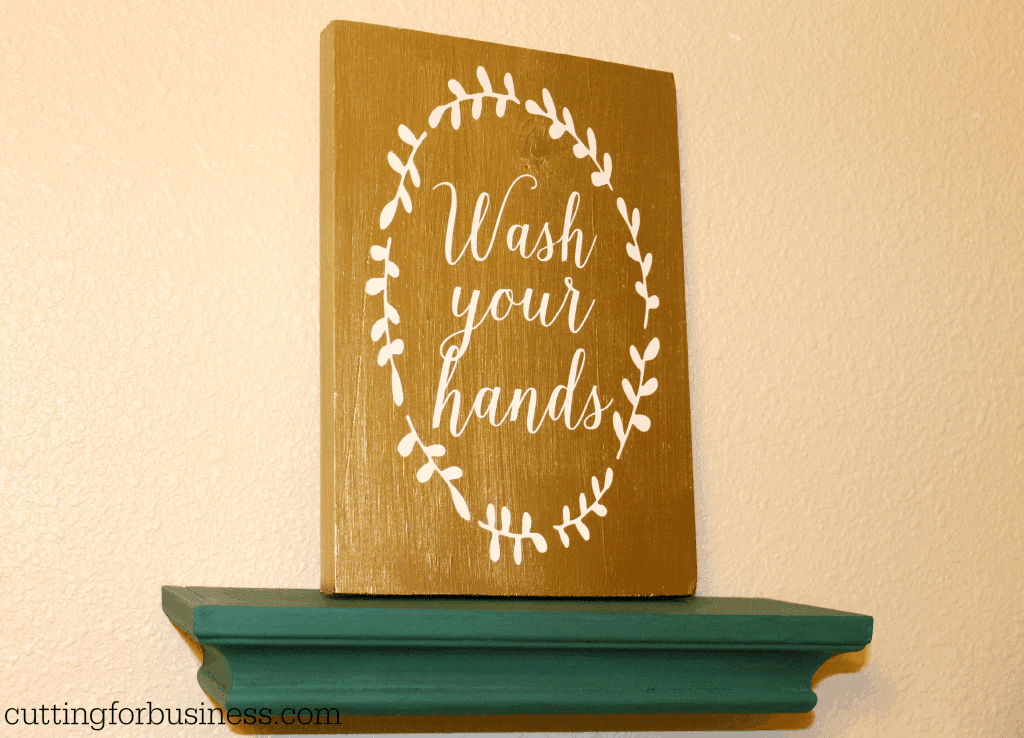
After a quick coat of metallic gold spray paint, this piece of scrap wood that I picked up for free from my local Home Depot (see this post to find out how to get free wood) is now a piece of bathroom decor! The font used in this tutorial is called Isabella Script and you can find it at Creative Market.
Don’t forget to pin it:
Since 2015, Christine Schinagl has been helping crafters start and run craft businesses through her blog, Cutting for Business. As a Silhouette and Cricut crafter herself, she has a unique take on what works and what doesn’t work in the craft business world. She also enjoys teaching other crafters how to create digital SVG designs, available through the Design with Me series.