Tutorial: How to Use Pinterest in Your Silhouette or Cricut Business
Affiliate Disclosure: As an Amazon Associate I earn from qualifying purchases. Additionally, I may get commissions for purchases made through other affiliate links in this post.
Today we are going to look at creating pins on Pinterest. I’ve blogged about the benefits of using Pinterest in your Silhouette Cameo or Cricut business before. In case you missed those:
- Pinterest is a top referrer of traffic to websites and stores.
- The primary demographic of Pinterest users is women.
- Pinterest users have deep pockets: 28% of Pinterest users have an annual income of over $100,000.
Now that you know that your business should be on Pinterest, you might be wondering how you should use Pinterest. There are three steps that you need to complete:
- Make sure that you are using a Pinterest Business Account. It’s free and you can sign up at this link.
- Create boards and pin things that will attract your customers. For example, if you sell infant products, repin pins that contain tips for new moms or reviews of baby products.
- Pin your products for sale and links to your shop. I feel the need to shout this out: If you are not pinning links to your products for sale and links to your shop, your shop will not benefit from using Pinterest. Put another way: If you only repin pins from other shops, you are driving your customers to other shops.
How to Create Pins for Your Products
Now, let’s look at two easy ways to pin your products:
- If you have an Etsy shop, you can pin directly from your listing, by clicking the gray and red “Pin it” button from the right side of the screen. Unfortunately, there are a million of these pins on Pinterest, and they are not optimized for Pinterest.
- Create pins using your favorite photo editor. In this post, I will show you how to use Canva.com.
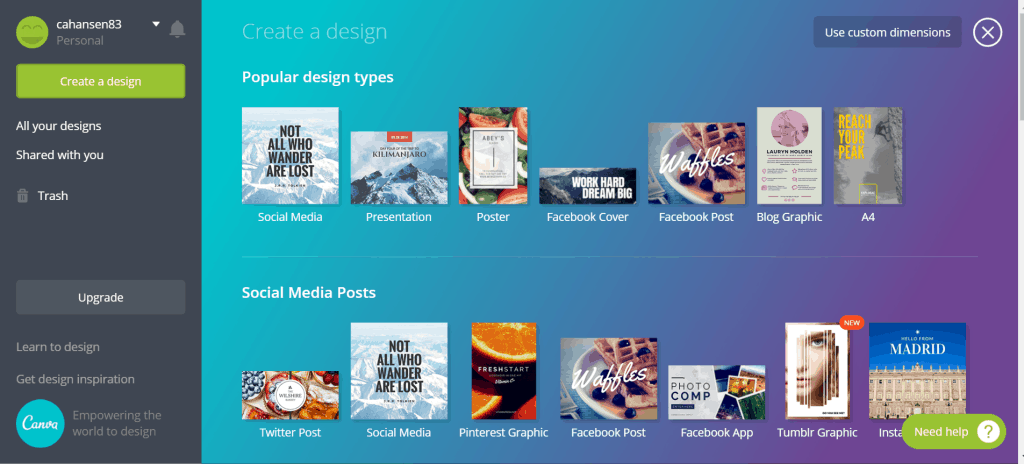
- Visit canva.com, and click the green “Create a design” button, then choose “Pinterest Graphic” from under “Social Media Posts”.
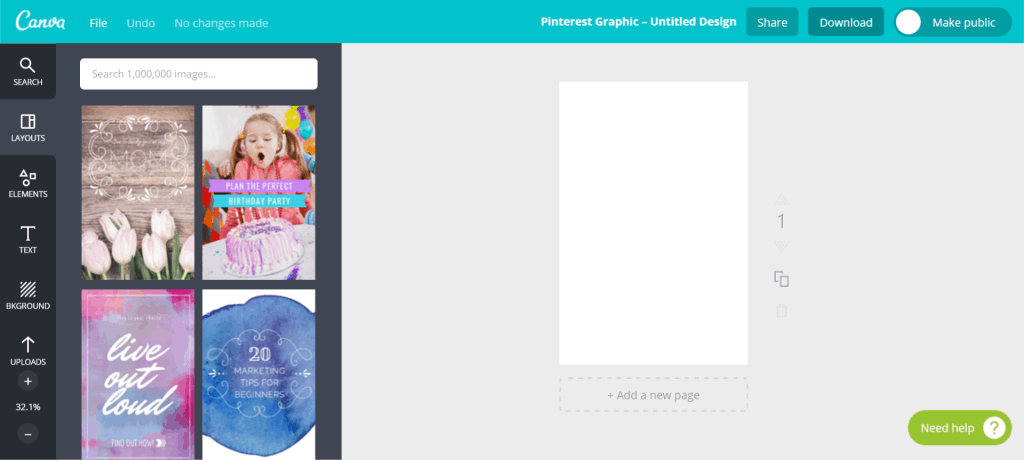
- Now, you will see a blank canvas to work with as shown below:
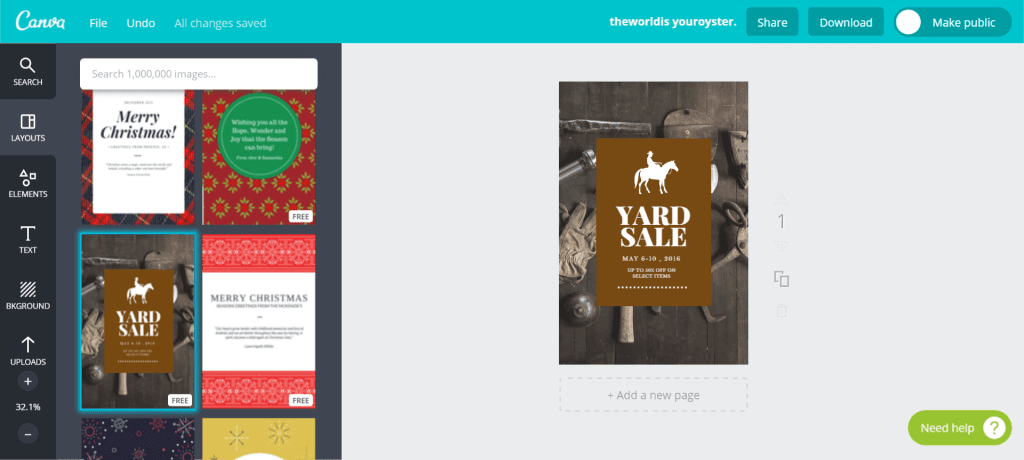
- From the left hand side, choose a template to work with. Focus on choosing a template layout that you like, you will change out the photo. For this tutorial, I chose a rustic looking template. (Good to know: some templates are free; while others cost $1.)
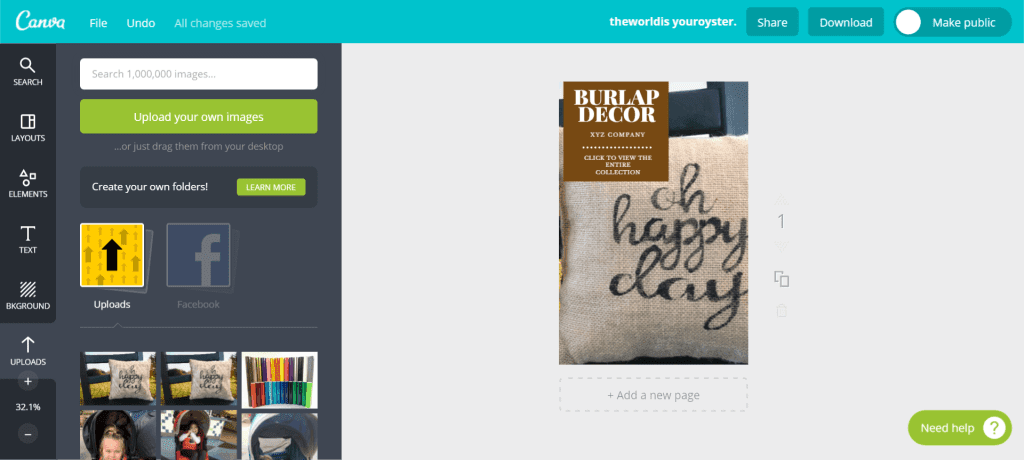
- From the left hand side of the screen, upload your product photo. Adjust the size as necessary. Then, add a title and your business name in text. Be sure to include a call to action – such as “Click here to buy today”, “See the entire collection by clicking here”, or “Click to contact me and start your custom order now”.
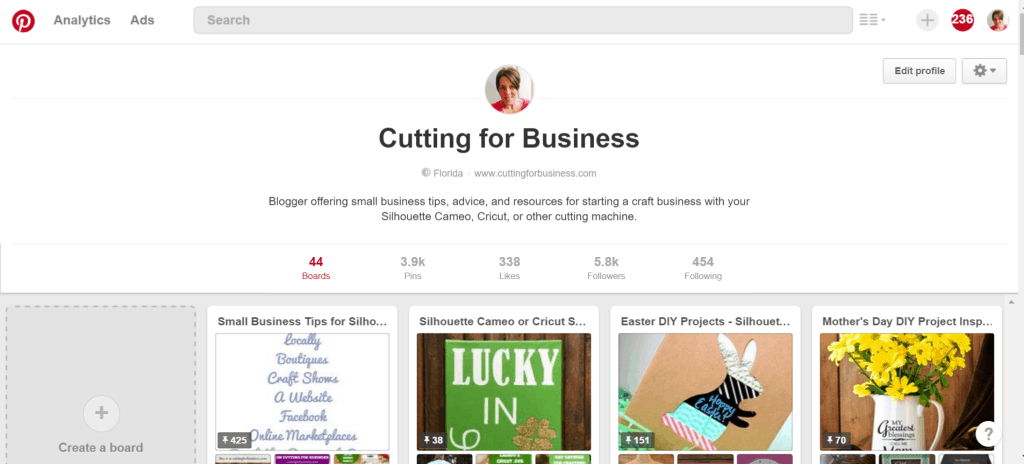
- Now that your pin is ready to go, visit your Pinterest account. Click the grey “+” sign in the top right corner, then choose “Upload from computer”.
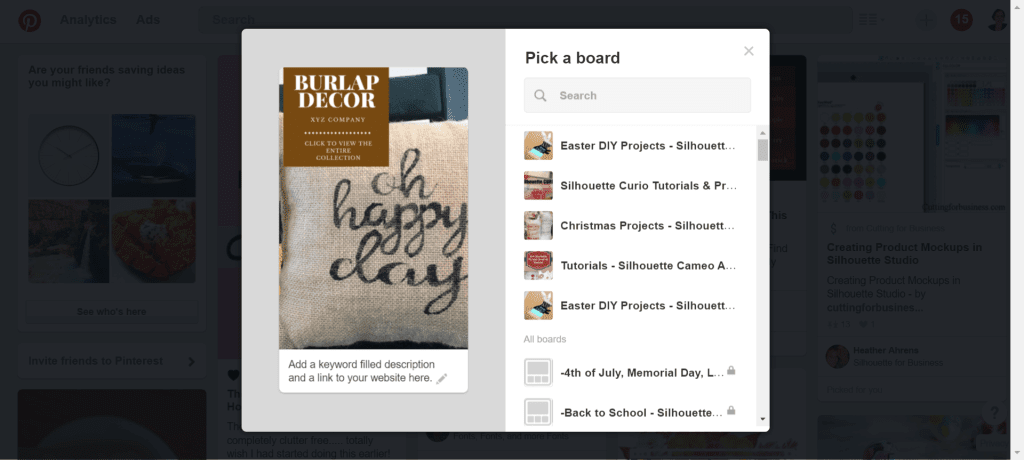
- Upload your newly created pin, and write a short, keyword filled description. Include a link to your website or shop in the text. Then choose a board and pin it.
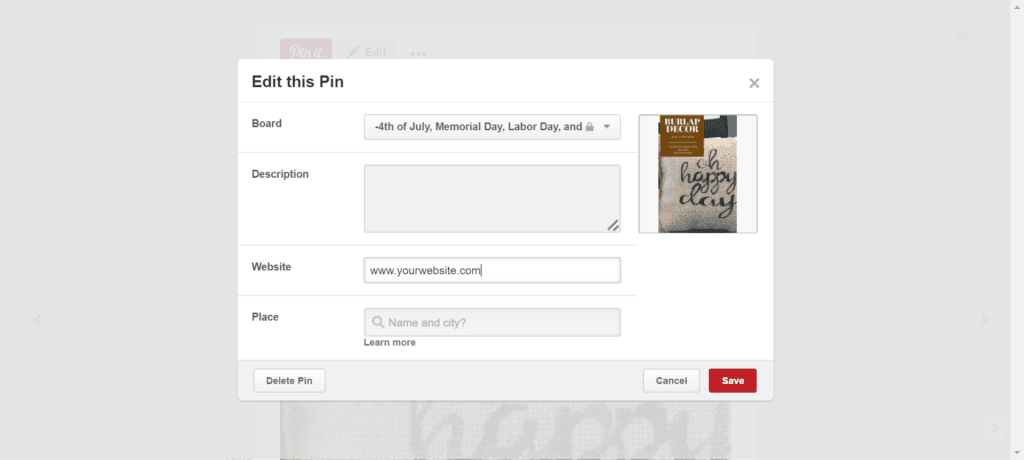
- One more (very important) step: Click “See your pin” on the screen that pops up. If the screen goes too fast to click, just go to your board and click on your pin. Then, click the “Edit” button. Enter the link you want customers to go to when they click your pin. Click “Save” and you are finished.
- Visit canva.com, and click the green “Create a design” button, then choose “Pinterest Graphic” from under “Social Media Posts”.
The more pins of your own products that you can create, the more success that you will have on Pinterest. Don’t forget to view this post on scheduling pins on Pinterest and join my group pinning board at this link.
Before you go, pin this post on Pinterest by hovering over the image below:
Since 2015, Christine Schinagl has been helping crafters start and run craft businesses through her blog, Cutting for Business. As a Silhouette and Cricut crafter herself, she has a unique take on what works and what doesn’t work in the craft business world. She also enjoys teaching other crafters how to create digital SVG designs, available through the Design with Me series.
