Silhouette Studio Tutorial: Watercolor Jack-o-Lanterns
Affiliate Disclosure: As an Amazon Associate I earn from qualifying purchases. Additionally, I may get commissions for purchases made through other affiliate links in this post.
Design with Me is a new regular feature on Cutting for Business! Each Friday, I’ll bring you a new Silhouette Studio tutorial featuring how to design an SVG.
Let’s talk Halloween! Today, we are going to do a quick tutorial to create watercolor jack-o-lanterns.

About Design with Me Tutorials
Design with Me Tutorials are created with intermediate Silhouette Studio users in mind. It’s helpful to know the basics of designing in Silhouette Studio before starting the tutorials.
All Design with Me tutorials use Silhouette Studio Business Edition. If you do not have Silhouette Studio Business Edition, some tools may not be available in your Silhouette Studio Edition. Get Silhouette Studio Business Edition.
Silhouette Studio Tutorial: Watercolor Jack-o-Lantern Faces
These jack ‘o lanterns are so easy to create. First, you’ll need some watercolor splotches and some jack ‘o lantern faces.
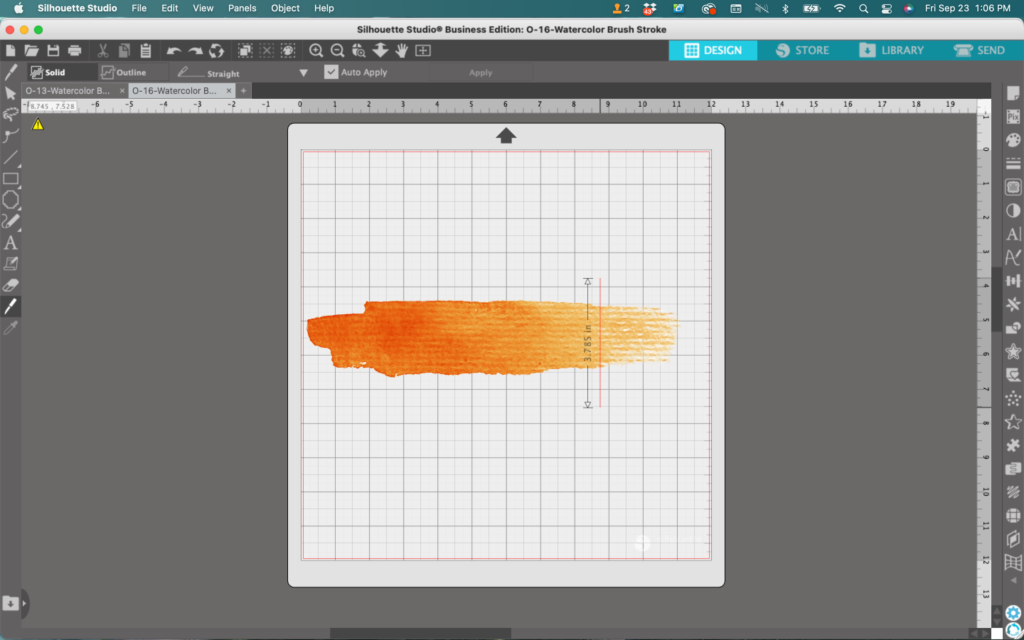
- In Silhouette Studio, open your watercolor splotch.

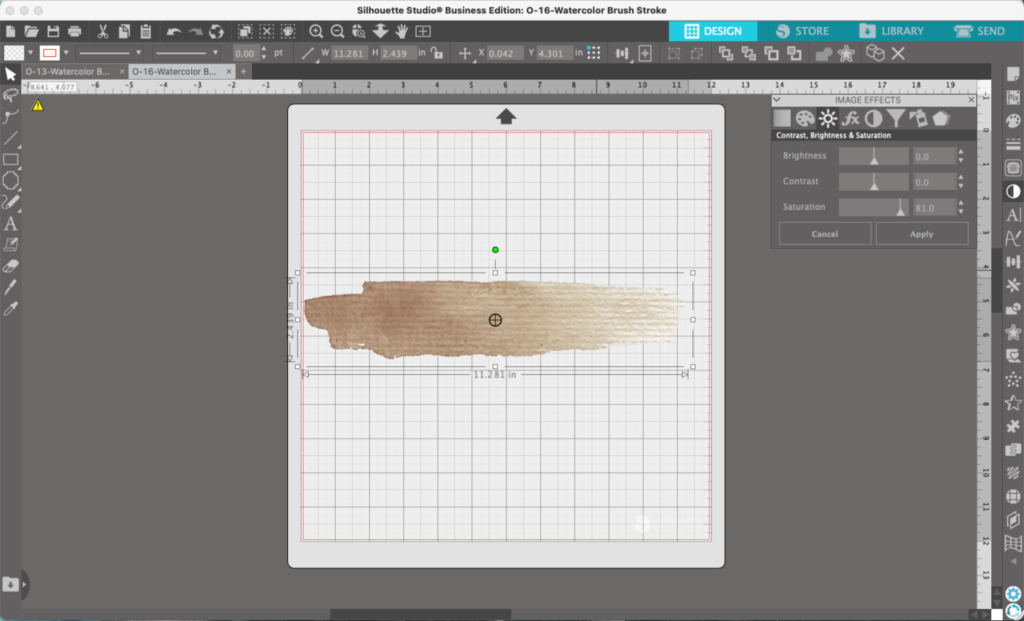
2. Now, I need to add a stem to turn my splotch into a pumpkin. I’d like these to also look like watercolor, so I’m going to open another splotch from my watercolor pack and use the knife tool to fashion it into a stem.
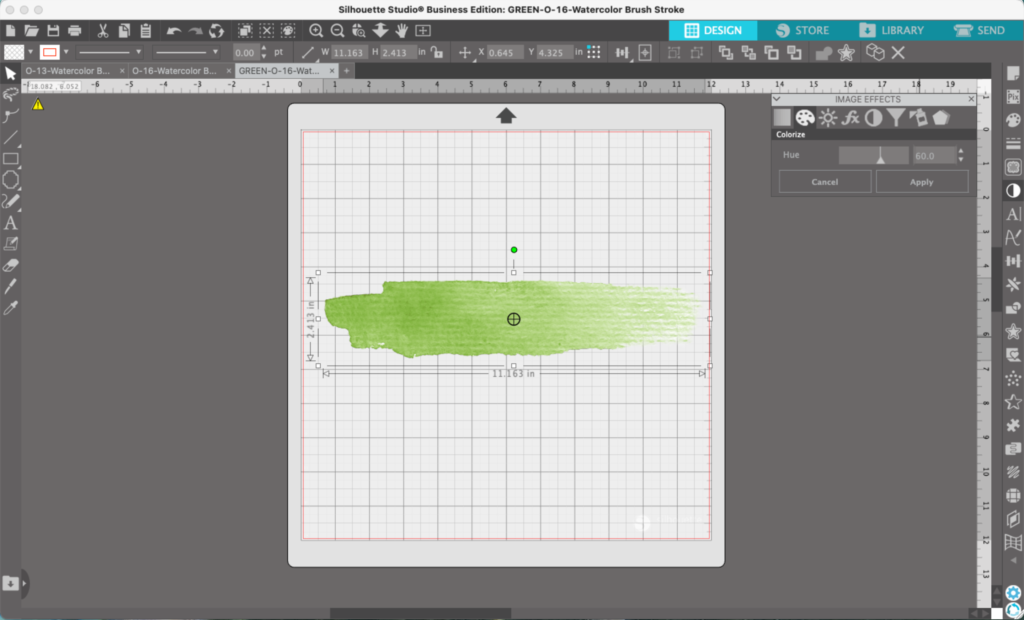
Pumpkin stems aren’t yellow, so let’s change the color. Since it is an image, we cannot simply change the fill color. Instead, head to ‘Panels’, then ‘Image Effects’. Move the sliders around on the tabs to change the color. (This only works on PNG and JPG files, and it doesn’t work on all images.)
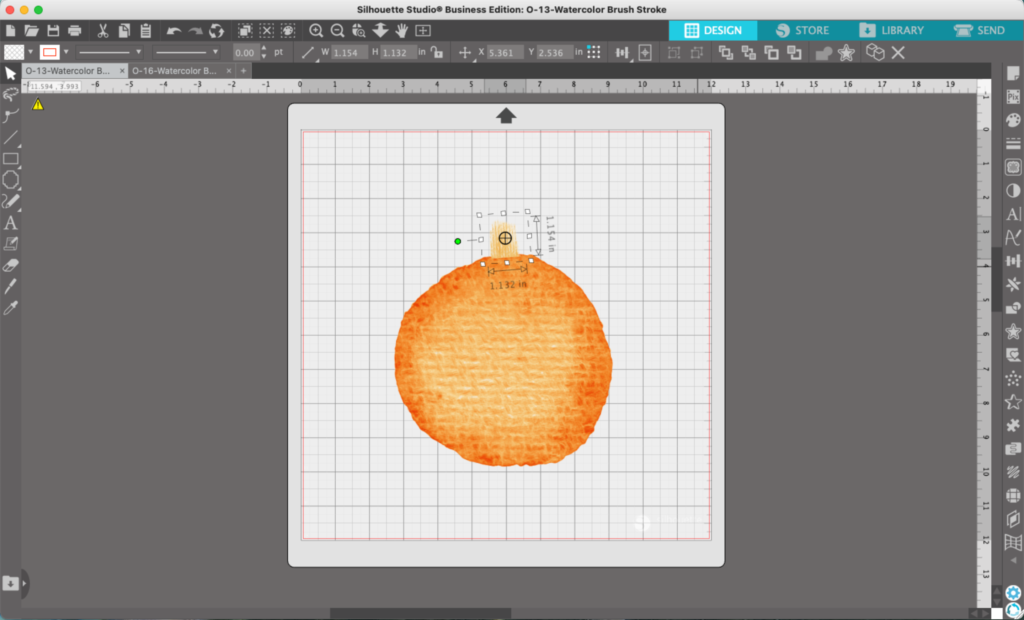
3. Once you cut a section of the watercolor to use for a stem, copy and paste it onto the mat with your circle watercolor splotch.
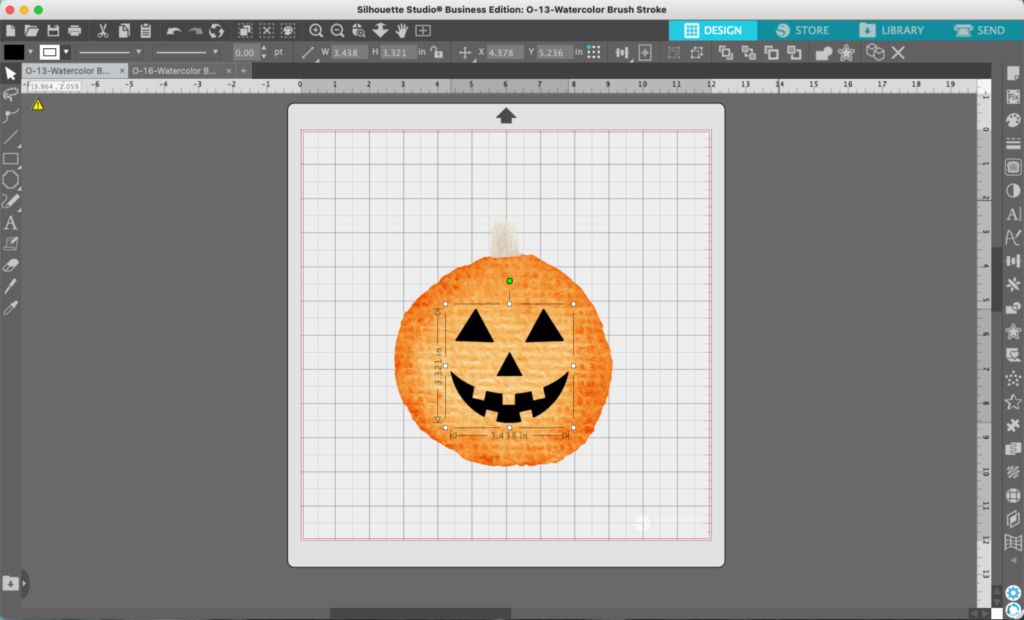
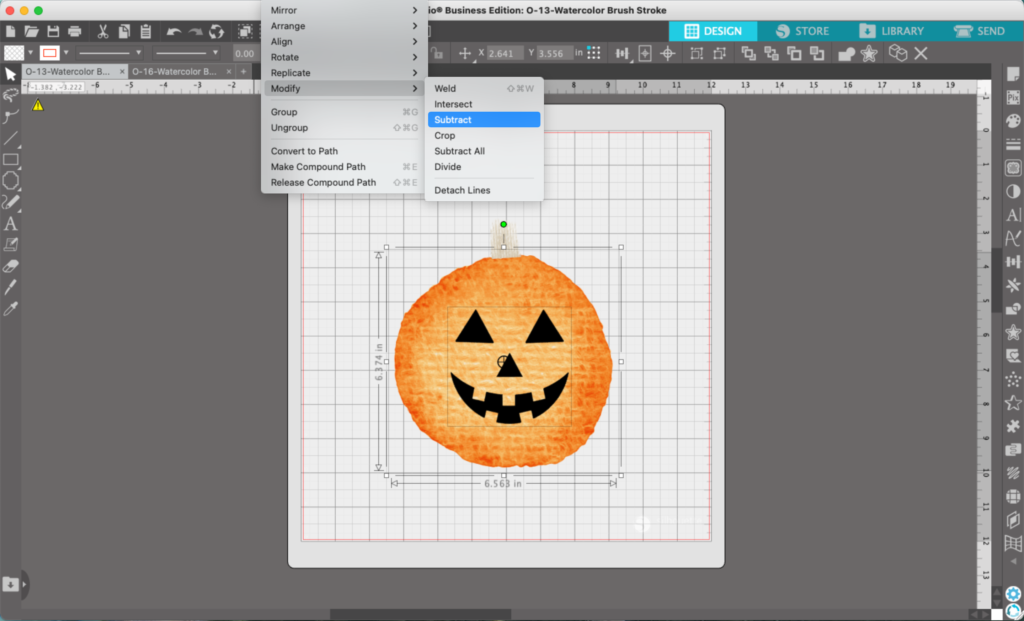
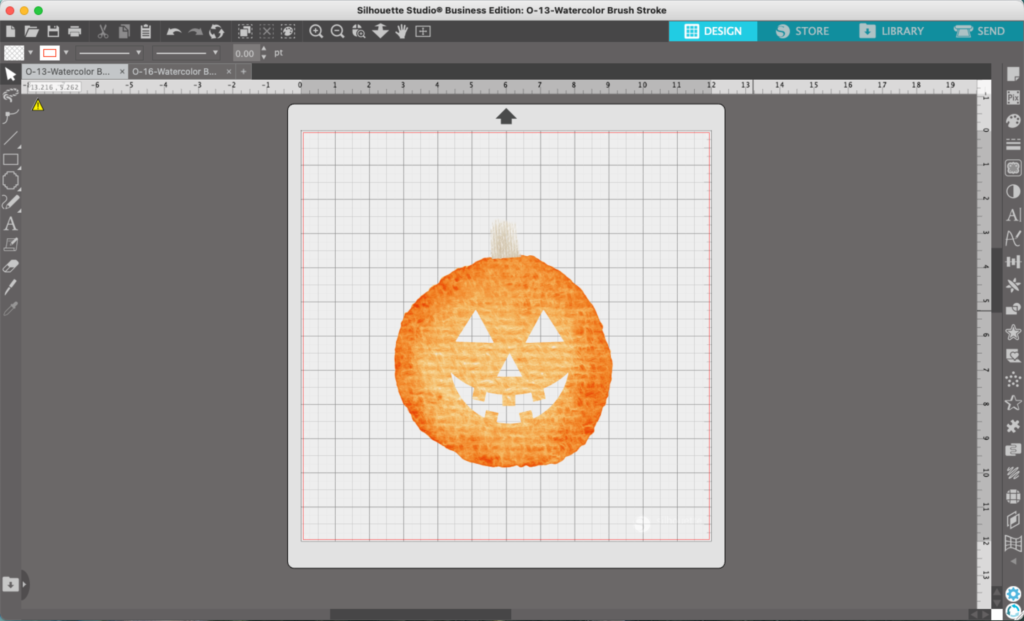
4. Add your jack ‘o lantern face. You can either choose to leave your face black or select the pumpkin and the face, then navigate to ‘Object’, ‘Modify’, and ‘Subtract’ to subtract the face from your pumpkin.
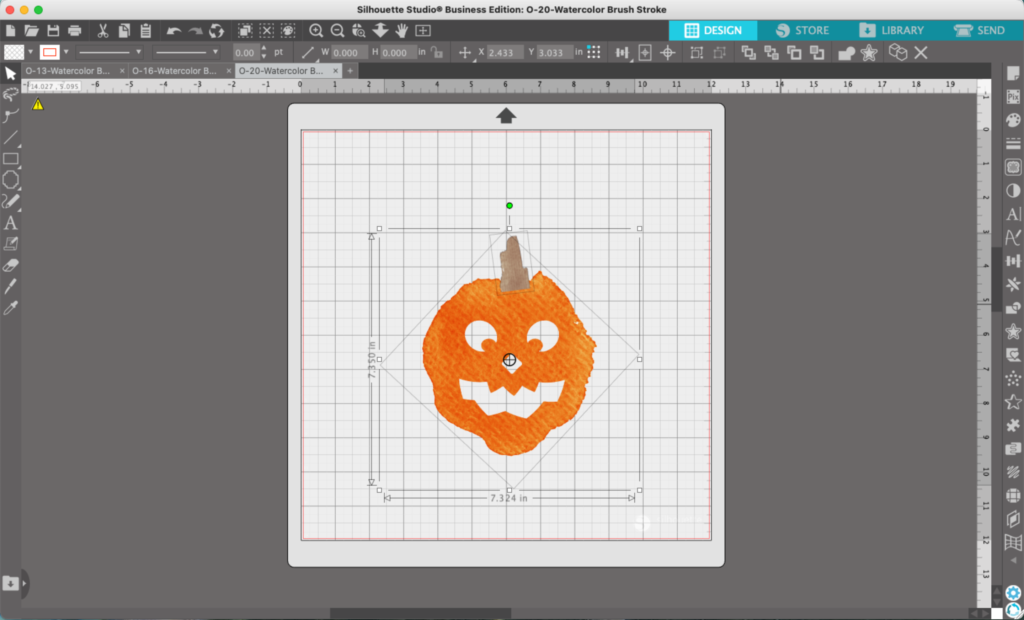
6. Repeat the process using a different shaped watercolor splotch and a different face.
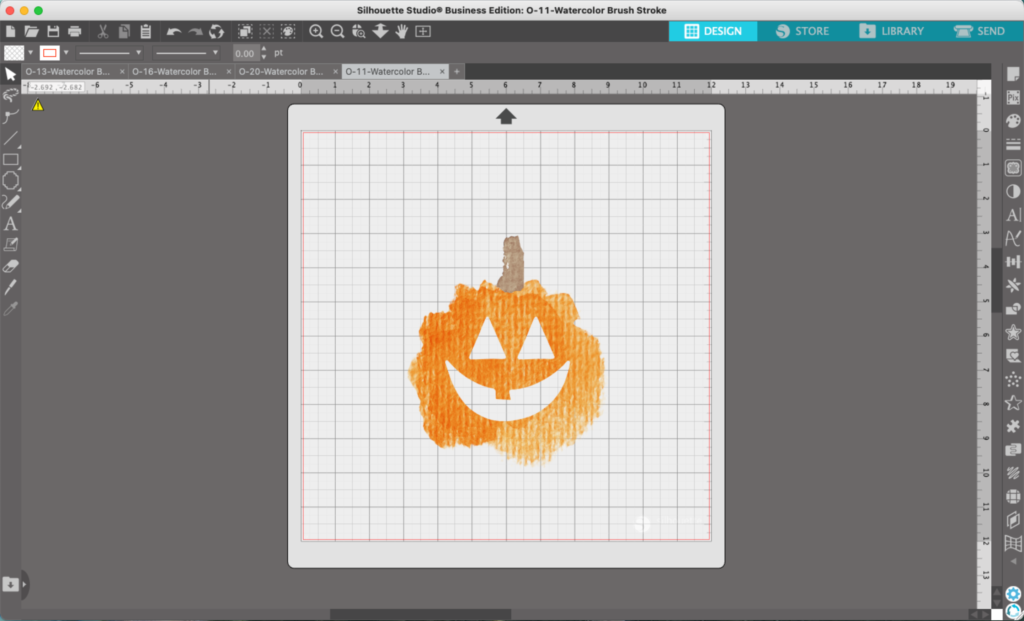
7. Repeat the tutorial once more, again use a different watercolor splotch and face.
8. Copy and paste all the jack ‘o lanterns onto one mat. Add any finishing details like leaves.

Wondering how I created the leaves? I used the same process as the stem: Navigate to ‘Panels’, ‘Image Effects’, and adjust the sliders until you get green. Then use the knife to cut off a piece to use as a leaf.
That’s it! Your watercolor jack-o-lanterns are ready to go!
Don’t Forget to Save!
To save your new SVG creation, head to ‘File’, ‘Save As’, ‘Save to Hard Drive’, name the file, then select ‘SVG’ from the dropdown menu.
Want More SVG Tutorials?
View more Design with Me SVG tutorials.
Since 2015, Christine Schinagl has been helping crafters start and run craft businesses through her blog, Cutting for Business. As a Silhouette and Cricut crafter herself, she has a unique take on what works and what doesn’t work in the craft business world. She also enjoys teaching other crafters how to create digital SVG designs, available through the Design with Me series.