Affiliate Disclosure: As an Amazon Associate I earn from qualifying purchases. Additionally, I may get commissions for purchases made through other affiliate links in this post.
Before we get back to business on the blog; myself, Will, and the kids wanted to extend an extra thank you for all the prayers, well wishes, and donations our family has received for our dog Ollie. If you missed the news, our rescue dog, Ollie, was hit by a car at the start of our kid’s birthday celebration on Saturday. To read the whole story, or make a donation click here. Now, onto business as usual.
I’ve shared how to do mockups on the blog using your own photos, and I’ve covered how to use stock photos in your small business. Today, I’m sharing an awesome website that I recently stumbled upon to create professional quality mockups – without Photoshop or fancy software.
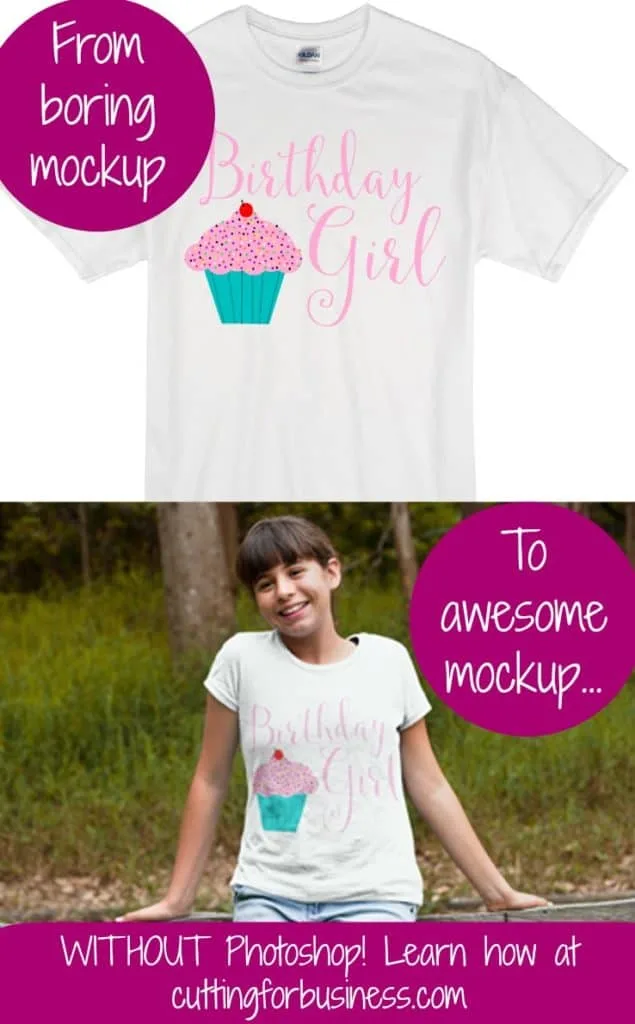
Here’s an example I made:
This is a Silhouette Studio mockup. Mockups like these are used all over Etsy. This mockup is good, but it is stale and the design is clearly laid onto the shirt in a photo program.

Here’s a mockup I made using Place It. The design looks like it was naturally placed and there’s nothing better to sell your product than a live person wearing it.

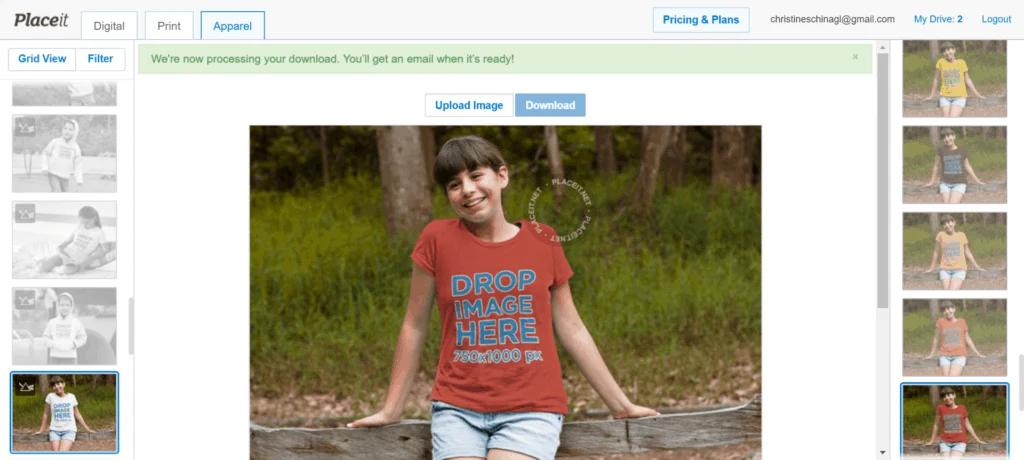
Don’t want a plain white shirt and need more color options? You got it – this photo is offered in 36 different colors!
Here’s one of them:

And a screenshot of more color options (right hand side):

Pretty awesome, huh? I don’t know about you, but I am pretty sure that the photo realistic mockup will look better in an Etsy listing photo! Place It offers mockups for a wide variety of products including: tee shirts, sweatshirts, aprons, hats, leggings, phones, computers, banners, beer bottles, coffee mugs, posters, wine bottles, and much more.
What’s the Cost of Place It?
Cost varies for different sized photos and inexpensive plans are available ranging from $12 and up.
Wait, one more thing you need to know!
Now, you are going to need a hack if you design in Silhouette Studio. Ideally, you will want a photo with a transparent background in .png format. Unfortunately, Silhouette Studio will not allow you to save as .png. I’m not one to pull out expensive software, so here is what I’ve been doing:
- Design and save as a .studio3 file in Silhouette Studio.
- Visit this link and convert your .studio3 file to .svg, then download it. (I’ve done a previous post on this converter that you can read here.)
- Visit this link and convert your .svg file to .png, then download it. You are ready to head to Place It and create your mockup!
If you use another method to convert to .png, feel free to use it.
I can’t wait to see your professional quality mockups!
Save this post to Pinterest so you can try it out:

Since 2015, Christine Schinagl has been helping crafters start and run craft businesses through her blog, Cutting for Business. As a Silhouette and Cricut crafter herself, she has a unique take on what works and what doesn’t work in the craft business world. She also enjoys teaching other crafters how to create digital SVG designs, available at through the Design with Me series.

Katrina Henderson
Monday 20th of February 2017
Is there a way to do this with the Cricut? I'm not sure since you can't save the files that you create.
Christine
Monday 20th of February 2017
You can use a virtual printer and save the file from Cricut Design Space, or see this post: https://cuttingforbusiness.com/2017/02/09/tutorial-product-design-mockups-in-cricut-design-space/
Tammy Rotzoll
Wednesday 29th of June 2016
OMGeeee! Thanks, Christine! I can't wait to try it!
Christine
Wednesday 29th of June 2016
Tammy, You'll love it!