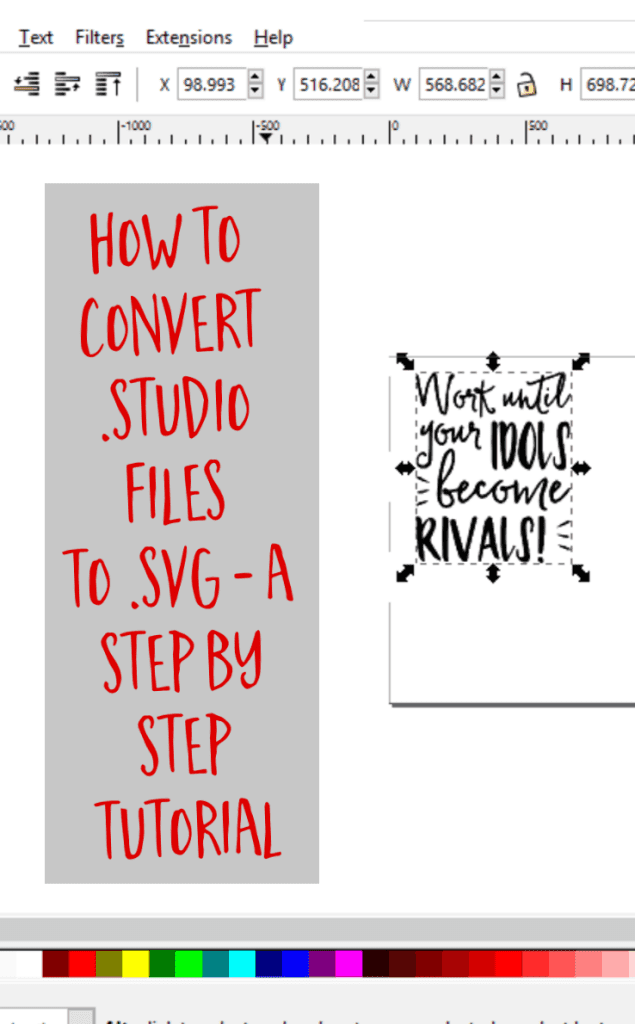
How to Convert .studio or .studio3 to .svg from Silhouette Studio
Affiliate Disclosure: As an Amazon Associate I earn from qualifying purchases. Additionally, I may get commissions for purchases made through other affiliate links in this post.
Update: The tutorial below gives you more control over your SVG. If you would simply like to convert a simple .studio3 file to SVG automatically, head to this post. Also, if you are working in Silhouette Studio, saving as an SVG has been added to Business Edition!
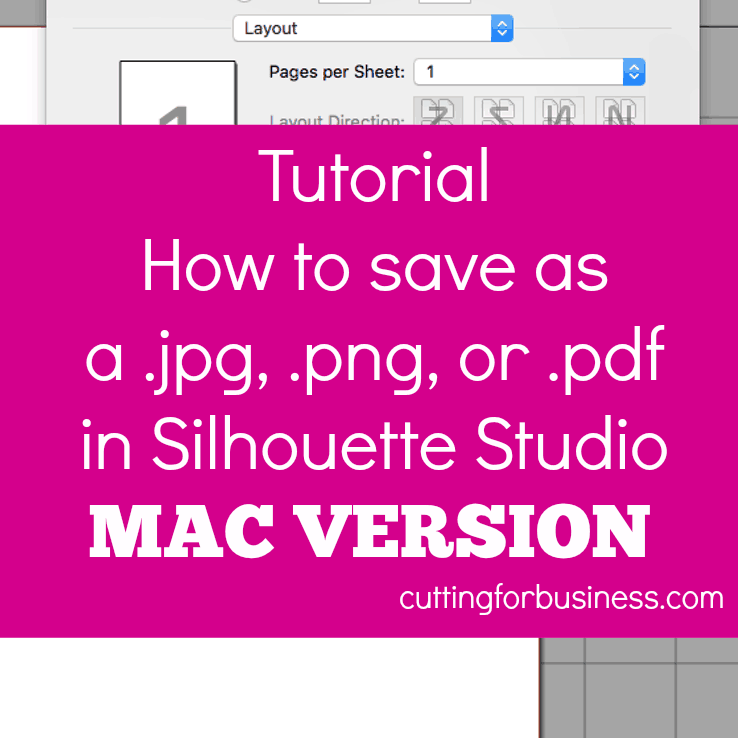
So far this week I’ve covered designing with text, creating your own designs, and saving as a .jpg, .png, or .pdf from Silhouette Studio. Today, let’s wrap up our discussion on designing with a quick tutorial on saving as an SVG from Silhouette Studio.
What is an SVG?
An SVG is a file format that stands for scalable vector graphic. Fancy words that just mean that the image can be resized without losing the quality (no grainy or blurry images). You can open SVG in any vector program, Silhouette Studio Designer Edition, or Cricut Design Space.
Tutorial to save as SVG in Silhouette Studio
- First, prep your design in Silhouette Studio.
- Color your image black and white. This tutorial works best when you have a high contrast image (black) and a solid background (white).
- Group all pieces of your image together.
- Turn off the grid on your virtual mat. Sometimes the grid lines will show if you don’t turn them off.
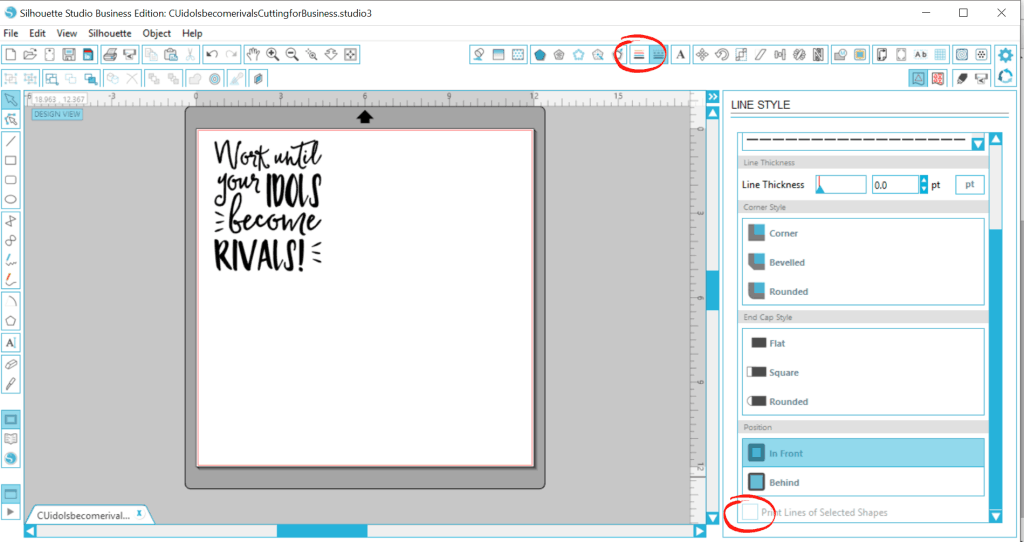
- Color your lines black and make sure that the “Print Lines of Selected Shapes” is unchecked as shown in the image below:
- Now, you’ll need to use a PDF Printer to virtually print your design to your computer in .png format. I covered gave a step by step tutorial to do this yesterday.
- Download and install Inkscape (it’s free).
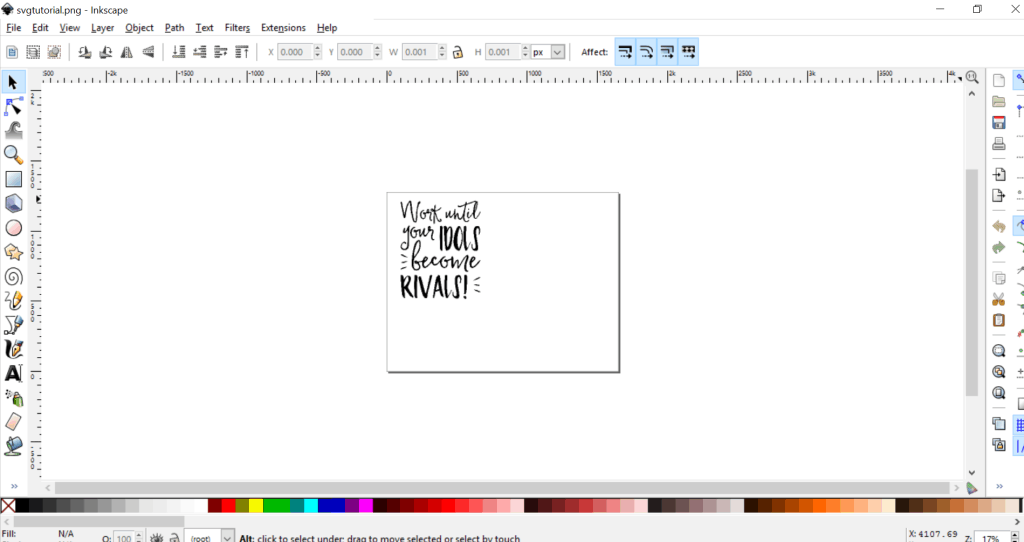
- Open your image in Inkscape. If you get a window to select the .png input, choose “Embed” and click “OK”.
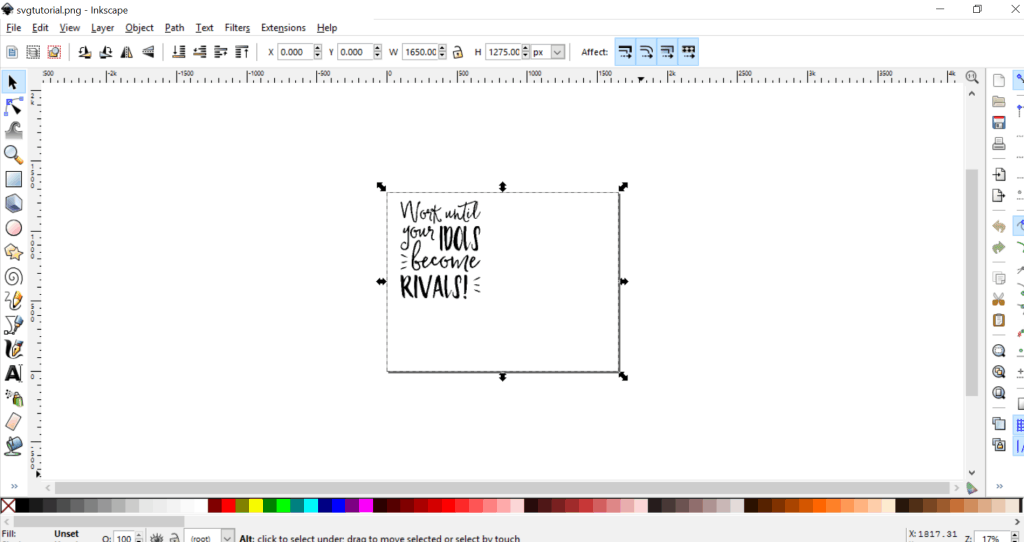
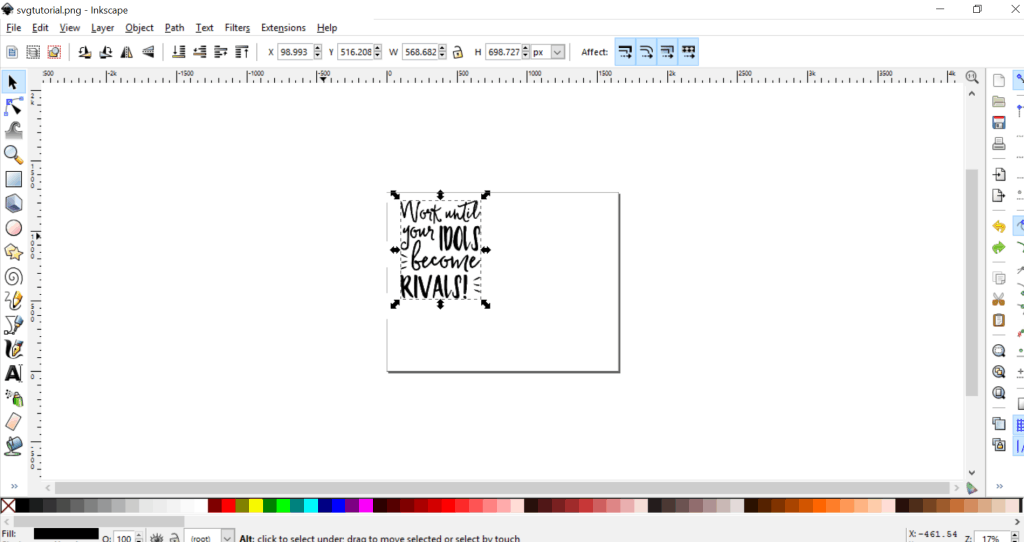
- Press “Control + A” to select all. You’ll notice that arrows appear around your project.
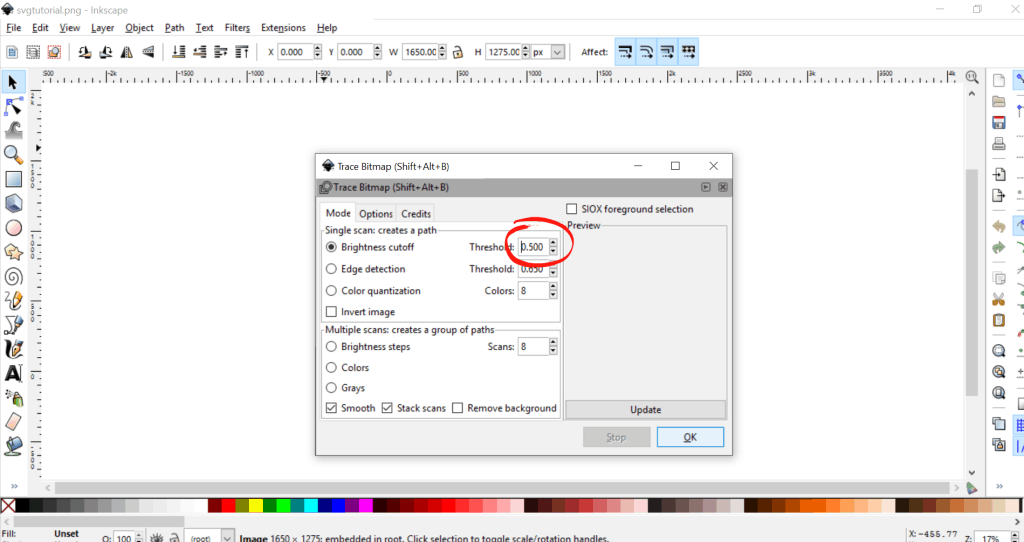
- From the menu at the top of Inkscape, go to “Path”, then “Trace Bitmap”. A pop up window will appear and you’ll will want to change the “Brightness cutoff” to .5 or higher. Then, click “Ok”. Close the “Trace Bitmap” box.
- Inkscape just worked it’s magic! It might not look different but you’ve now got two copies of your design. You’ll notice that the black arrows have moved and are now tightly around your design.
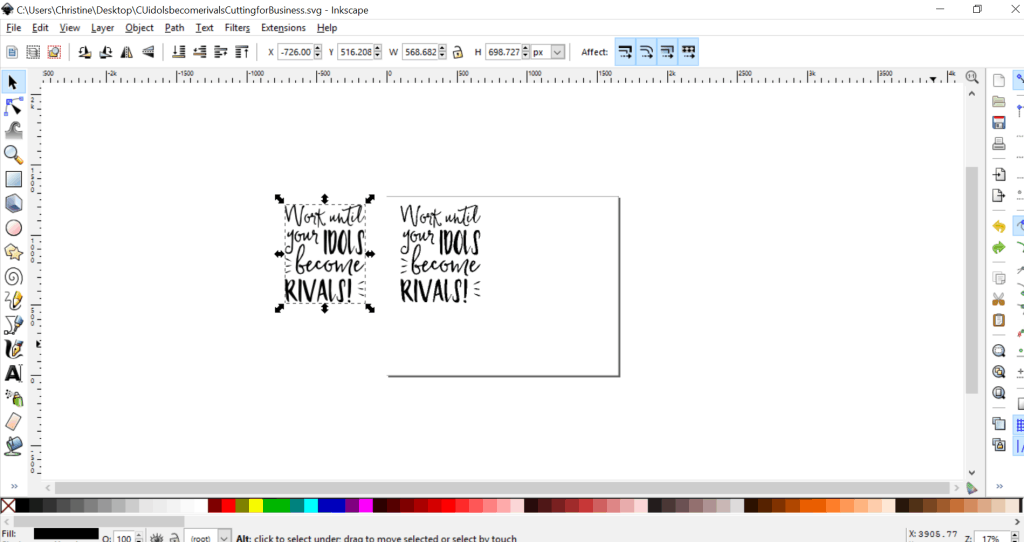
- Drag the top copy of the design over to reveal both designs. Delete the one in the back by selecting it and pressing your keyboard delete button. Drag your design back onto the project mat.
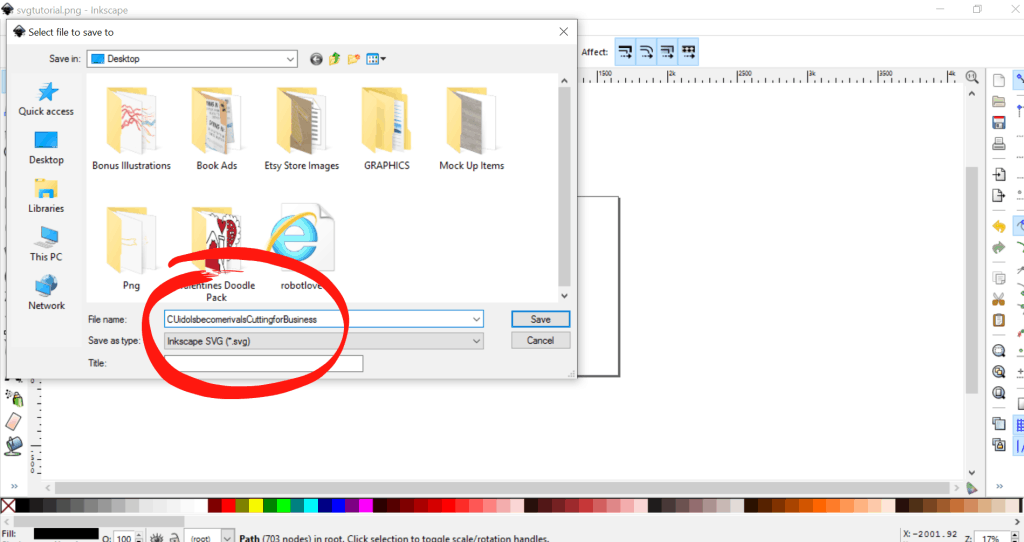
- Go to “File”, “Save As” to save your file. Be sure that “Inkscape SVG” is selected, name your file, and click “Save”.
That’s it, you are ready to go with your new SVG!
Since 2015, Christine Schinagl has been helping crafters start and run craft businesses through her blog, Cutting for Business. As a Silhouette and Cricut crafter herself, she has a unique take on what works and what doesn’t work in the craft business world. She also enjoys teaching other crafters how to create digital SVG designs, available through the Design with Me series.