• Home
  • Work with CfB
  • Contact
    • Bloglovin
    • Facebook
    • Instagram
    • Pinterest

Cutting for Business

  • New? Start Here!
  • Visit the Shop
    • Ebooks
    • Business Names
    • Craft Business Consultations
    • Order Forms
    • SVG Files
    • Etsy Shop
  • Join Craft Business Help
  • Must Have Products
  • Etsy Shop
  • Free Cut Files
  • Free Etsy Listings


Affiliate links may be present in the following article. For my full disclosure policy, see this link.
Additionally, as an Amazon Associate I earn from qualifying purchases.

Free Printable Car Decal Instructions for Your Silhouette or Cricut Business

Filed Under: Free Downloads for Your Business

Do you make and sell car decals with your Silhouette Cameo? I’ve seen a few car decals locally that people haven’t taken off the transfer paper when they applied the decal. I began thinking and decided that maybe the buyer didn’t realize it is meant to be removed.

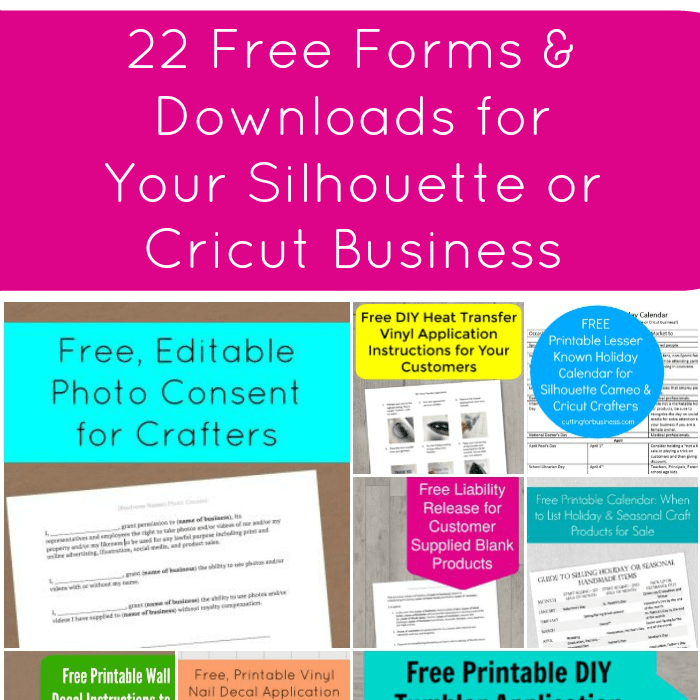
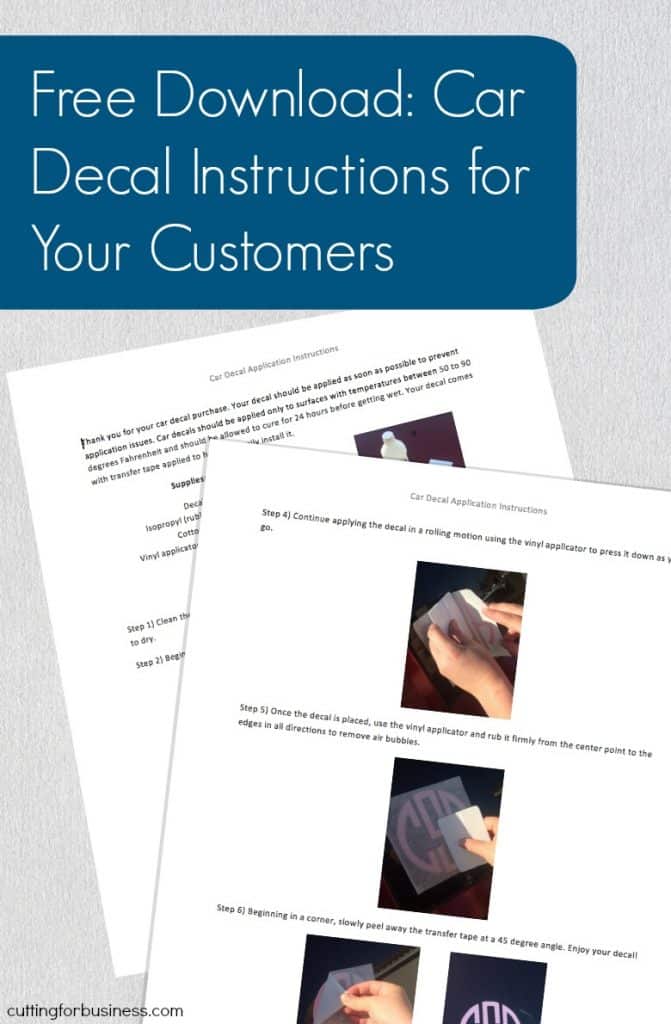
Today, I’m giving you an unbranded set of instructions to use when selling car decals made with your Silhouette or Cricut.

WHY YOU SHOULD INCLUDE A VINYL SQUEEGEE WITH DECAL ORDERS

If you’ve ever applied a vinyl decal, you know that your customer will need a vinyl squeegee. You can purchase a 10 pack of vinyl applicators at this link to send to your customers.

Remember to add the cost of the vinyl applicator and the shipping to your costs when pricing your decals. Also, be sure to advertise that your decals include instructions and an applicator – it’ll help put your Silhouette or Cricut business one notch above your competition.

Need help packaging your decals? See how I do it in this post.

Ready to download the instructions? First, save this image to Pinterest. Then, download the instruction set below.

Silhouette Cameo and Cricut Small Business Owners: Free Printable Car Decal Application Instructions to Give Your Customers - by cuttingforbusiness.com

Free Download: Car Decal Application Instructions

Download the unbranded car decal application instructions by clicking this link.

Related Posts

  • Free Shaped Printable Care Cards for Your Silhouette or Cricut BusinessFree Shaped Printable Care Cards for Your Silhouette or Cricut Business
  • Free Printable DIY Heat Transfer Vinyl Application InstructionsFree Printable DIY Heat Transfer Vinyl Application Instructions
  • Free Unbranded Printable Mug Application InstructionsFree Unbranded Printable Mug Application Instructions
  • Free Printable Care Cards for Your Silhouette or Cricut BusinessFree Printable Care Cards for Your Silhouette or Cricut Business
  • Free Printable Wall Decal Instructions for Your Silhouette or Cricut BusinessFree Printable Wall Decal Instructions for Your Silhouette or Cricut Business
  • Free ‘Officially a Teenager’ 13 Birthday SVG Cut FileFree ‘Officially a Teenager’ 13 Birthday SVG Cut File

Connect with Cutting for Business

  • Bloglovin
  • Facebook
  • Instagram
  • Pinterest

Get Cutting for Business in Your Inbox

Buy Books


Cutting for Business is a participant in the Amazon Services LLC Associates Program, an affiliate advertising program designed to provide a means for sites to earn advertising fees by advertising and linking to Amazon.com and affiliated sites. See the disclosures page for full disclosure information.


« How to Sell Crafts on Instagram
Free Printable Wall Decal Instructions for Your Silhouette or Cricut Business »

Comments

  1. Nicki says

    April 12, 2016 at 8:54 pm

    Just an idea. I made my own decal applicators by laminating my business card in a thick lamination sleeve.

    Reply
    • Christine says

      April 13, 2016 at 8:34 am

      Awesome Nicki! Great idea!

      Reply
  2. Mary Ward says

    April 29, 2016 at 4:15 pm

    I like your instructions, but I would add one more between 1 & 2 – I use masking tape to place my design on whatever I am going to transfer it to first, check alignment, make sure it is straight and then proceed to peel the backing tape off (folding back at the masking tape gives you access to the backing, remove the backing and it is still on the transfer tape), then you roll up or down depending on how you attached the design with the masking tape.

    Reply
    • Christine says

      May 1, 2016 at 9:00 pm

      Hi Mary! Yes, that’s the hinged method and it is great for larger decals. You can find a link to those instructions here. Have a great evening!

      Reply
  3. Sandi Smith says

    July 14, 2016 at 3:04 pm

    This might seem like a stupid question, but I was wondering if you use the backing paper from the Oracal vinyl (or whatever brand it is) or do you actually transfer the decal to the transfer backing paper when sending it? I tend to group things tightly to save space so it is really hard to cut around the vinyl backing paper but if I cut the transfer tape to 1/4″ more than the design and then peel the vinyl off its backing and attach it to the transfer backing, it looks much neater. Does that, however, damage the “stickiness” or whatever it is called by moving the vinyl to a different backing? I hope that makes a little sense.

    Reply
    • Christine says

      July 14, 2016 at 8:25 pm

      Hi Sandi! First, no stupid question. I usually back off grouping so tightly so that I can leave the original vinyl backing on the decal. I don’t think it would hurt to move it to a transfer tape.

      Reply
  4. Mary Ward says

    July 14, 2016 at 11:48 pm

    I have been doing vinyl transfers onto cars and Motorcycles. leave the final on the original backing, then use the transfer tape on top. position the whole piece onto the what you are going use another piece of tape or something to position, lift it up, take off the original backing, then slowly, roll the decal down as you use your flat edge to press it to the window, or ?, then make sure it is pressed down all over, you then pull the transfer tape, back off, by pulling it across itself (pick up end, then move in the direction of the decal, and go towards the other end. careful to not pull up the decal. and you should be good.

    Reply
    • Christine says

      July 18, 2016 at 8:24 am

      Thanks for sharing, Mary!

      Reply
  5. terr gillard says

    September 30, 2016 at 8:04 pm

    Can you tell me which transfer tap you prefer?

    Reply
    • Christine says

      October 3, 2016 at 12:47 pm

      I use both paper and clear, depending on the project. You can find links to the ones I buy on this page: https://cuttingforbusiness.com/my-favorite-silhouette-cameo-tools/. Hope that helps!

      Reply
  6. Jenifer says

    January 23, 2017 at 10:09 am

    Thank you so much for this! You are very kind.

    Reply
    • Christine says

      January 23, 2017 at 3:15 pm

      My pleasure!

      Reply
  7. Brooke says

    April 11, 2017 at 4:26 pm

    This is super sweet and generous for you to offer. Thank you!!!

    Reply
    • Christine says

      April 12, 2017 at 7:52 am

      You’re welcome, hope they work out well!

      Reply
  8. Christy says

    May 24, 2017 at 12:08 am

    Question. Any special care required for cut outs once they are applied? Specifically to a trailer bumper. Thanks!

    Reply
    • Christine says

      May 25, 2017 at 7:48 am

      No, no special care after application.

      Reply
  9. Lezlie says

    September 26, 2017 at 11:48 pm

    My husband is a semi truck driver and I was thinking that I could run a side business making decals for trucks. I know ZERO about these machines. Can I make my own designs? What type of vinyl is available for this type of heavy duty application? What is the largest size able to be made? Can they be made to have several different colors in the same design? Where can I go to get “Silhouette for Dummies”?
    Thanks,

    Reply
    • Christine says

      September 27, 2017 at 8:17 am

      Hello! That sounds like a great niche! Yes, you can make you own designs. Most adhesive vinyls will stand up to being applied onto a truck. The largest you can cut with a Silhouette Cameo is 12 inches by 10 feet, although larger designs can be cut in sections. Yes, you can have multiple color designs. There are plenty of YouTube videos, blogs, and Facebook user groups for help. I’d recommend a Silhouette Cameo 3 which you can view here. Thanks!

      Reply
  10. Jenna says

    December 30, 2017 at 10:38 am

    Thank you so much, Christine! I just got a Maker for Christmas and I am enjoying getting lost down the rabbit hole on your blog! 😉 – Jenna

    Reply
    • Christine says

      January 4, 2018 at 9:25 am

      Congrats on your new machine!

      Reply
  11. Kallie says

    June 27, 2018 at 6:42 am

    What type of vinyl do you recommend for Window decals?

    Reply
    • Christine says

      September 24, 2018 at 9:51 am

      Any type of permanent vinyl. For Oracal, 651 is recommended.

      Reply
  12. Cassie Kinman says

    July 13, 2019 at 12:00 am

    I have recently tried to explore making car decals. When trying to apply these to my car I couldn’t get the vinyl to adhere to the window. I cleaned the window, let it dry completely, then placed the decal on the window and made sure to run my vinyl tool over it. However, when trying to peel the transfer tape back the decal wouldn’t stick. Do you know why that could be? Do I need to let the decal sit for a while? Should I look into different transfer tape(currently using the cricut transfer tape)?

    Reply
    • Christine, Cutting for Business says

      August 25, 2019 at 2:49 pm

      The Cricut Transfer Tape is definitely very sticky. You can stick it to a towel or your clothes a few times to make it less sticky, or I prefer Greenstar: https://amzn.to/2L5Uc5C

      Reply
  13. Renae Foltz says

    April 23, 2020 at 10:39 pm

    Do you have a printable instructions for when you apply vinyl decal to a door? Like the ones that say, hello.

    Reply
    • Christine, Cutting for Business says

      May 6, 2020 at 10:32 am

      Yes. https://cuttingforbusiness.com/free-printable-wall-decal-instructions-for-your-silhouette-cameo-business-2/

      Reply

Comments on Cutting for Business are moderated before posting. This ensures that this blog does not get overrun by spam or inappropriate comments. Please allow up to 7 days before you'll see your comment. Thanks, Christine

Leave a Reply Cancel reply

Your email address will not be published. Required fields are marked *

Make Money

Love to craft and ready to make some money? You're in the right place! Whether you own a Silhouette Cameo, a Cricut Maker, a Silhouette Curio, a Cricut Joy, or even a Glowforge, get tips and tricks to make an income with your machine.


Ready to Buy Craft Business Names


Free Fonts

Copyright © 2021 · Cutting for Business
Disclosures · Privacy Policy
This site is not affiliated with Silhouette America or Cricut (Provo Craft & Novelty, Inc.)

This website uses cookies to improve your experience. We'll assume you're ok with this, but you can opt-out if you wish. Cookie settingsACCEPT
Privacy & Cookies Policy

Privacy Overview

This website uses cookies to improve your experience while you navigate through the website. Out of these cookies, the cookies that are categorized as necessary are stored on your browser as they are essential for the working of basic functionalities of the website. We also use third-party cookies that help us analyze and understand how you use this website. These cookies will be stored in your browser only with your consent. You also have the option to opt-out of these cookies. But opting out of some of these cookies may have an effect on your browsing experience.
Necessary
Always Enabled

Necessary cookies are absolutely essential for the website to function properly. This category only includes cookies that ensures basic functionalities and security features of the website. These cookies do not store any personal information.

Non-necessary

Any cookies that may not be particularly necessary for the website to function and is used specifically to collect user personal data via analytics, ads, other embedded contents are termed as non-necessary cookies. It is mandatory to procure user consent prior to running these cookies on your website.

SAVE & ACCEPT