Tailwind Tribes: What Are They and How They Can Help Your Craft Business
Affiliate Disclosure: As an Amazon Associate I earn from qualifying purchases. Additionally, I may get commissions for purchases made through other affiliate links in this post.
I’ve talked about Tailwind in my Pinterest Boot Camp book before. Today, I wanted to share with you one of their newer features: Tailwind Tribes.
What is Tailwind?
Tailwind is a Pinterest management company that allows you to schedule pins, find content to pin, and generally manage your Pinterest profile. As a side note, Tailwind has also gotten into Instagram management. I have not explored their features for Instagram yet. This post focuses on the Pinterest aspect of Tailwind Tribes only.
What are Tailwind Tribes?
Tailwind Tribes are groups of Pinterest users that promote each other’s content. Generally, in order to share one of your pins to the group, you must first share another member’s pin. There are Tailwind Tribes to suit every need from travel to cooking to Etsy sellers and crafters.
Let’s take a look at Tailwind Tribes in action.
How to Use Tailwind Tribes
- Visit Tailwind’s website. Then, sign up through the ‘Signup with Pinterest’ button.

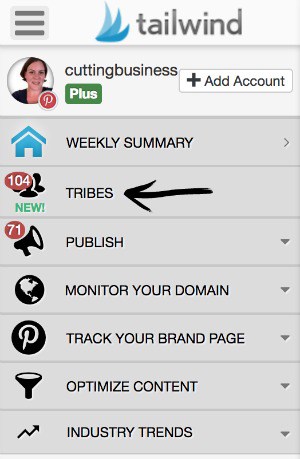
- Once logged in, navigate to Tribes on the left navigation menu.
- The first thing you are going to want to do is to look for Tailwind Tribes related to your business. To search, use type keywords into the search bar. Some example keywords could be, ‘Handmade’, ‘Etsy’, ‘Rustic’, ‘Jewelry’, ‘Home Decor’, and so on.
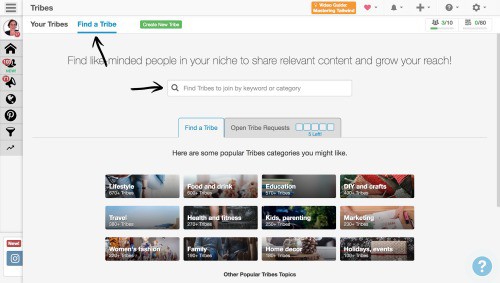
- Before you join a Tailwind Tribe, choose wisely, you can only have 5 tribe requests open at a time. Personally, I’m selective on the Tailwind Tribes that I join and always look at the rules before applying.
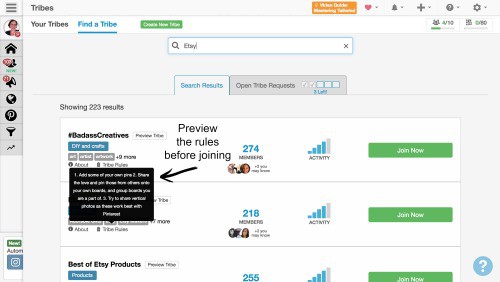
- After you’ve joined (and been approved if needed), begin to add your content. I find it easiest to have the Tailwind App browser extension installed on my computer (Google Chrome). Here’s a link to download it. Then, I visit my Pinterest profile and click on the pin I want to add to a Tailwind Tribe. Next, click the ‘Schedule’ button:
 Then the ‘Add to Tribes’ button:
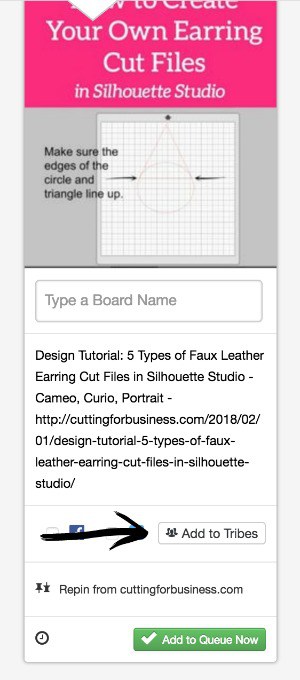 Lastly, choose the appropriate Tailwind Tribe. (Tip: The red triangle indicates that I’ve already added that pin to that specific tribe.)
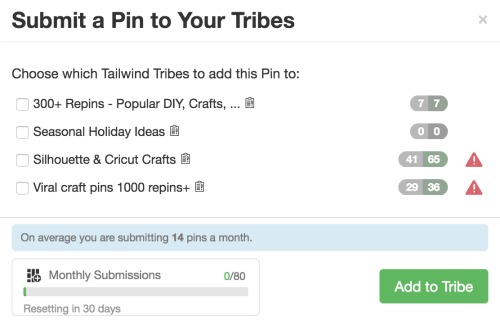 If you already have pins loaded in Tailwind, you can also schedule directly from there.
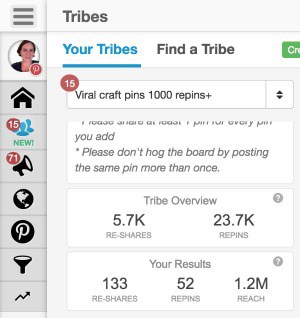
 - Repeat the process for as many pins as you’d like to add to the Tailwind Tribe. As you continue using Tailwind Tribes, you can check your statistics from each tribe under ‘Tribe Overview – Your Results’.
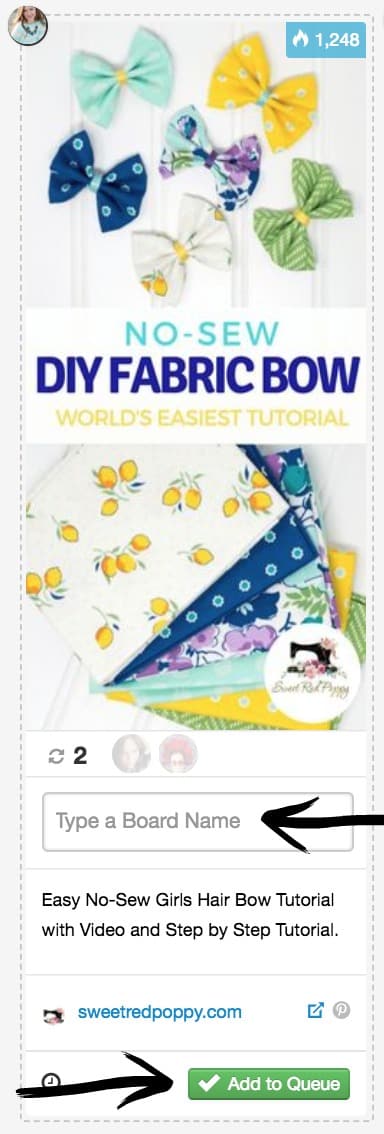
- For most Tailwind Tribes, you’ll also need to share fellow Tribe content. To do so: Choose a pin from a fellow tribemate. Choose what board you’d like to add it to, then click the ‘Add to Queue’ button. In case you are wondering, the number in blue at the top is the number of times a pin has been pinned on Pinterest. If you’d like to check the source of the pin before repinning it, click the blue link near the bottom.
While Tailwind Tribes are relatively new, not only have I experienced growth of the blog through them; small craft businesses have seen dramatic effects as well.
Tailwind Tribes Pricing
It’s good to know that Tailwind Tribes is free… for the time being. By joining now, you can ensure a free forever account that allows you 10 tribe memberships and up to 80 pins a month. Beyond that, you’d need a paid plan: 
Psst, if you want to try out Tailwind’s other features or a power up for Tribes, here is a link for a $15 credit. (New users only.)
Was this tutorial helpful? Save it to Pinterest.
Since 2015, Christine Schinagl has been helping crafters start and run craft businesses through her blog, Cutting for Business. As a Silhouette and Cricut crafter herself, she has a unique take on what works and what doesn’t work in the craft business world. She also enjoys teaching other crafters how to create digital SVG designs, available through the Design with Me series.
