Tutorial: How to Use Font Glyphs in Silhouette Studio Version 4
Affiliate Disclosure: As an Amazon Associate I earn from qualifying purchases. Additionally, I may get commissions for purchases made through other affiliate links in this post.
After yesterday’s post on 30 curly, swirly, commercial use fonts, you might need help using glyphs (those alternate letters) that are included with your OTF fonts. I’ve actually covered this is in previous post, but with the release of Silhouette Studio version 4 – it’s even easier now!
Read this first!
This tutorial covers Silhouette Studio version 4 and higher, but glyph support is only included with Designer Edition, Designer Edition Plus, and Business Edition.
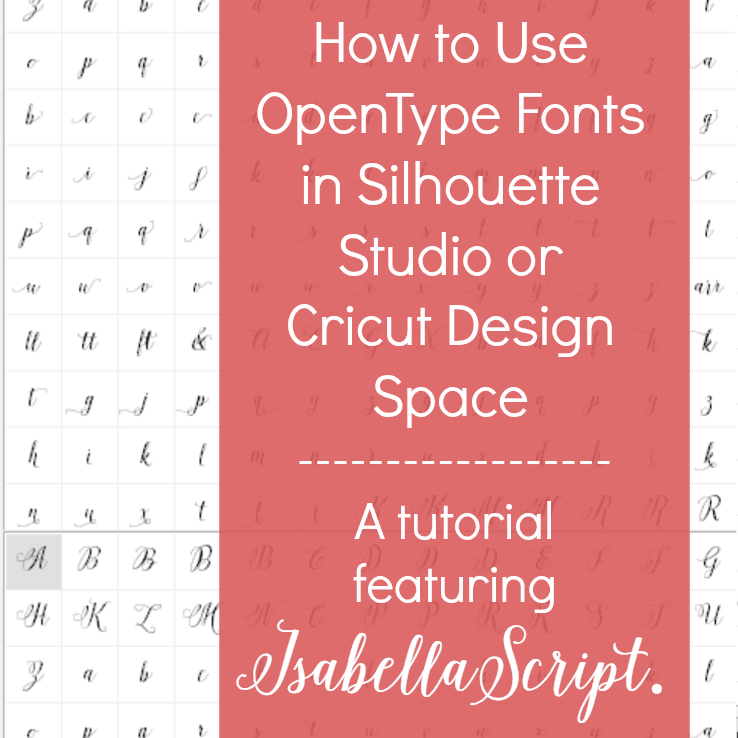
If you are using the basic (free) version of Silhouette Studio or Cricut Design Space, click here for a Windows tutorial or click here for a Mac tutorial.
Just an FYI: You’ll only find glyphs in OTF fonts. Learn more in this post.
How to Use the Glyph Panel in Silhouette Studio Version 4 – Windows & Mac
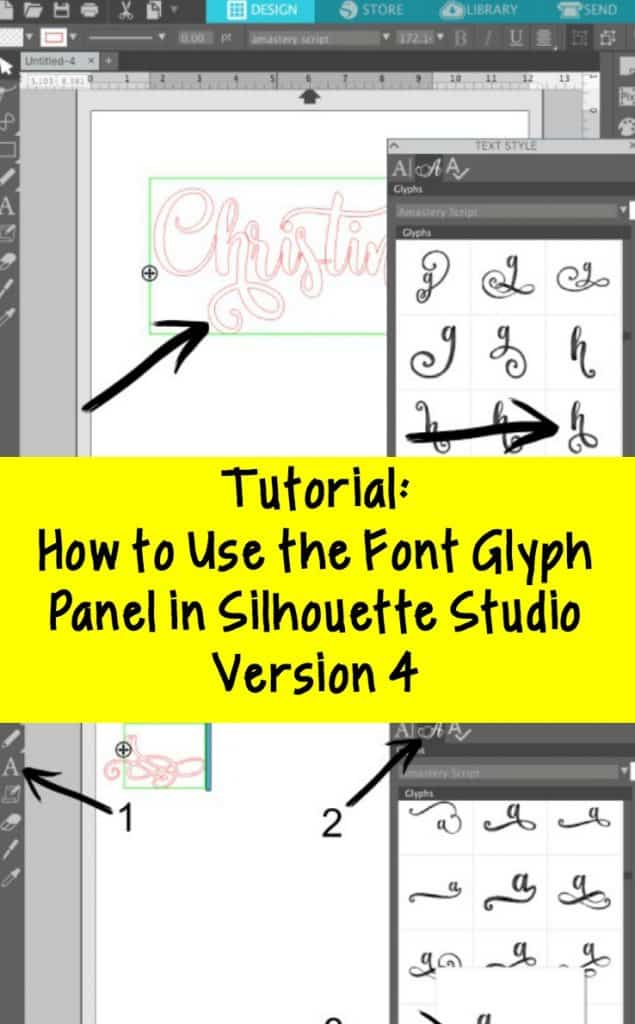
- Open Silhouette Studio and type a word in your favorite OTF font that includes glyphs. This tutorial features Amastery Script.

- On the right hand side, click the text style panel tool. It’s an ‘A’ and I’ve circled it in the screenshot below. (You can also go to ‘Panels’, ‘Text Style’ from the navigation menu at the top.)

- Now that you’ve got the text panel open, click the glyph icon near the top. From the glyph panel, you can see all the glyphs for a given font. (Tip: You can make them bigger using the slider at the bottom.)

- Highlight the letter you want to change in the word you typed, then click on the glyph to replace it. In this example, I changed the ‘h’ in Christine to a fancier ‘h’.

- That’s it! If you’d like to use a glyph and not necessarily substitute a letter, you can do that by selecting the text tool, opening the glyph panel, and choosing a glyph. It’ll pop up on your mat as shown in the screenshot below.

Was this tutorial helpful? Save it to Pinterest!

Since 2015, Christine Schinagl has been helping crafters start and run craft businesses through her blog, Cutting for Business. As a Silhouette and Cricut crafter herself, she has a unique take on what works and what doesn’t work in the craft business world. She also enjoys teaching other crafters how to create digital SVG designs, available through the Design with Me series.


