Tutorial: How to Set Up a Facebook Shop
Affiliate Disclosure: As an Amazon Associate I earn from qualifying purchases. Additionally, I may get commissions for purchases made through other affiliate links in this post.
Ready to start selling crafts on Facebook? This page will show you how to set up a Facebook Shop.
Tutorial: How to Set Up a Facebook Shop
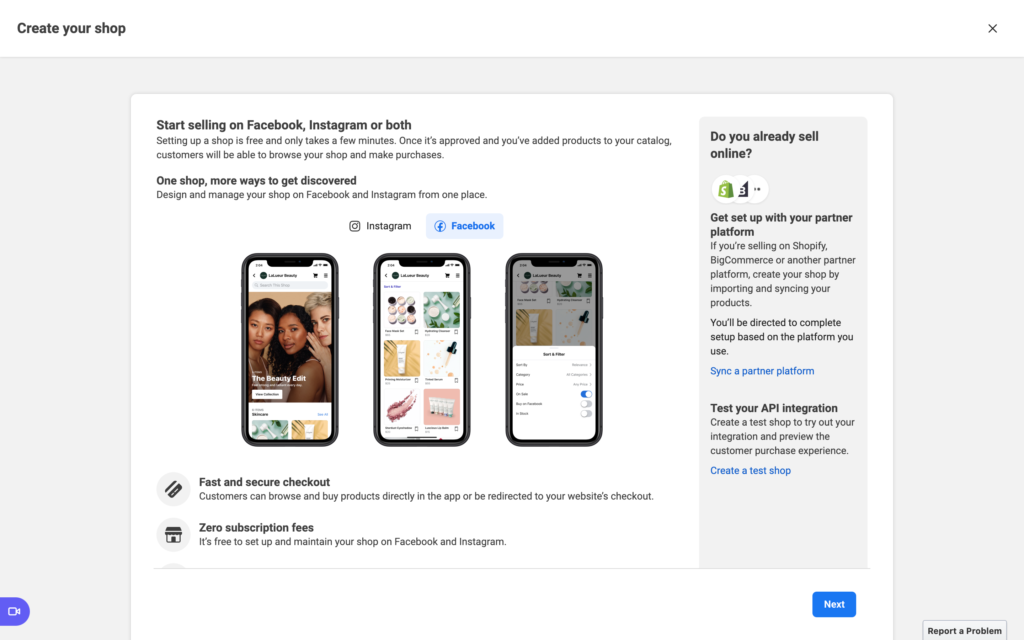
- Visit the Create Your Shop page on Facebook. Read the information and click the ‘Next’ button near the bottom of the page.
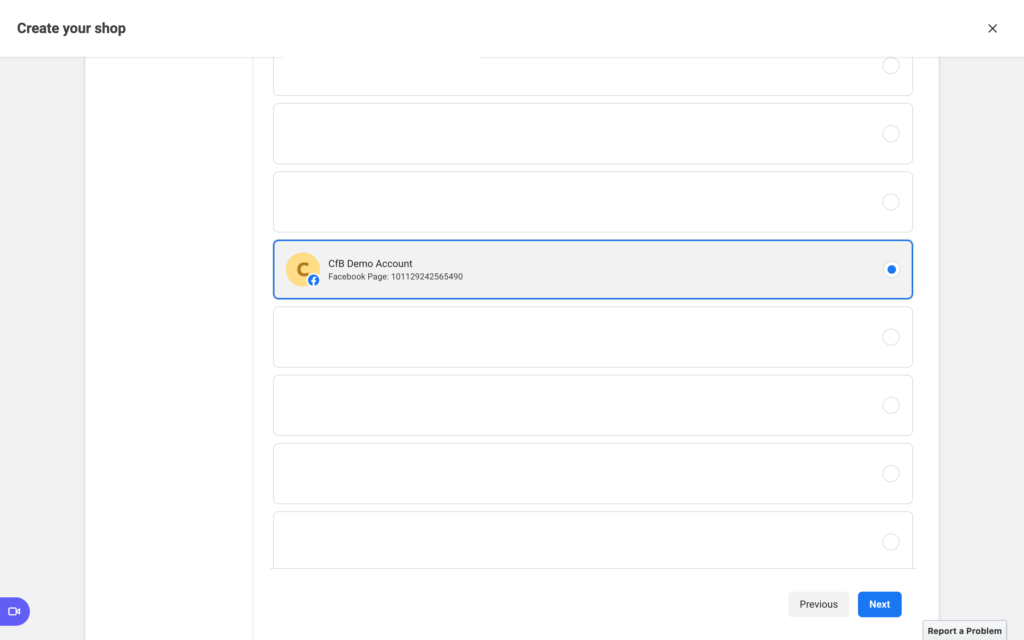
2. Choose your Facebook Page. If you have multiple pages, you may see several pages listed. If you do not have a Facebook Page, choose ‘Create a new Page’. Click the ‘Next’ button.
3. Choose your business account. If you do not have one, choose ‘Create a new Business Account’. Click the ‘Next’ button.
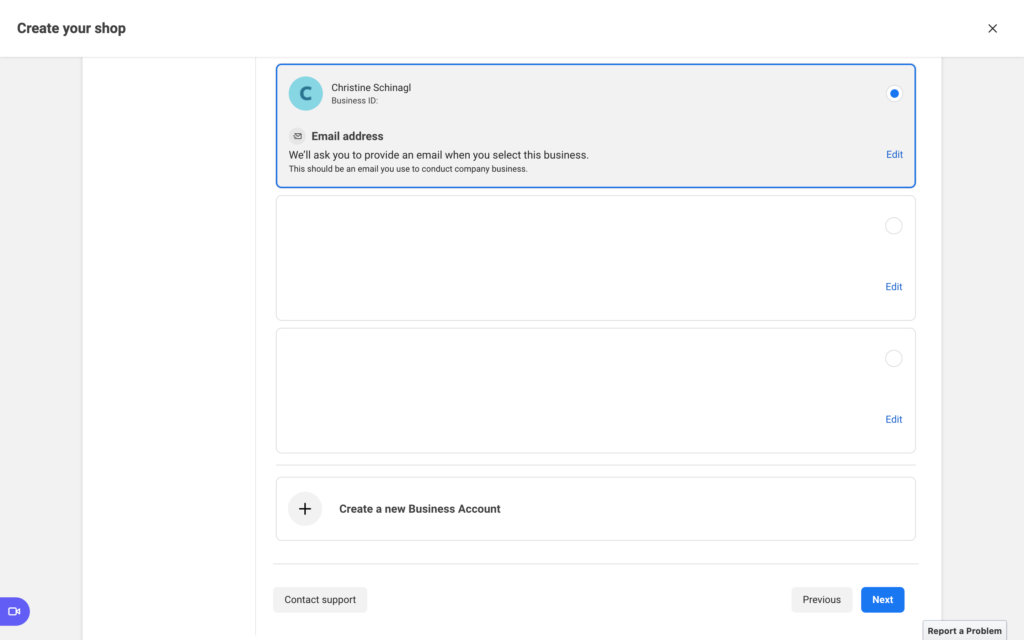
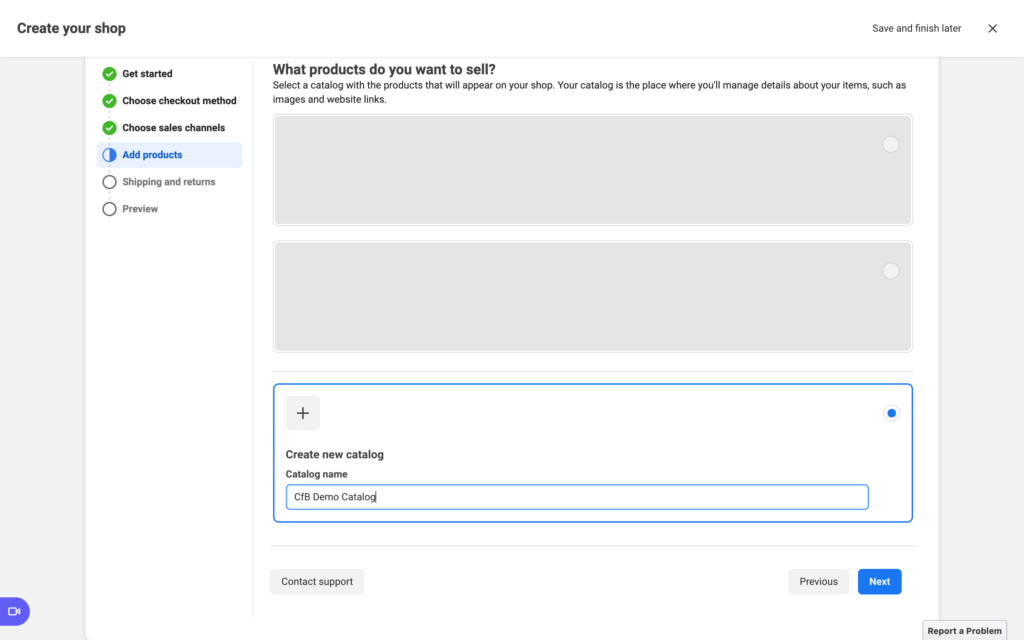
4. If you’ve previously uploaded products, select your catalog. If not, select ‘Create new catalog’ and give it a name. Then, click the ‘Next’ button.
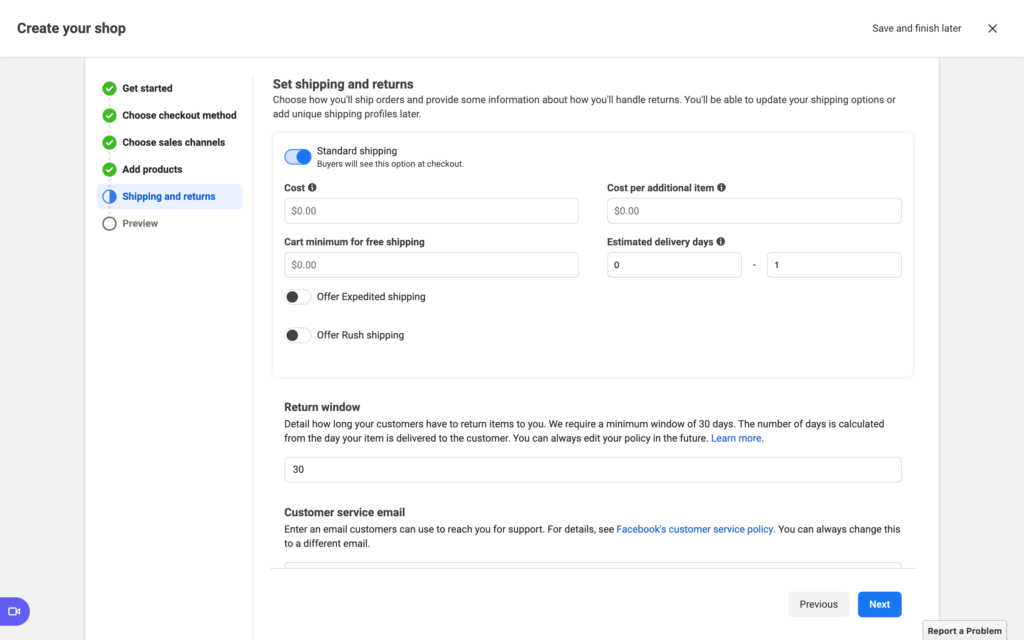
5. Set your shipping preferences, return window, and customer service email address. Click the ‘Next’ button.
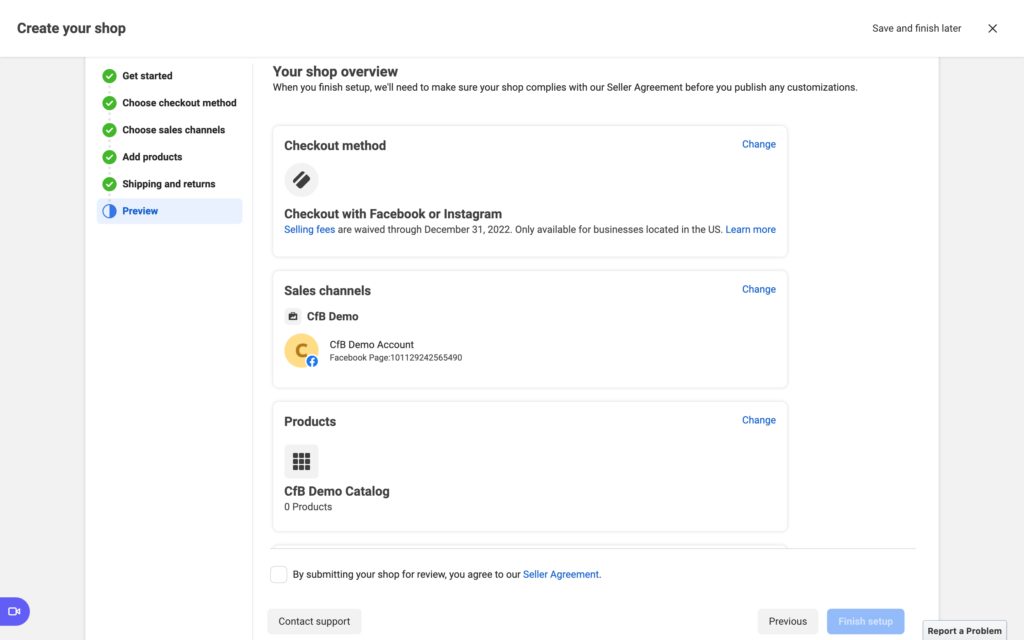
6. Verify the ‘Your shop overview’ page for accuracy. Correct anything that needs correcting. Read the Seller Agreement, then agree to it. Click the ‘Finish setup’ button.
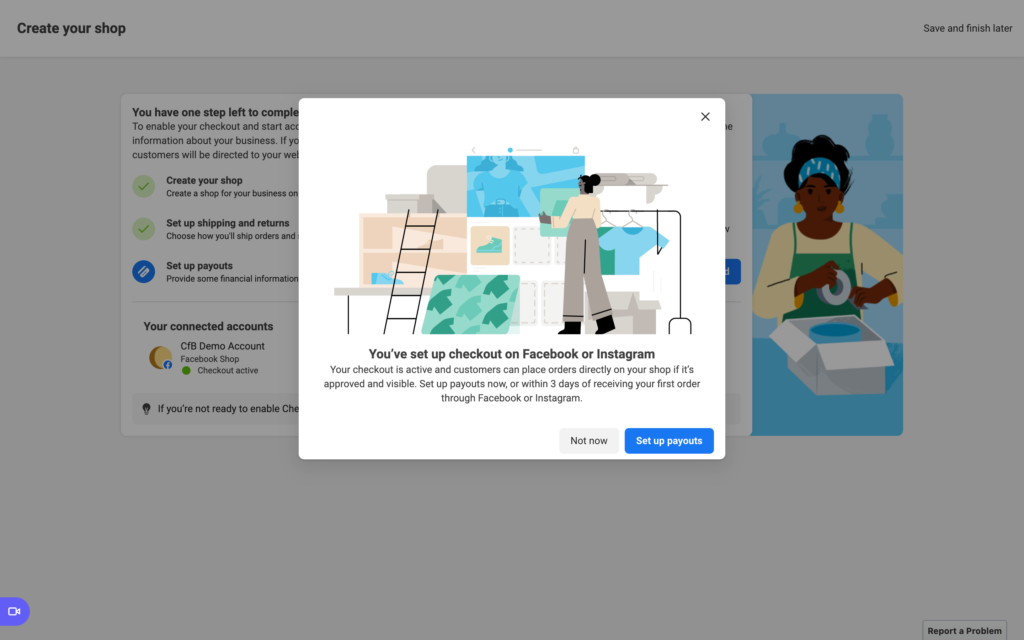
7. Click the ‘Set up payouts’ button to tell Facebook where to send the money you make. If you do not want to set up payouts now, you can do it within 3 days of receiving your first order.
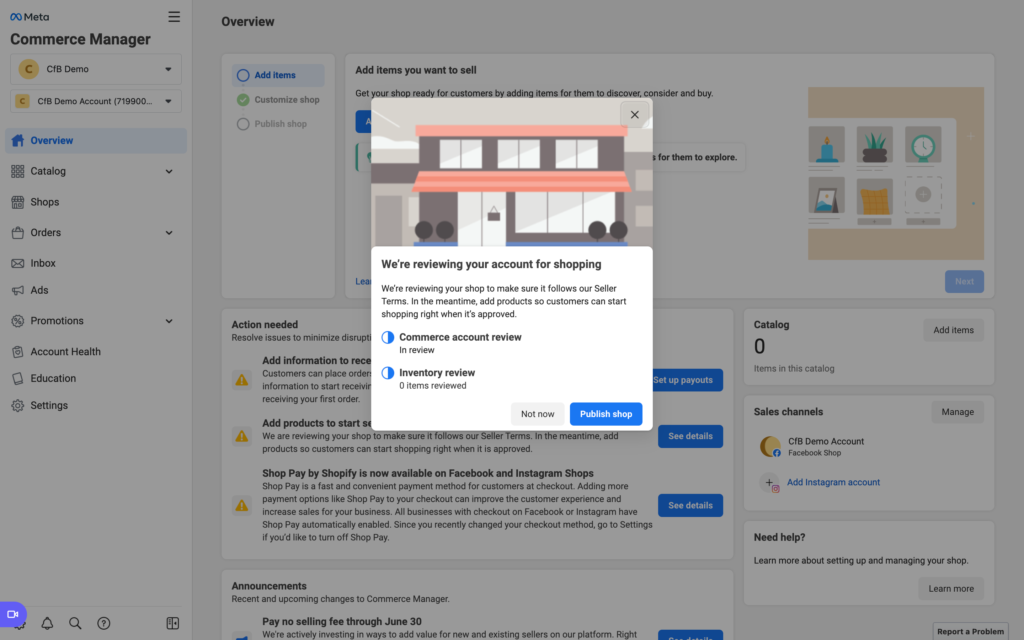
8. Your shop is under review. You can choose to publish your shop now, or wait until after it has been reviewed. If you choose to publish now, it won’t be shown until after it’s been reviewed. Choose either the ‘Not now’ or ‘Publish shop’ button.
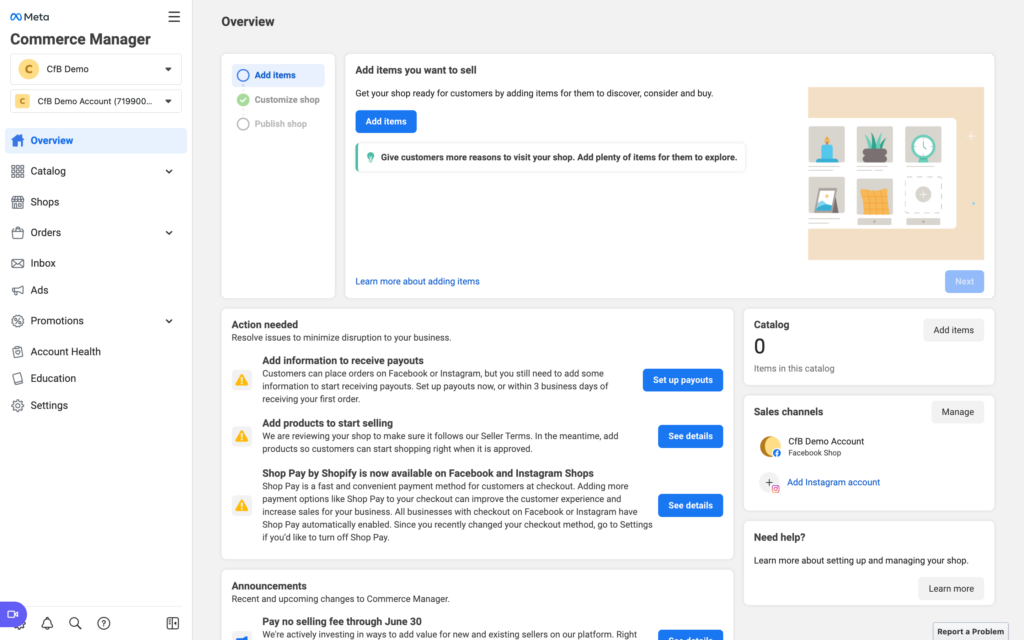
9. Now that you are set up and being reviewed, it is time to add products. Click the ‘Add items’ button.
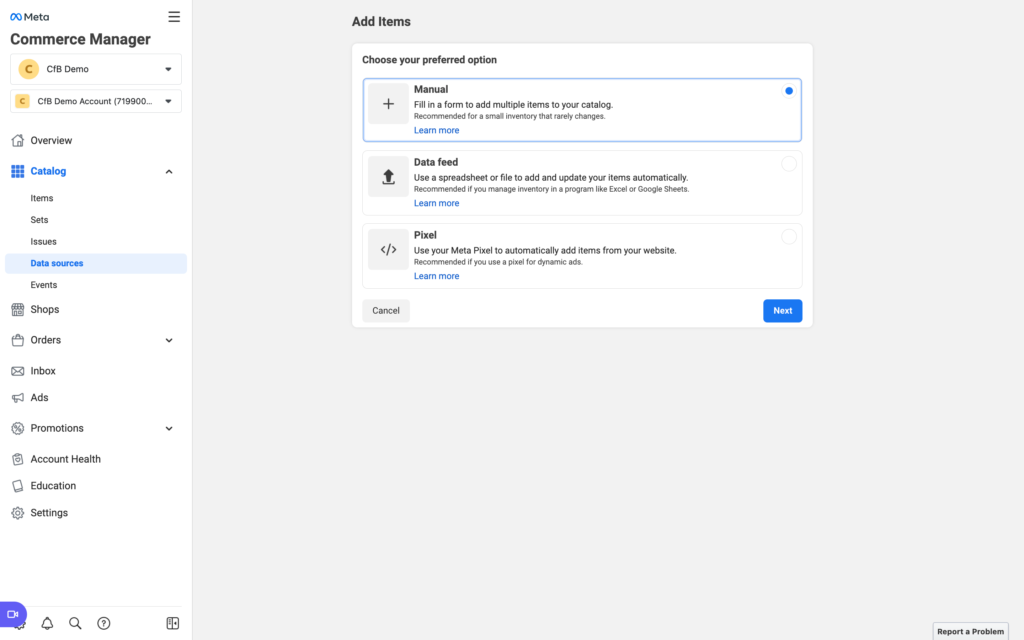
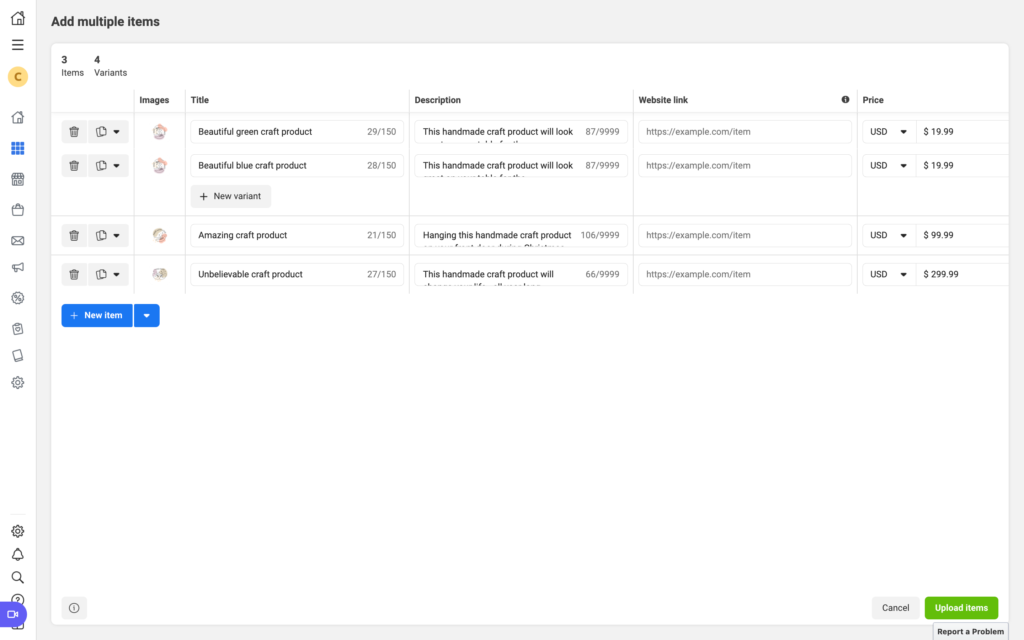
10. You can choose to add products manually, through a spreadsheet, or automatically off your website. I’ll show you how to manually add them. Select ‘Manual’ then click the ‘Next’ button.
11. Enter the details of your product. You’ll need to add:
- Images: You can add multiple images. All images should be at least 500px by 500px.
- Variants: You can add variants. For example: sizes or colors.
- Description: Write a good description for your product. I have tips for writing good product descriptions.
- Website link: This space allows you to add a link to the product on your website.
- Price: Enter your price.
Click the ‘Upload items’ button when you are finished.
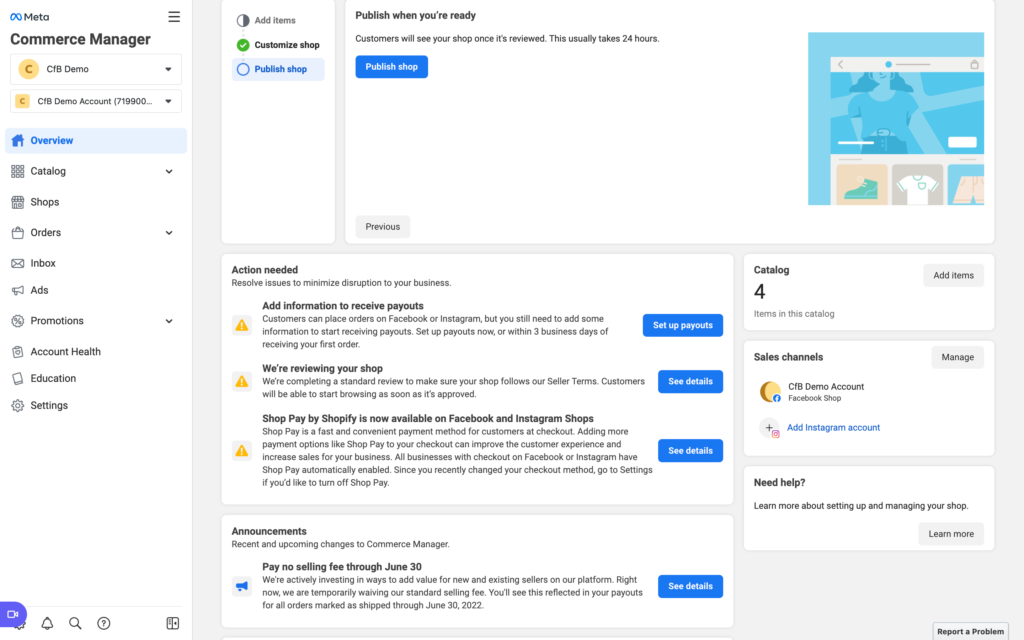
12. Facebook Commerce Manager gives you a nice overview of your shop. The ‘Action needed’ section provides a to do list of things for you to do.
A Few Other Things
Before you head to create your own Facebook Shop, here are a few odds and ends:
- From the ‘Overview’ screen, under ‘Sales Channels’ you can put your shop on Instagram and Facebook Marketplace.
- Under ‘Promotions’, the marketing list gives you an option to allow customers to subscribe to your list. You can download subscribers from this section as well.
- Under ‘Education’, you can get help and reach out to the Support team for account related issues.
When you have a few minutes, I recommend clicking around and exploring.
Since 2015, Christine Schinagl has been helping crafters start and run craft businesses through her blog, Cutting for Business. As a Silhouette and Cricut crafter herself, she has a unique take on what works and what doesn’t work in the craft business world. She also enjoys teaching other crafters how to create digital SVG designs, available through the Design with Me series.
