Silhouette Studio Tutorial: How to Draw 6 School Supplies
Affiliate Disclosure: As an Amazon Associate I earn from qualifying purchases. Additionally, I may get commissions for purchases made through other affiliate links in this post.
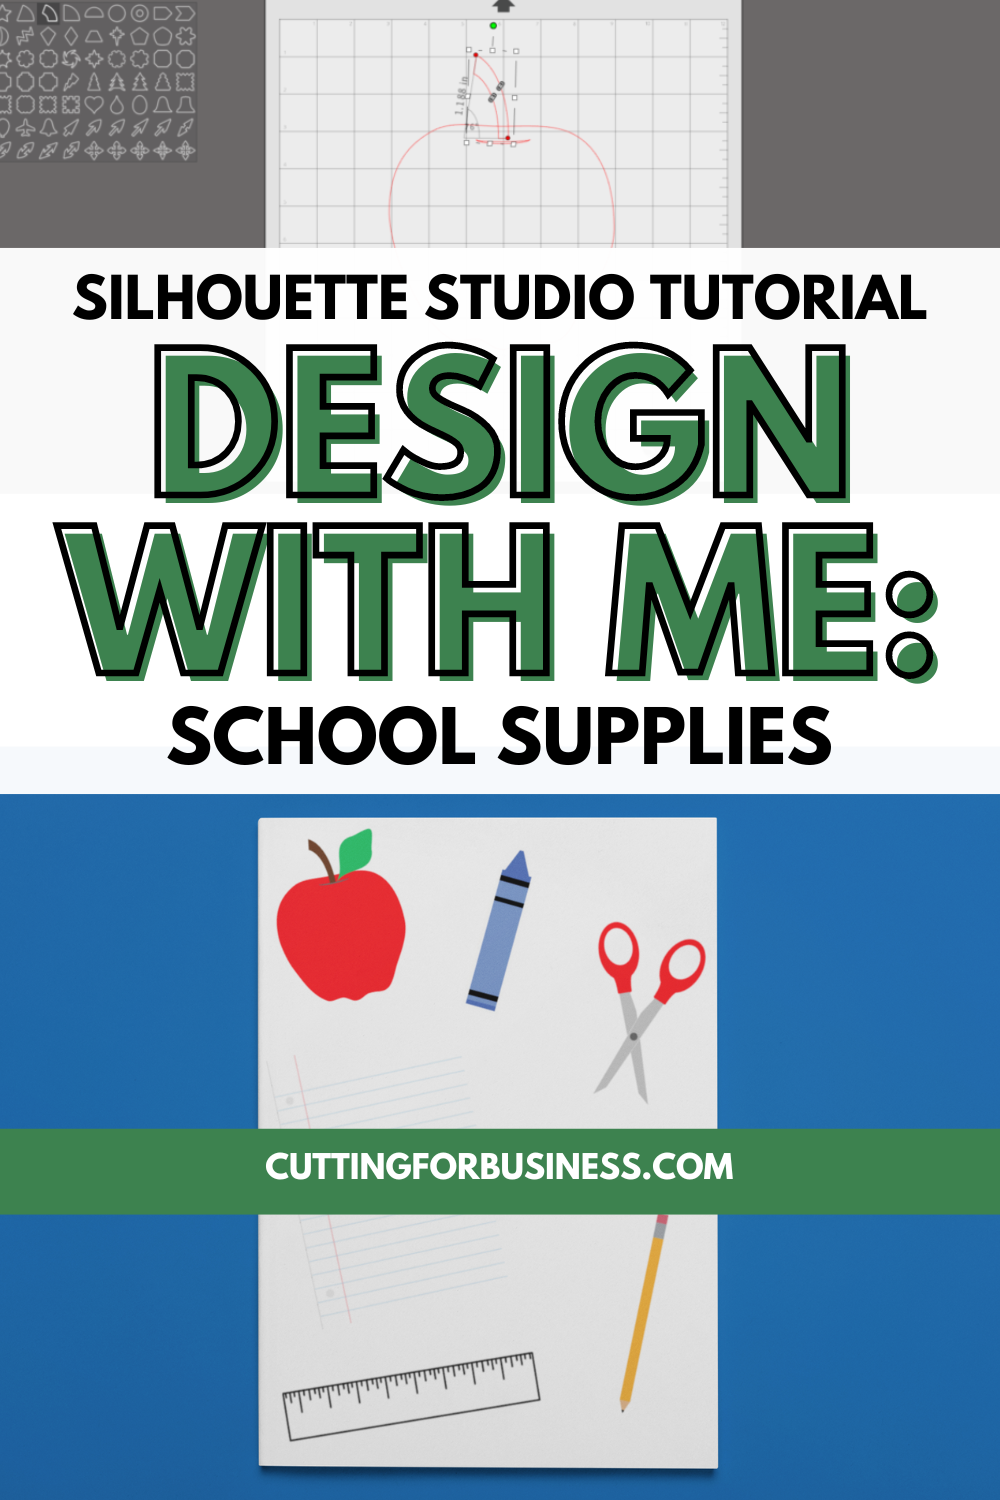
We are just weeks away from Back to School time! So, let’s take a look at how to draw school supplies right in Silhouette Studio. I think you’ll be surprised at how quickly and easily they come together.
About Design with Me Tutorials
Design with Me Tutorials are created with intermediate Silhouette Studio users in mind. It’s helpful to know the basics of designing in Silhouette Studio before starting the tutorials.
All Design with Me tutorials use Silhouette Studio Business Edition. If you do not have Silhouette Studio Business Edition, some tools may not be available in your Silhouette Studio Edition. Get Silhouette Studio Business Edition.
How to Draw 6 School Supplies
Mini Tutorial 1: How to Draw a Pencil
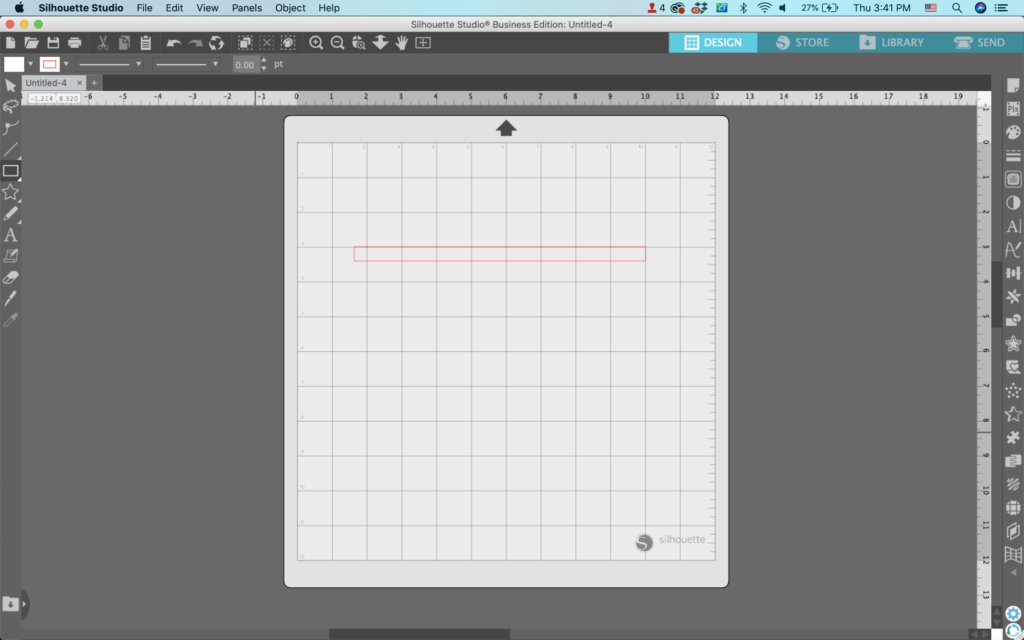
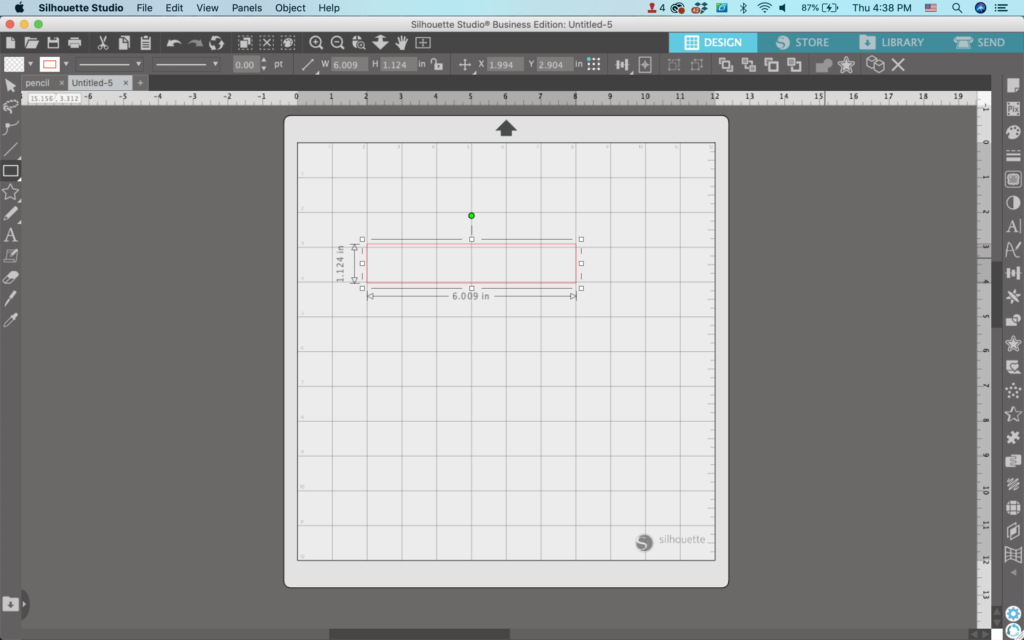
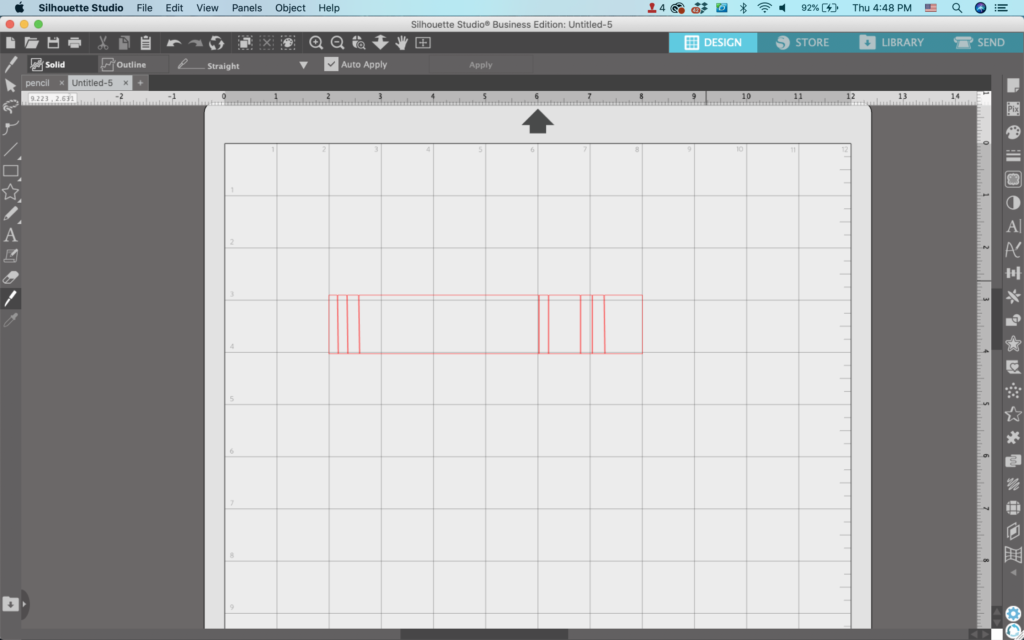
- Draw a long, skinny rectangle.
2. Use the knife tool and make three cuts. These will become the eraser, the metal band at the top, and the sharpened end.

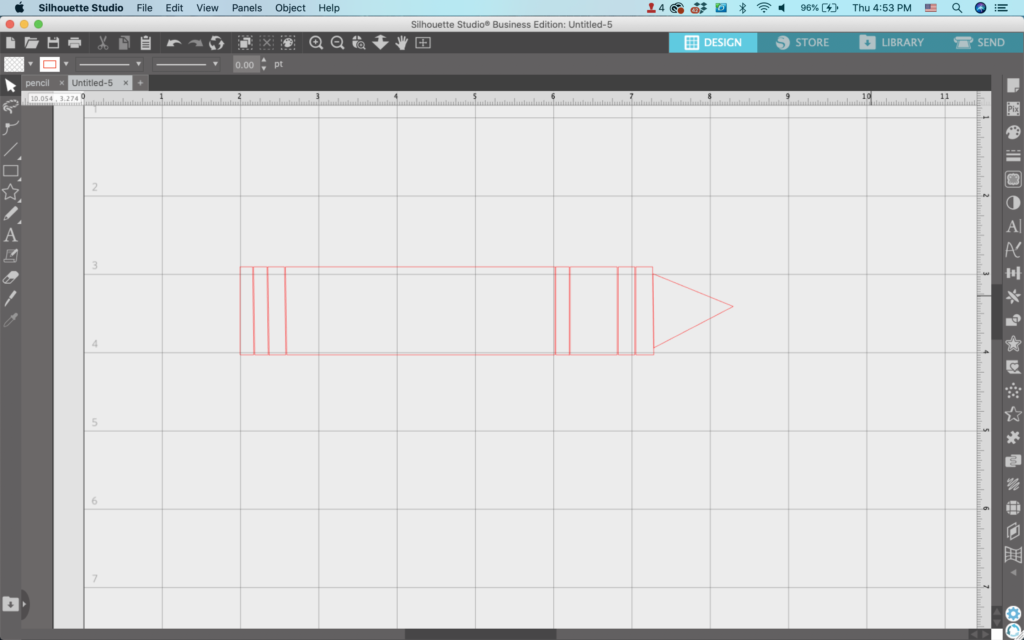
3. Use the knife tool again to make an X in the far right rectangle.
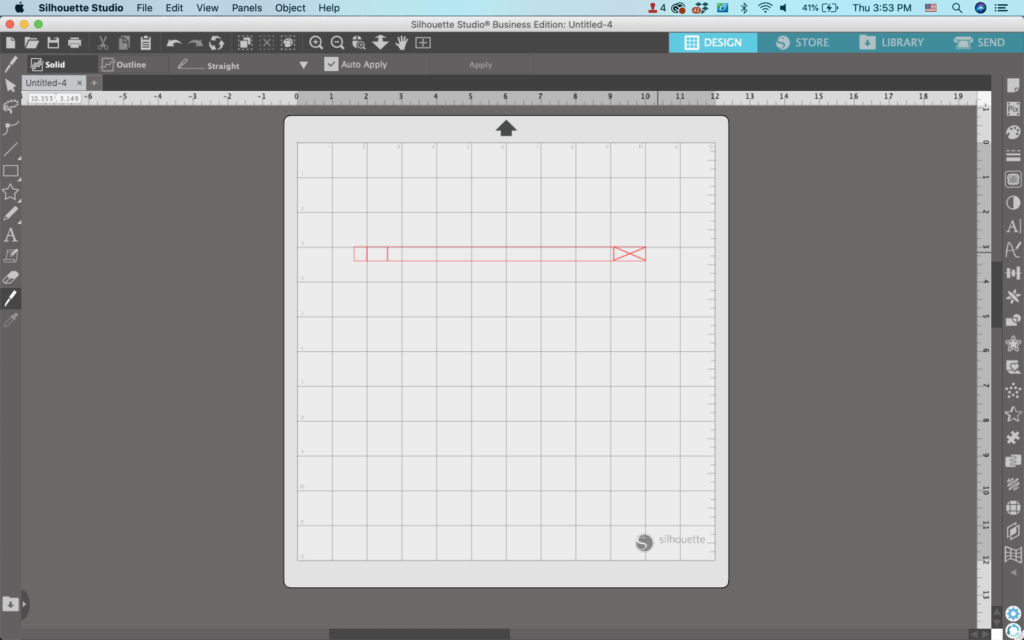
4. Delete three of the four triangles to make a point.

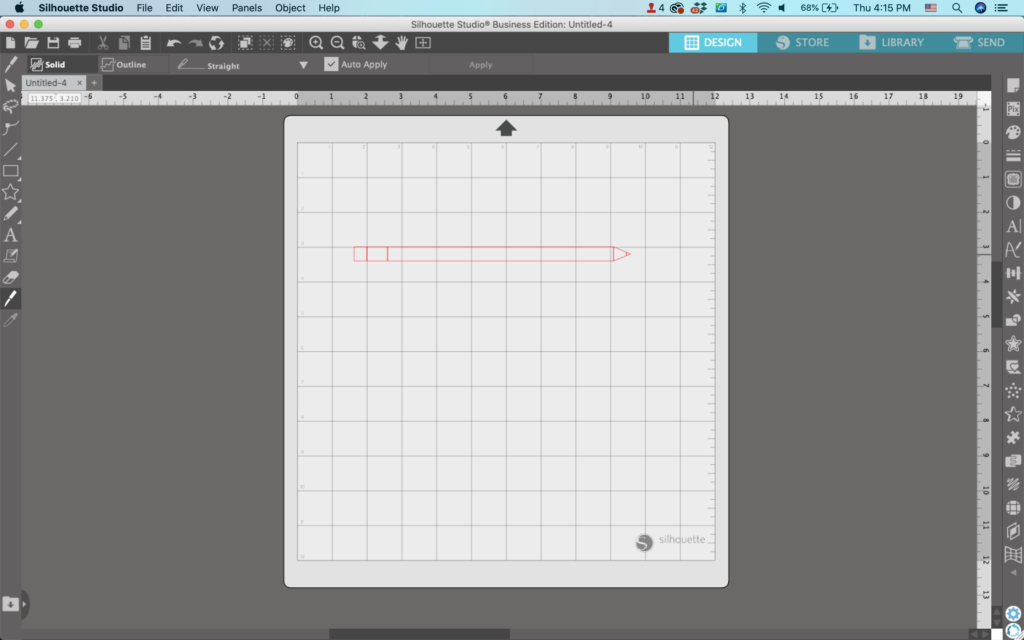
5. Use the knife tool one more time to create a lead point on the pencil.
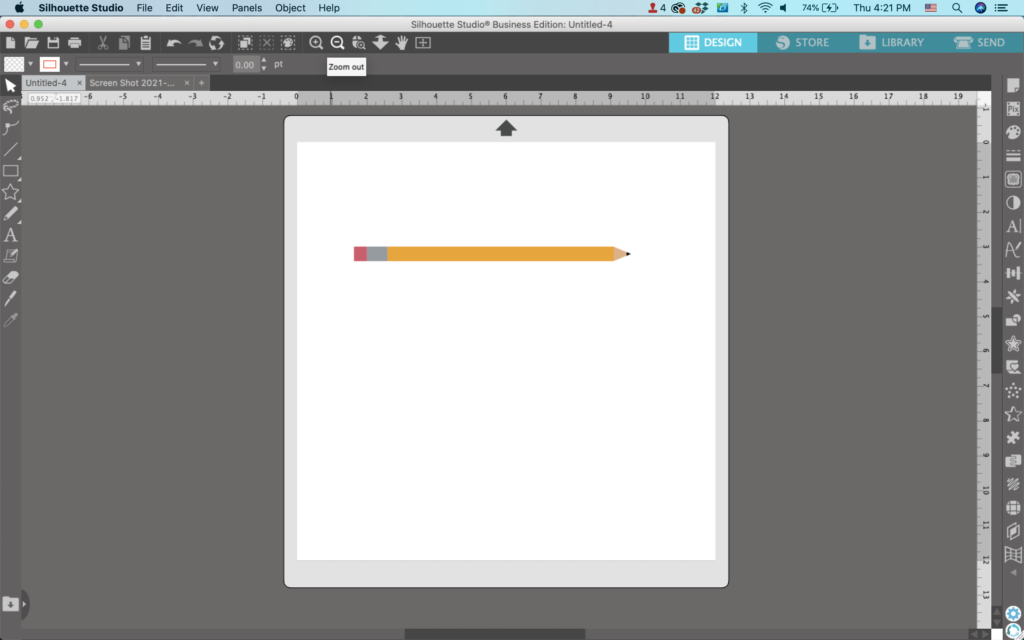
6. Make any final adjustments, group elements as needed, and fill the pencil with color.
Mini Tutorial 2: How to Draw a Crayon
- The crayon will come together a lot like the pencil we did above. First, draw a rectangle. Make it slightly thicker and chunkier than the pencil.
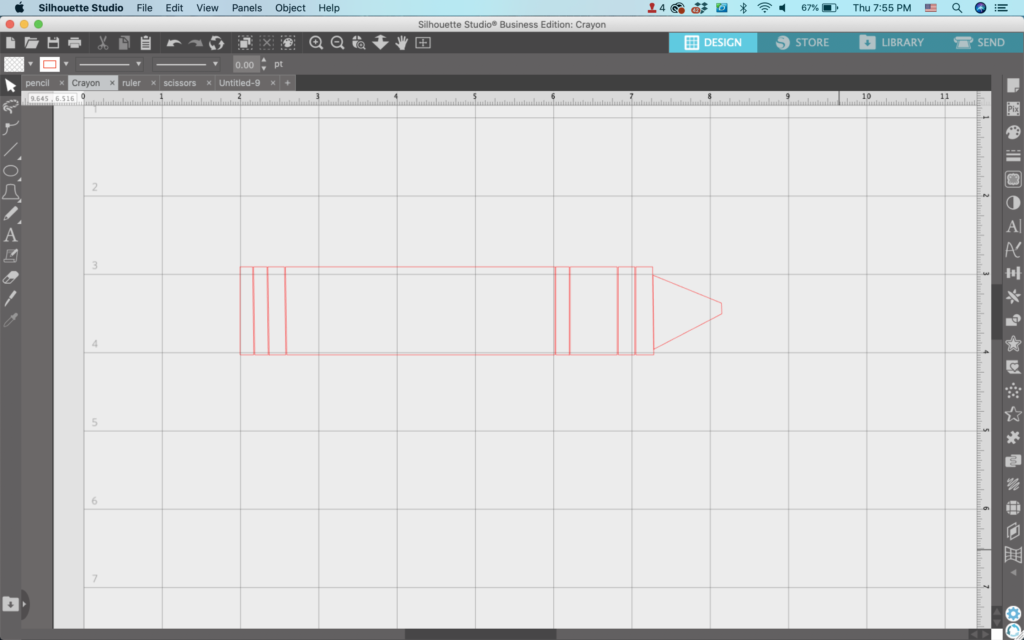
2. Using the knife tool, slice into the rectangle eight times. When you are finished, it’ll look similar to this:
3. Use the knife tool to make the right most rectangle a triangle.

4. Make the triangle slightly smaller than the current size and use the knife to flatten the tip.
5. Make any final adjustments, group elements as needed, and fill the crayon with color.
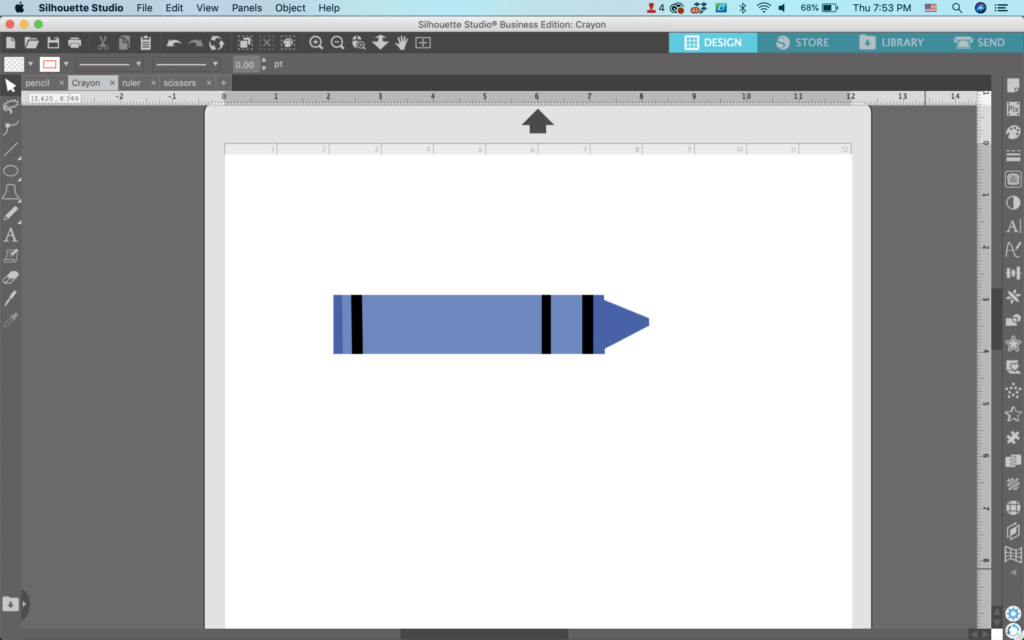
Remember, you don’t want to make your crayon label look like well known name brands – or you will have a trademark issue on your hands.
Mini Tutorial 3: How to Draw a Ruler
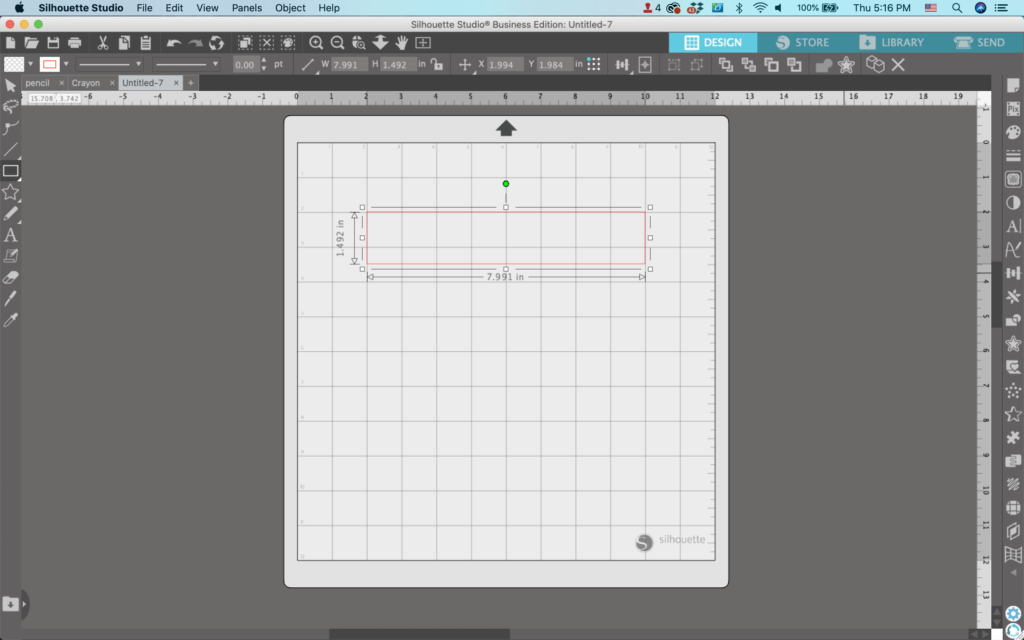
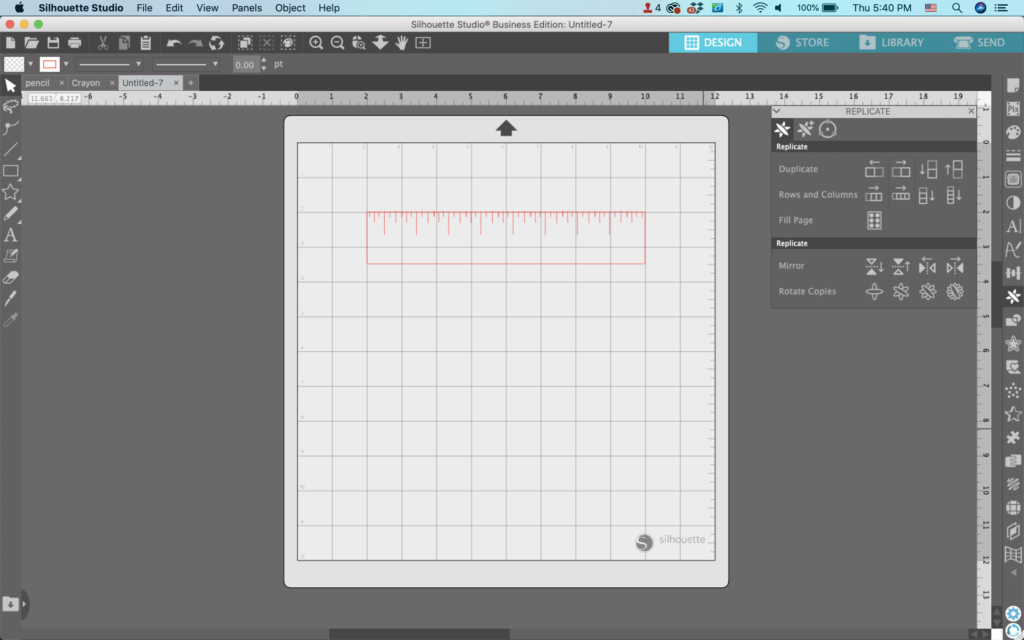
- Draw a rectangle. I made sure to use the grid when drawing the rectangle. I started at the edge of a grid square and ended at the edge of a grid square.
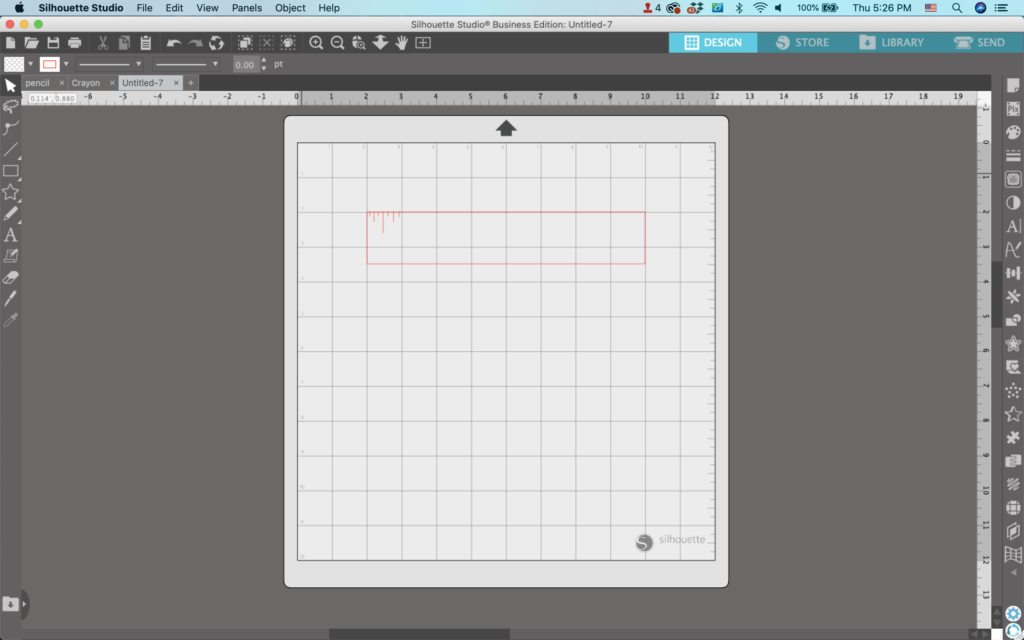
2. Using the line tool, make lines in one square. These will represent the measurements on the ruler.
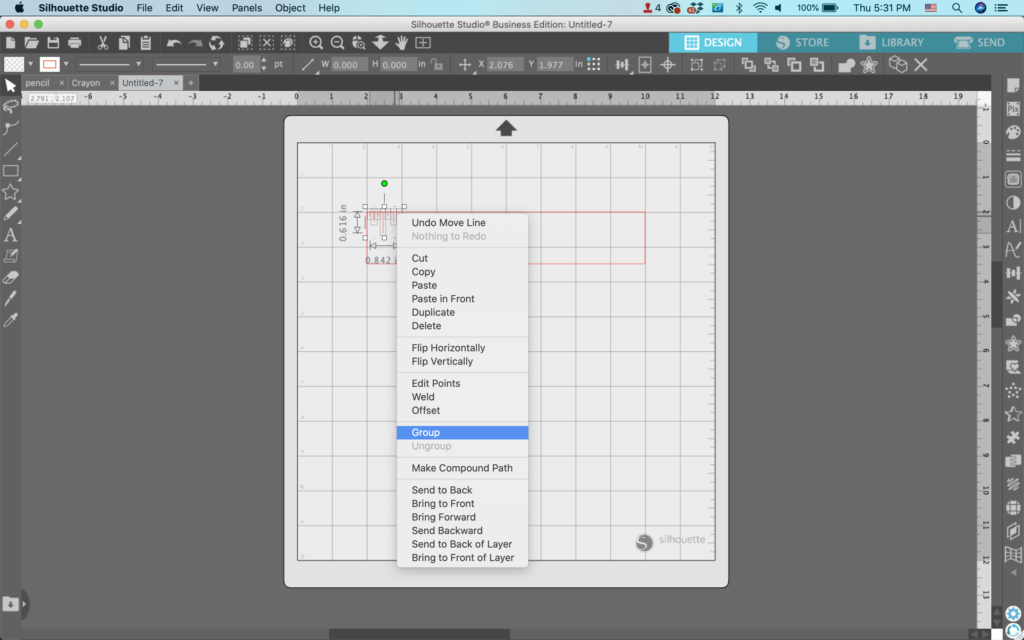
3. Select all the lines, then group them together.
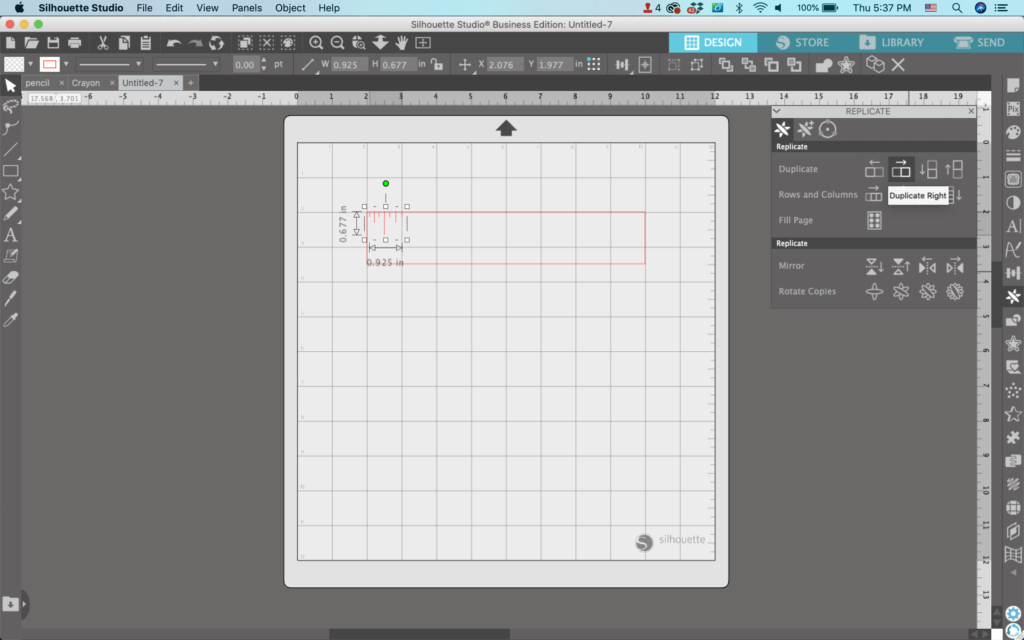
4. Navigate to ‘Panels’, ‘Replicate’, and ‘Duplicate Right’. This will fill in the marks on the rest of the ruler.

5. Make any final adjustments, group elements as needed, and fill the ruler with color or thicken the lines – your choice!

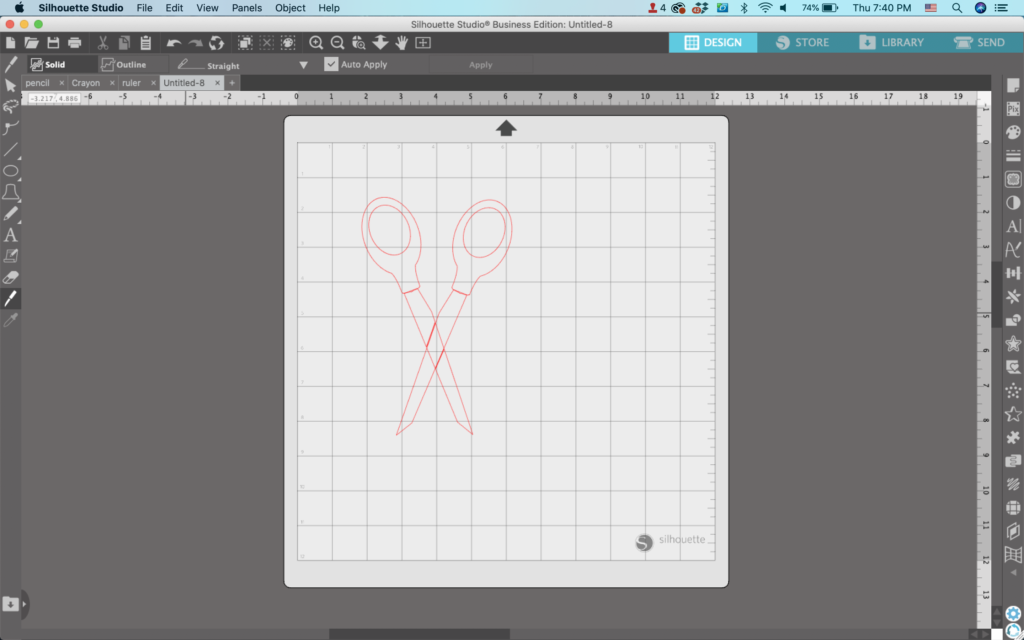
Mini Tutorial 4: How to Draw Scissors
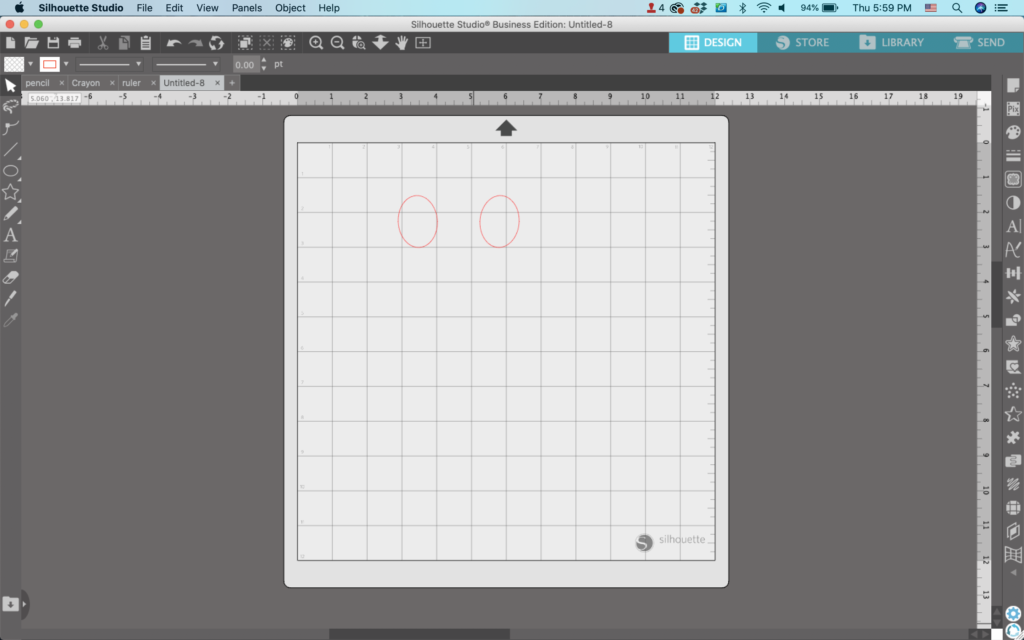
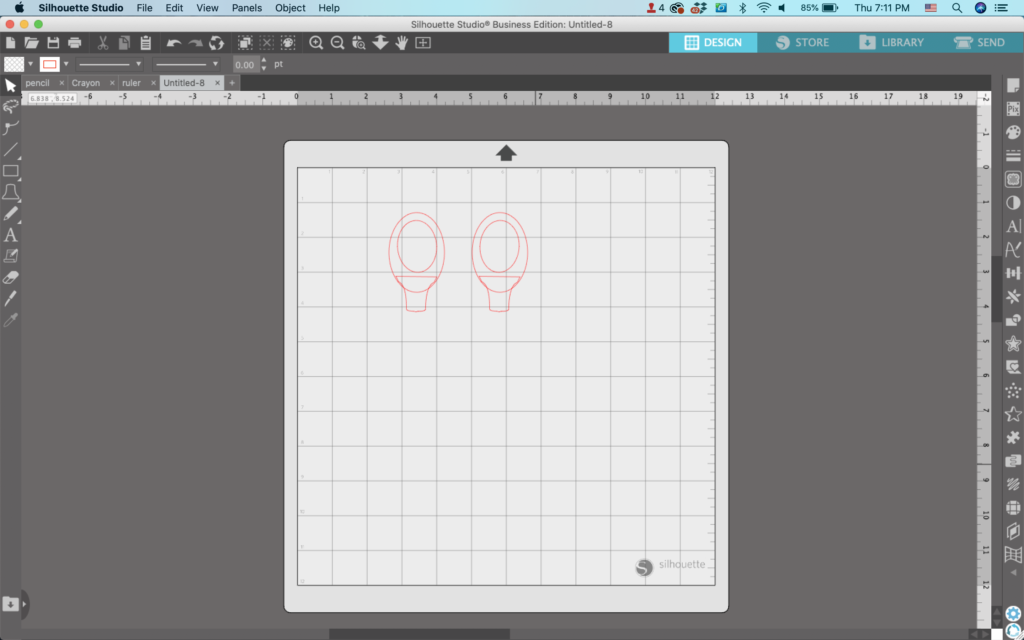
- Draw two ovals.
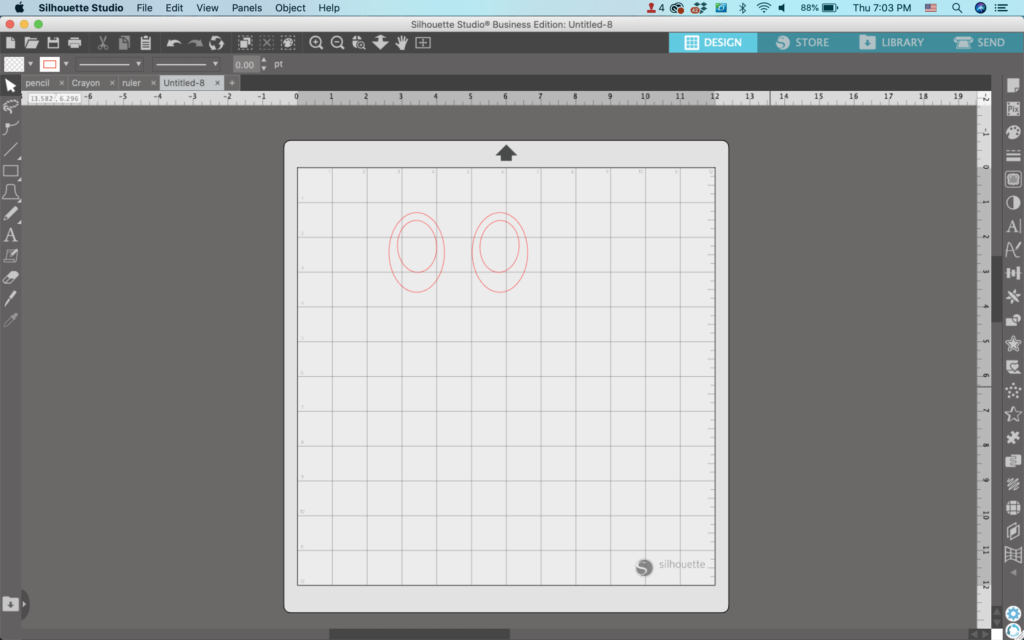
2. Draw two more ovals/egg shapes and put them over the first two.
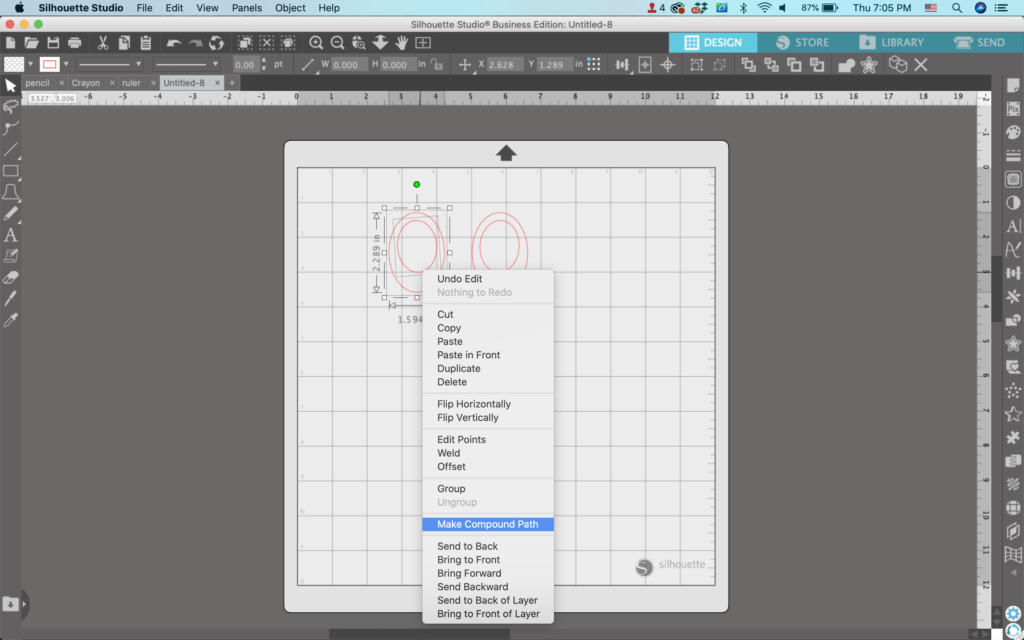
3. Select two oval elements, right click, then choose ‘Make Compound Path’. Repeat with the other set.
4. From the Flexishape menu, select the bell (last one, 5th row). Then, rotate it around as I did in the following image:

5. Repeat for the other oval set.
6. Select the oval and the bell and weld (Right click, ‘Weld’) them together. Repeat on the other side.


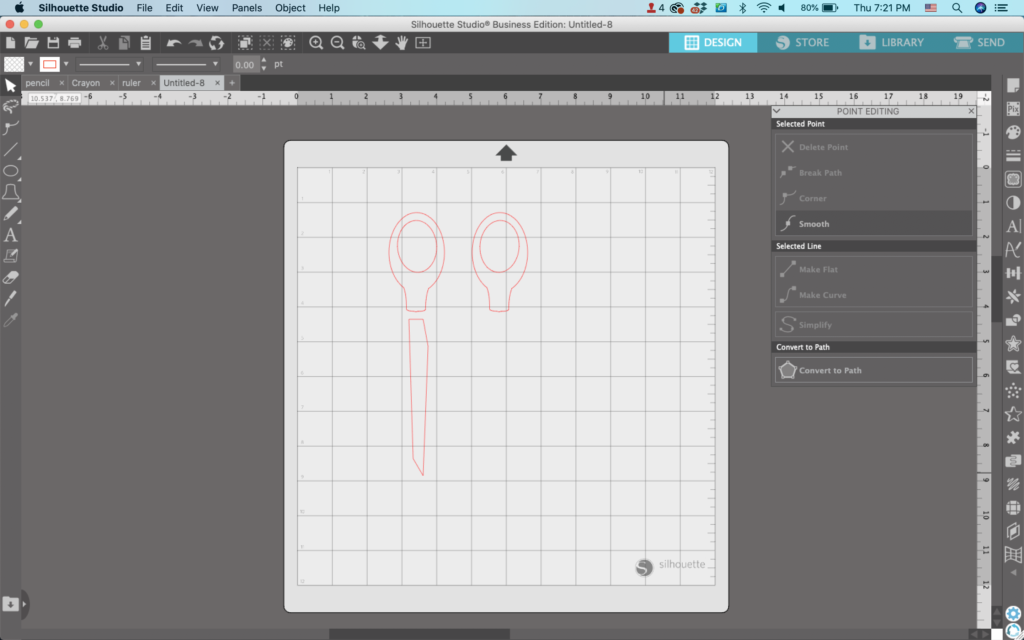
7. Draw a long, skinny rectangle.

8. Double click on the rectangle to open the ‘Point Editing’ Panel. Drag one side of the rectangle slightly to make a shape similar to mine:

9. Move the bottom corner to create a point at the end of the scissors.
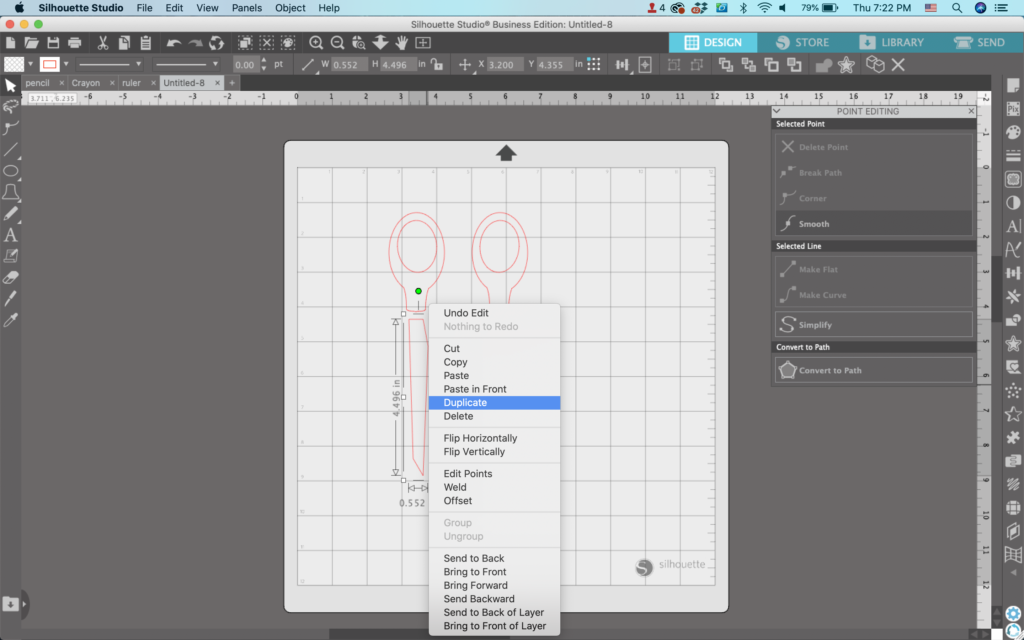
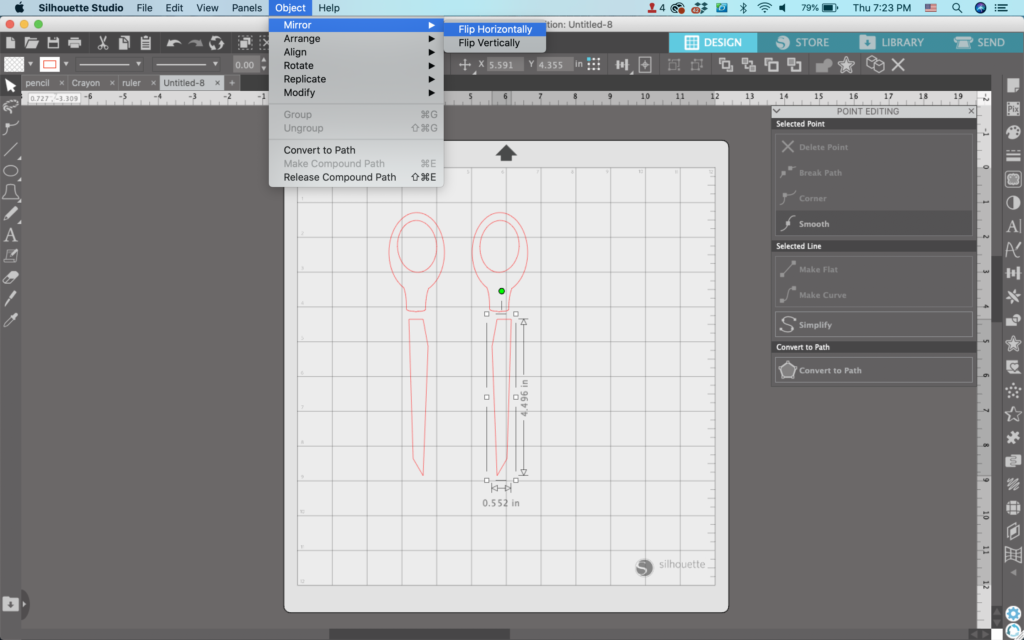
10. Duplicate the blade (Right click, then ‘Duplicate’) and navigate to ‘Object’, ‘Mirror’, ‘Flip Horizontally’.
11. Move everything into place to create scissors.

12. Use the knife tool to slice one of the blades to make it look like they overlap. Then, delete the remaining piece.

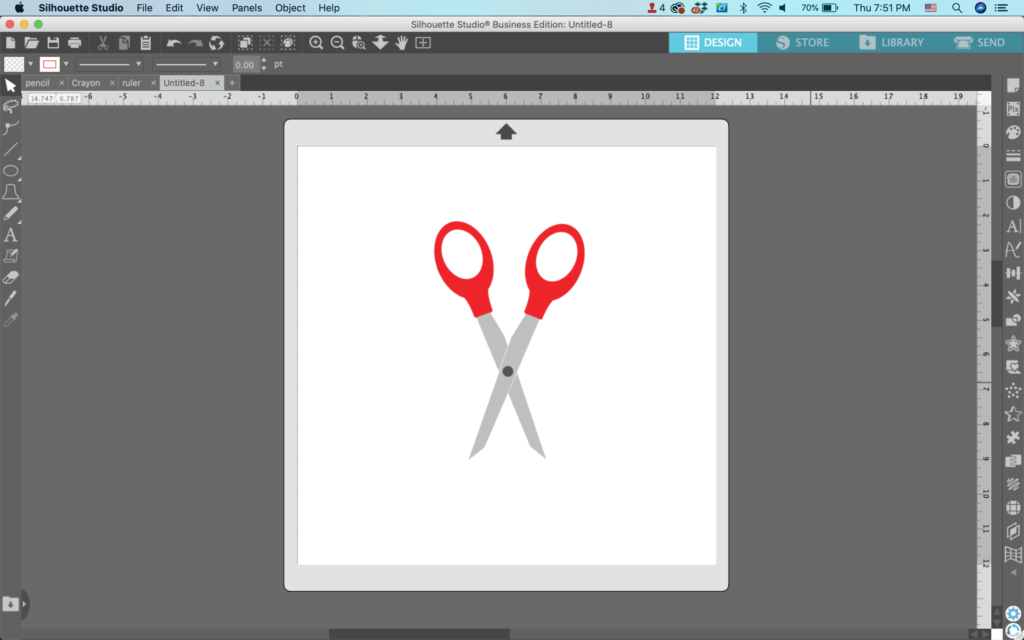
13. Add a circle for the hinge of the scissors.

14. Make any final adjustments, group elements as needed, and fill the scissors with color.
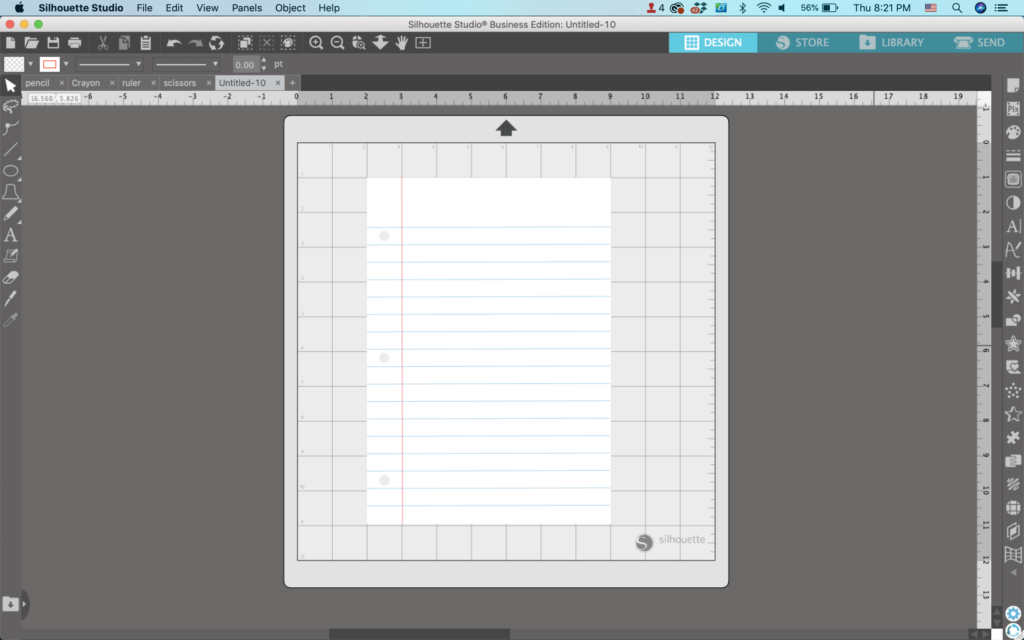
Mini Tutorial 5: How to Draw Notebook Paper
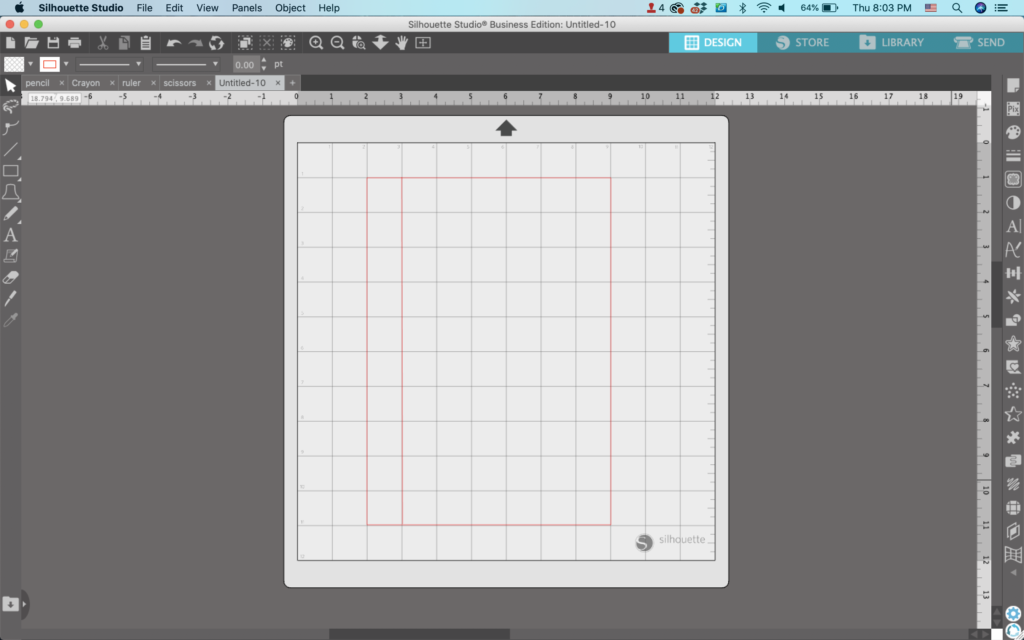
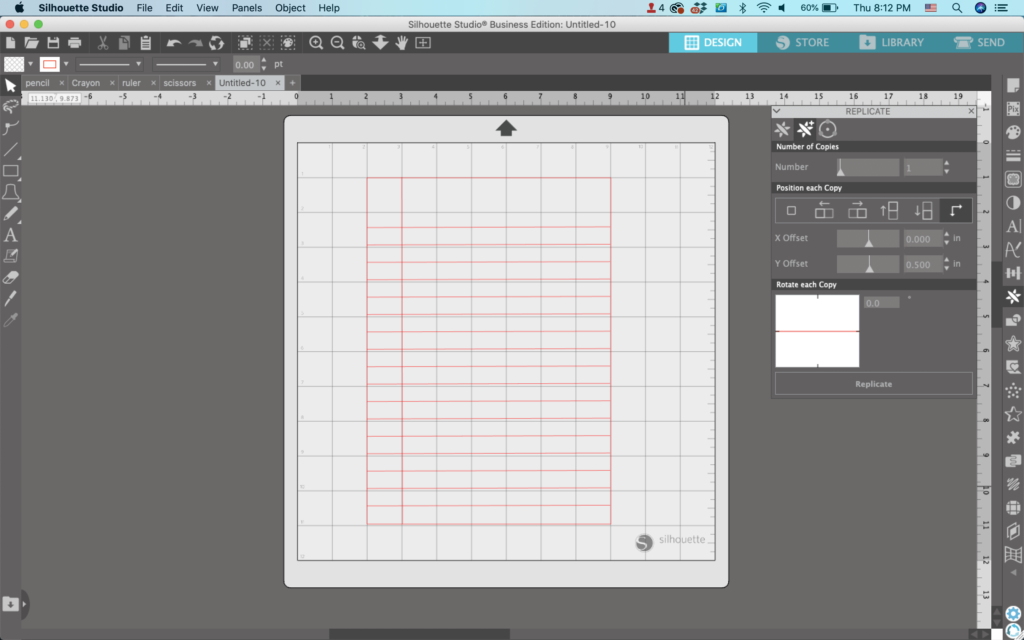
- Draw a rectangle in Silhouette Studio. You’ll notice I lined up the rectangle on the grid lines.

2. Draw a vertical line near the left side.
3. Draw a line across the top, leaving some space for a header.

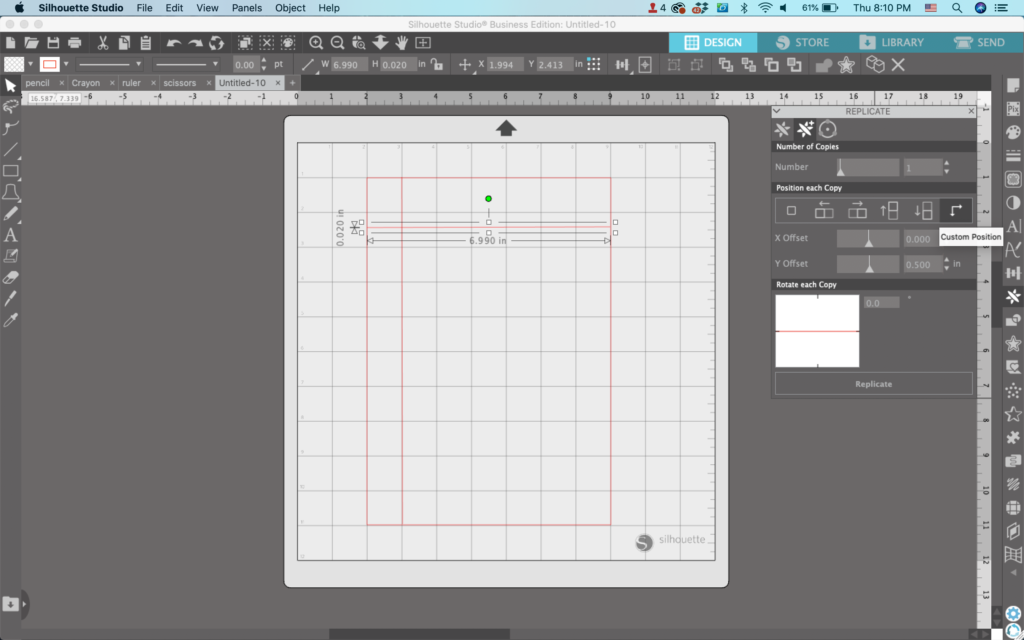
4. Navigate to ‘Panels’, then ‘Replicate’. From the ‘Advanced Replicate’ tab (it’s the second one), choose ‘Custom Position’. Set the ‘Y Offset to 0.500. Then, replicate the horizontal line you made until you reach the bottom of your notebook paper.
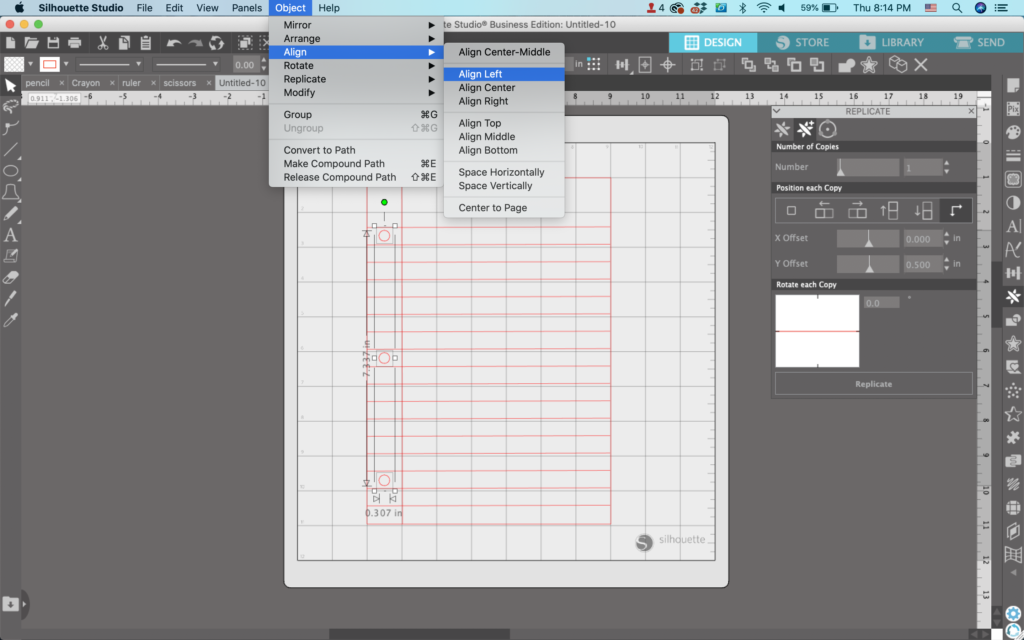
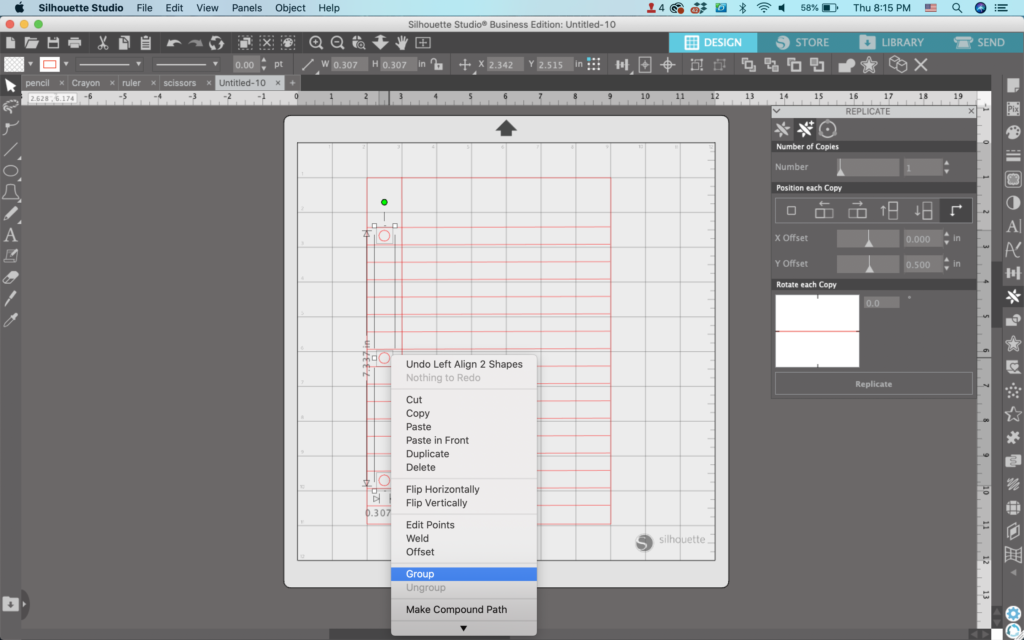
5. Make three circles on the left hand side and subtract them from the notebook paper. I aligned mine using ‘Object’, ‘Align’, ‘Align Left’. Group the circles together.
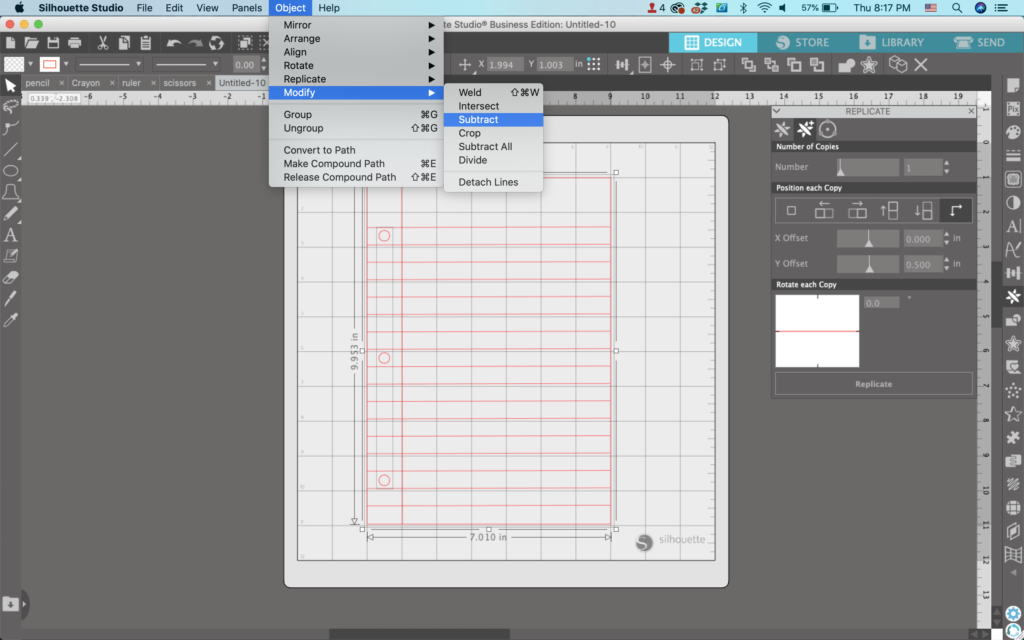
6. Subtract the circles from the rectangle. (Select both elements, then navigate to ‘Object’, ‘Modify’, ‘Subtract’.)
7. Make any final adjustments, group elements as needed, and fill the paper with color.
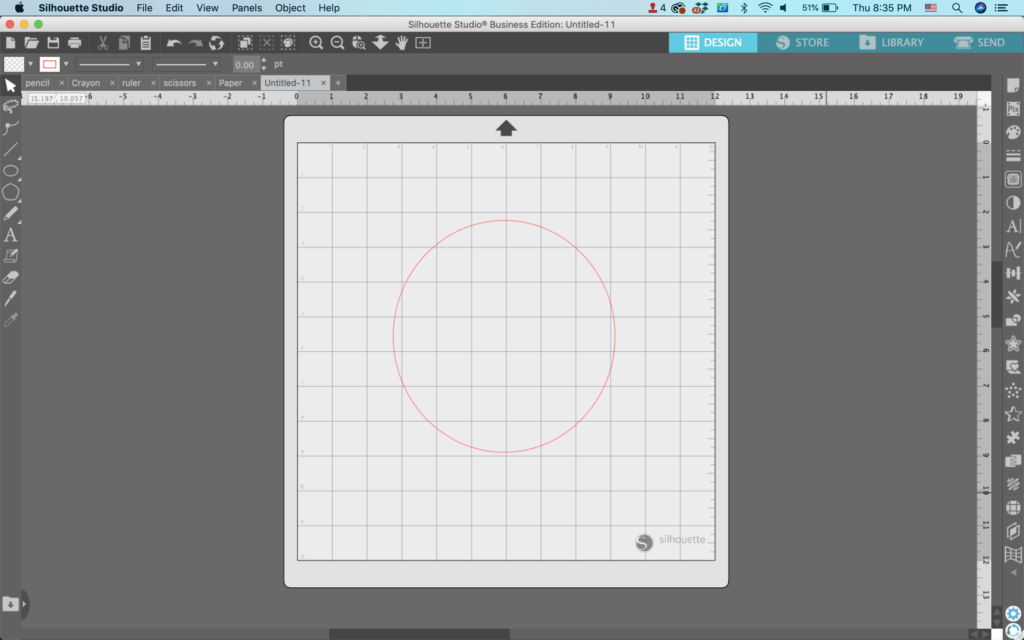
Mini Tutorial 6: How to Draw an Apple
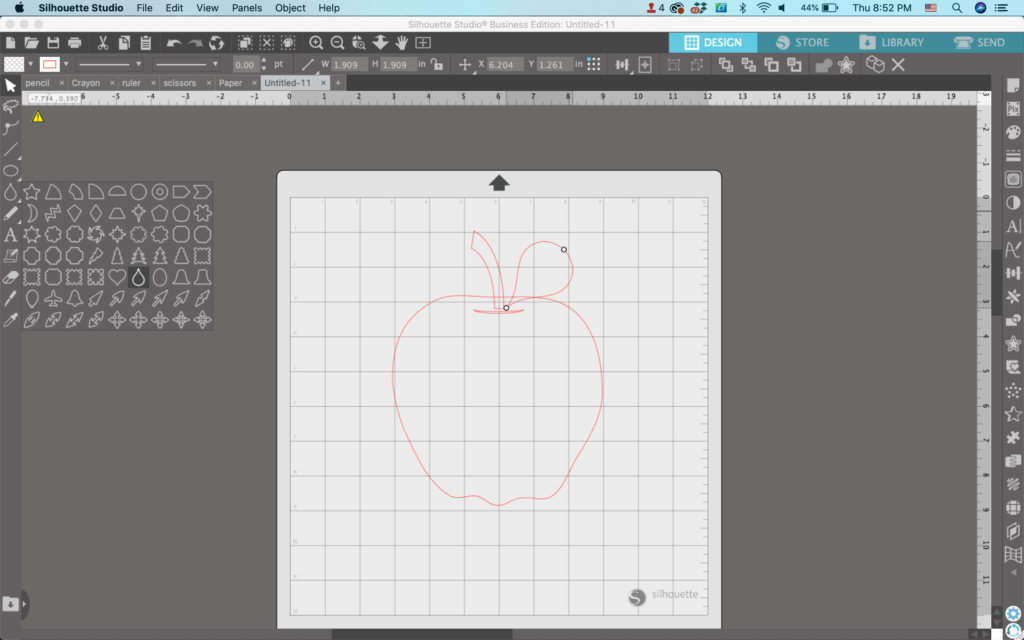
- Draw a circle.
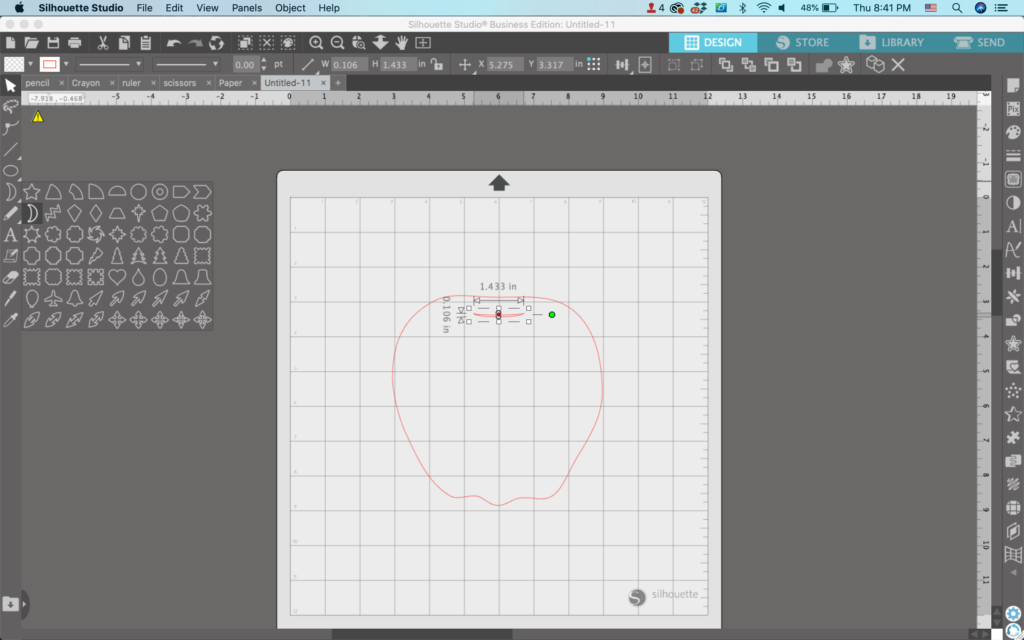
2. Double click the circle to open the Point Editing Panel. Add points and reshape the circle shape into something that looks like an apple.

3. Use Flexishapes to draw a moon shape (1st one, 2nd row). Make it skinny and move it near the top of the apple.
4. Use Flexishapes to draw a macaroni shape (3rd one, 1st row). Move it to the top of the apple.
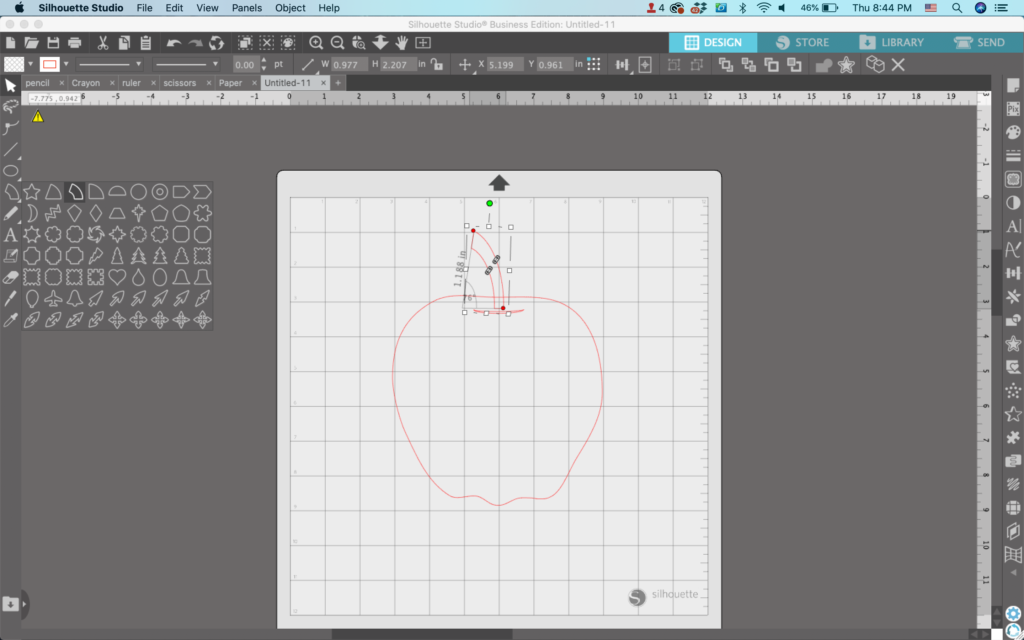
5. Use Flexishapes to draw a teardrop shape (6th one, 5th row). Move it to the top of the apple to be the leaf.
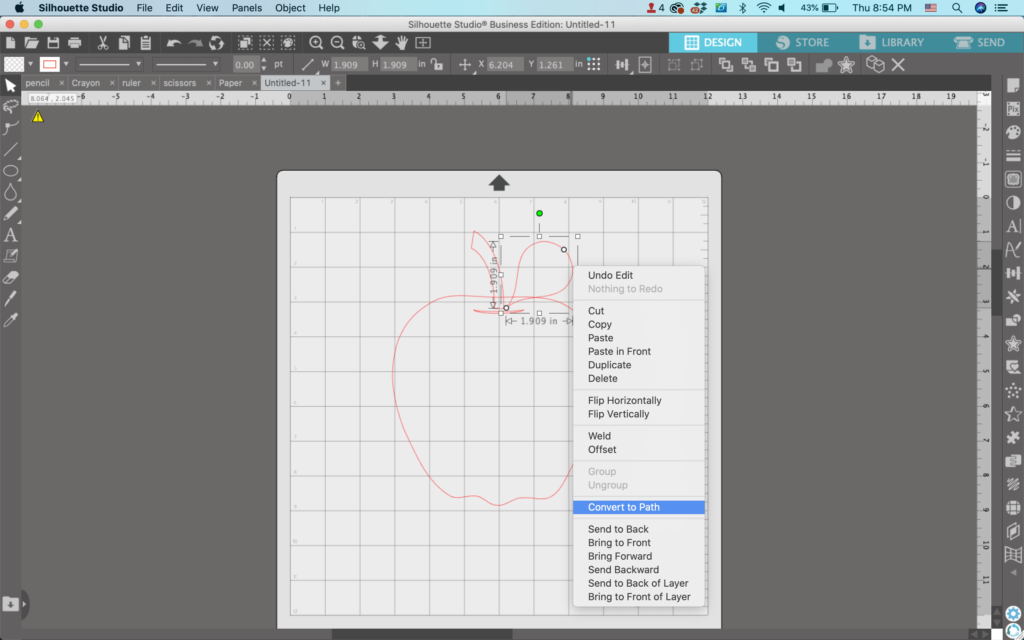
6. Select the teardrop leaf, right click and select ‘Convert to Path’.
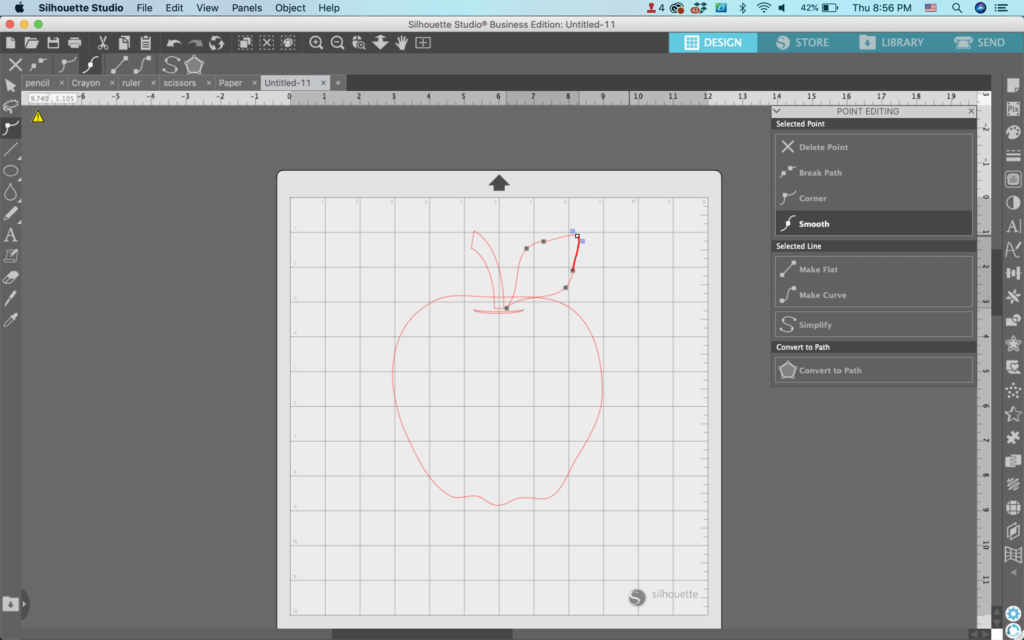
7. Double click the teardrop leaf to open the Point Editing Panel. Drag the round side to change the teardrop shape into a leaf.
8. Make any final adjustments, group elements as needed, then fill the apple with color.
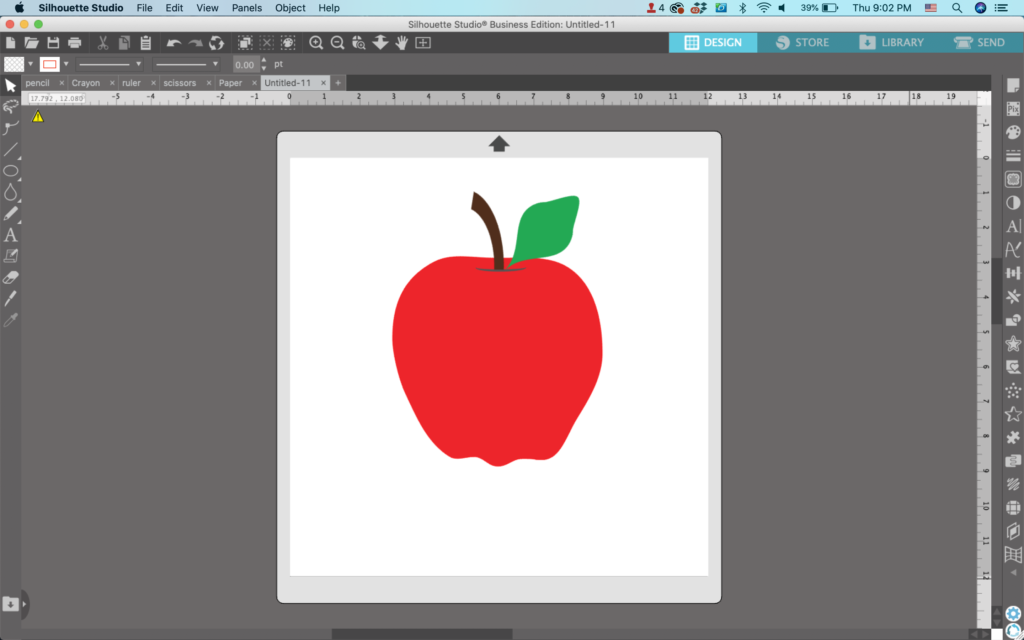
That’s it! Your designs are ready to go!
Don’t Forget to Save!
To save your new SVG creation, head to ‘File’, ‘Save As’, ‘Save to Hard Drive’, name the file, then select ‘SVG’ from the dropdown menu.
Want More SVG Tutorials?
View more Design with Me SVG tutorials.
Since 2015, Christine Schinagl has been helping crafters start and run craft businesses through her blog, Cutting for Business. As a Silhouette and Cricut crafter herself, she has a unique take on what works and what doesn’t work in the craft business world. She also enjoys teaching other crafters how to create digital SVG designs, available through the Design with Me series.