Tutorial: Engraved Tumbler with xTool M1
Affiliate Disclosure: As an Amazon Associate I earn from qualifying purchases. Additionally, I may get commissions for purchases made through other affiliate links in this post.
The aspect of the xTool M1 that excites me most is that it can engrave tumblers! Of all the machines I have (I have a lot of them! 😂), no other machine can engrave tumblers.
Before we get started, be sure to check back at the other projects I’ve already shared. Don’t forget: xTool provided me the machine for review purposes. The experiences and opinions are my own.
So, let’s take a look at how to create an engraved tumbler with xTool.
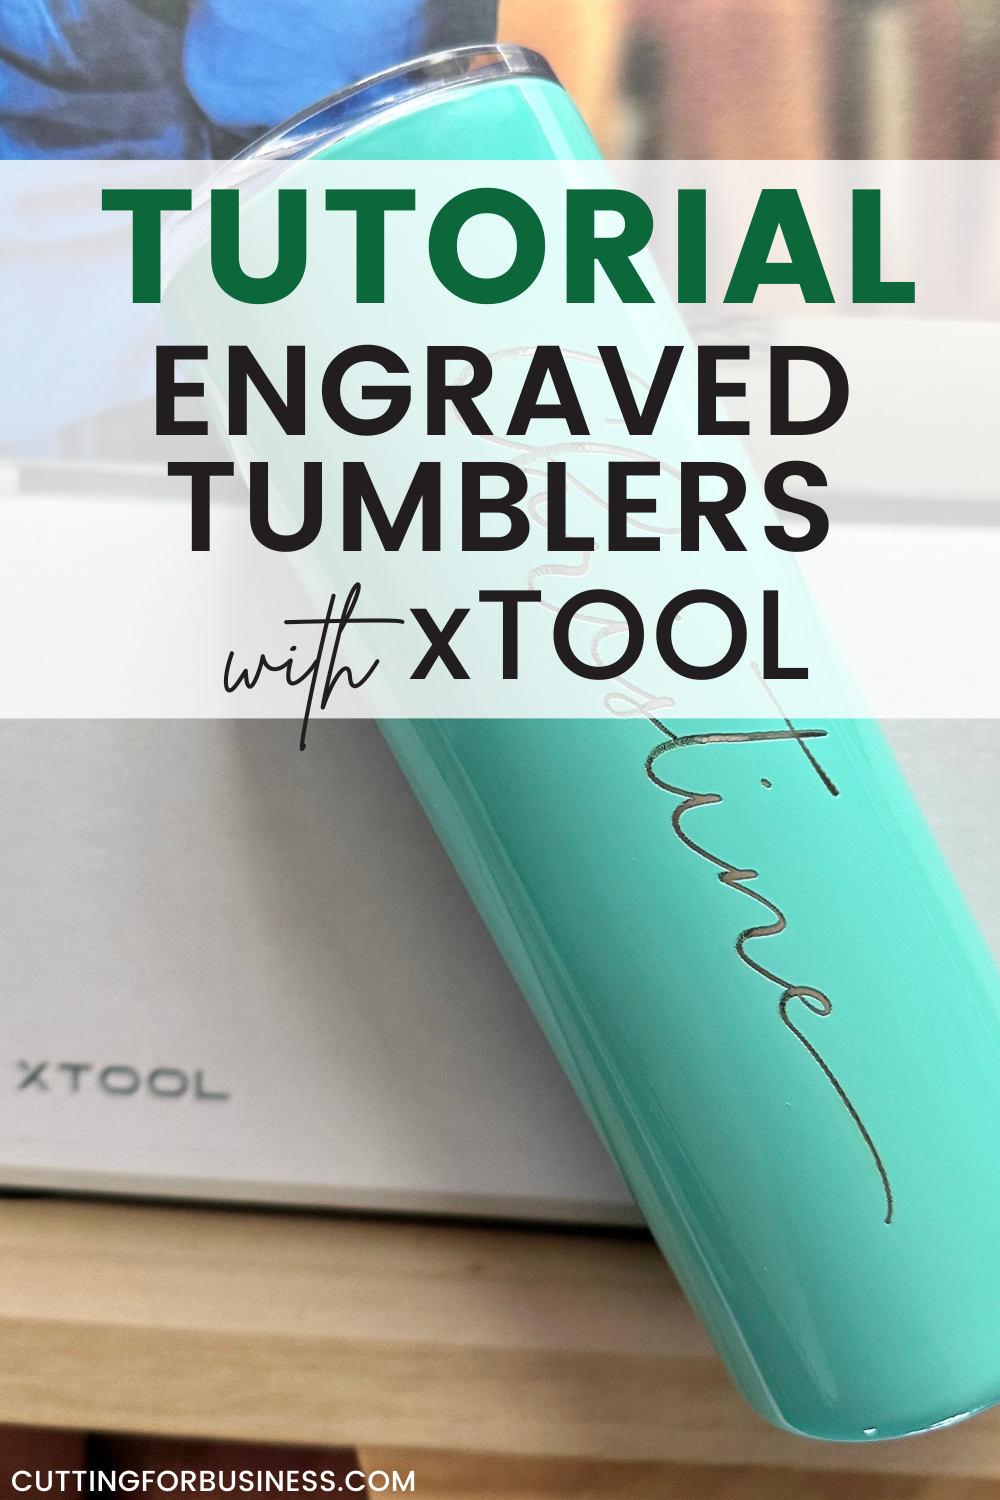
Tutorial: Engraved Tumbler with xTool M1
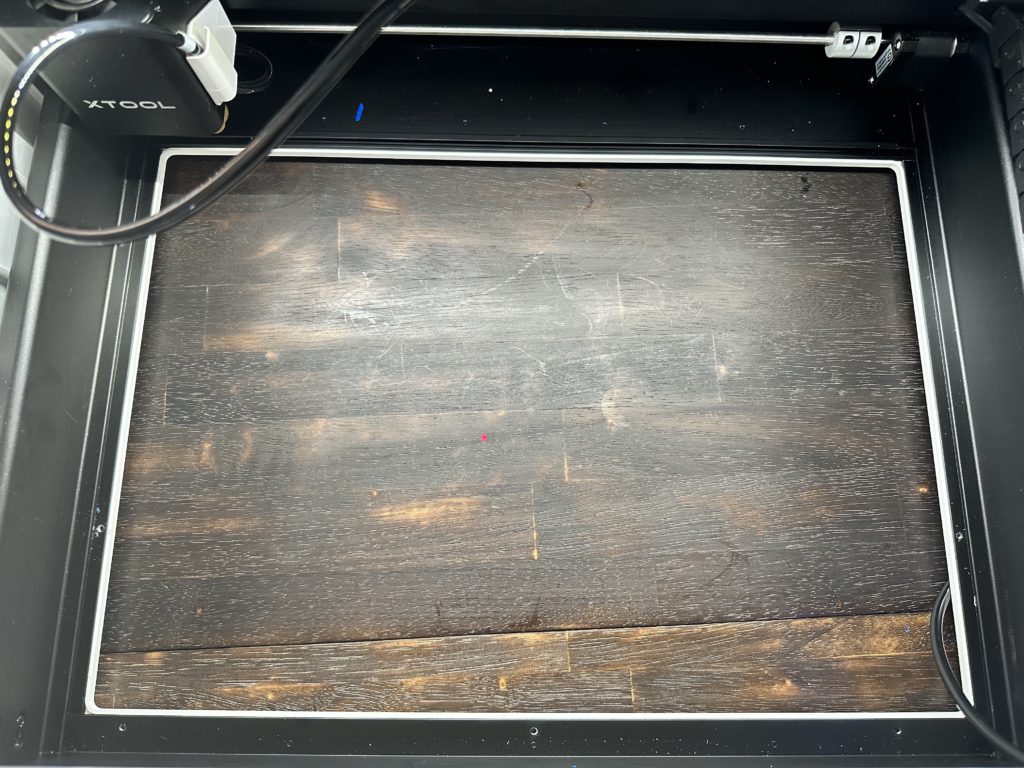
- Remove the bottom of the xTool by removing the five screws.
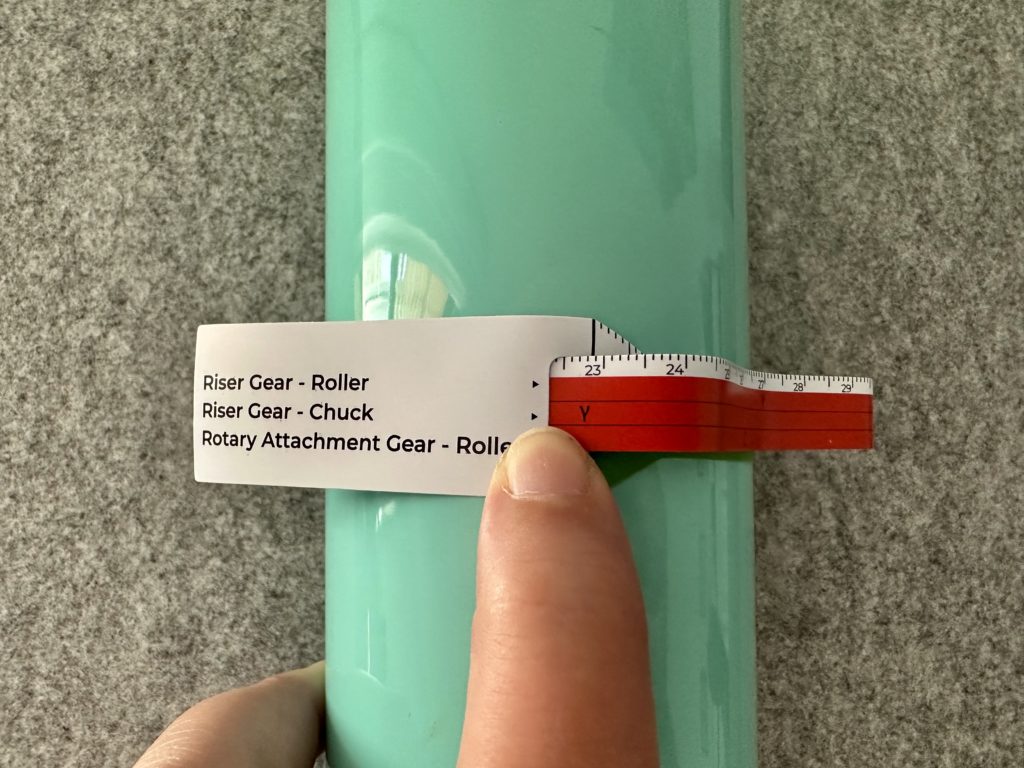
2. Measure around your tumbler with the included tape measure. The included tape measure gives you settings for the roller, chuck, and rotary attachment. Take note of each of the settings.
3. Place the chucks under each corner of the machine with the letter on the tape measure facing up. The machine needs to be raised because the laser has to be a certain distance from the item to be engraved. The only way to do this is through raising the machine.
If you don’t want to use the included chucks, xTool also sells a riser base.
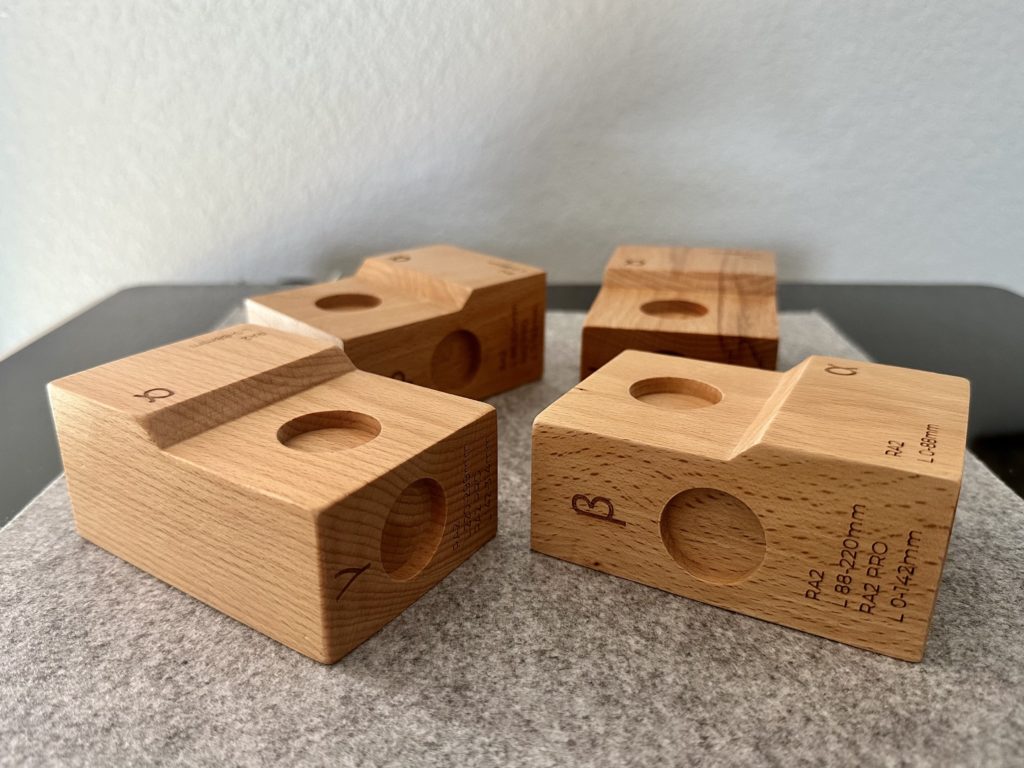
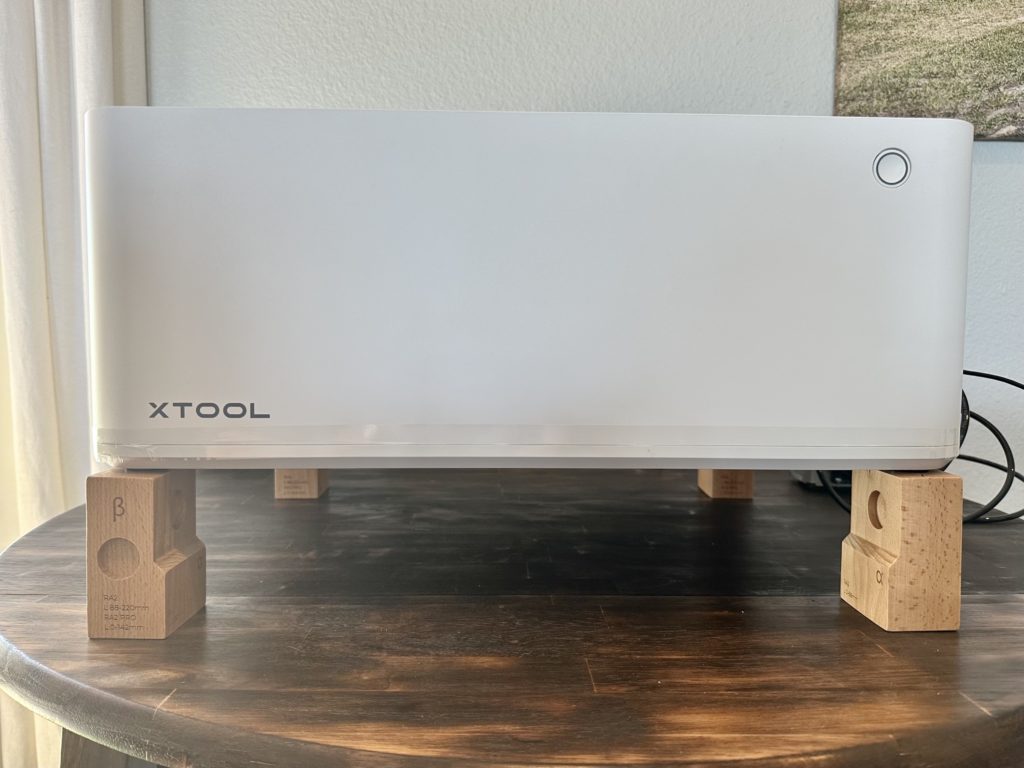
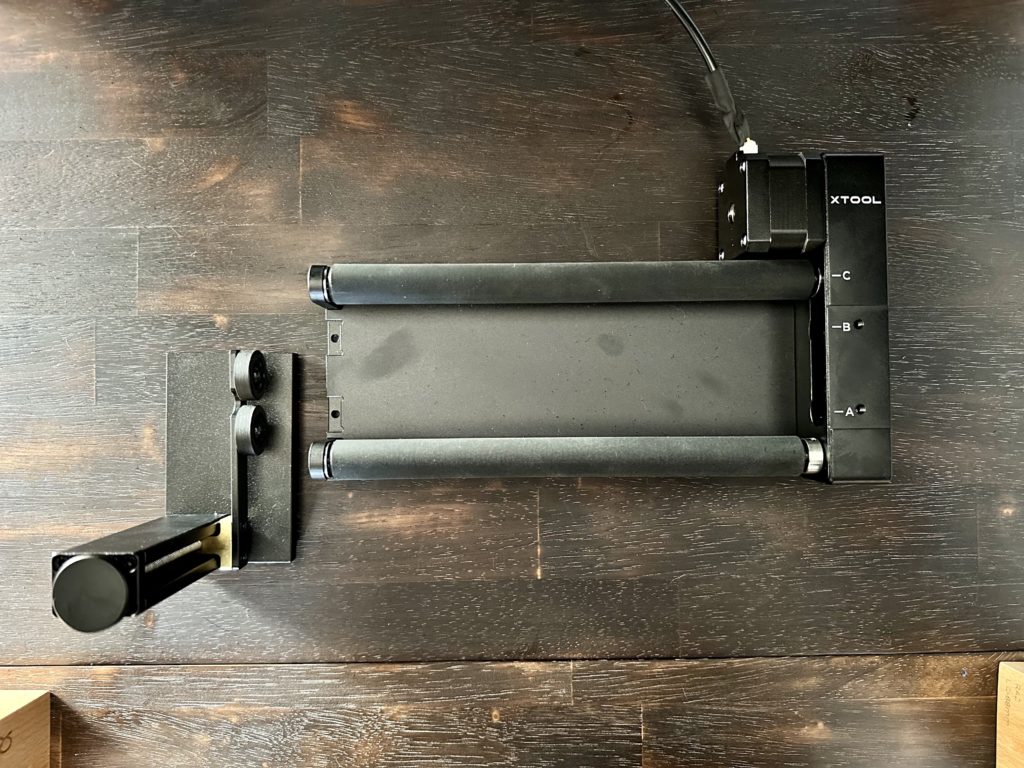
4. Place the rotary attachment inside the machine with the rollers adjusted to the letter shown on the tape measure. Connect it to the xTool.
5. Using tape and a marker, measure and mark both the top and the bottom of where you want the engraving to start.
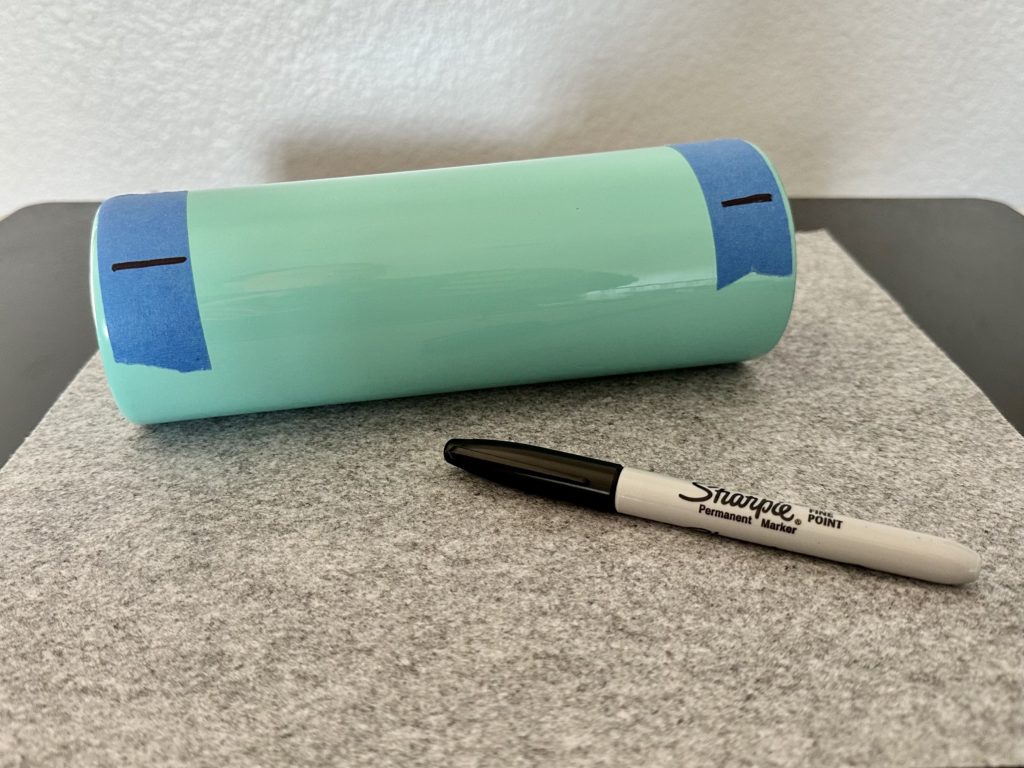
6. Place the on the rotary rollers. Using the included level, you’ll need to level the surface of the tumbler. Since my tumbler has a slight taper, I use the included support. Leveling with the support is easy: Turn the knob until the bubble lines up in the level.
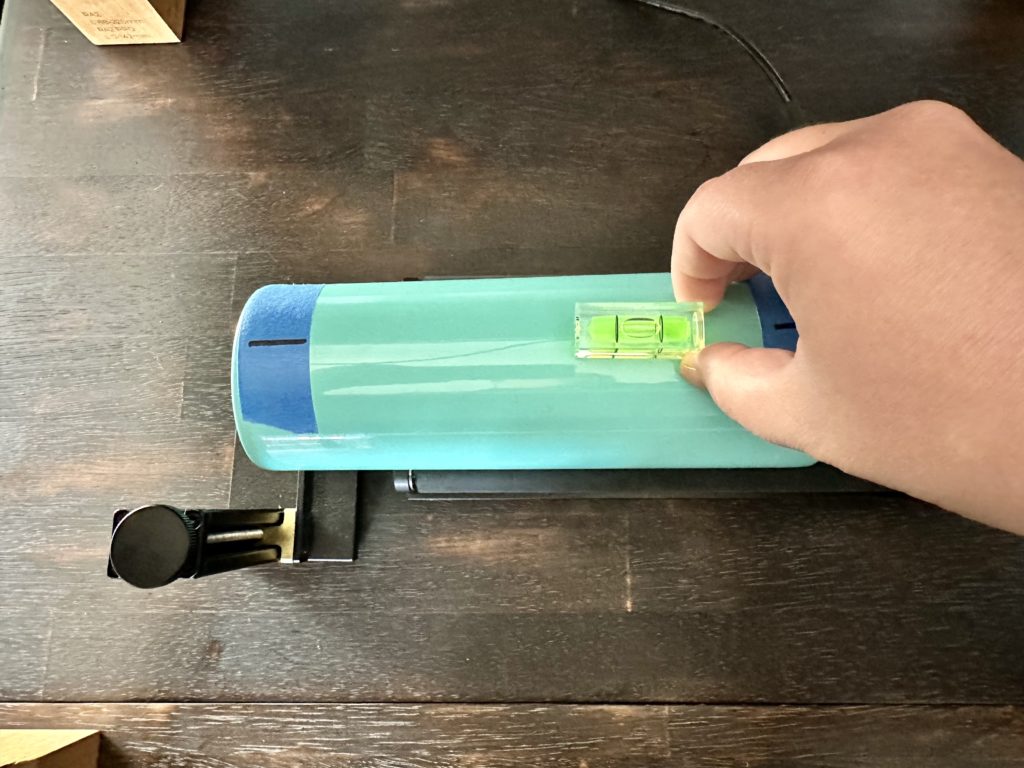
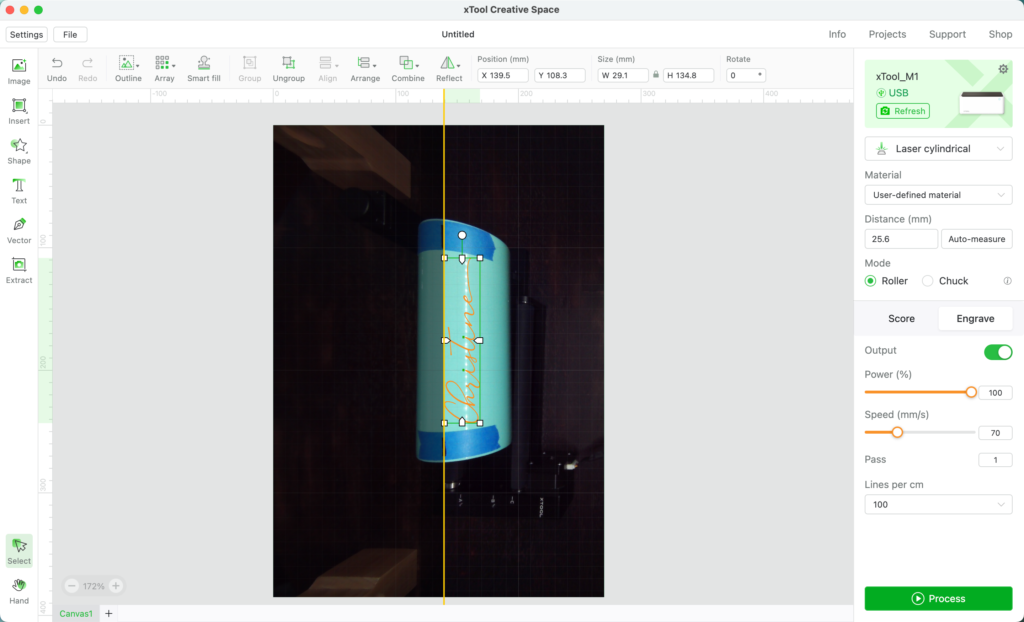
7. Turn on the xTool and open the software. Once the machine connects, you’ll see a slightly distorted view of the your tumbler.
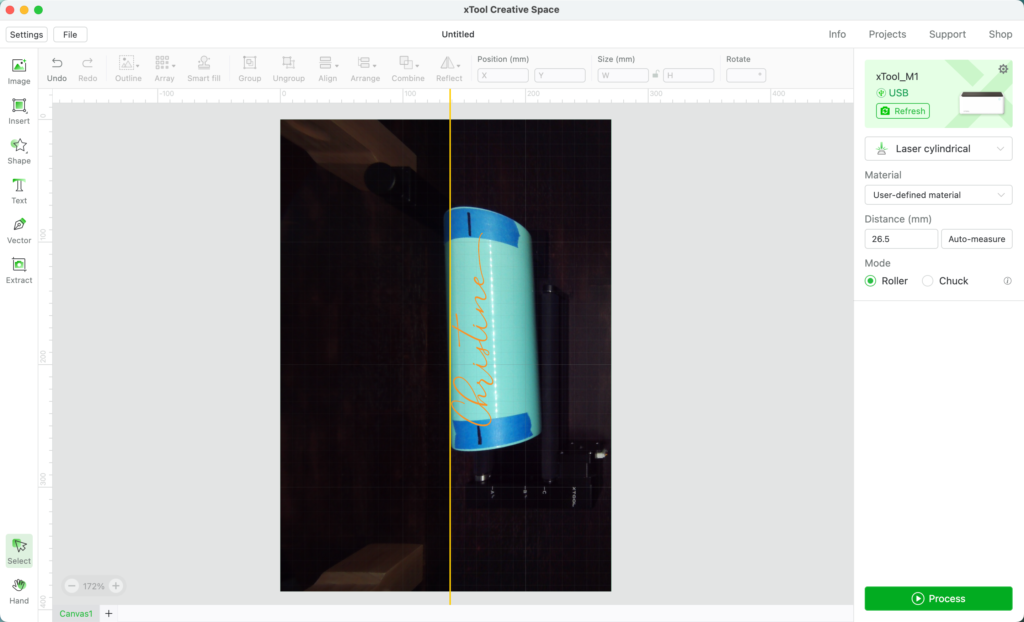
8. The yellow line down the center of the software is important: This is where the engraving will start. So, you’ll want to line up the marker lines you made with the yellow line by moving the tumbler and rollers. When I live it up, I don’t open the lid, I just reach under the machine – then click ‘Refresh’ in the software.
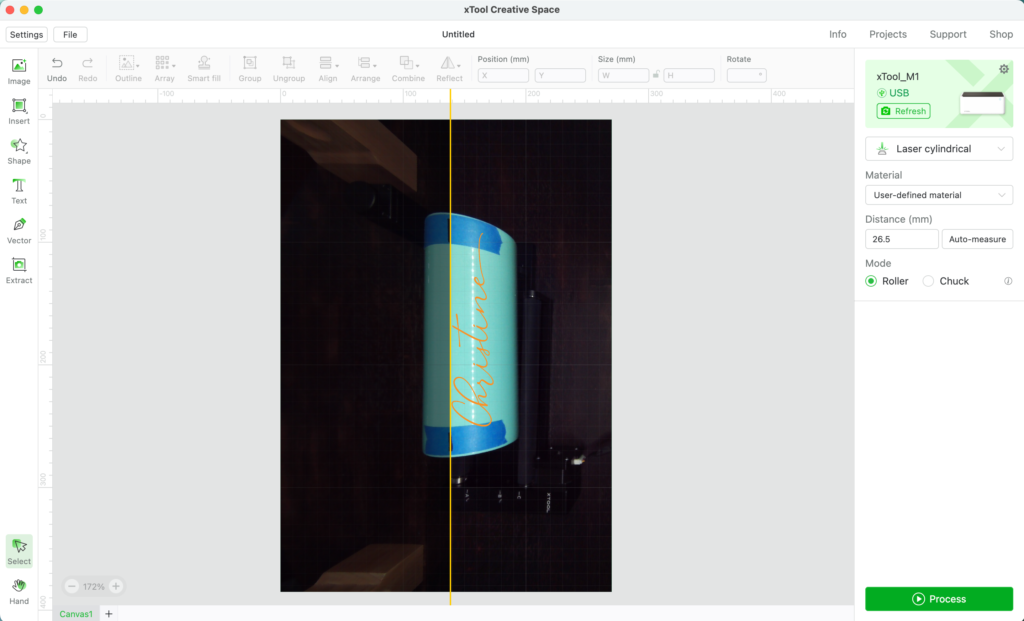
9. Adjust your artwork.
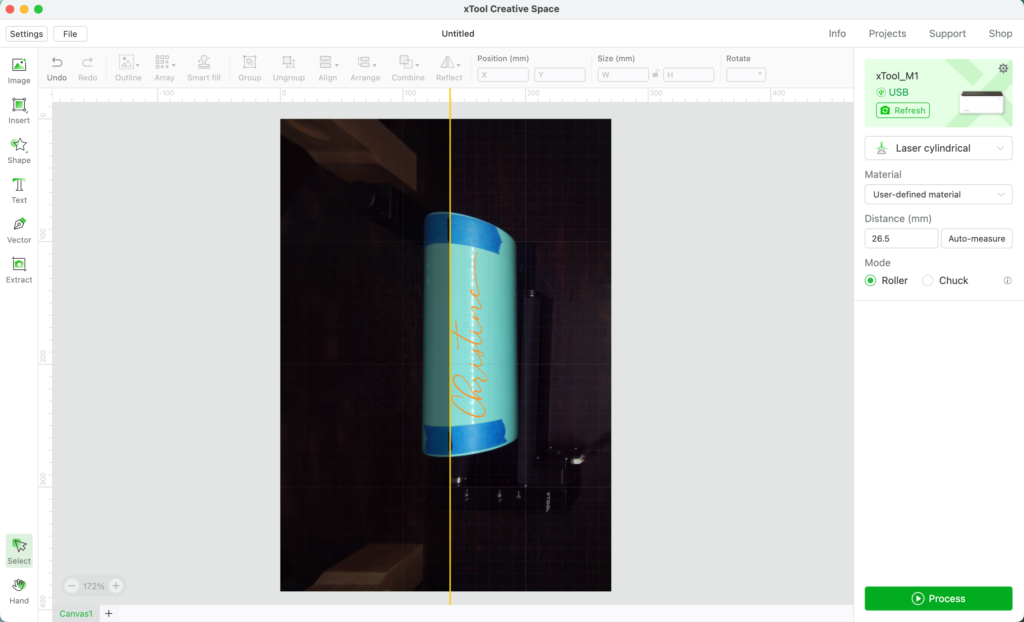
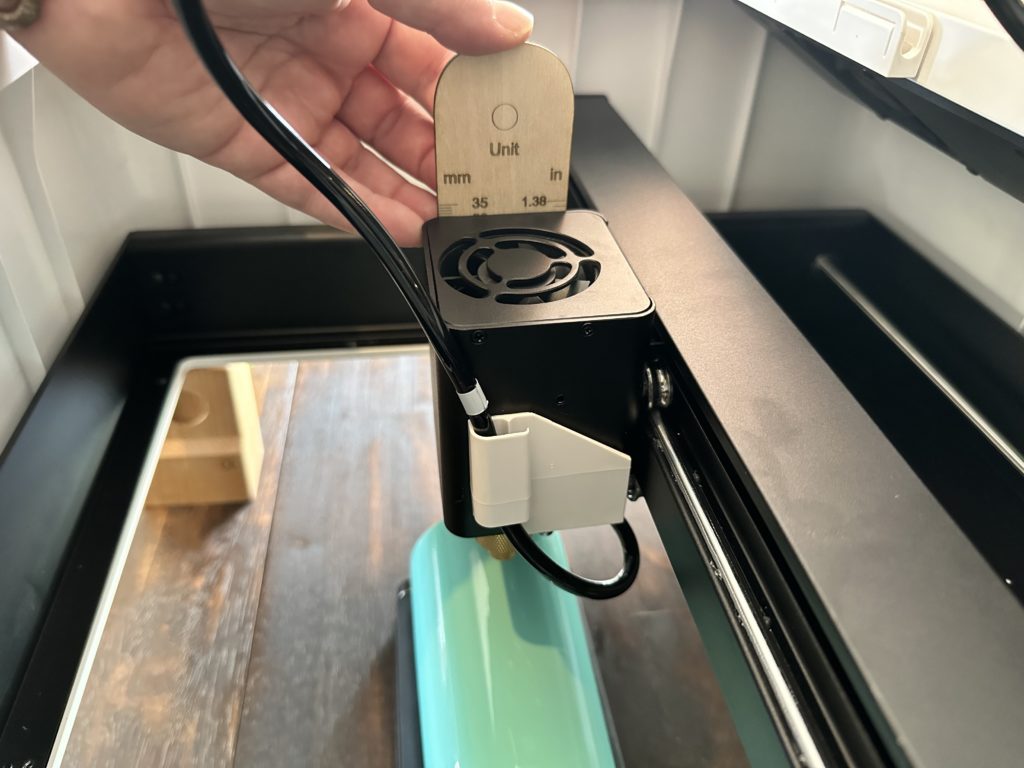
10. In the xTool software, click ‘Auto Measure’. The machine automatically measures my tumbler as 25.6mm. This is the distance between the tumbler and the laser. (Remember the discussion above about rising the machine? The laser beam is strongest right at the 30mm mark.)
In the event the item won’t measure, download a measuring tool from xTool. To use the measuring tool, cut it out, then place it on top of the item to be measured. Measure to the top of the laser unit and manually enter the value.
11. Adjust the settings in the software. I used 100% power and speed 70. Process the design.
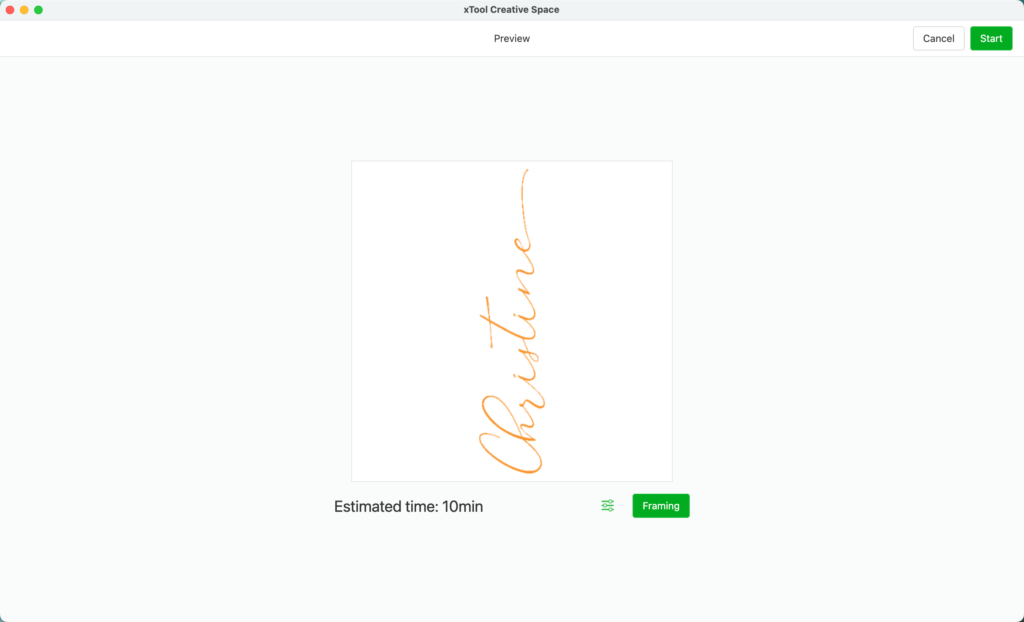
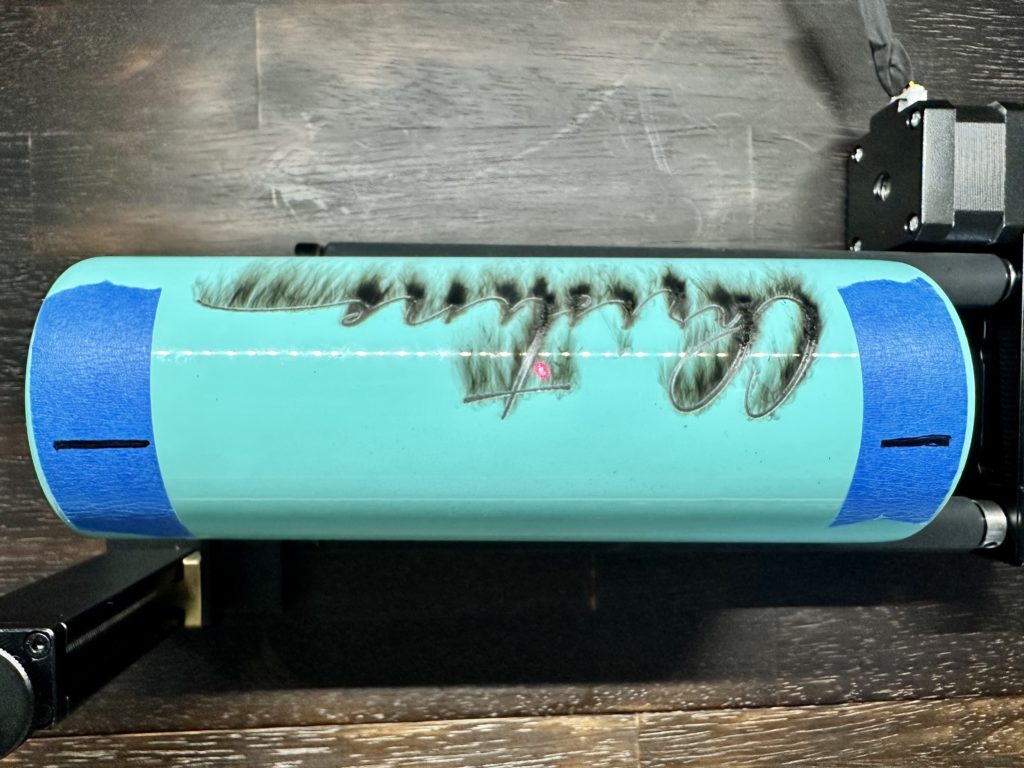
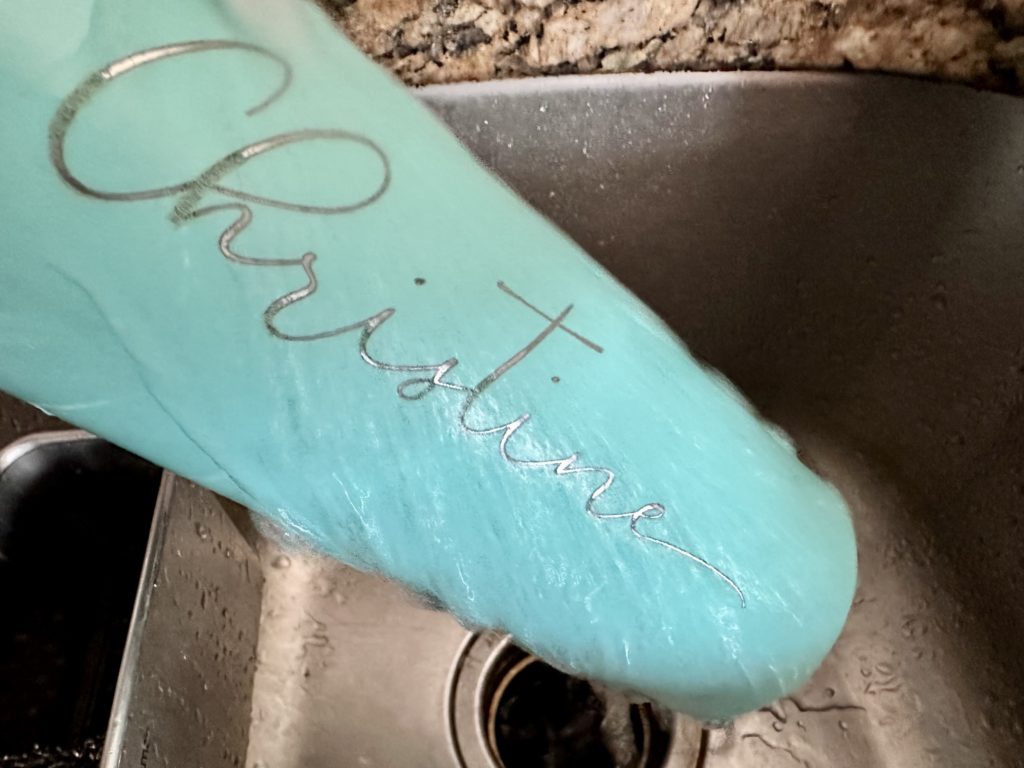
12. Take the tumbler out of the xTool and rinse it off.
Business Use
Do I think you could use the xTool M1 to engrave tumblers to sell in your craft business? Yes! You could engrave tumblers with company logos, names, bride/groom, sports teams, and more.
There are a lot of possibilities for engraved products with the xTool, because the product doesn’t have to fit inside the machine. This means you could engrave baseball bats or rolling pins, among a lot of other things.
Tomorrow, we are wrapping up this xTool series with a discussion on the Glowforge versus the xTool.
Since 2015, Christine Schinagl has been helping crafters start and run craft businesses through her blog, Cutting for Business. As a Silhouette and Cricut crafter herself, she has a unique take on what works and what doesn’t work in the craft business world. She also enjoys teaching other crafters how to create digital SVG designs, available through the Design with Me series.
