xTool P2 Tutorial: Wooden Christmas Tags
Affiliate Disclosure: As an Amazon Associate I earn from qualifying purchases. Additionally, I may get commissions for purchases made through other affiliate links in this post.
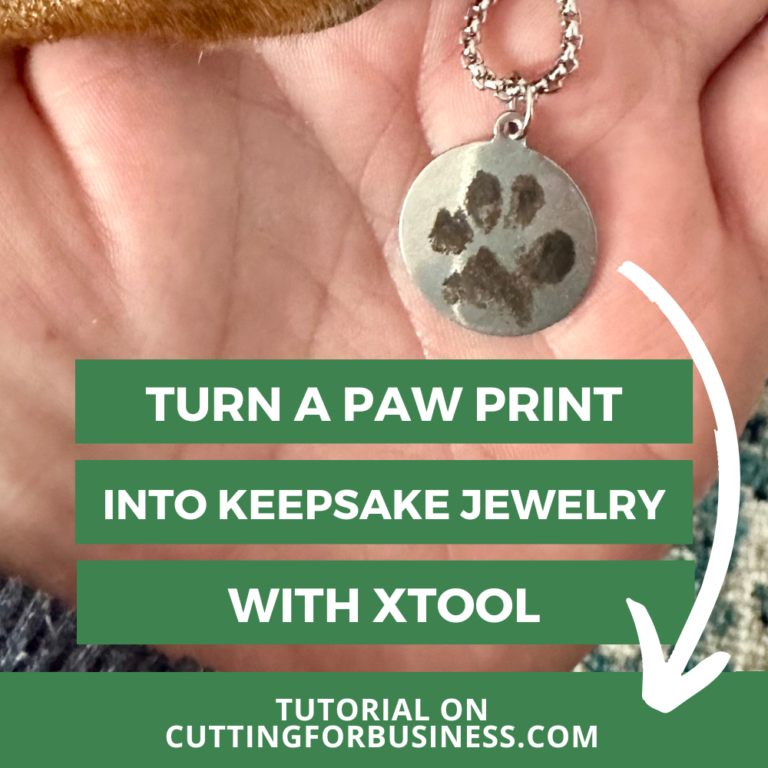
I recently detailed the differences between the xTool P2 and the Glowforge. Today, let’s look at a quick xTool P2 tutorial to create wooden Christmas tags.
Setup of the machine is incredibly easy. I am not going to go over it – because the instructions included are pretty awesome. The one quirky thing is that you have to fill the internal tank with water before your first use. If you follow the instructions, it’s a 10 minute, one time thing. Then, you will be off and cutting!

Table of Contents
xTool P2 Tutorial: Wooden Christmas Tags
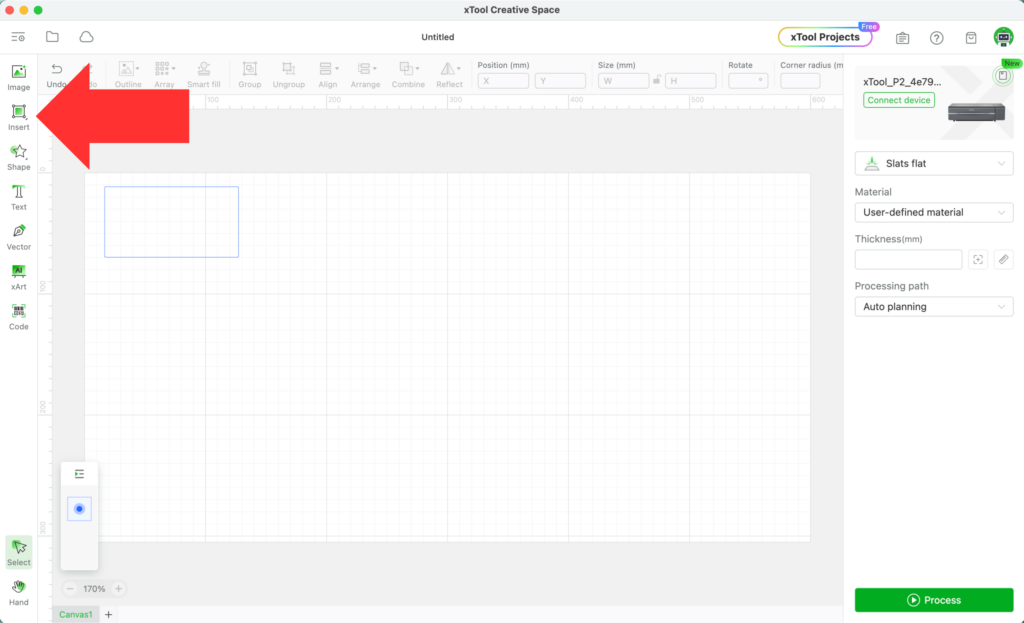
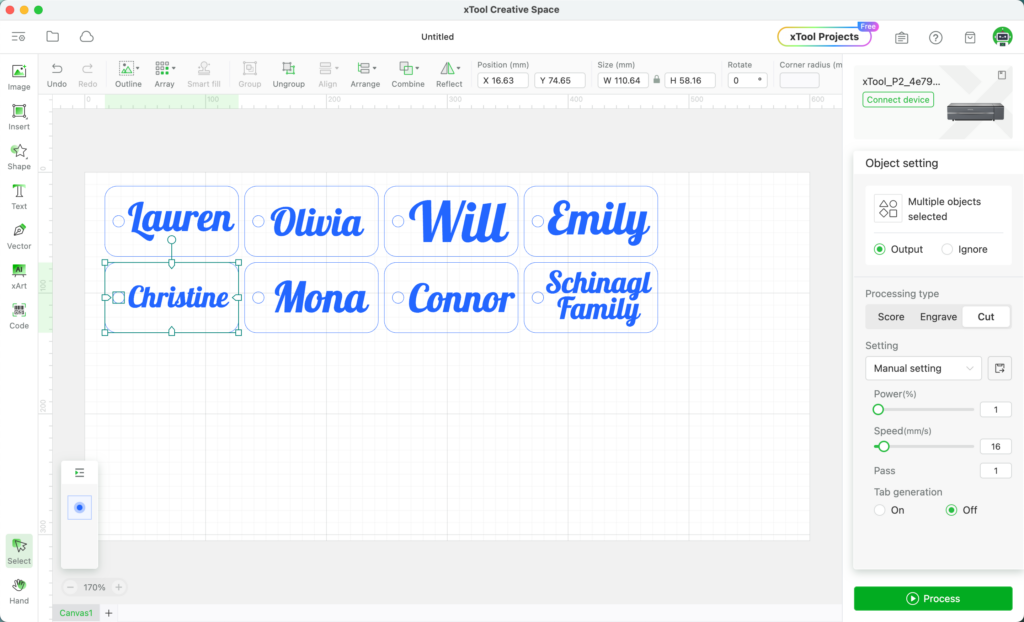
- From xTool’s Creative Space, draw a rectangle using the tools on the left hand side.
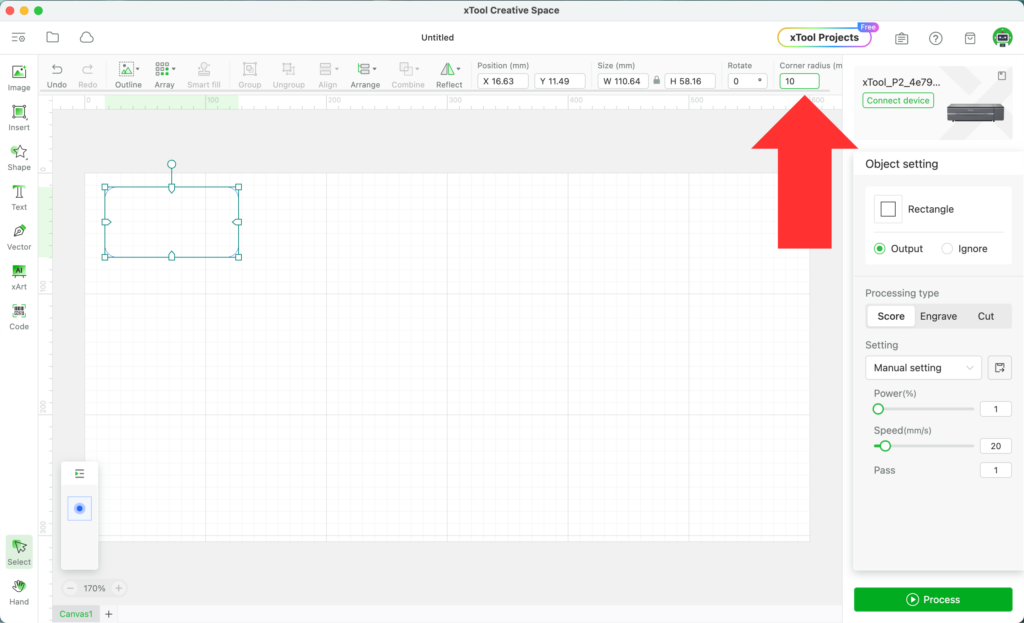
2. I’d prefer rounded corners on the tags. Select the rectangle you made, then adjust the ‘Corner Radius’. This adjustment is in millimeters. I used 10mm.
3. Add a circle for the hole to attach the Christmas tag through. Again, I used the ‘Insert Shape’. Remember to hold down the SHIFT key to make a perfect circle.

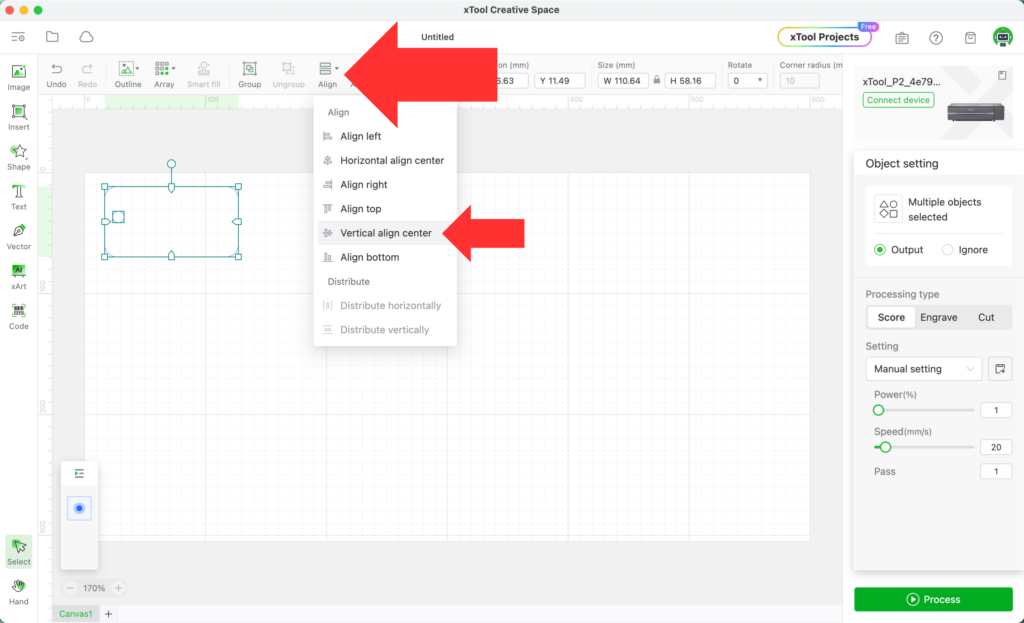
4. I want the hole lined up in the middle of the tag, so select both the tag and the circle. Then, navigate to ‘Align’, then ‘Vertical align center’.
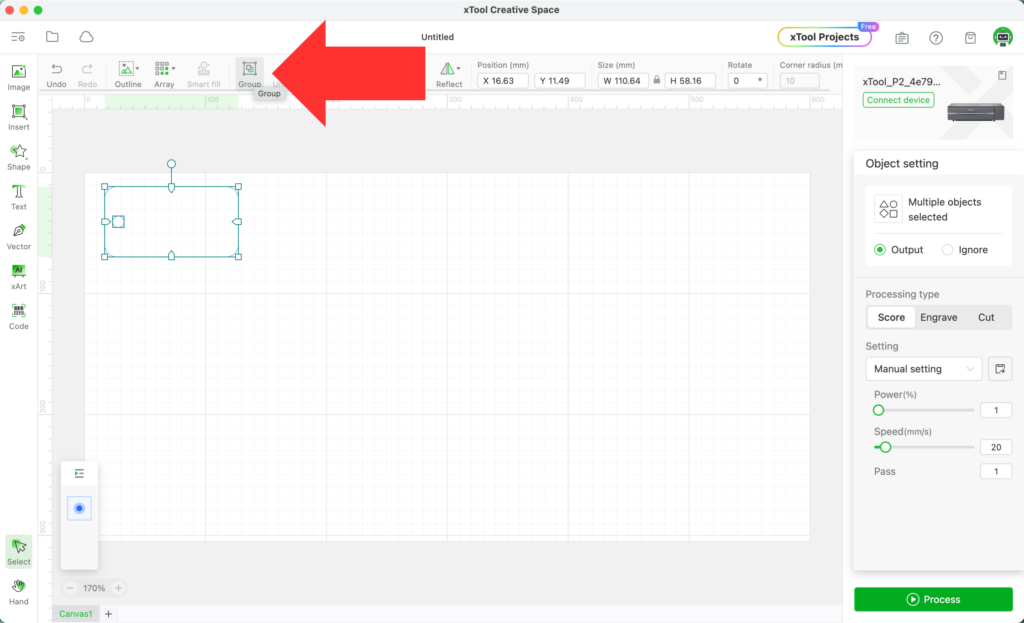
5. Select both the tag and the circle, then select ‘Group’. This will lock them together.
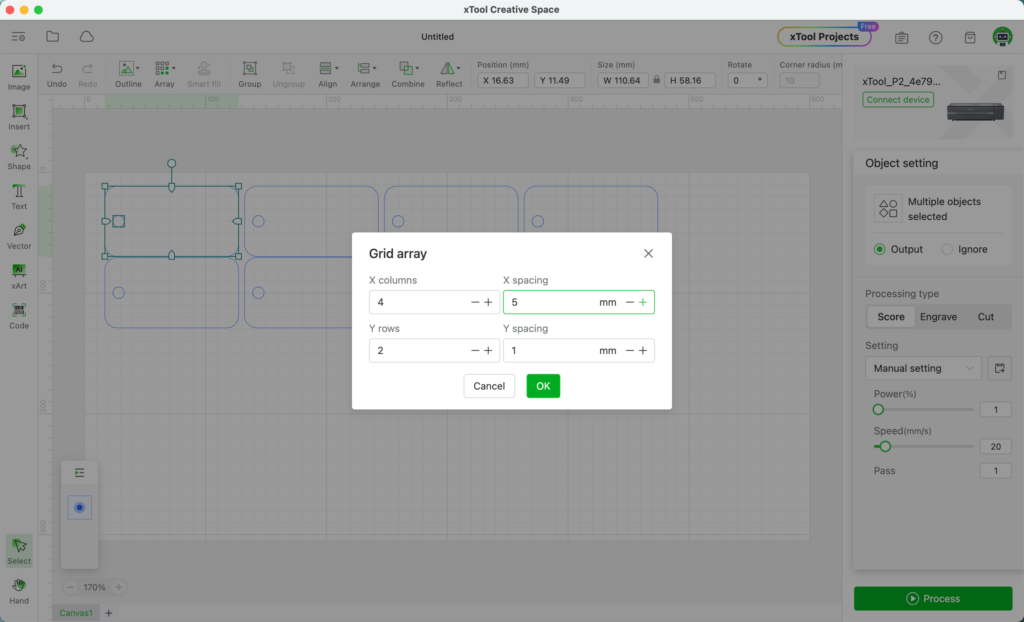
6. Duplicate the tag and circle by selecting ‘Array’, then set the parameters. You can choose how many duplicates to make and the spacing.
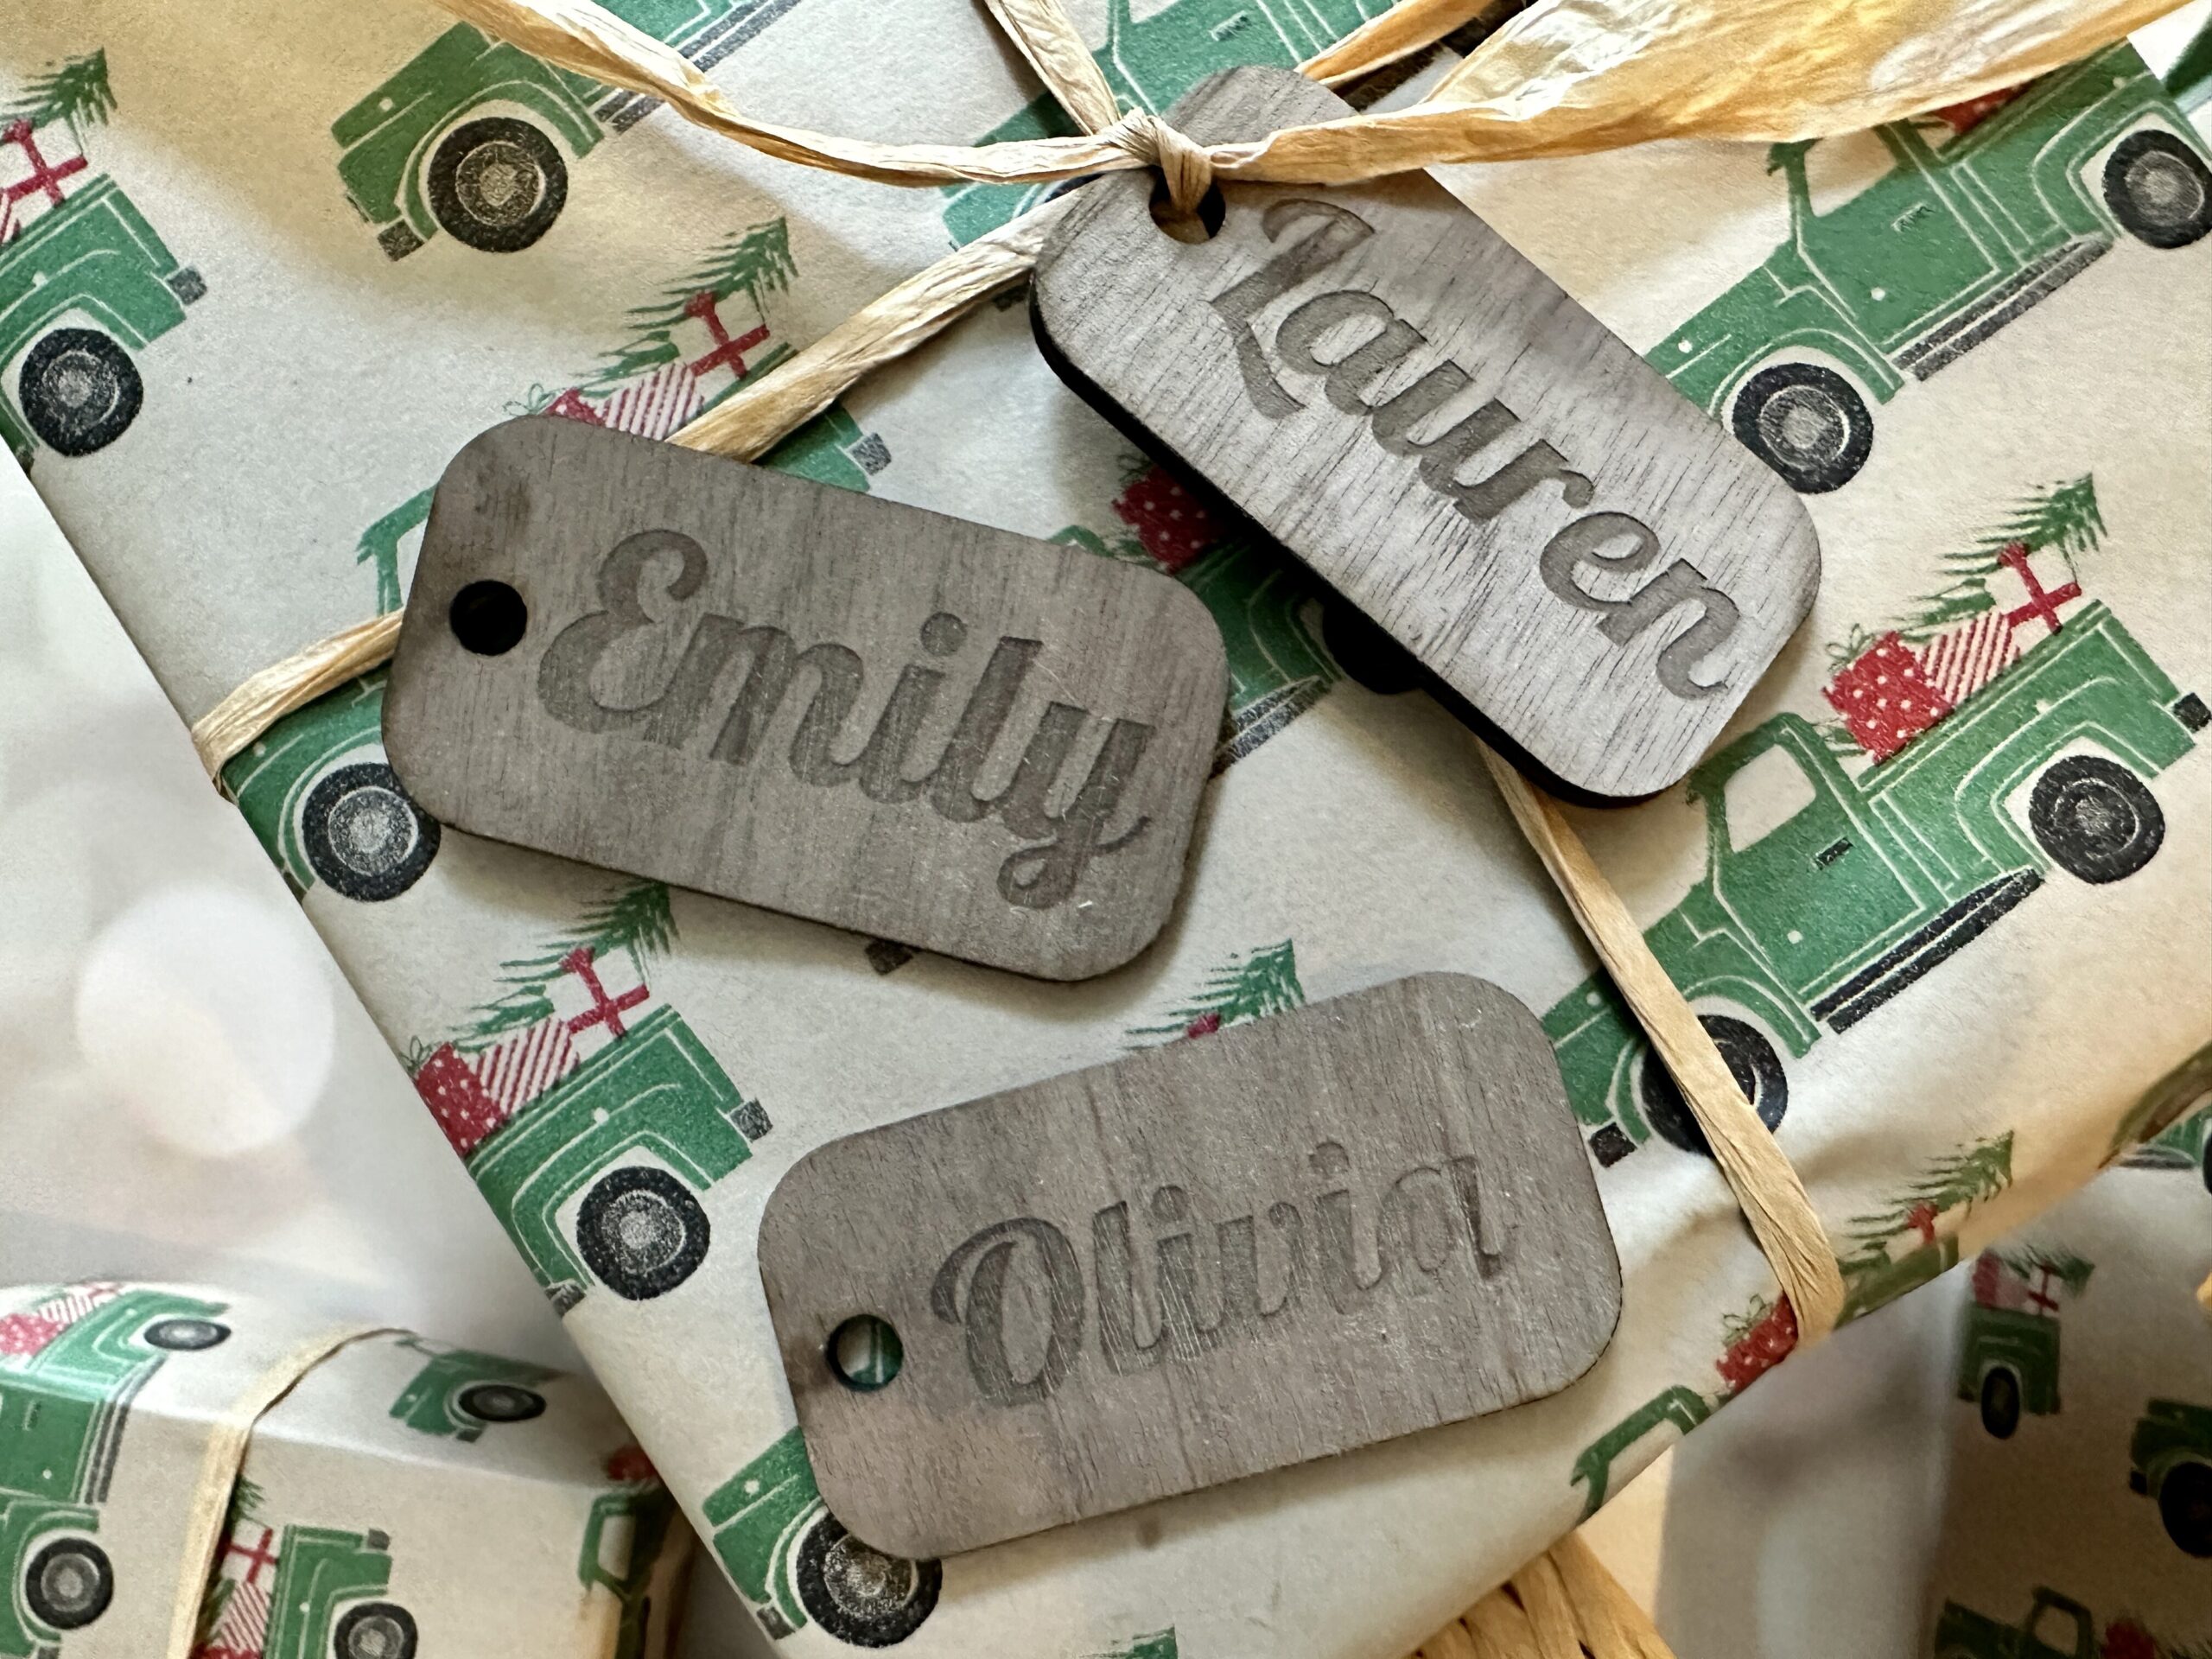
7. Now, add the names for the tags using the text tool. After adding the names, you can weld them right in the same window!
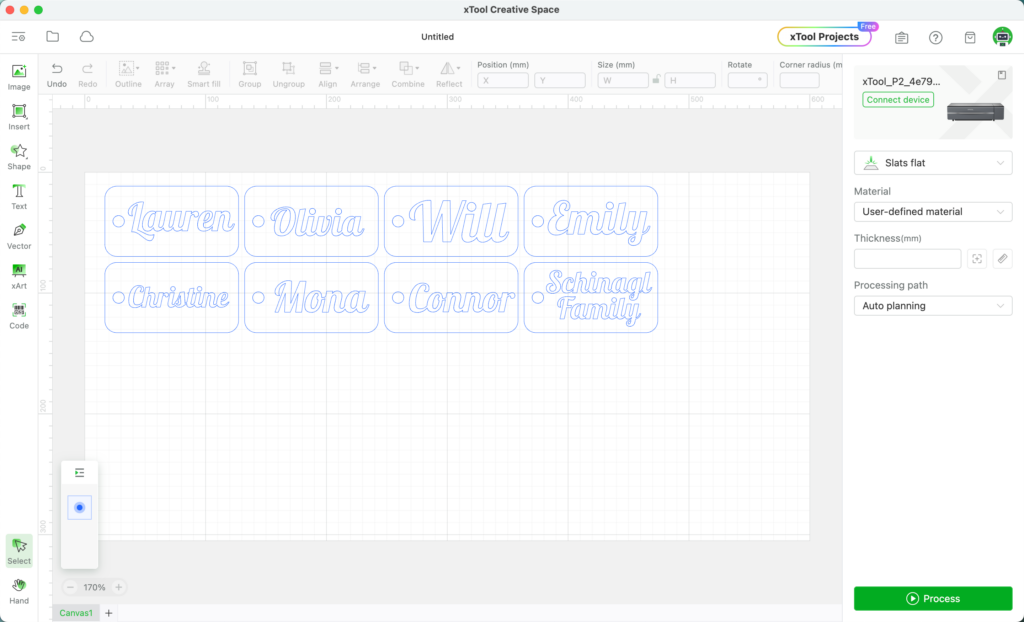
8. Set up the tags for cutting and engraving by clicking each element and selecting whether to score, cut, or engrave it.
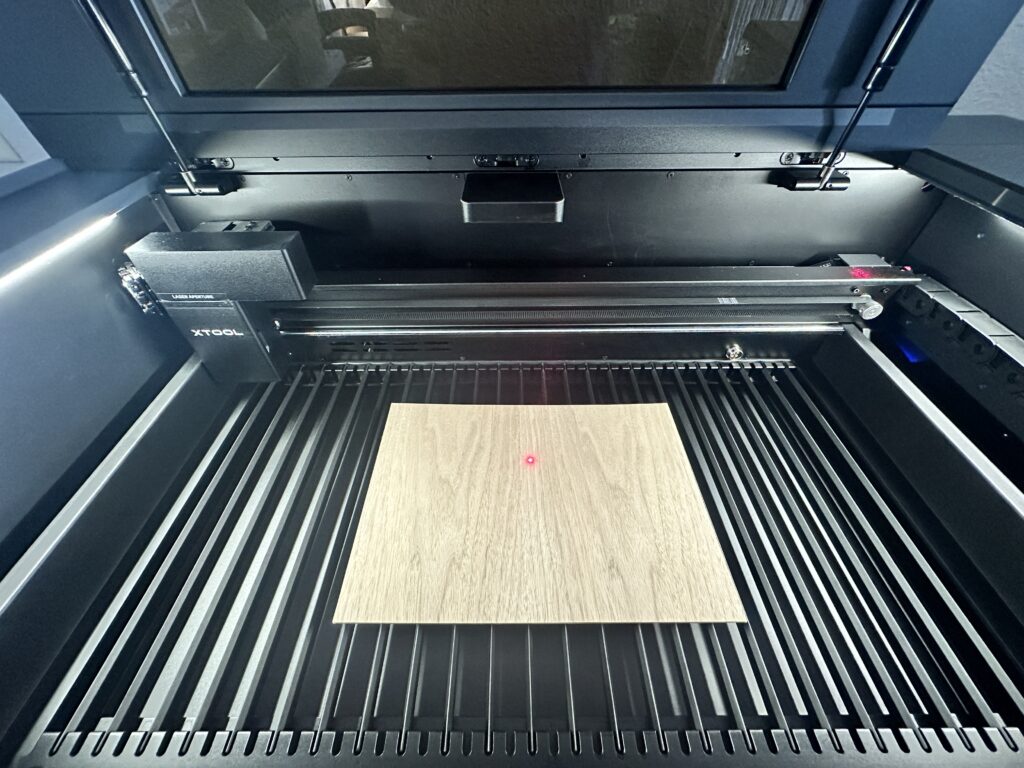
9. Load the material (I’m using a sample of xTool’s plywood), turn on the (optional) smoke purifier, and fire up the laser!
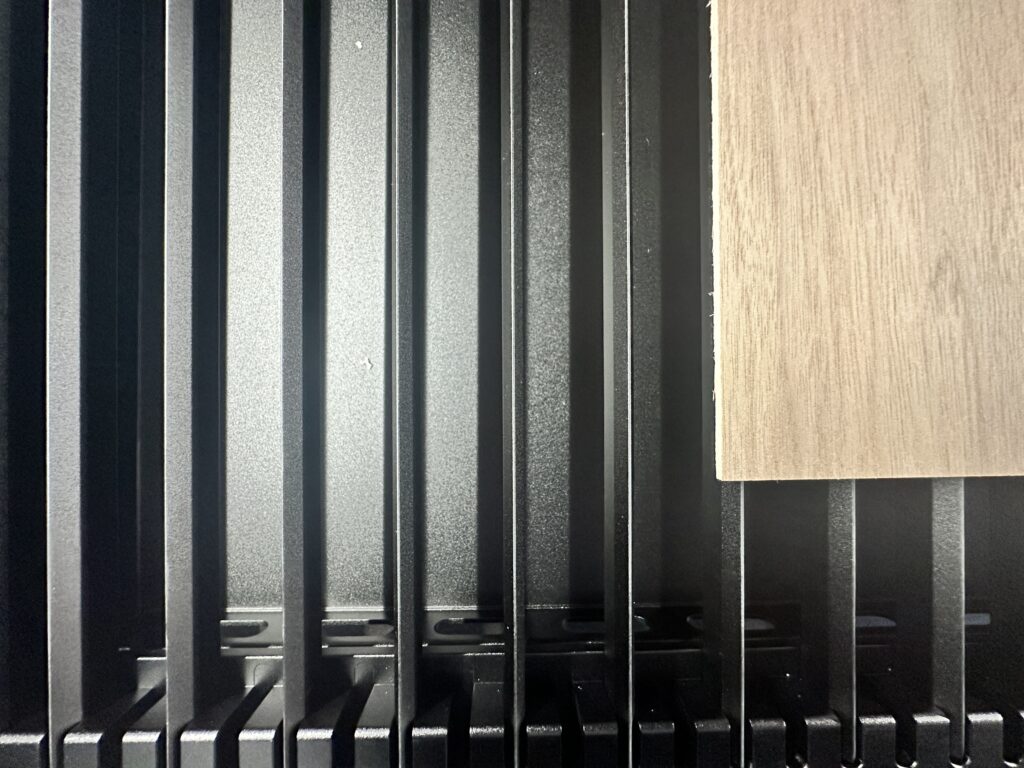
You’ll notice that the xTool P2 has a slatted tray rather than a honeycomb. The slats are moveable and repositionable. I have a feeling this will come in handy.
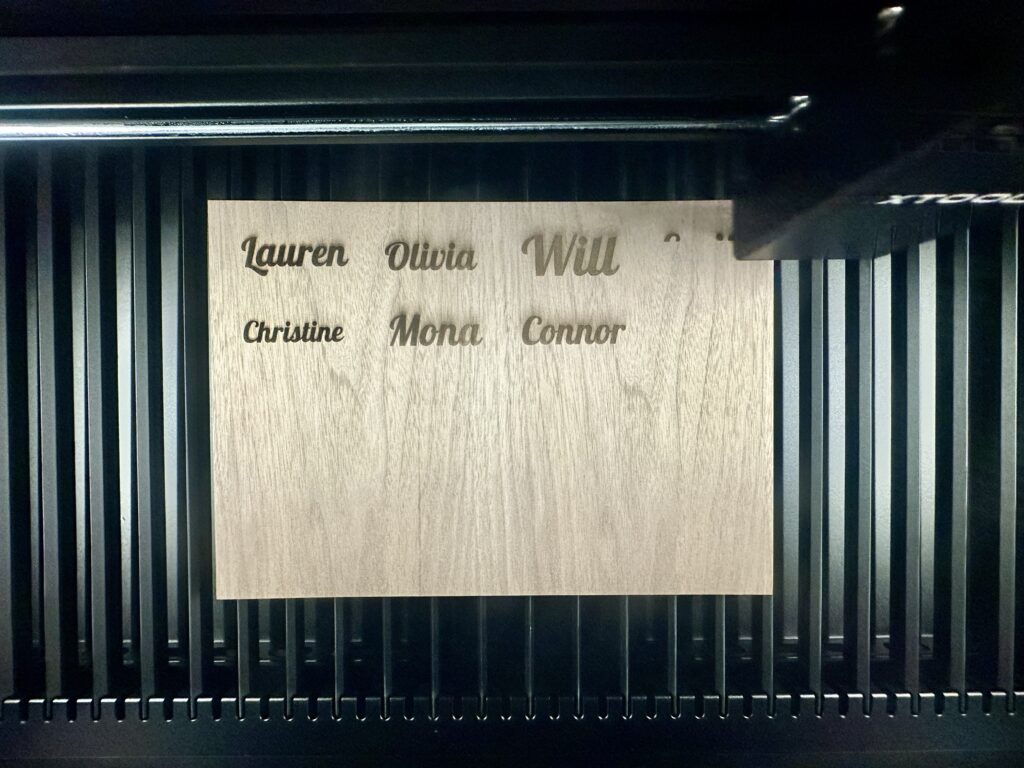
10. To cut and engrave 8 tags took a little over 9 minutes. After a quick wipe down with paper towel and water, they are already on presents from “Santa”. Since my kids are old enough to know what my handwriting looks like, these are perfect!
My Thoughts on xTool’s Creative Space
I consider myself a competent designer in both Adobe Illustrator and Silhouette Studio. While you can import designs from other programs, I decided to design directly in xTool’s Creative Space.
I found Creative Space easy to use – and quite intuitive! I was able to easily draw shapes, resize, weld, align, and more.
XTool’s Creative Space program is free. Before you order your xTool P2, download it and see for yourself how easy it is to use: Download Creative Space.
Read more on Cutting for Business about the xTool P2.
Since 2015, Christine Schinagl has been helping crafters start and run craft businesses through her blog, Cutting for Business. As a Silhouette and Cricut crafter herself, she has a unique take on what works and what doesn’t work in the craft business world. She also enjoys teaching other crafters how to create digital SVG designs, available through the Design with Me series.