Tutorial: Back to School Lined Paper SVG
Affiliate Disclosure: As an Amazon Associate I earn from qualifying purchases. Additionally, I may get commissions for purchases made through other affiliate links in this post.
My kids went back to school last week, what about yours? Are you sad summer is over or are you ready to get your kids back in school?
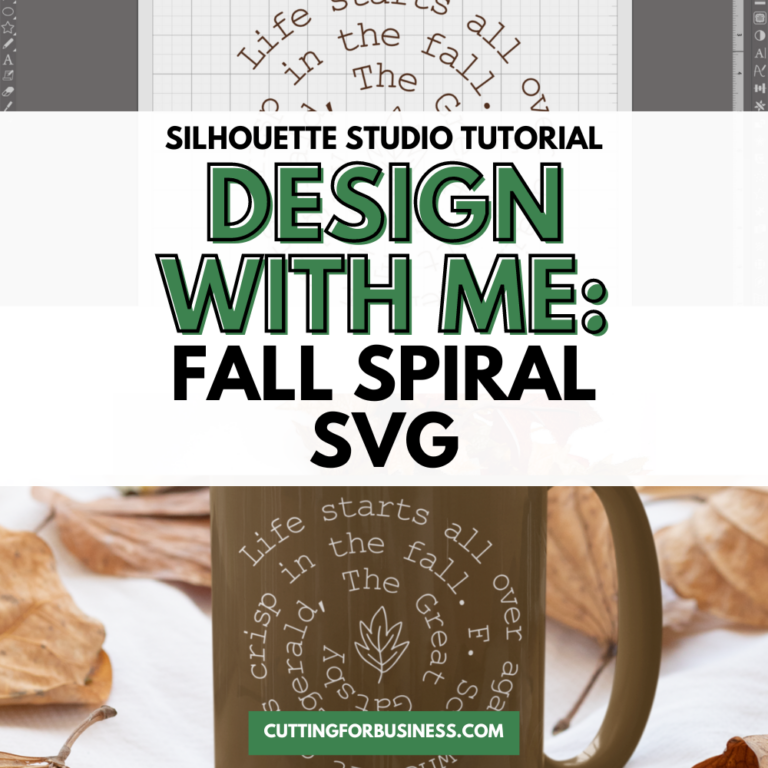
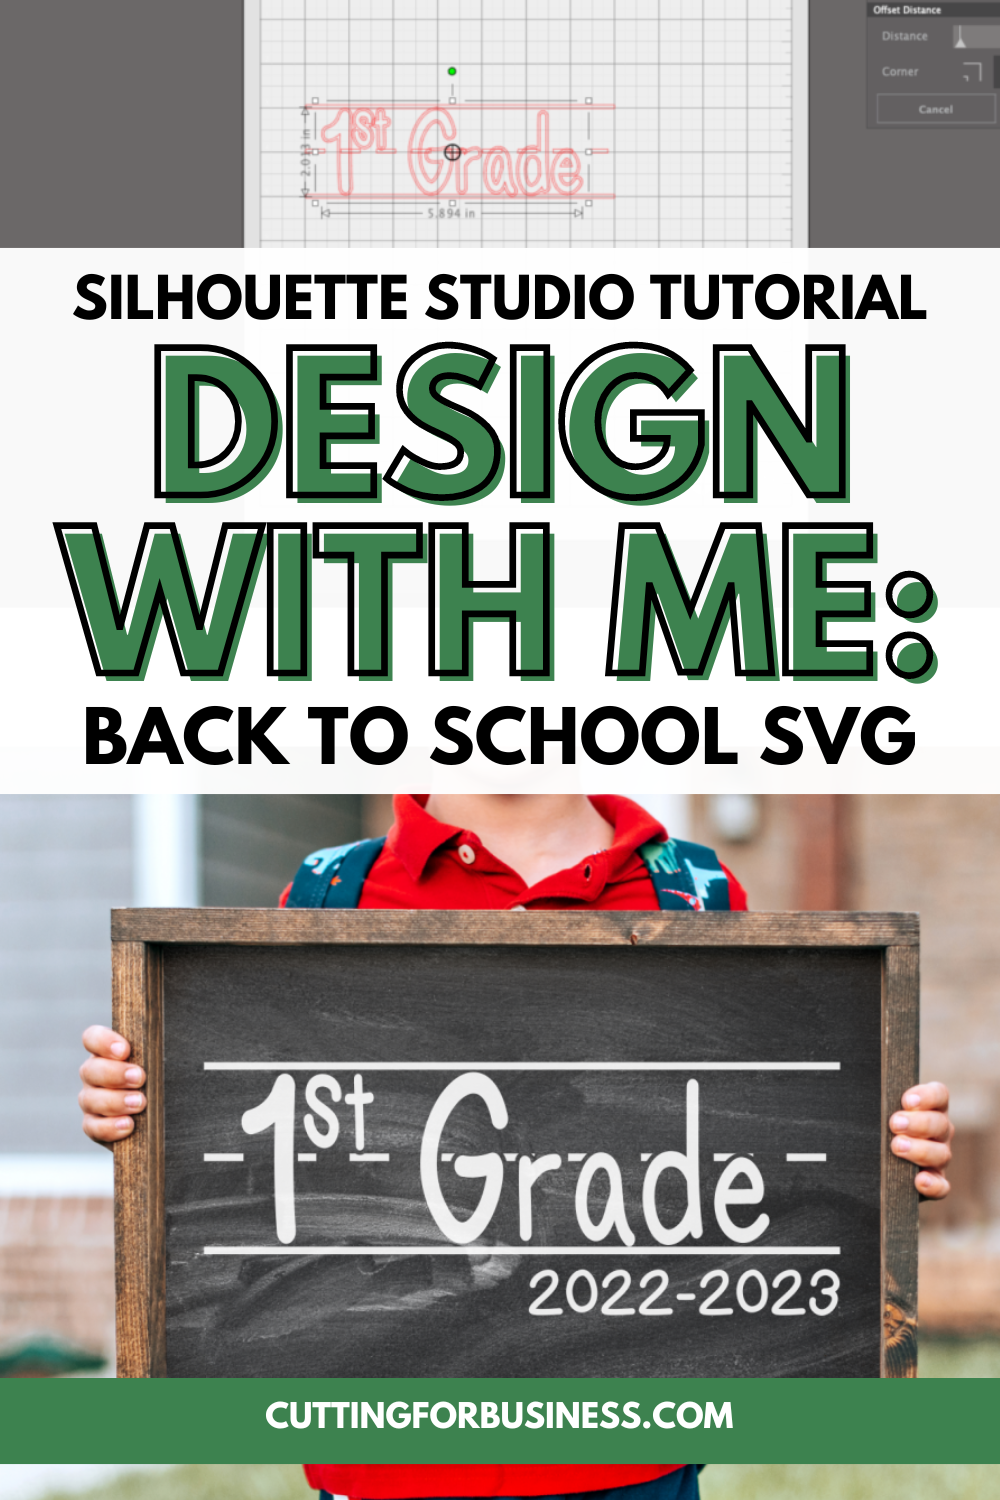
Today, let’s create the *cutest* back to school lined paper SVG design – perfect for a t-shirt, bulletin board, or wood sign.
About Design with Me Tutorials
Design with Me Tutorials are created with intermediate Silhouette Studio users in mind. It’s helpful to know the basics of designing in Silhouette Studio before starting the tutorials.
All Design with Me tutorials use Silhouette Studio Business Edition. If you do not have Silhouette Studio Business Edition, some tools may not be available in your Silhouette Studio Edition. Get Silhouette Studio Business Edition.
Tutorial: Back to School Lined Paper Design
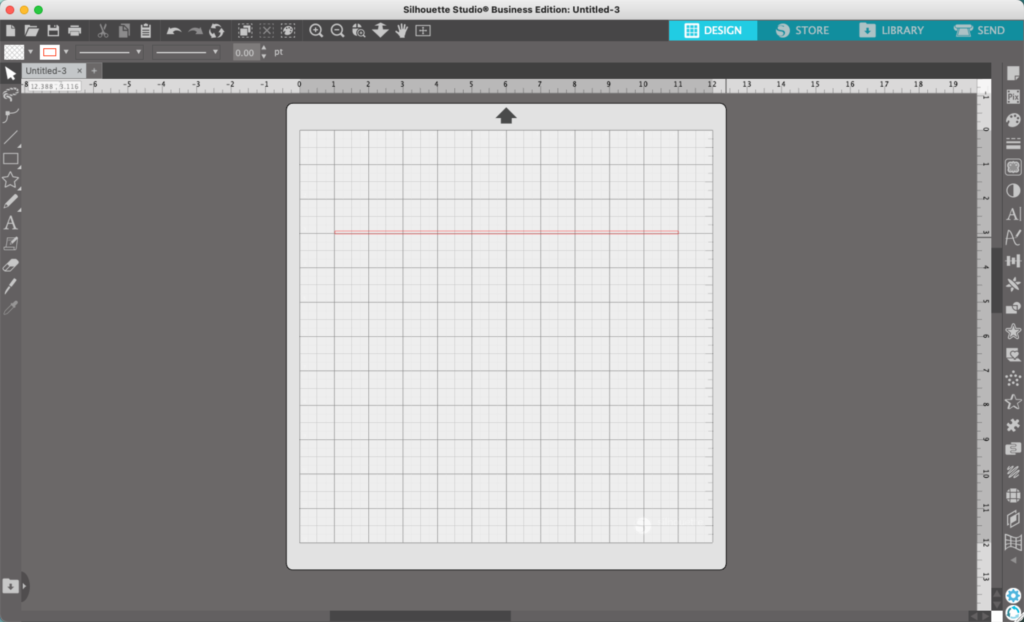
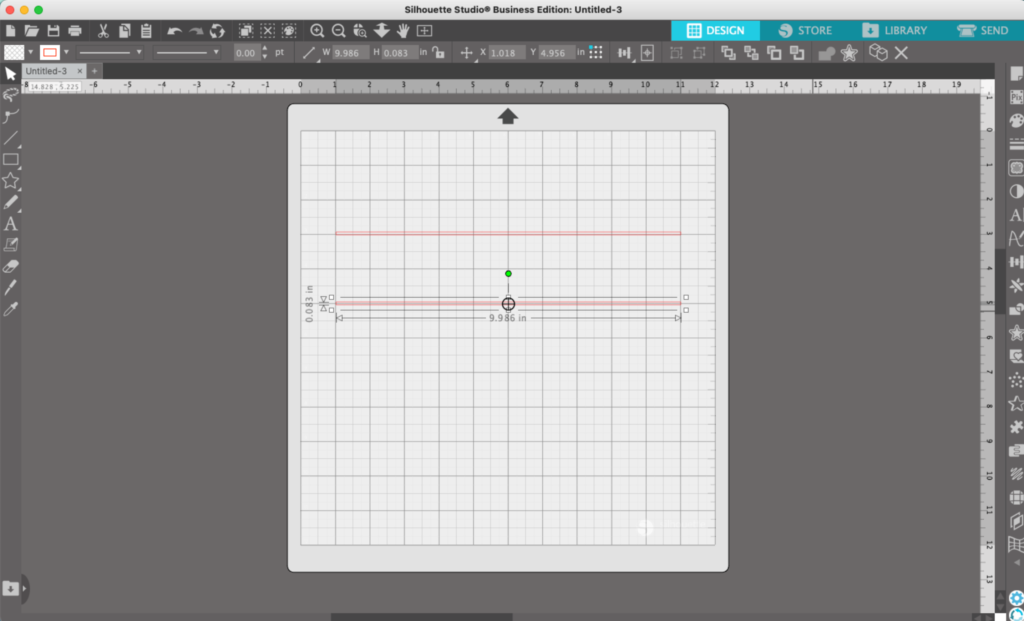
- Use the ‘Draw a Rectangle’ tool to draw a long skinny horizontal box.
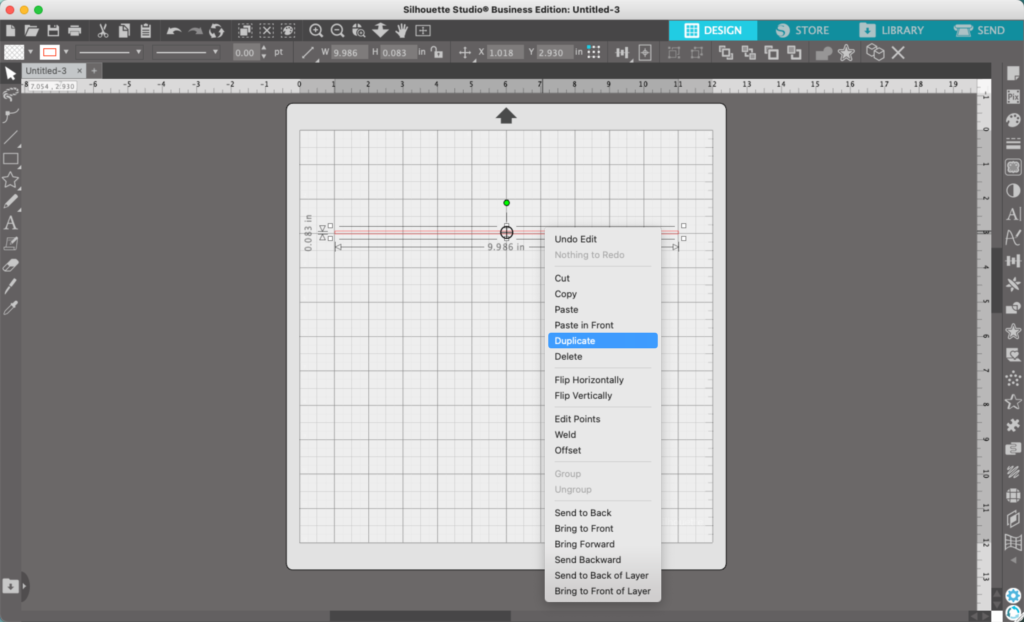
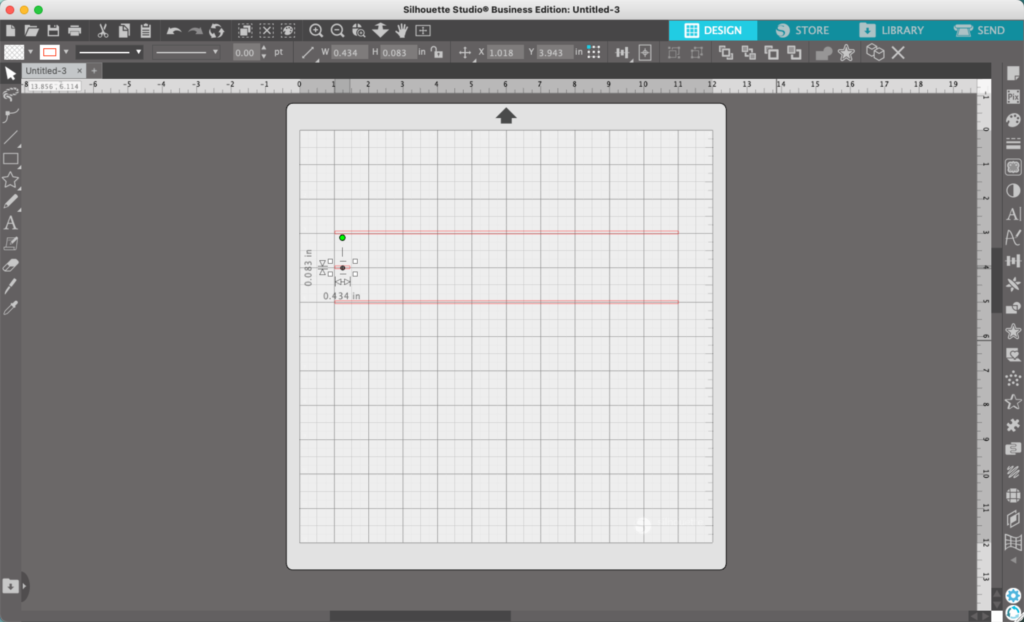
2. Right click to duplicate the skinny rectangle. Then, align it lower than the first rectangle.
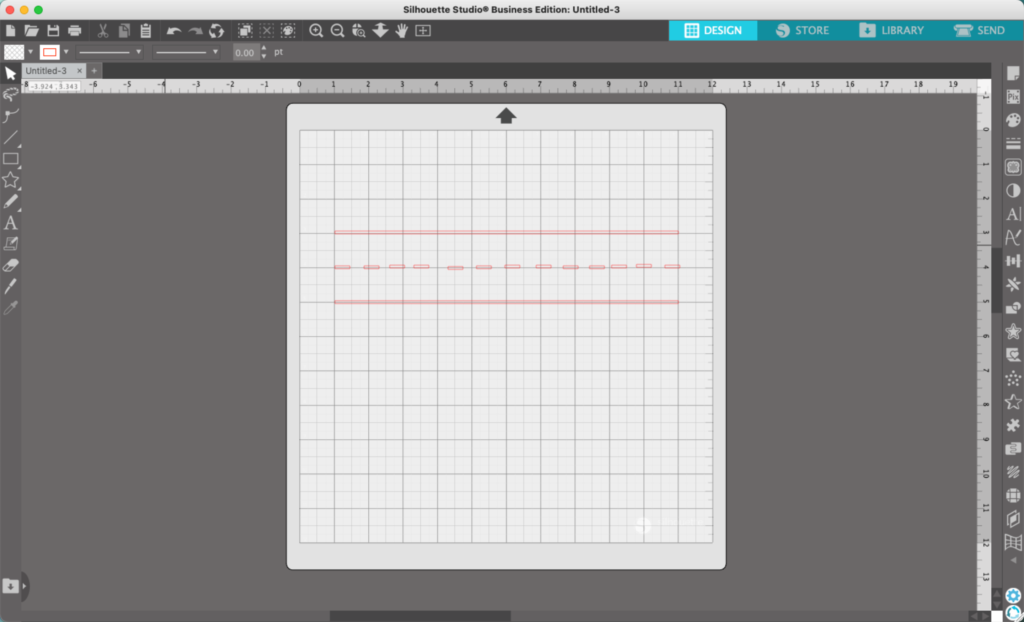
3. Use the ‘Draw a Rectangle’ tool again to draw a small rectangle between the two long rectangles.
4. Right click the small rectangle and duplicate it several times.

5. Drag the short rectangles apart. It doesn’t matter if they are spaced evenly or aligned perfectly – we will fix that in a minute.
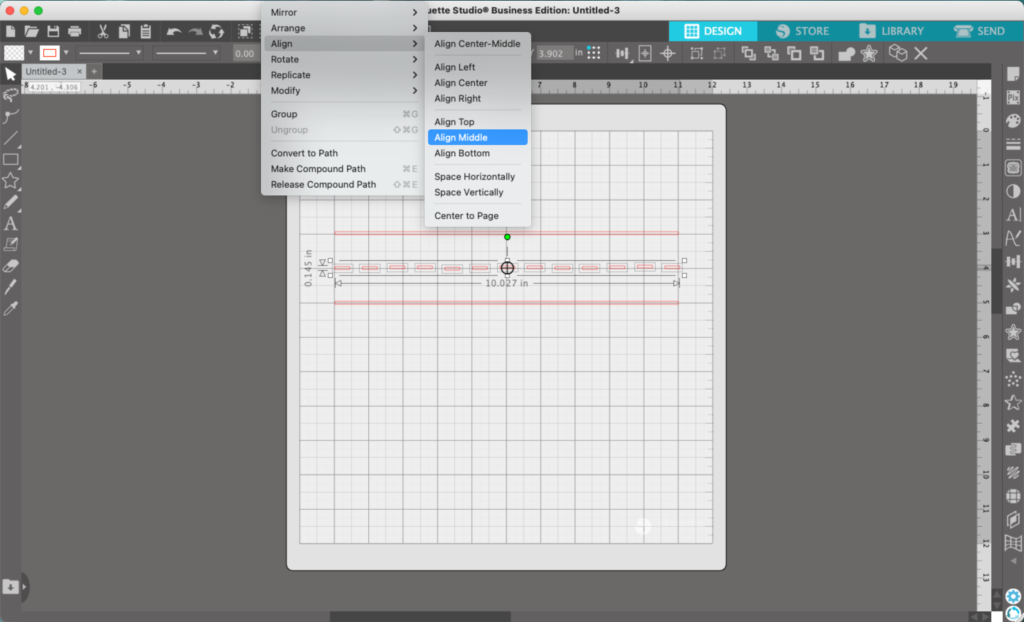
6. Select all the rectangles (my favorite way to select multiple elements is to draw a box around all the pieces). Then, navigate to ‘Object’, ‘Align’, ‘Space Horizontally’.
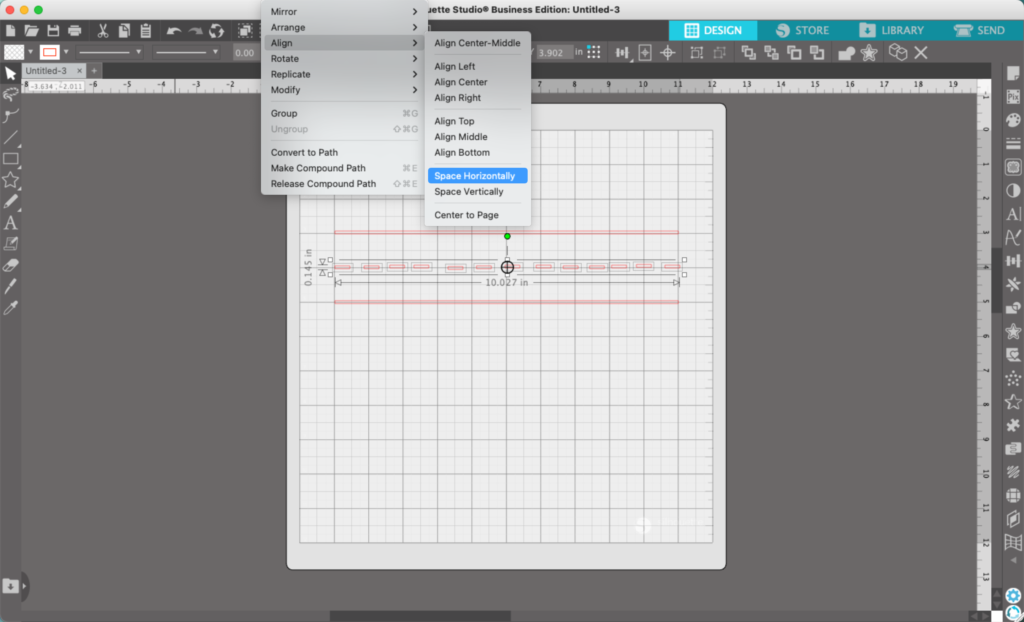
7. Return to ‘Object’, and ‘Align’, but this time choose ‘Align Middle’. The dashed lines will be lined up perfectly now. Right click and select ‘Group’ to lock together the dashes.
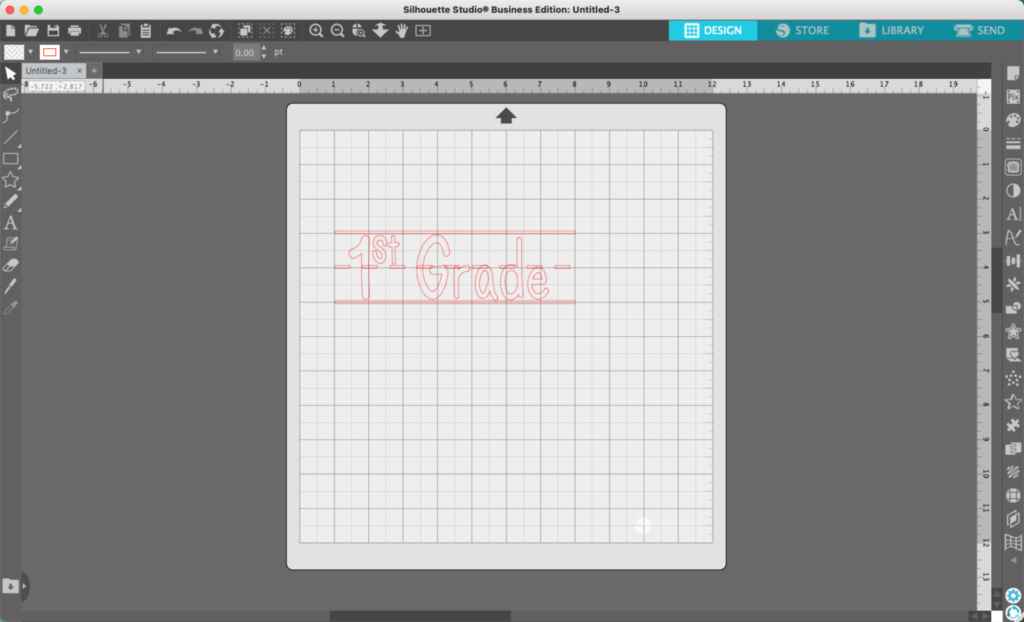
8. Add text of your choice. You could add a grade, teacher’s name, school name, and more. I used the Sleepy Sloth font.

9. Use the knife tool to trim the line down to size.
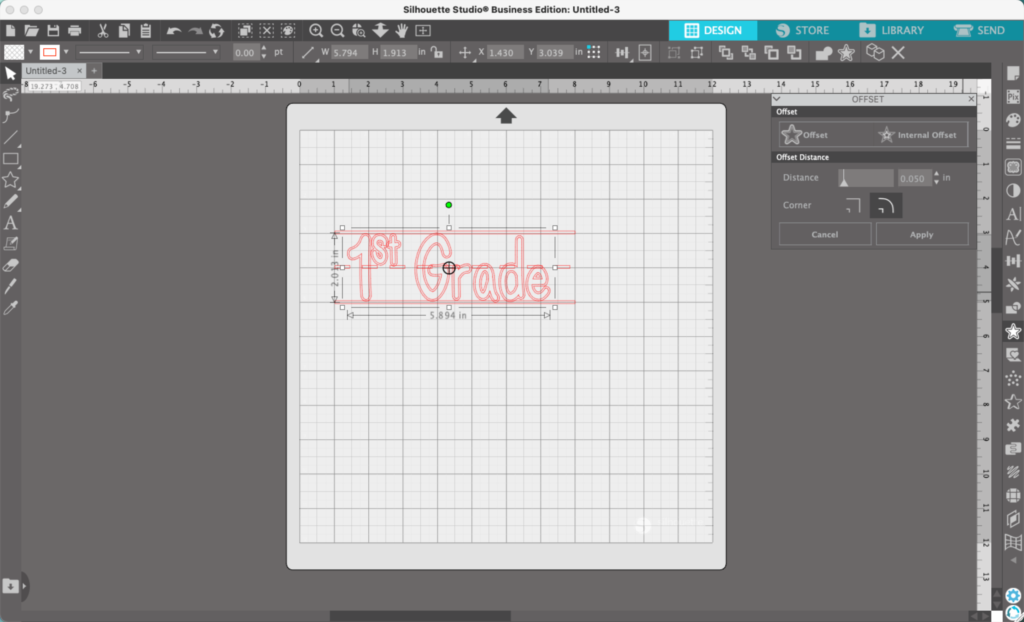
10. (Optional) Depending what you use the final design for, you may want to subtract the text from the dashed lines.
If so: Select your text, then navigate to ‘Panels’, then ‘Offset’. Perform a small offset of the text.
Then, select the dashed lines, then your offset, and go to ‘Object’, ‘Modify’, ‘Subtract’. Group everything back together as desired.
11. (Optional) Add color to the design and any additional details.
My final design looks like this:

Don’t Forget to Save!
To save your new SVG creation, head to ‘File’, ‘Save As’, ‘Save to Hard Drive’, name the file, then select ‘SVG’ from the dropdown menu.
Want More SVG Tutorials?
View more Design with Me SVG tutorials.
Since 2015, Christine Schinagl has been helping crafters start and run craft businesses through her blog, Cutting for Business. As a Silhouette and Cricut crafter herself, she has a unique take on what works and what doesn’t work in the craft business world. She also enjoys teaching other crafters how to create digital SVG designs, available through the Design with Me series.