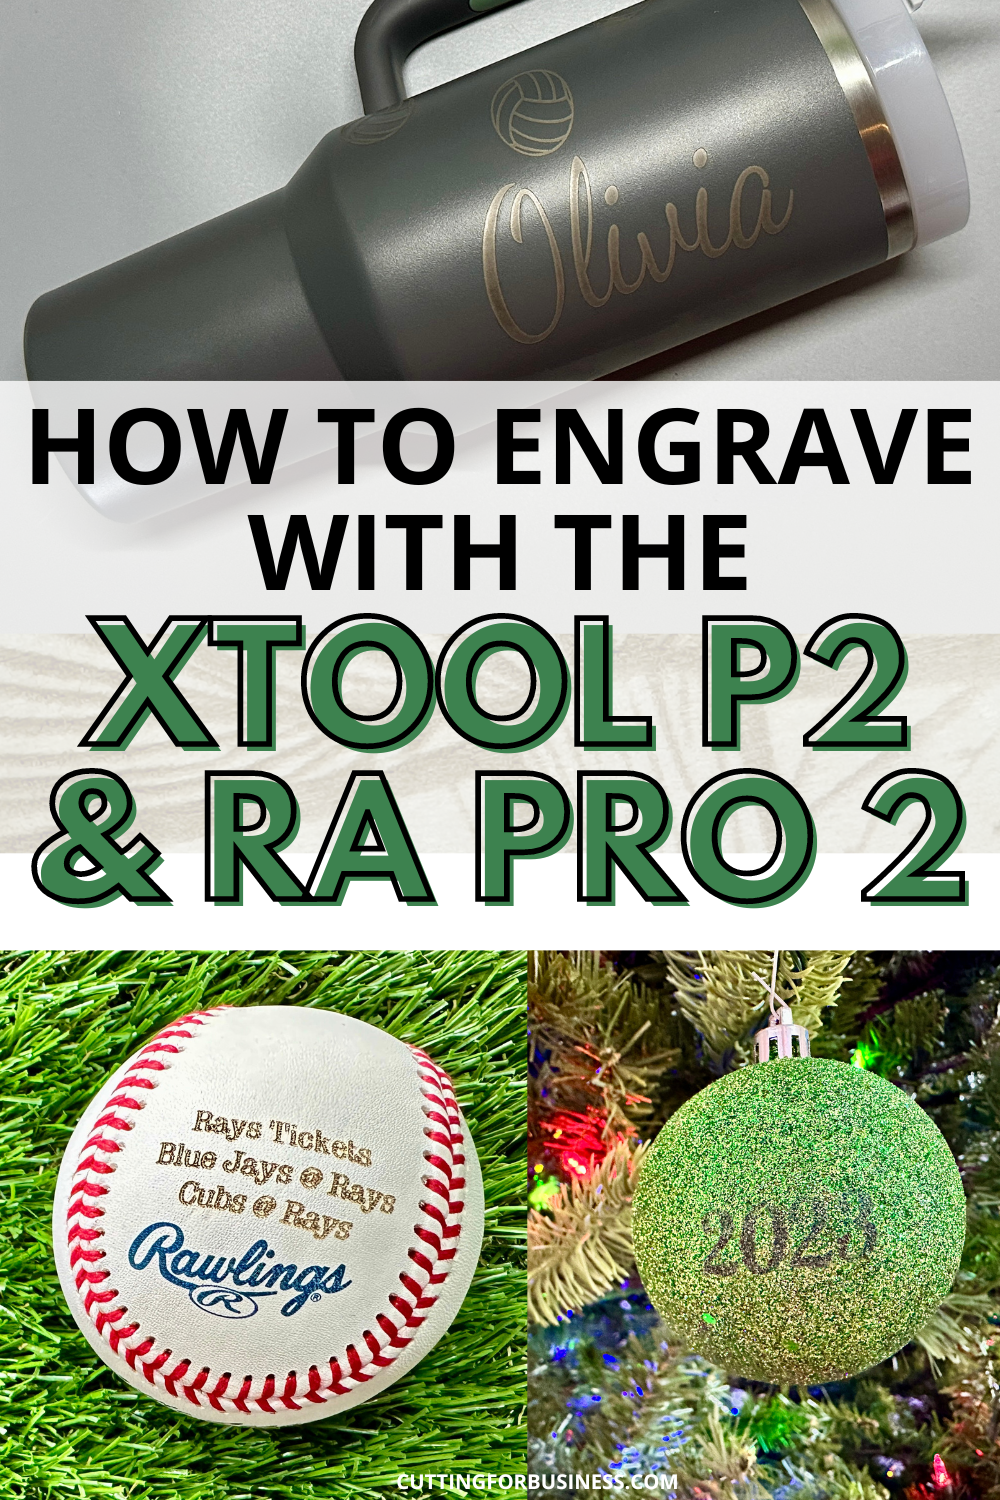
xTool P2: How to Engrave with the RA Pro 2 Rotary Attachment
Affiliate Disclosure: As an Amazon Associate I earn from qualifying purchases. Additionally, I may get commissions for purchases made through other affiliate links in this post.
I went engraving crazy for today’s blog post. The xTool P2’s rotary attachment (RA Pro 2) is… AH-MAZING! Let’s take a look at it.
Table of Contents
What is the Rotary Attachment (RA Pro 2)?
One accessory that xTool offers is the rotary attachment shortened to the RA Pro 2. This tool configures and set up in multiple ways to allow you to engrave coffee cups, balls, Christmas ornaments, tumblers, wine glasses, champagne glasses, and so much more.
How Does the RA Pro 2 Work?
I’ve previously shared a tutorial on how to use xTool’s M1 to engrave a tumbler. This tutorial features the basic rotary attachment which relies on rollers to move the product to be engraved back and forth. The roller has some limitations.
In addition to the rollers, the xTool Rotary Attachment Pro 2 offers a chuck which holds materials in adjustable jaws. This opens so many new possibilities like round objects and even rings!
How to Use the RA Pro 2 to Engrave a Stanley Cup
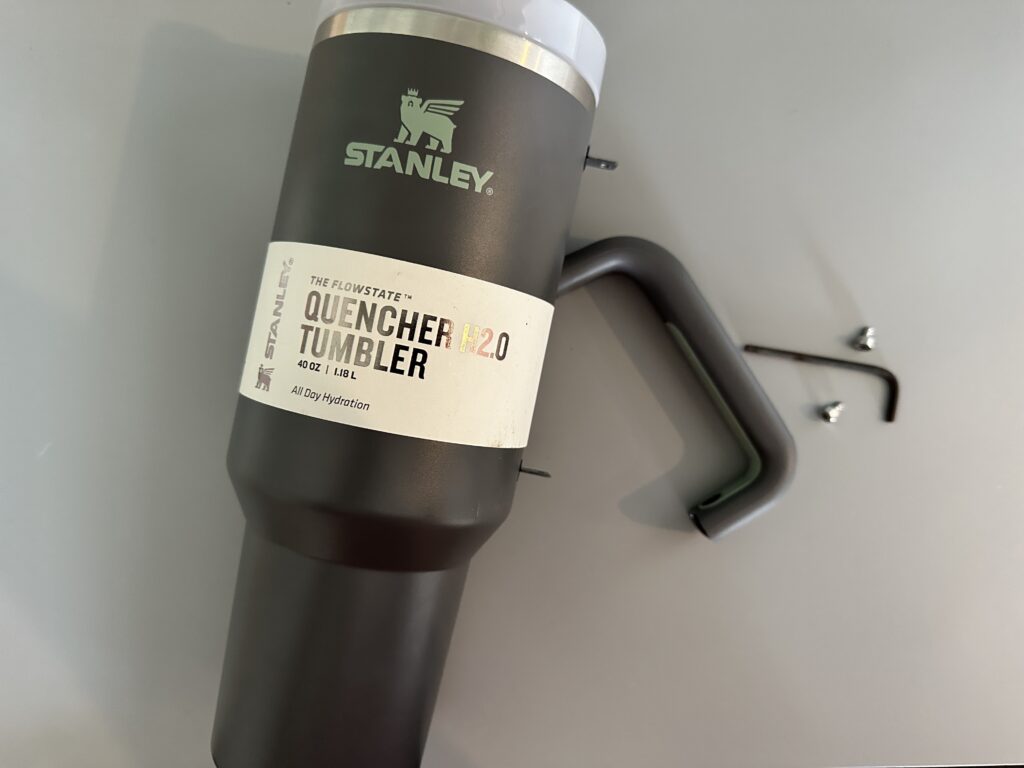
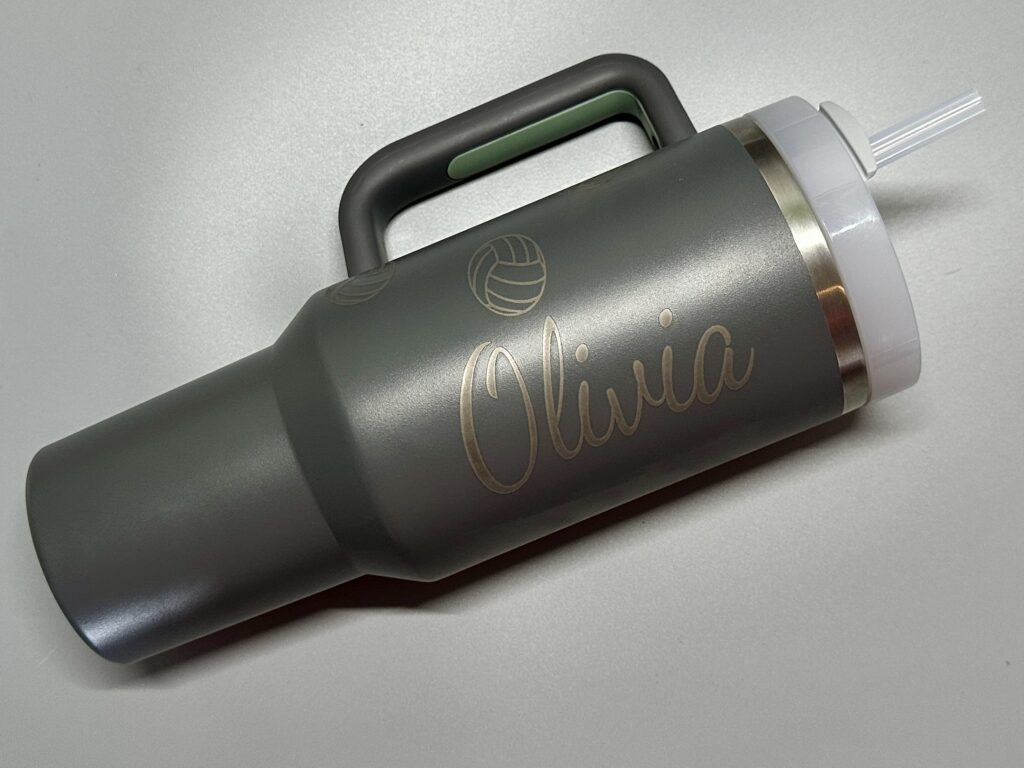
I’m almost scared for my Stanley tumbler obsessed girls to see this tutorial for fear that I will have a pile of their friend’s tumblers to engrave! But, let’s look at how to engrave a Stanley cup tumbler. I’m using the 40oz tumbler with a handle.
- Remove the handle. The handle comes off with two screws. Depending where you want to engrave the tumbler, you might want to remove it, you might not. I figured it was easier to remove the handle because I engraved volleyballs randomly all over the cup.
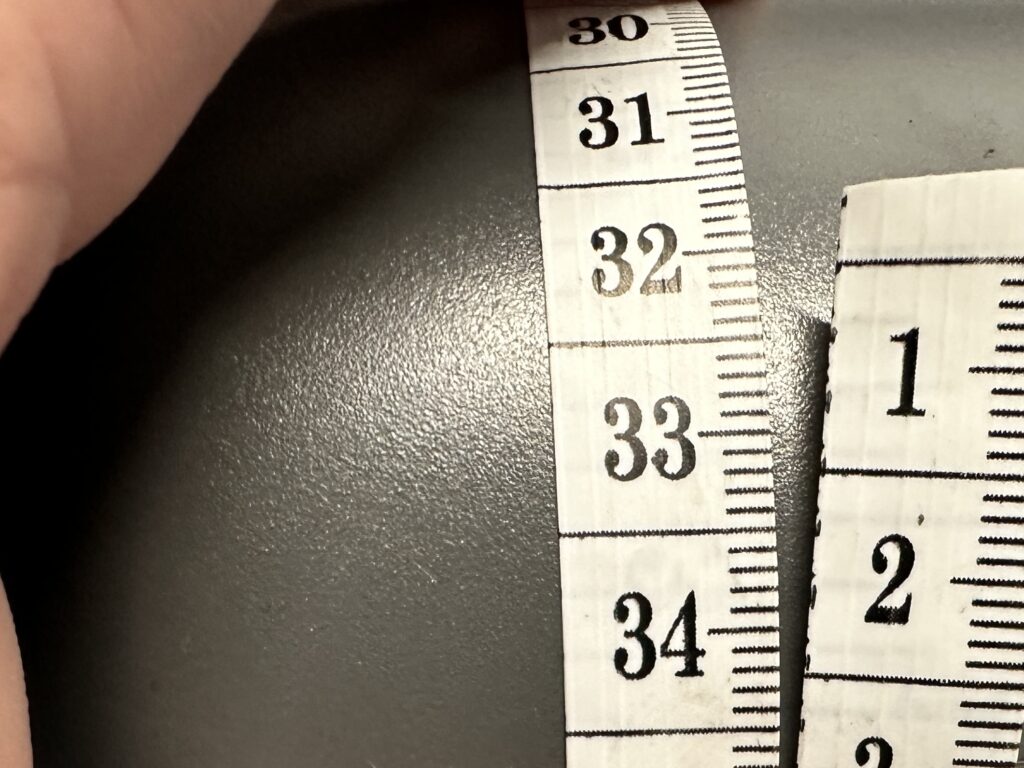
2. Measure around the tumbler in millimeters.
3. Place the tumbler onto the RA Pro 2, with the chuck inside and tighten it. Use the support on the bottom of the tumbler, then make sure it is level.
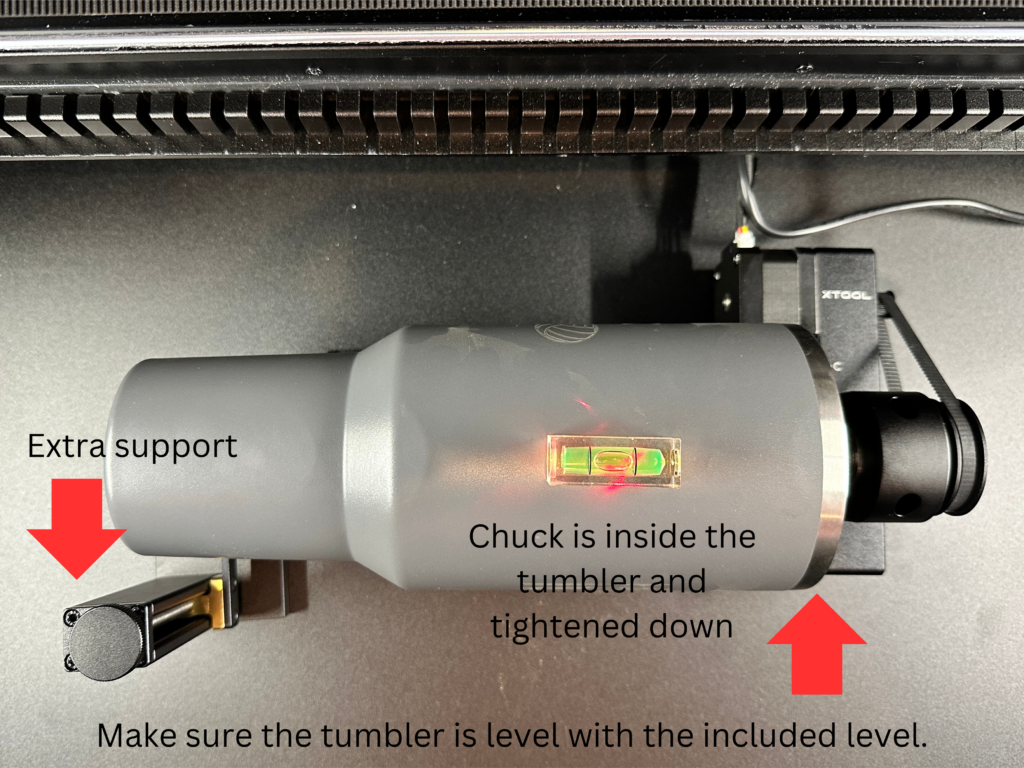
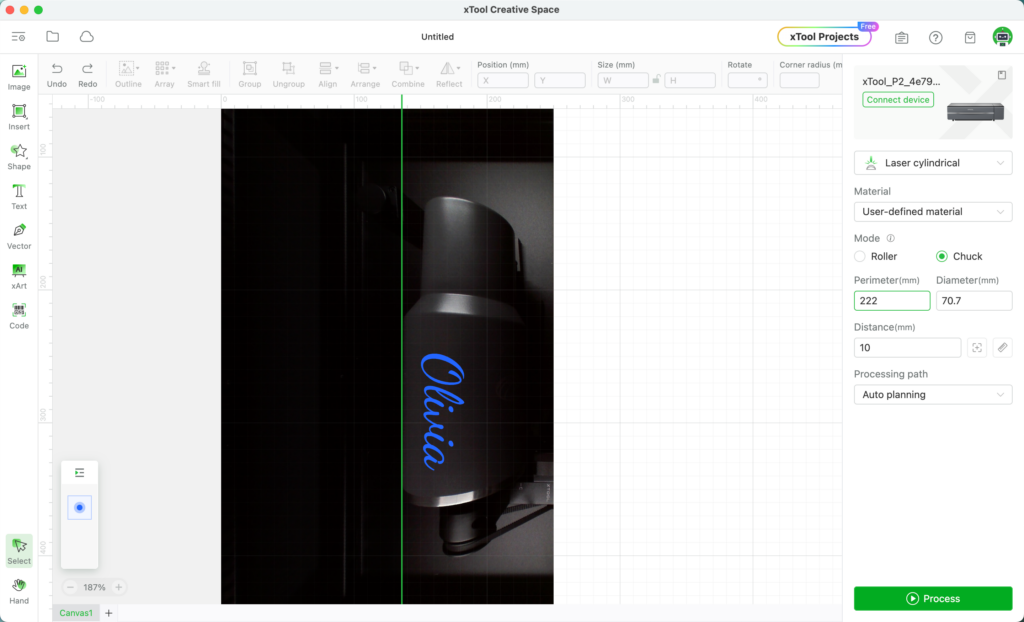
4. Set up Creative Space by making sure that the green line is to the left of the engrave and entering the perimeter measurement. The software will automatically calculate the diameter.
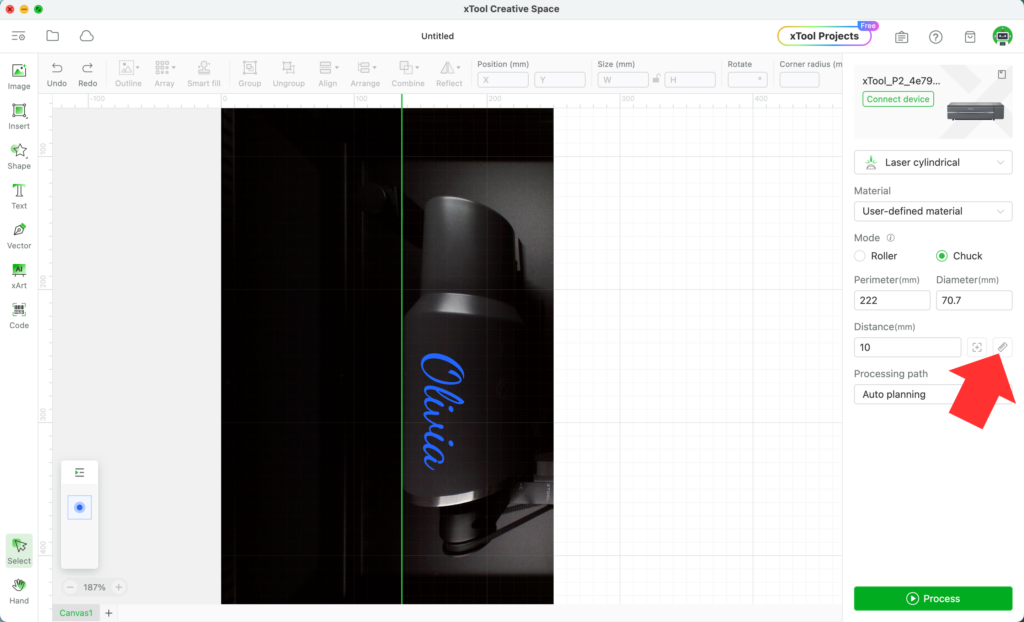
5. Allow the xTool P2 to automatically measure the distance.
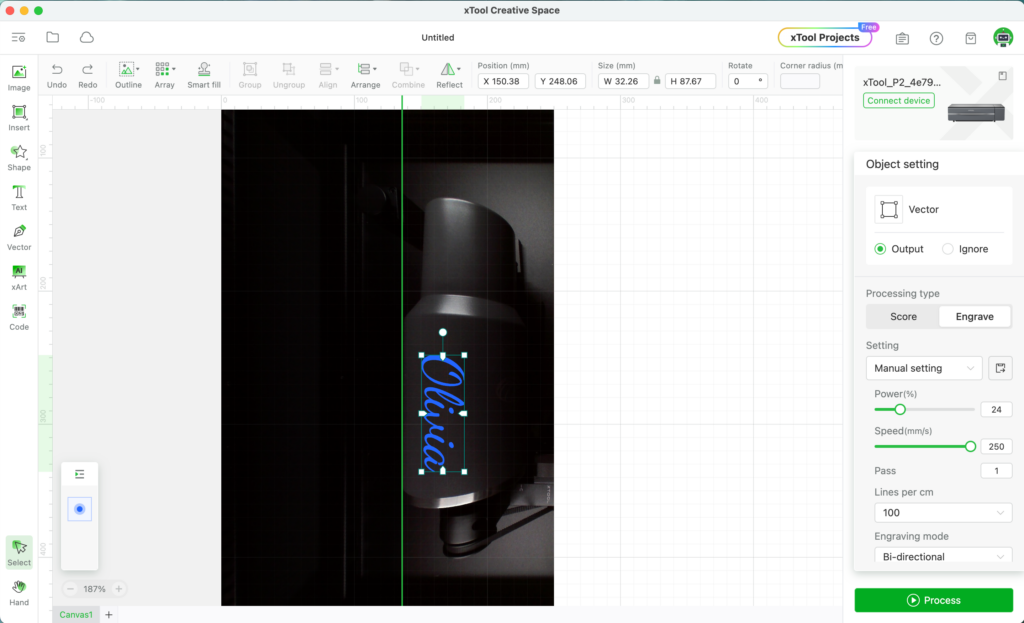
6. Enter your settings. (I used 24, 250, 1, 100.)
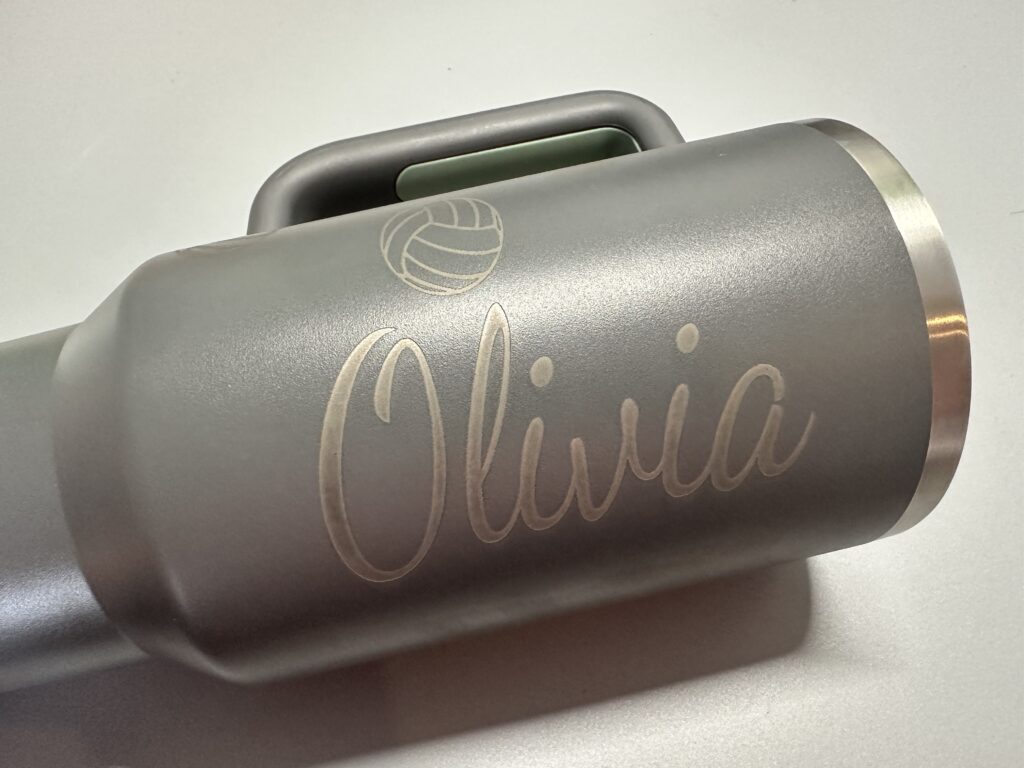
7. Turn on your air purifier, and fire up the laser! My completed engrave looks great, and I also added volleyballs all over the tumbler. The handle is easy to put back on.
How to Engrave a Baseball with the RA Pro 2
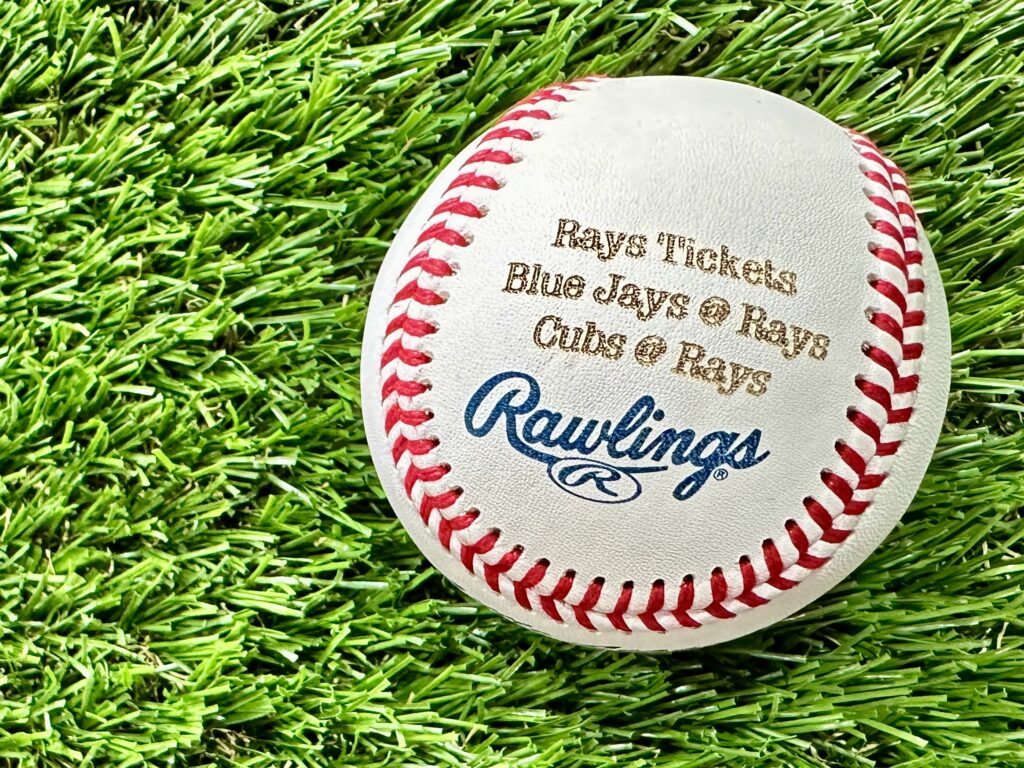
For Christmas this year, I bought tickets for someone to go to two Tampa Bay Rays games. The tickets are digital, so I wanted to find a creative way to give the tickets to the recipient. The xTool RA Pro 2 made it possible to easily engrave a baseball.
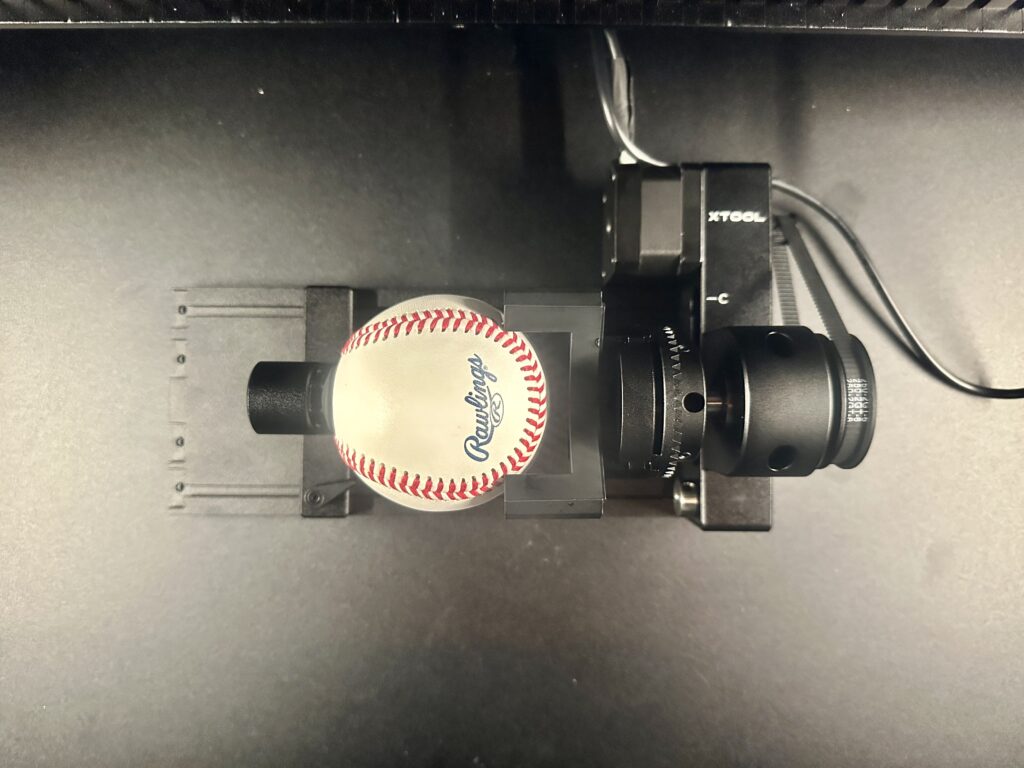
I used an old a brand new ball from Coach Will’s stock (please don’t tell him!). Using the jaws, I clamped the baseball into place and added the support bracket. In minutes, I had an engraved baseball – and a cute way to tell someone they are going to the games!
Settings: 11, 250, 1, 100.
How the baseball looks in the RA Pro 2 and xTool P2:
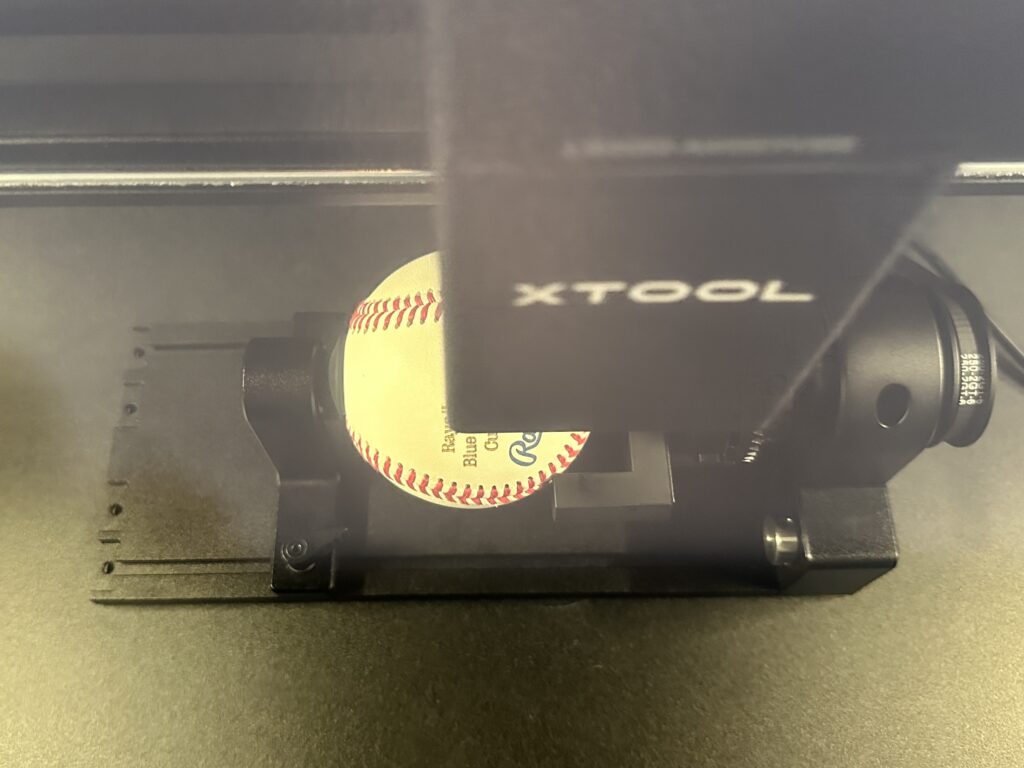
During the Engrave:
Final product:
How to Engrave a Christmas Ornament with the RA Pro 2
The baseball engrave went so well that I decided to try a Christmas ornament. I used a plastic, glitter covered ornament that came from Dollar Tree.
The set up was the same as the baseball: RA Pro 2 with the rollers removed, chuck setting, with the additional support.
Settings: 8, 250, 2, 100.
It turned out perfect!

Final Thoughts on the RA Pro 2
I am pretty excited to have xTool’s RA Pro 2. With the chuck attachment, I can’t wait to see what else I can engrave.
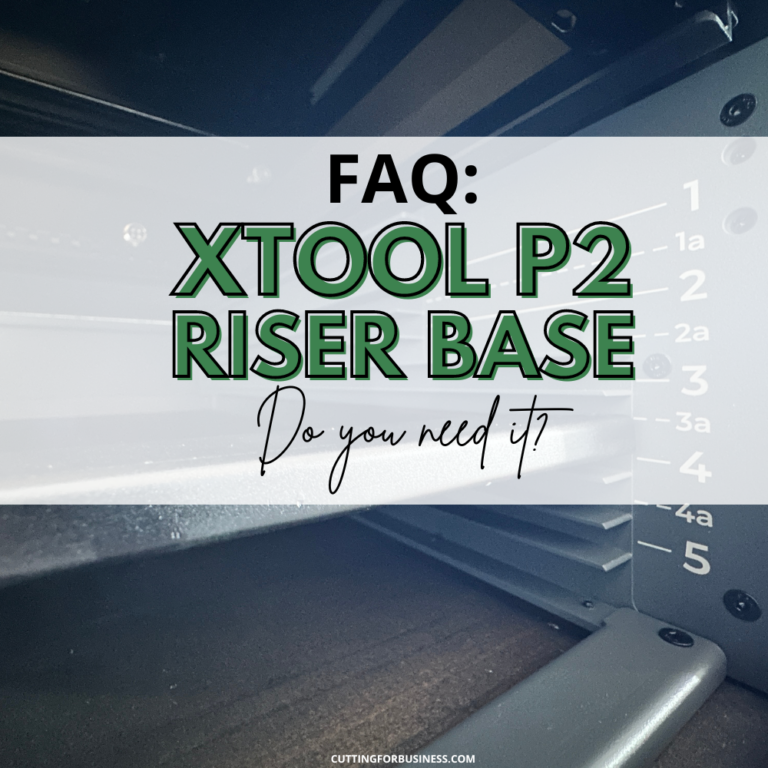
If you are in the market for xTool’s P2, the RA Pro 2 is a must buy – along with the riser base.
Have you read my other xTool posts?
Since 2015, Christine Schinagl has been helping crafters start and run craft businesses through her blog, Cutting for Business. As a Silhouette and Cricut crafter herself, she has a unique take on what works and what doesn’t work in the craft business world. She also enjoys teaching other crafters how to create digital SVG designs, available through the Design with Me series.