Tutorial: How to Use Subliflock & Free Cut File
Affiliate Disclosure: As an Amazon Associate I earn from qualifying purchases. Additionally, I may get commissions for purchases made through other affiliate links in this post.
A few weeks ago, my inbox filled up with questions about how Etsy sellers were selling intricate iron on transfers. Here’s two of the links that were sent to me: fox and flowers.
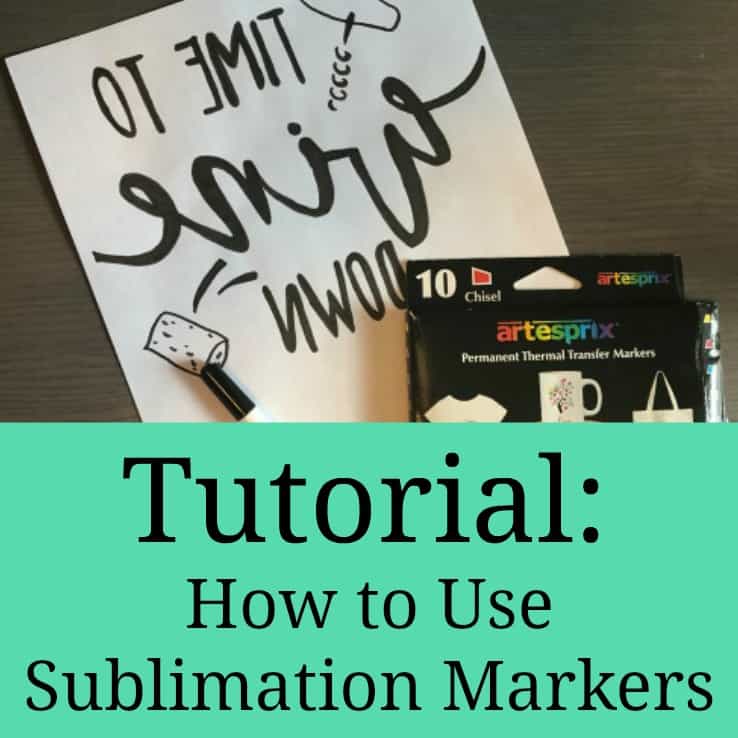
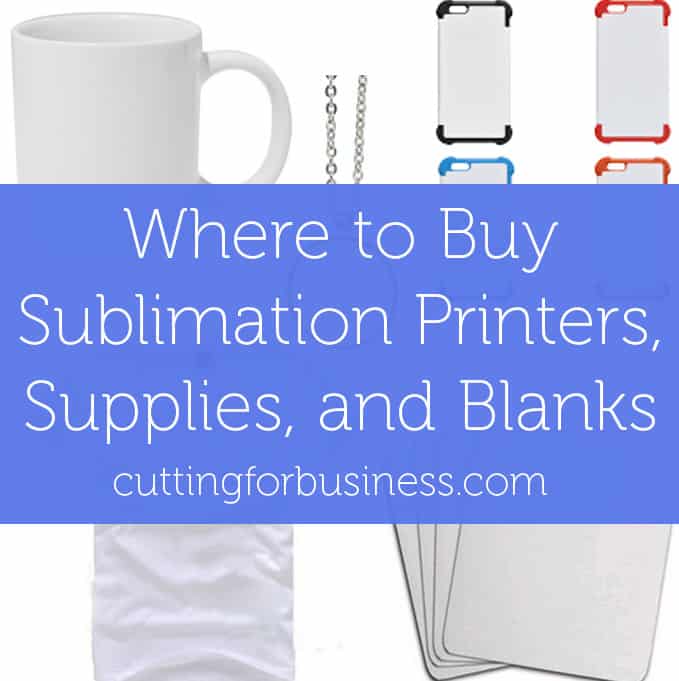
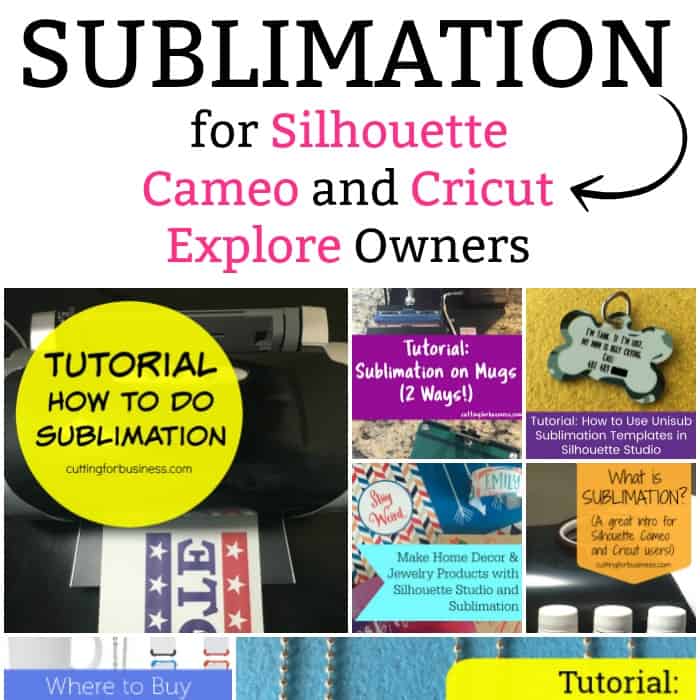
Today, I’ll show you how to create these using subliflock heat transfer material, a sublimation printer (read my sublimation series here), a heat press, and print and cut with a Silhouette Cameo.
Step by Step Subliflock Tutorial
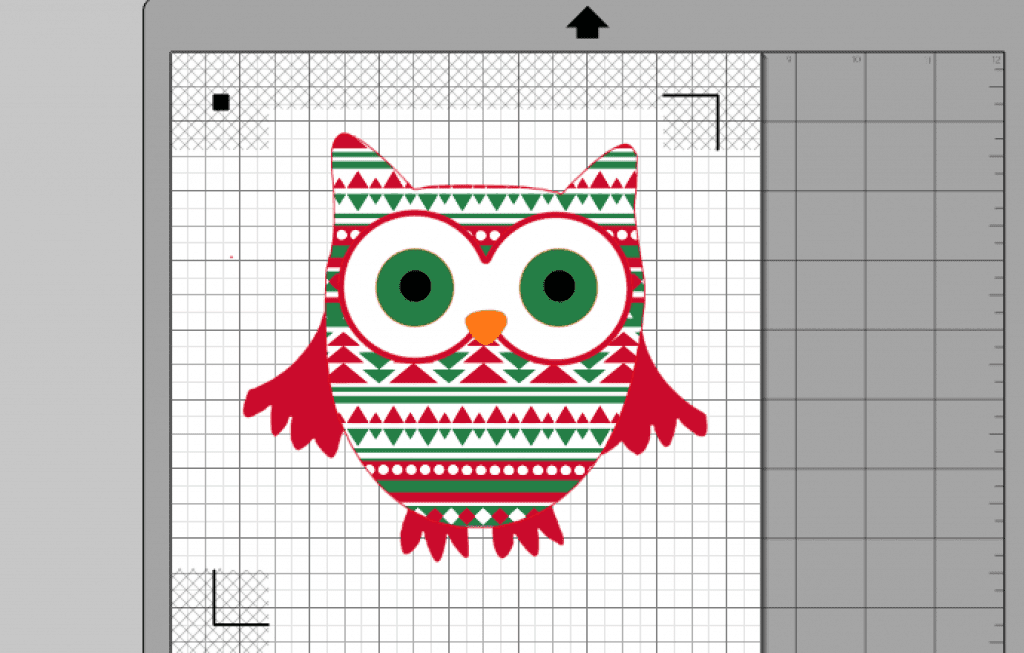
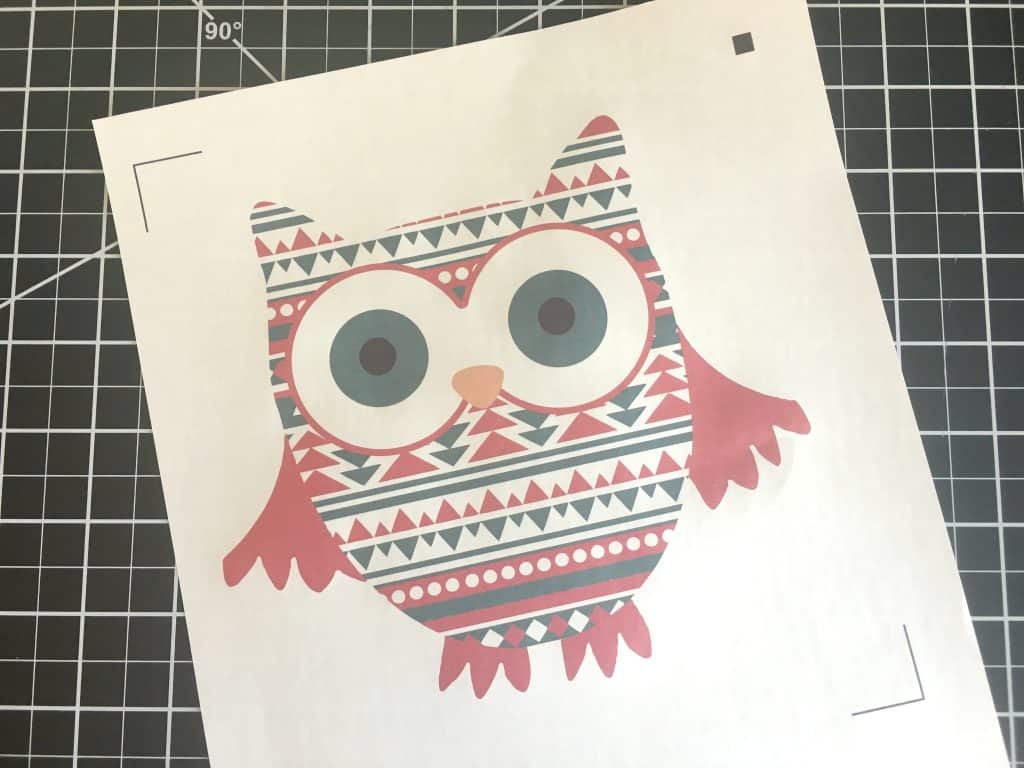
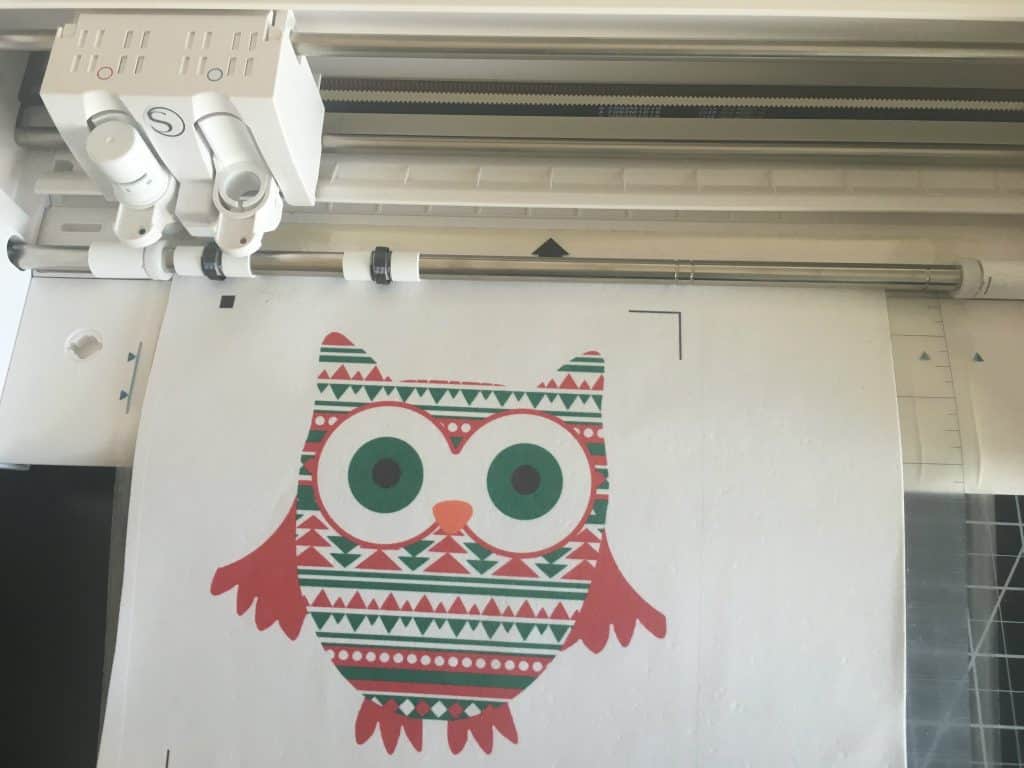
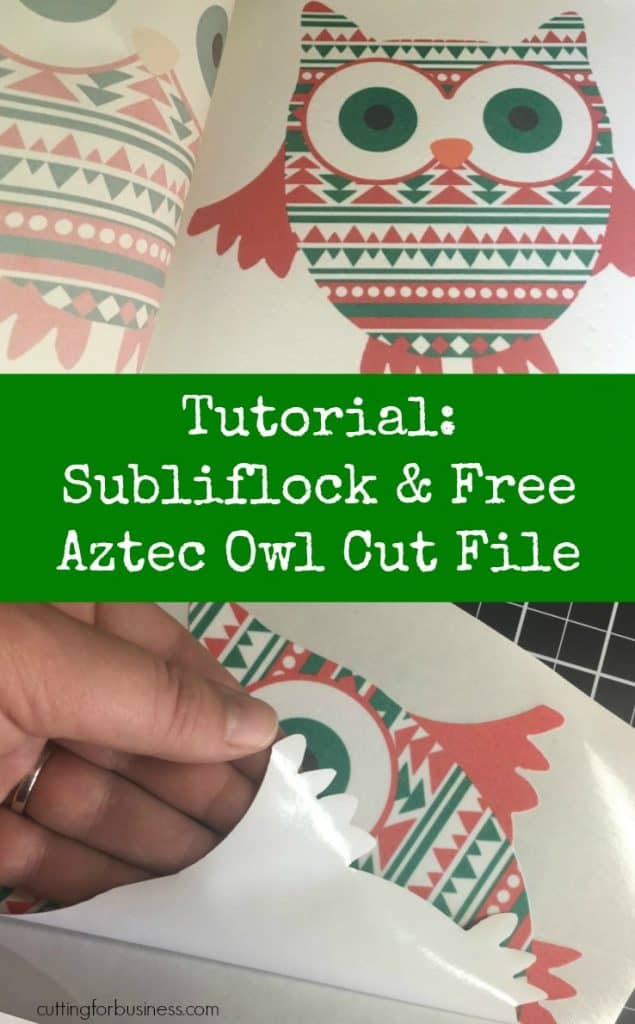
- Create your design in Silhouette Studio. I’m using an Aztec Christmas owl (a request by my 5 year old)! Be sure to turn on registration marks.
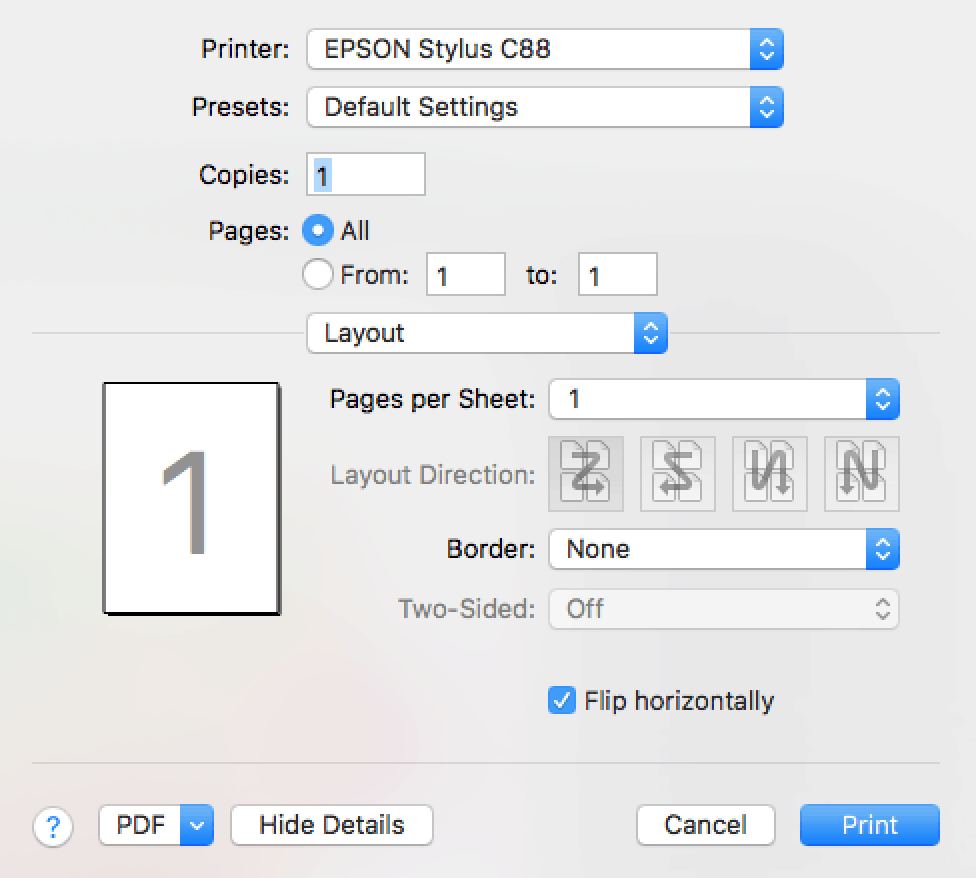
- Print your design onto sublimation transfer paper. You’ll need to mirror the design, but don’t mirror it in Silhouette Studio. Instead, mirror the entire page using your printer utility so that the registration marks are also mirrored. On my computer (Mac) the window that pops open is shown below. All I did was check the box that reads “Flip horizontally”.
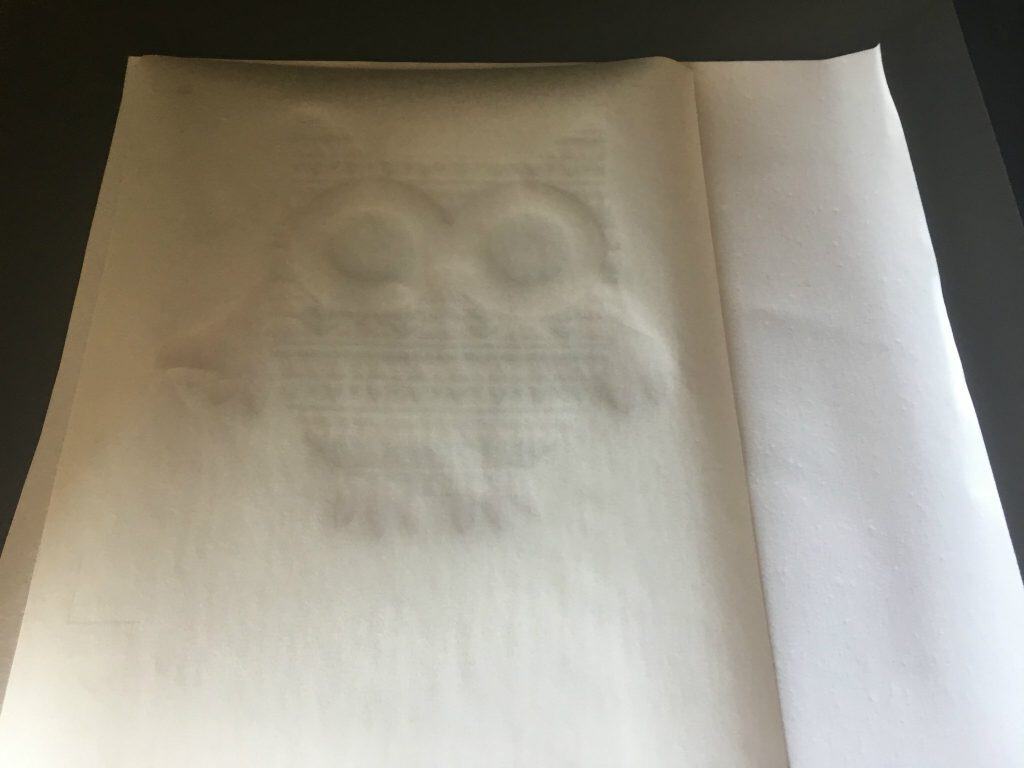
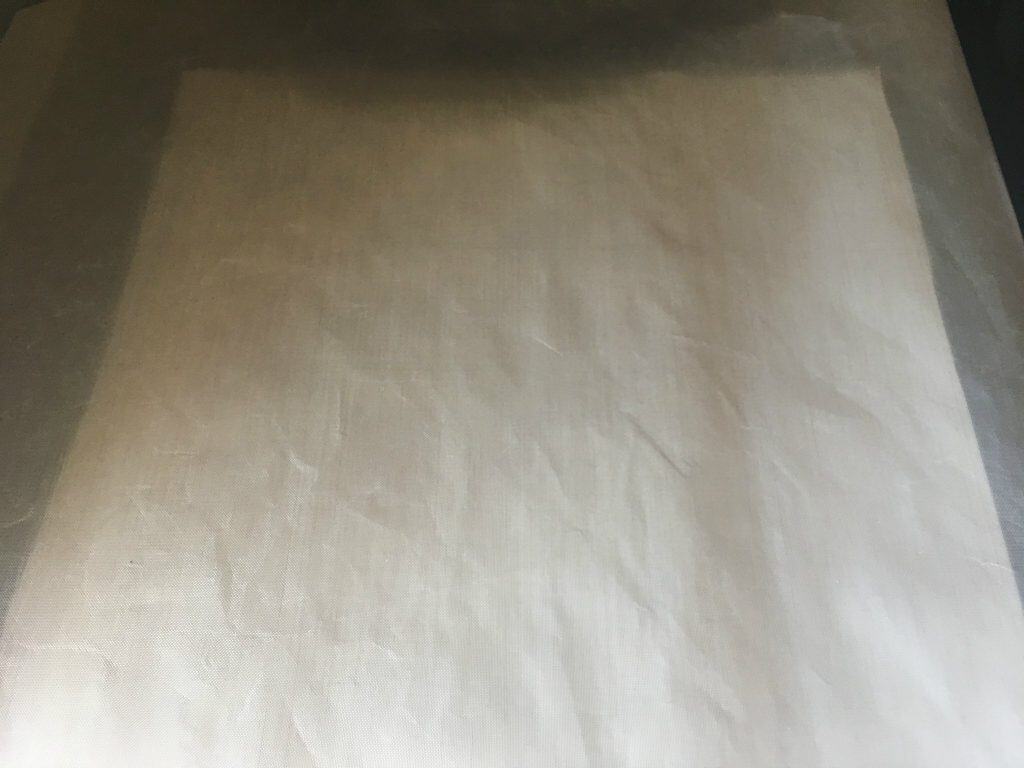
- After you print your design, you’ll transfer it to your subliflock. Put the subliflock (fuzzy side up) into your heat press. Put your printed design (ink side down) on top of the subliflock and cover it with a teflon sheet. Press at 375 degrees for 45 seconds. When you peel the sublimation transfer paper off, your design (and registration marks) will be on the subliflock.

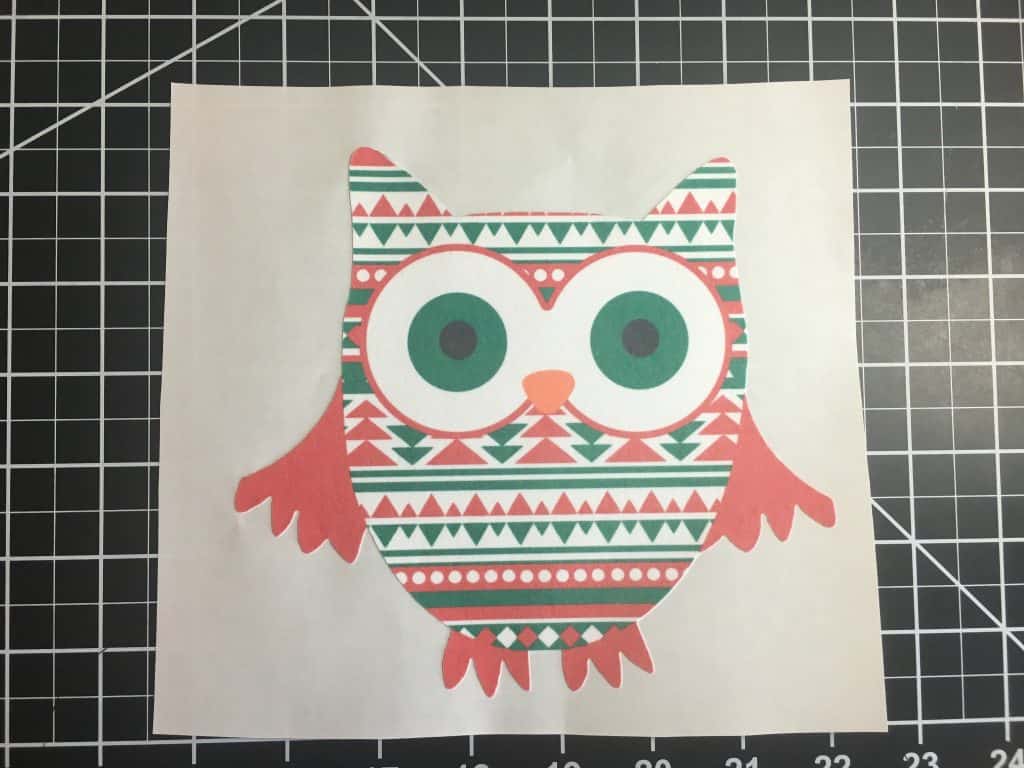
- Now, load the subliflock into your Silhouette Cameo and using the registration marks, cut around the outside edge.
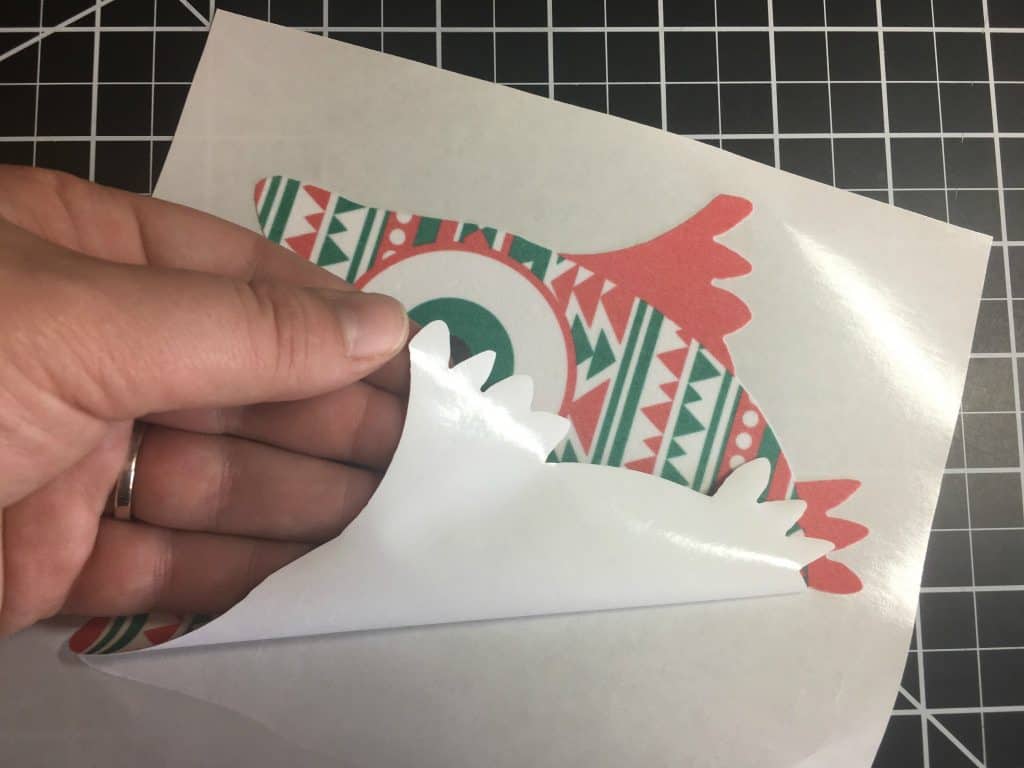
- Now, you’ll need to weed the excess vinyl. Subliflock weeds easily!

- You can either sell the design as an iron on, or apply it to apparel. If you sell the design, be sure to include application instructions for your customer to apply it with a heat press or iron.
- To apply the design to apparel, simply peel off the paper backing, put it in place and press at 325 degrees for 15 seconds.
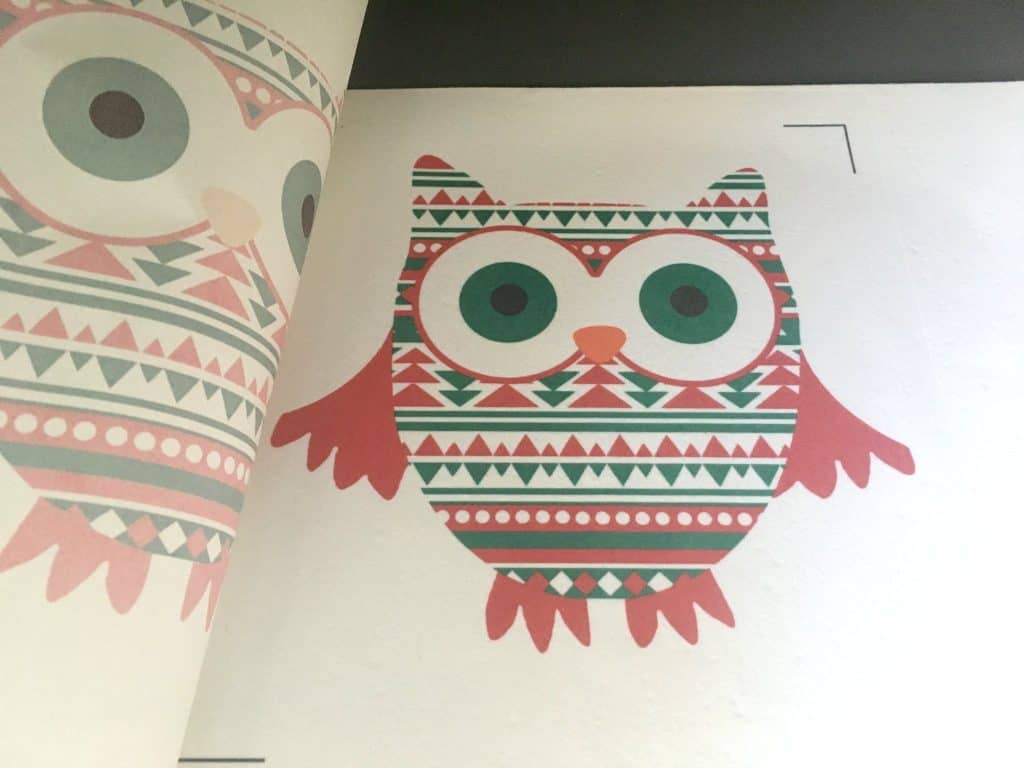
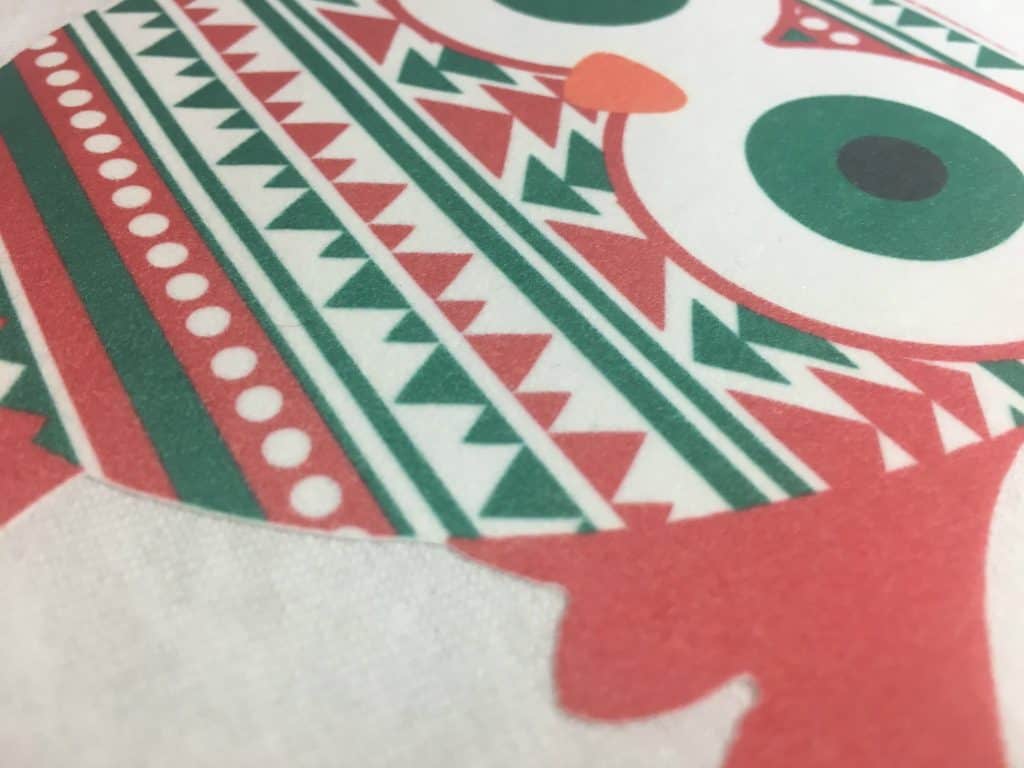
- Here’s a closeup of the subliflock pressed onto a shirt. You’ll notice how it is slightly fuzzy!
Want my aztec Christmas owl cut file for Silhouette? Download it here.
What do you think of subliflock? Let me know in the comments!
Save this post to Pinterest:
Since 2015, Christine Schinagl has been helping crafters start and run craft businesses through her blog, Cutting for Business. As a Silhouette and Cricut crafter herself, she has a unique take on what works and what doesn’t work in the craft business world. She also enjoys teaching other crafters how to create digital SVG designs, available through the Design with Me series.