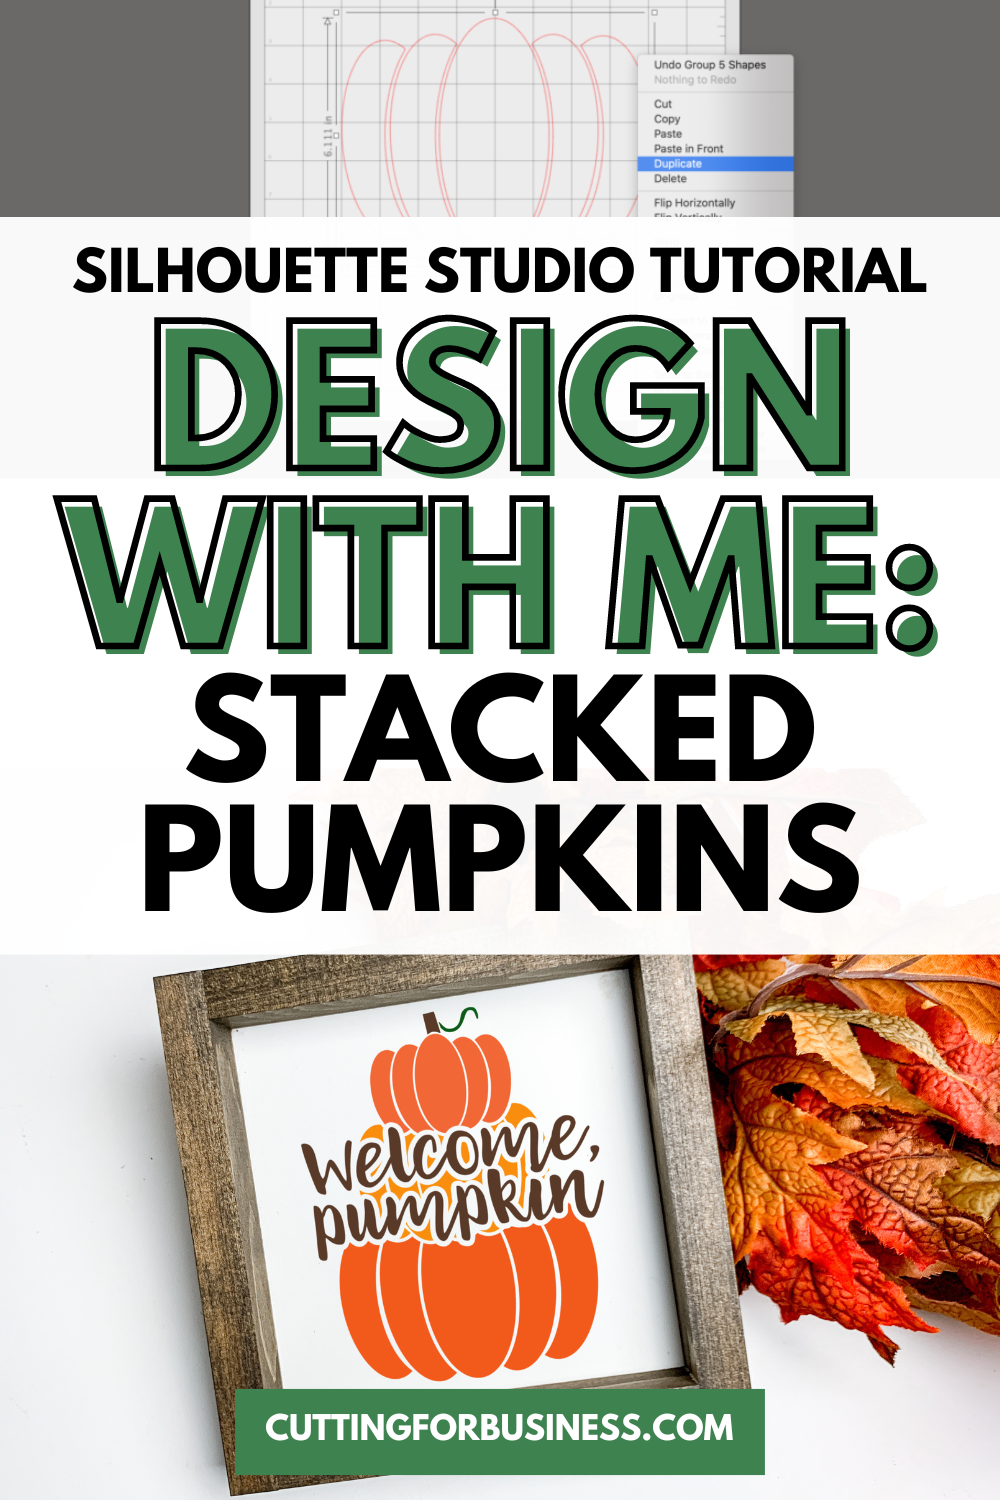
Silhouette Studio Design Tutorial: Stacked Pumpkin SVG
Affiliate Disclosure: As an Amazon Associate I earn from qualifying purchases. Additionally, I may get commissions for purchases made through other affiliate links in this post.
Design with Me is a new regular feature on Cutting for Business! Each Friday, I’ll bring you a new Silhouette Studio tutorial featuring how to design an SVG.
Today, let’s look at creating a stacked pumpkin SVG.
About Design with Me Tutorials
Design with Me Tutorials are created with intermediate Silhouette Studio users in mind. It’s helpful to know the basics of designing in Silhouette Studio before starting the tutorials.
All Design with Me tutorials use Silhouette Studio Business Edition. If you do not have Silhouette Studio Business Edition, some tools may not be available in your Silhouette Studio Edition. Get Silhouette Studio Business Edition.
Tutorial: Stacked Pumpkin SVG
It’s almost fall! Let’s take a look at creating a stacked pumpkin cut file today.
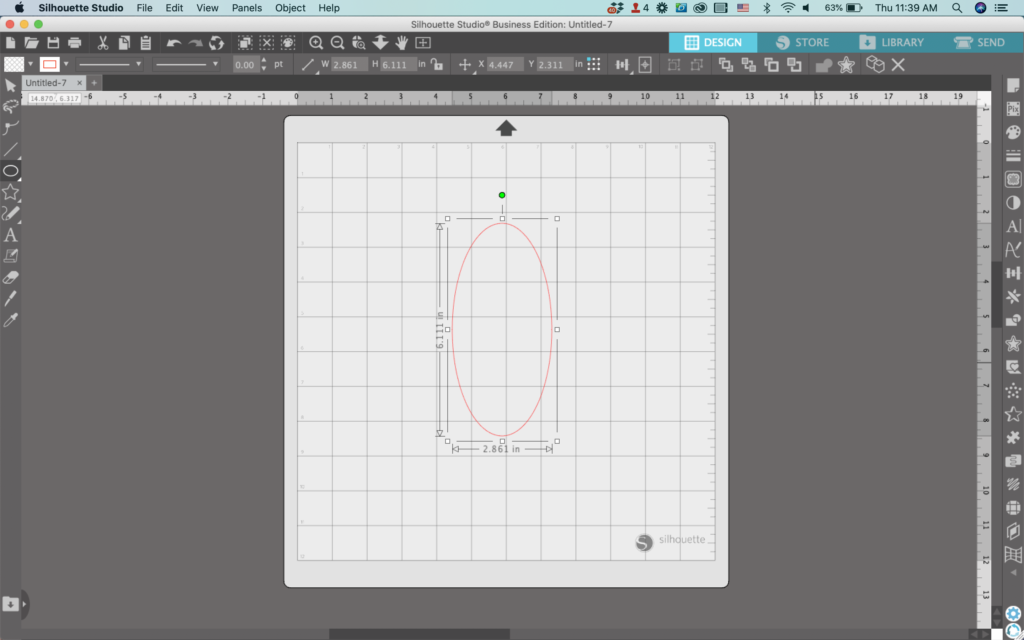
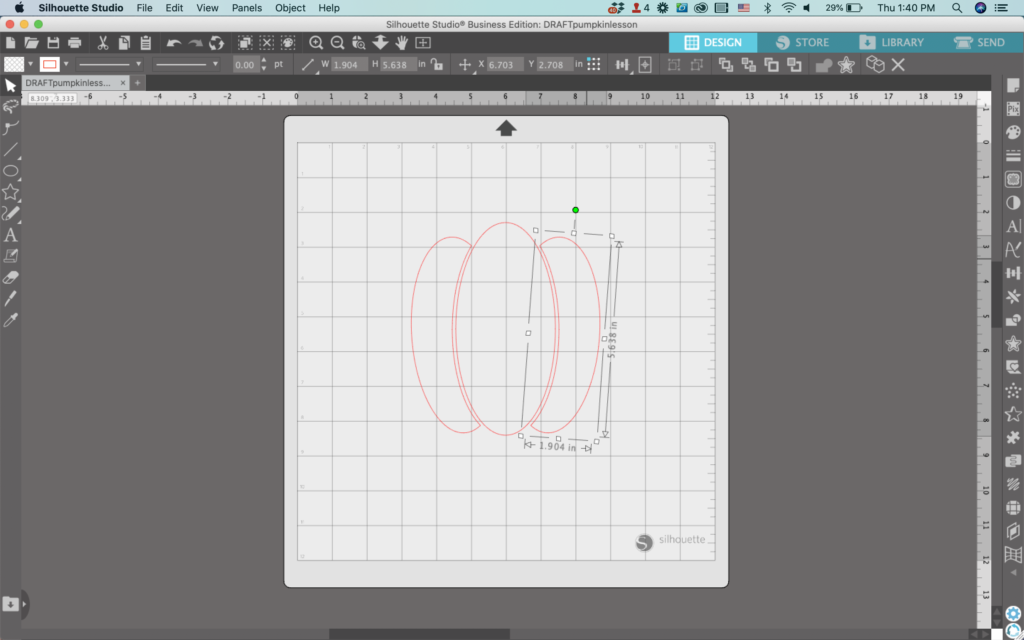
- In Silhouette Studio, draw a vertical oval.
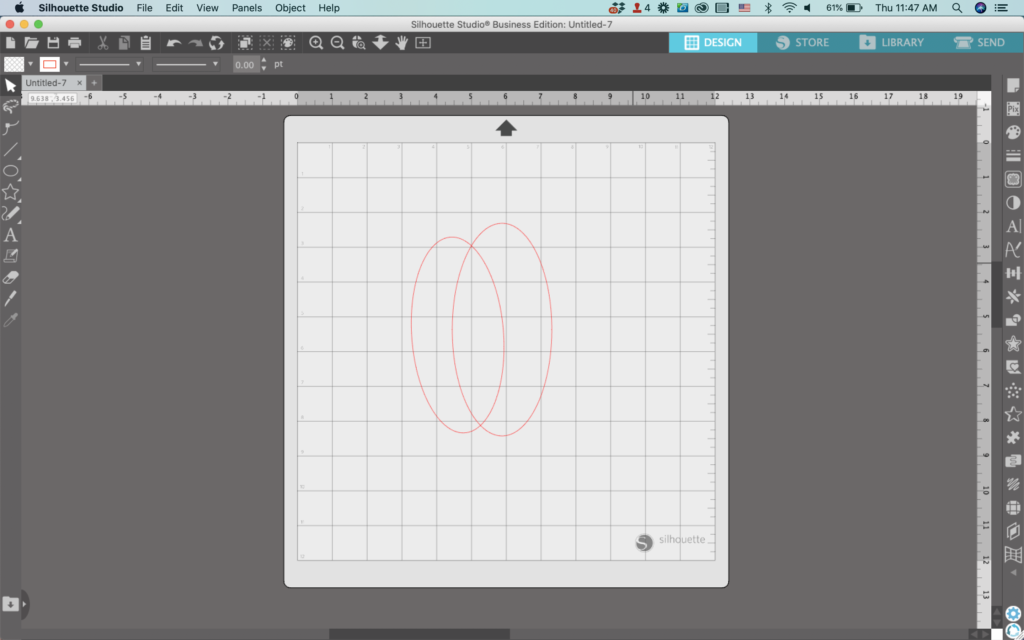
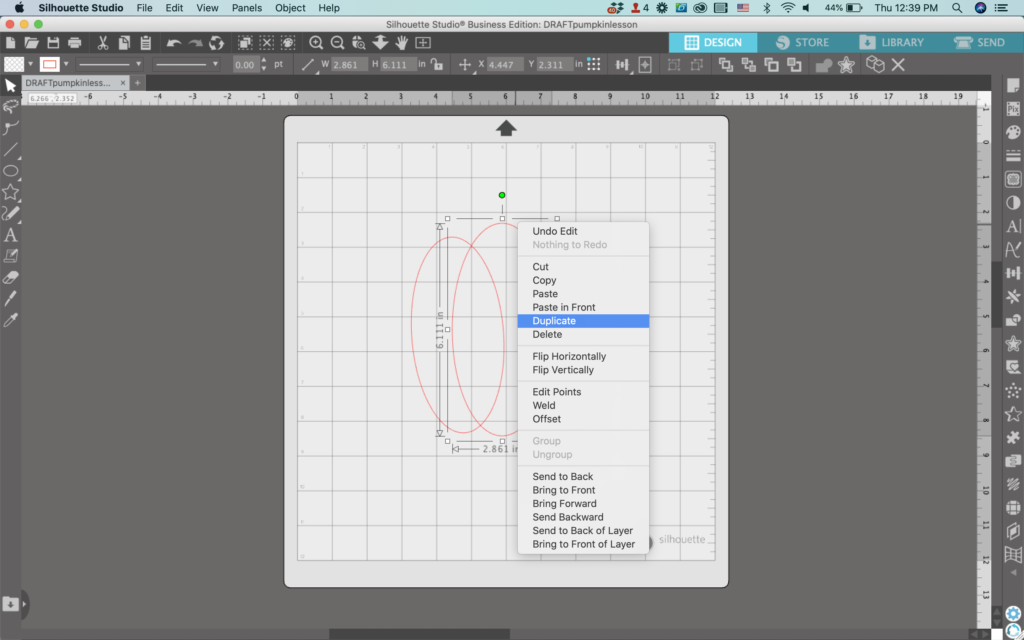
2. Duplicate the oval and move it to the left of the first oval. Rotate it slightly and resize it a little smaller.
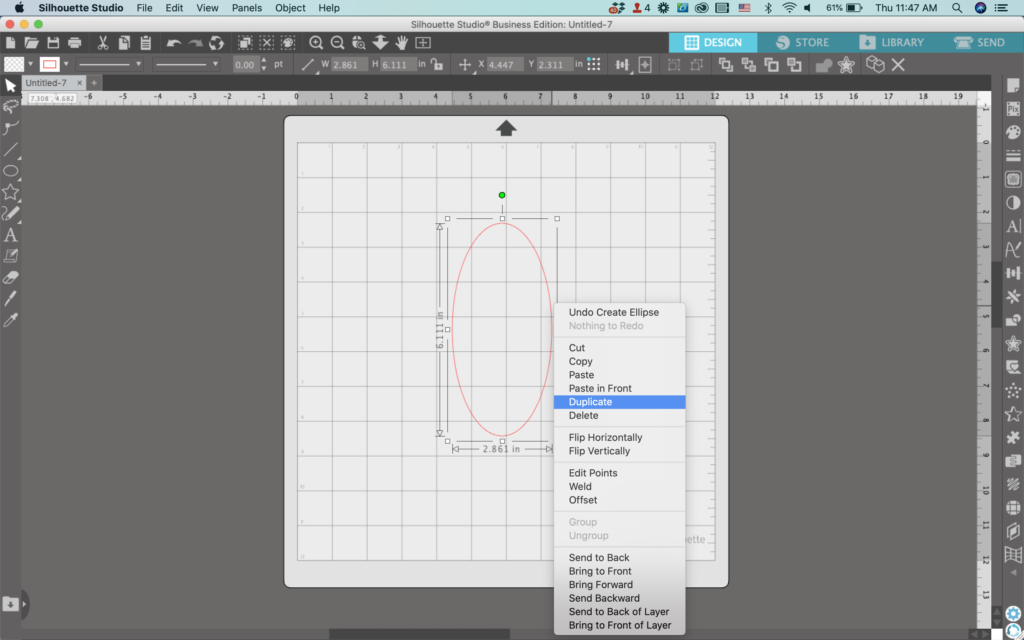
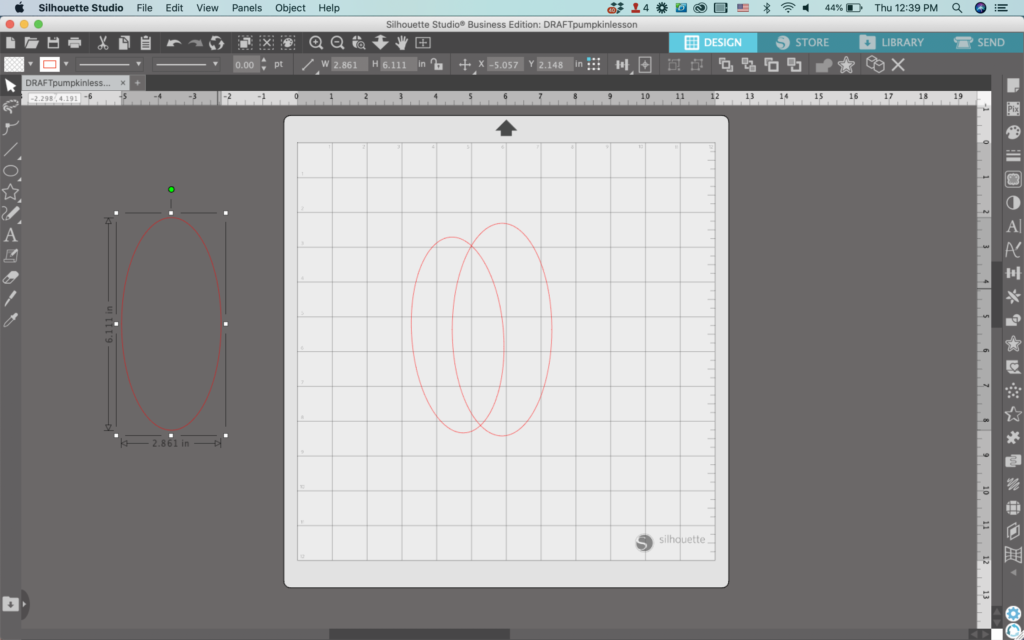
3. Duplicate the first oval and move the copy off to the side.
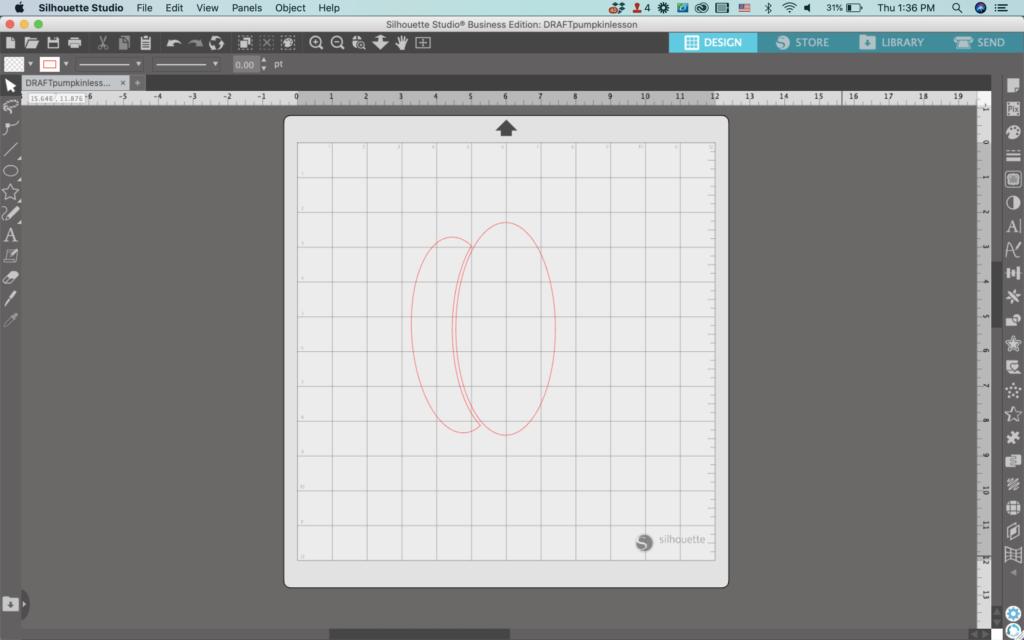
4. Select both ovals and navigate to ‘Object’, ‘Modify’, and ‘Subtract’. This will leave you with a half moon shape.

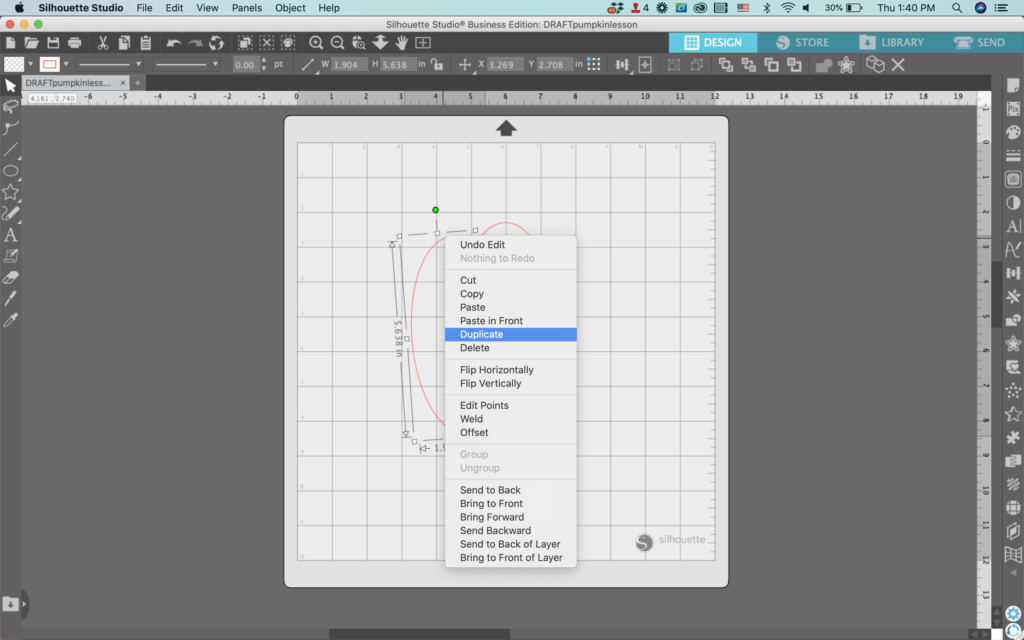
5. Move the extra oval into place. I like to leave a small gap so that it can easily be cut in vinyl, but you can also butt it up against the half moon shape.
6. Duplicate the half moon shape. Then, navigate to ‘Object’, ‘Flip Horizontally’ to create a mirror image of your oval. Finally, move it into place on the right side of the pumpkin.
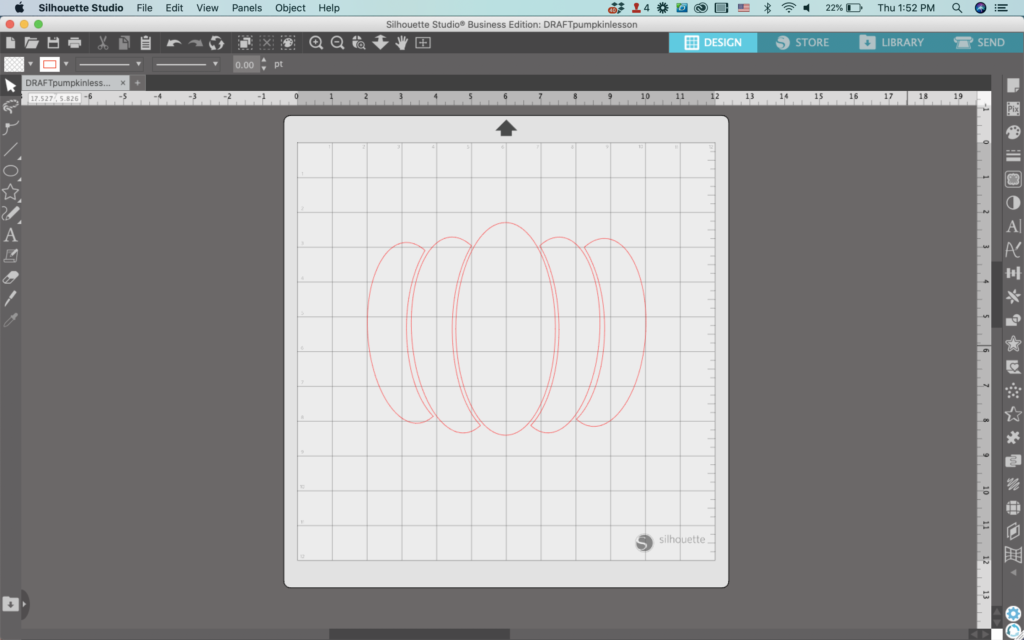
7. Duplicate both the outermost sections on each side of the pumpkin. Then, place one on each side of the pumpkin. When finished, you should have something that looks like a pumpkin.
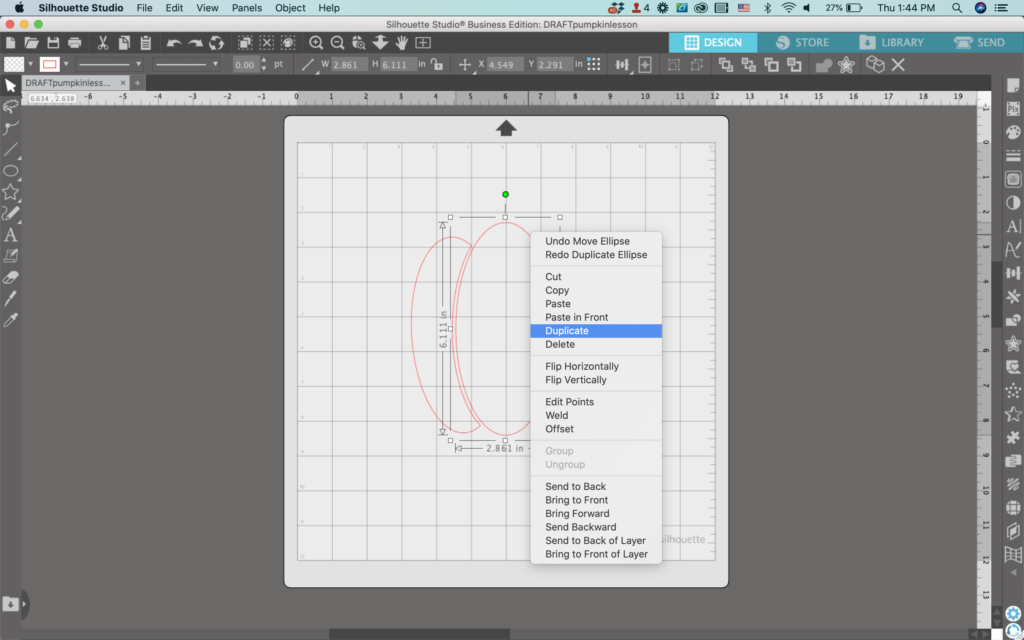
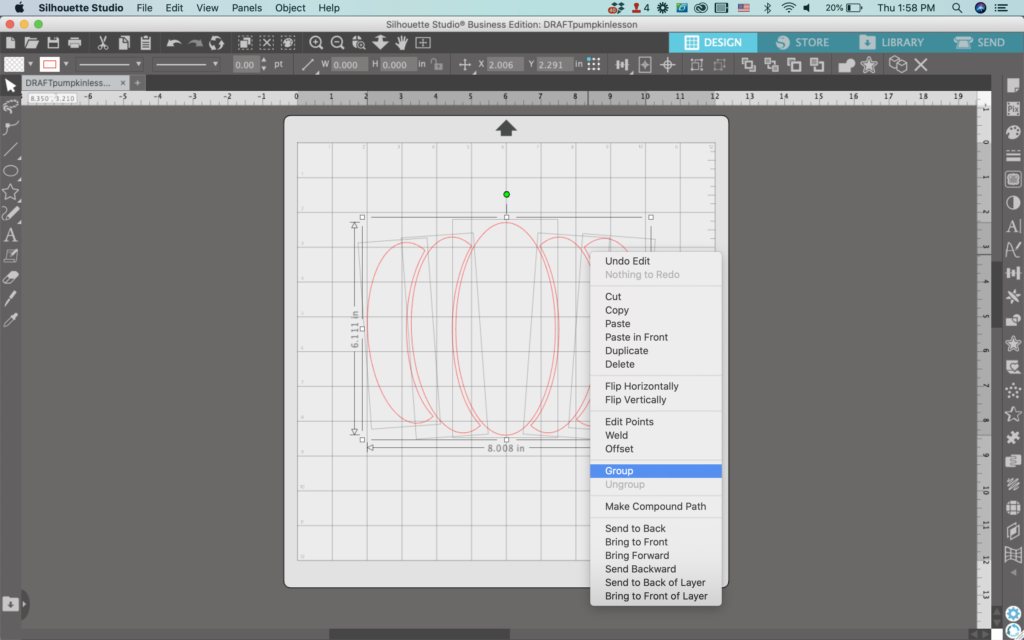
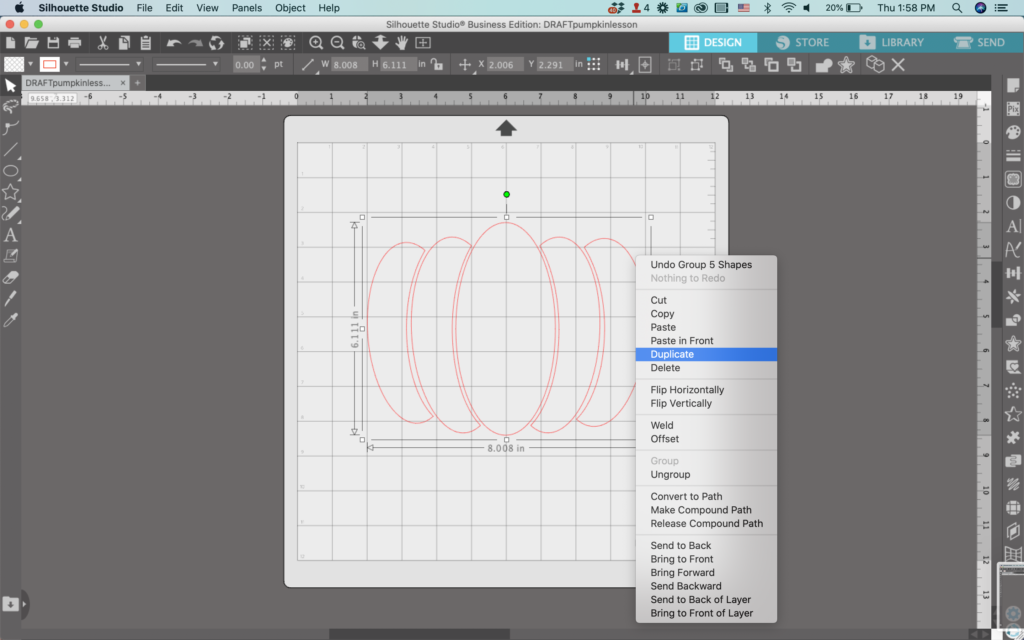
8. Select all your shapes and right click, then select ‘Group’. Next, right click and select ‘Duplicate’ to make a second pumpkin. Arrange your pumpkins on top of each other.

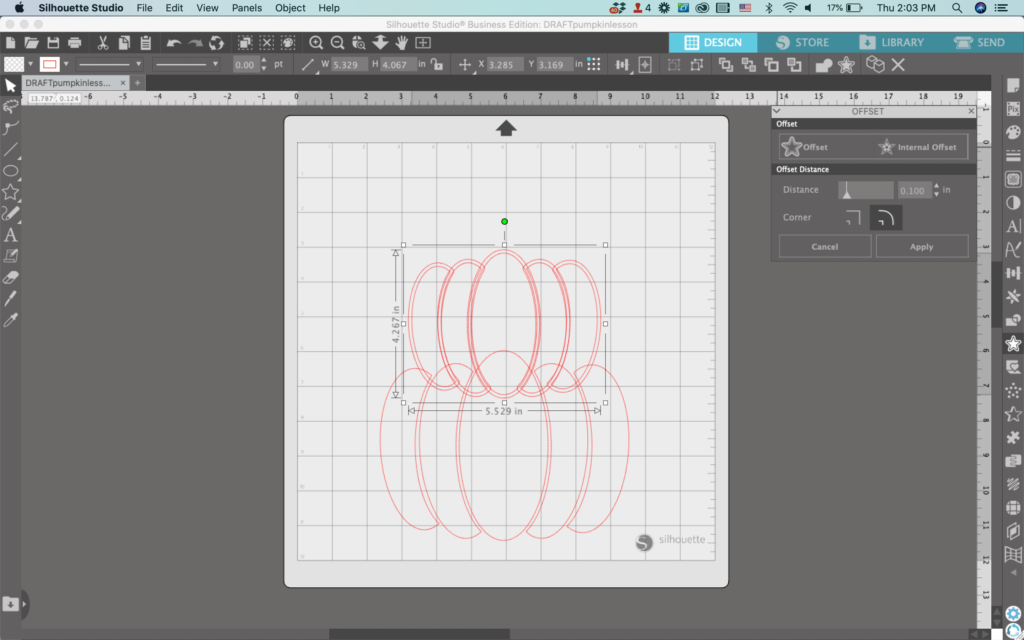
9. Head to ‘Panels’, ‘Offset’, then offset the top pumpkin slightly.
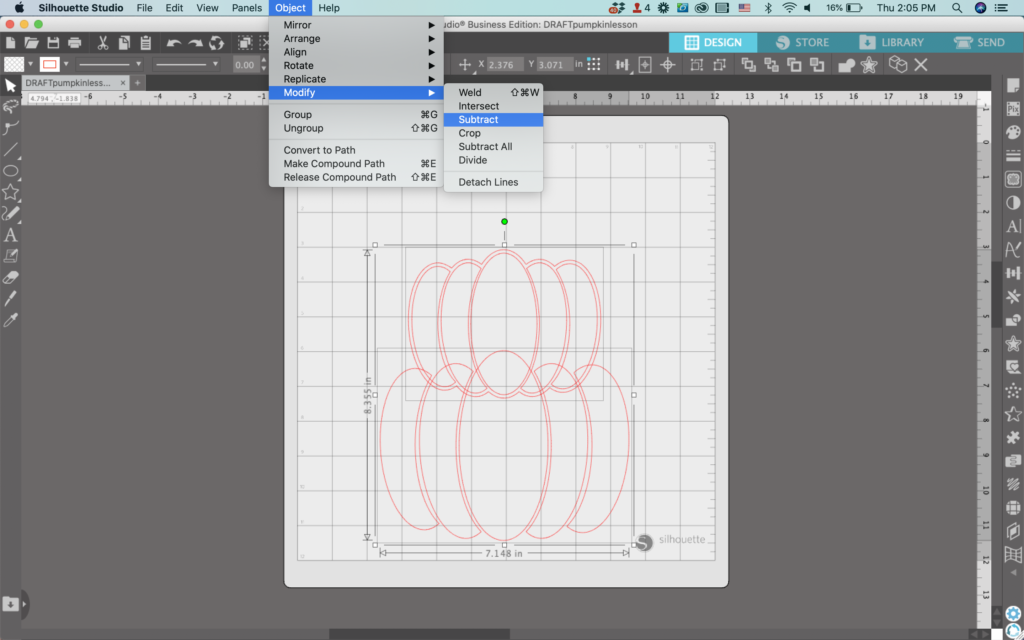
10. Select the bottom pumpkin and the top pumpkin’s offset, and navigate to ‘Object’, ‘Modify’, and ‘Subtract’. Then right click to ‘Group’ it back together.

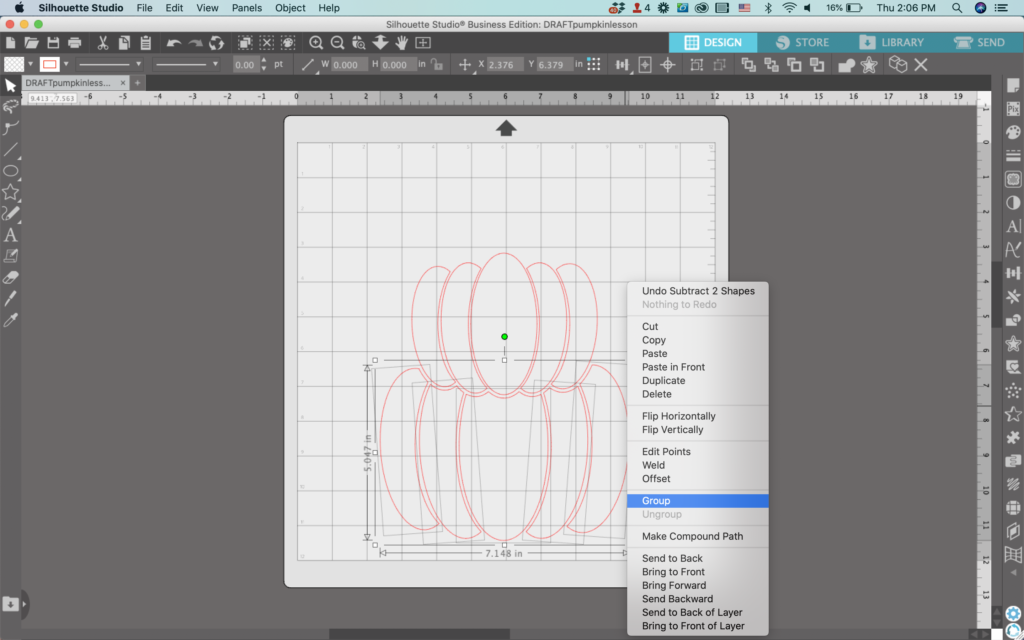
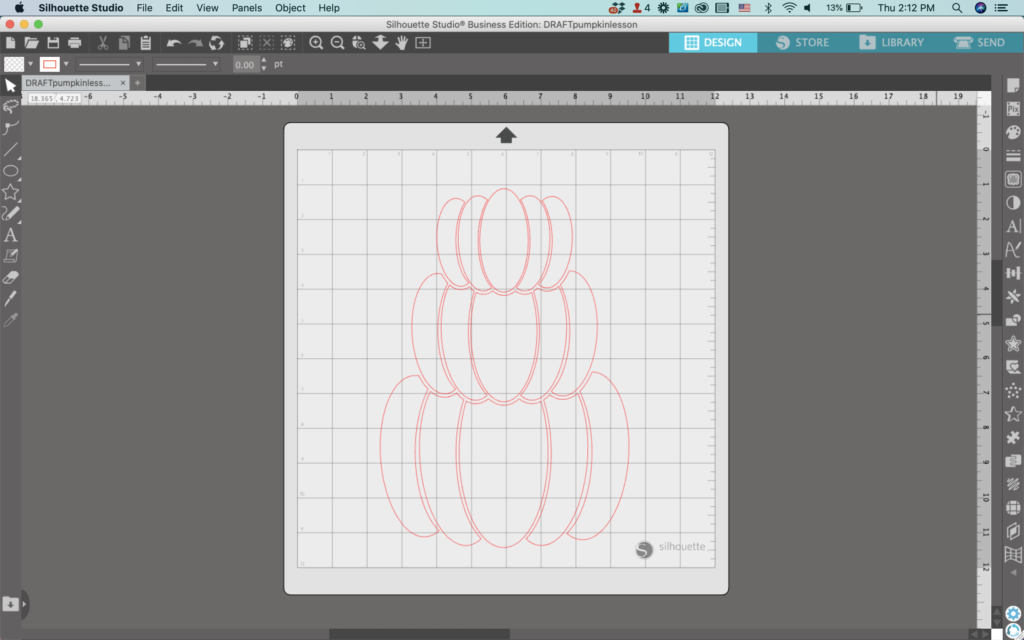
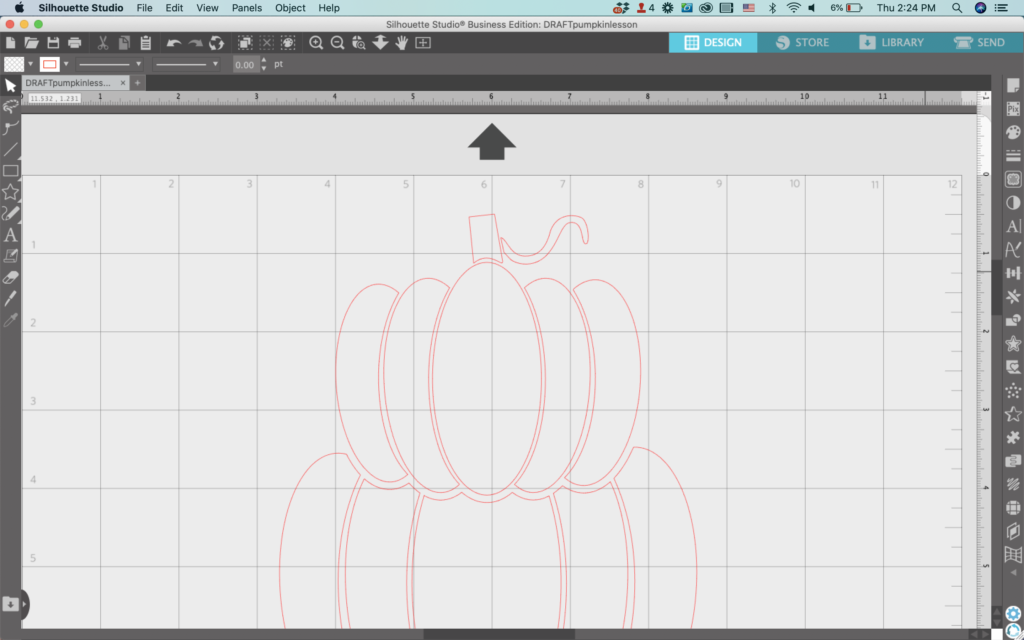
11. Duplicate the top pumpkin and repeat steps 9 and 10 to add a 3rd pumpkin to the stack. When finished, it should look similar to this:
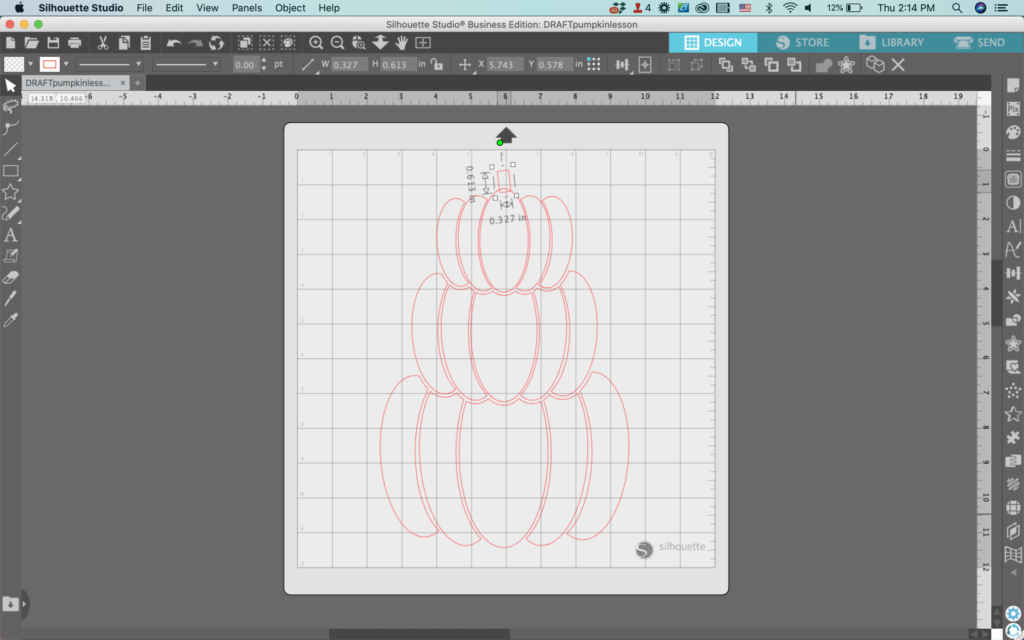
12. Draw a small rectangle and place it in the center of the top pumpkin. Rotate it slightly.
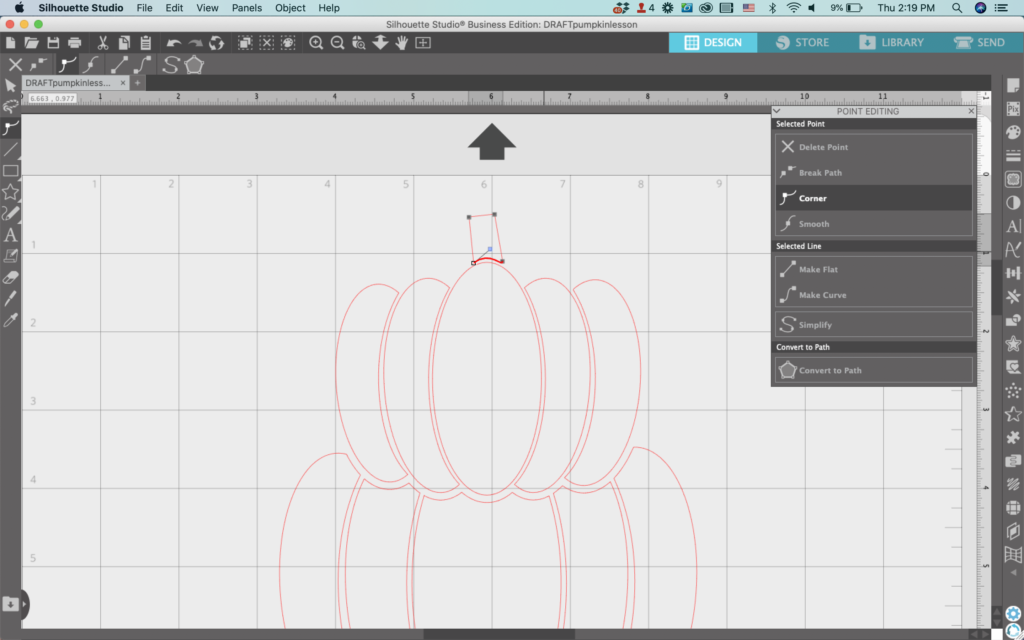
13. Double click the stem to open the ‘Point Editing’ Panel. Make the bottom of the stem curve around the top of the pumpkin.
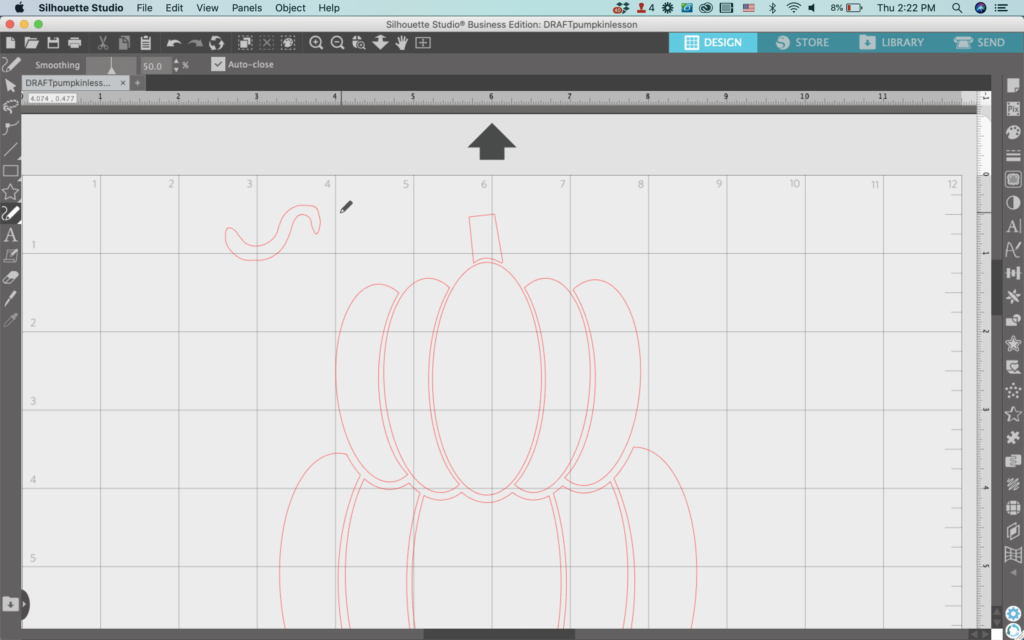
14. Use the ‘Draw Smooth Freehand’ tool to draw a piece of vine. Point edit it if necessary, then move it into place.
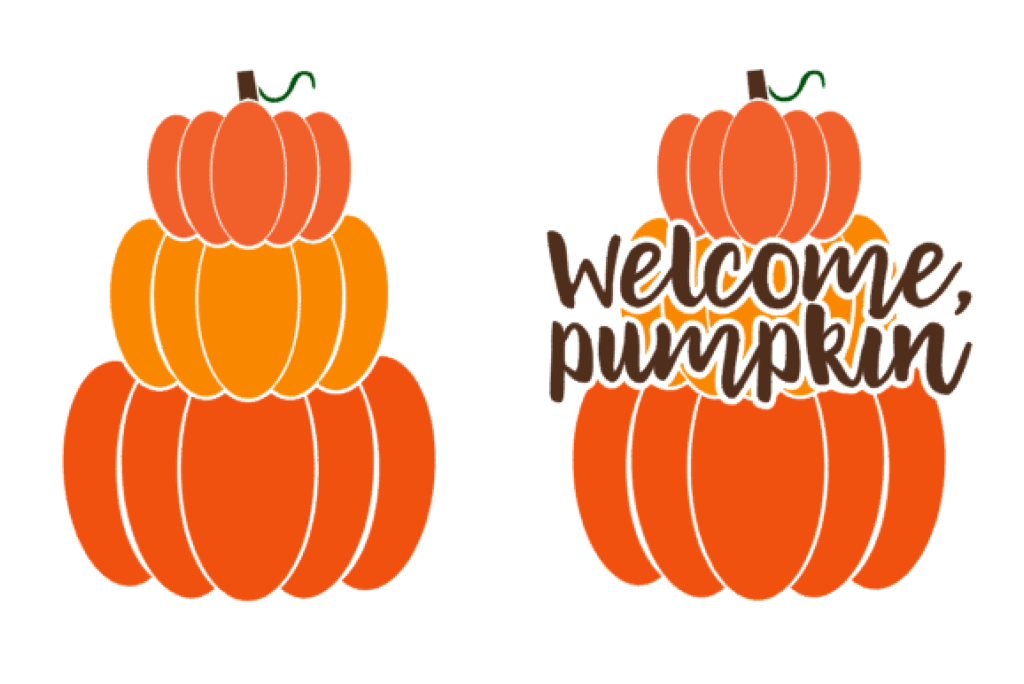
15. Add color, additional details, or text to complete the design. Don’t forget, you can also stop after step 7, add a stem and/or a vine and finish with a single pumpkin.
Curious about the font? I used Stephanie Jane.
Don’t Forget to Save!
To save your new SVG creation, head to ‘File’, ‘Save As’, ‘Save to Hard Drive’, name the file, then select ‘SVG’ from the dropdown menu.
Want More SVG Tutorials?
View more Design with Me SVG tutorials.
Since 2015, Christine Schinagl has been helping crafters start and run craft businesses through her blog, Cutting for Business. As a Silhouette and Cricut crafter herself, she has a unique take on what works and what doesn’t work in the craft business world. She also enjoys teaching other crafters how to create digital SVG designs, available through the Design with Me series.