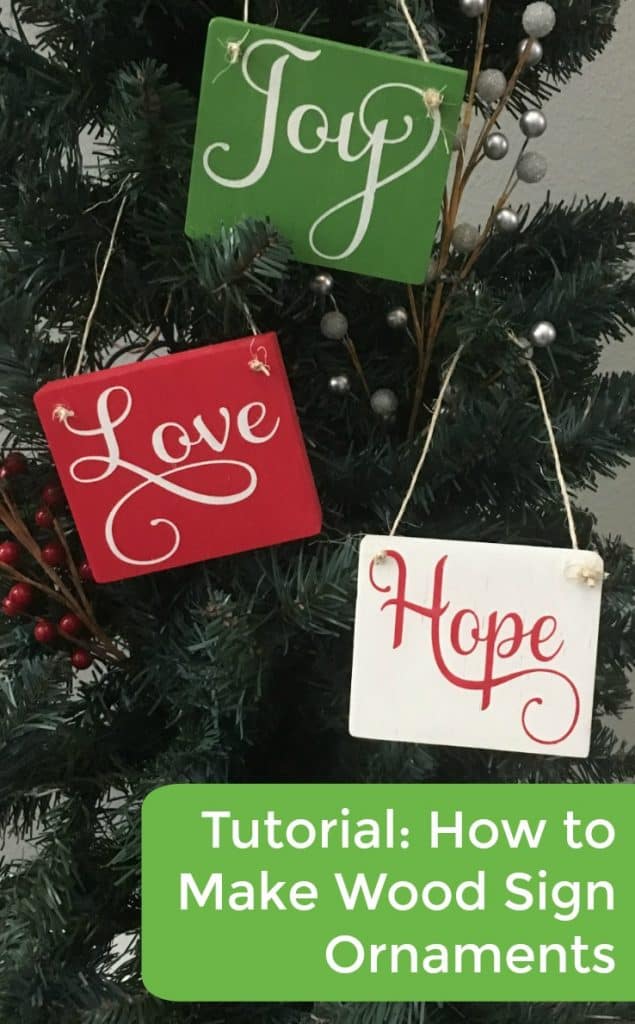
Tutorial: How to Make Wood Sign Christmas Ornaments
Affiliate Disclosure: As an Amazon Associate I earn from qualifying purchases. Additionally, I may get commissions for purchases made through other affiliate links in this post.
When I share tips for selling at craft shows, I always remind small business owners to bring a variety of products in all price ranges. However, if you sell painted wooden signs made with your Silhouette or Cricut, it isn’t always easy to bring products in the under $5 range. It certainly doesn’t make sense to sell glass ornaments if your entire brand is wood signs! Today, I’m sharing how I created some mini wood sign ornaments that would sell for less than $5.
Tutorial: How to Make Wood Sign Christmas Ornaments
- Cut and sand your wood. I used 1 inch by 3 inch common pine and my signs measure 3 inches by 3.5 inches. For a refresher on sanding your wood properly, head to this post.

- Paint your wood blanks. Feel free to use your favorite paint.

- Cut your stencil, weed it, and apply it to your wood blank. I used Oramask stencil film.

- Paint your wood sign.

- Remove your stencil film immediately after painting.

- After the signs are dry, drill holes in the corners and string a piece of twine through the holes and tie it off.

Cost to Make Wood Sign Ornaments
Let’s talk numbers. Here’s a general cost breakdown to make wood sign ornaments:
- Wood. A 1″ x 3″ that is 8 feet long costs $8.72 at my local Home Depot. That means you’d be able to get 20 to 25 mini signs from one board. (I lose about 1/8 of an inch for every cut due to the thickness of my saw blade – yours may vary if it’s thinner or thicker.) If I get 20 mini sign blanks, they’d cost me $0.44 each. Don’t forget to check your wood scrap pile – this is a great way to use odds and ends pieces.
- Paint, twine, transfer tape, and stencil vinyl. Since it literally takes a few drops of paint to complete each one, a small amount of stencil vinyl, a few inches of twine, and one piece of transfer tape that I reused – I’m going to estimate the costs at $0.50 (although I think that’s a bit high).
- Labor. I like to make $20 an hour when making wood signs. I could paint at least 20 in one hour. So, for one sign, the labor costs are about $1.
When added together, my total cost becomes $1.94 per wood sign ornament. If I sold at $4 each, that’s a profit margin of 51.5%. At $5 each, the profit margin goes up to 61.2%. While you won’t get rich selling them, it’s a good margin – especially if you can sell many.
I recommend that you put your business information on the back so that customers can shop with you for a larger sign down the road. I use a Silhouette Mint to stamp the backs of mine.
If you are wondering, I used the Samantha font for the designs. You can pick up the font (usually on sale!) at this site.
Save this post to Pinterest so you can find it:

Since 2015, Christine Schinagl has been helping crafters start and run craft businesses through her blog, Cutting for Business. As a Silhouette and Cricut crafter herself, she has a unique take on what works and what doesn’t work in the craft business world. She also enjoys teaching other crafters how to create digital SVG designs, available through the Design with Me series.


