Tutorial: How to Make Photo Jewelry using Silhouette Studio & Sublimation
Affiliate Disclosure: As an Amazon Associate I earn from qualifying purchases. Additionally, I may get commissions for purchases made through other affiliate links in this post.
I’m pretty sure that many Silhouette users don’t realize how powerful Silhouette Studio is – and it is free! If you sew or embroider, you’ll know that not only are the machines are expensive – but you often have to pay separately for the software to use the machine. As you’ve seen me do in other posts, you can use Silhouette Studio and sublimation to create products. Today, I’m going to show you how to create custom made photo jewelry.
Need a refresher on sublimation? Here’s a list of previous posts:
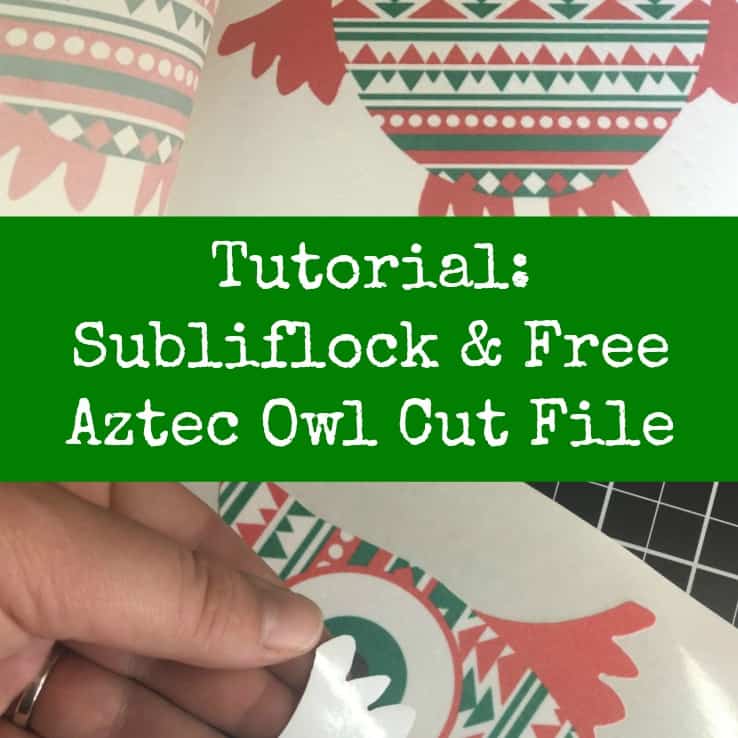
- Tutorial: How to Use Subliflock & Free Cut File
- Use Silhouette Studio to Create Home Decor and Jewelry with Sublimation
- Where to Buy Sublimation Printers, Supplies, and Blanks
- Tutorial: Sublimation on Mugs – 2 Ways
- Tutorial: How to do Sublimation on Tee Shirts or Apparel
- What is Sublimation?
Now, onto the tutorial.
Supplies Needed
- Sublimation printer
- Sublimation transfer paper
- Heat press
- Telfon sheet
- Heat resistant tape
- Heat resistant gloves (optional)
- Unisub jewelry blanks
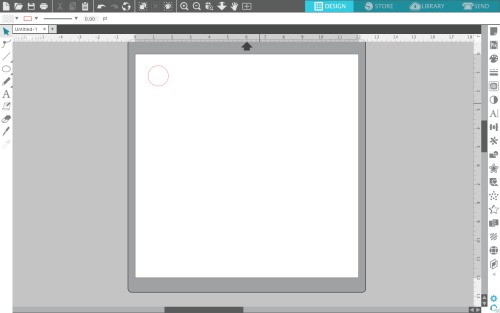
- Draw a shape in Silhouette Studio that is slightly larger than your pendant. In this case, I’m using a one inch circle blank and I made my shape 1.2 inches.
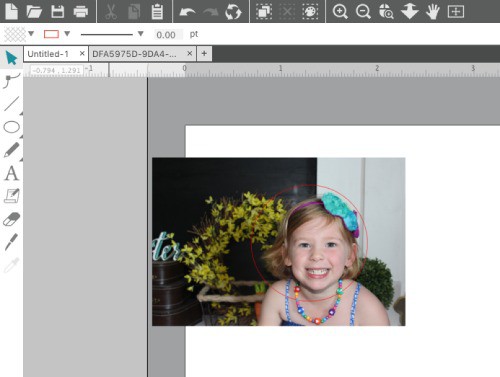
- Open your photo in Silhouette Studio and copy it to your canvas with the circle template.
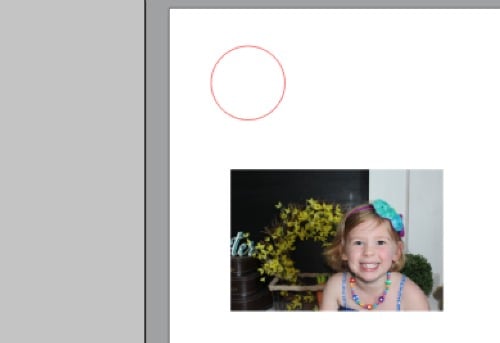
- Send the photo to the back layer (right click, then ‘Send to back’) and resize it to fill your circle template.
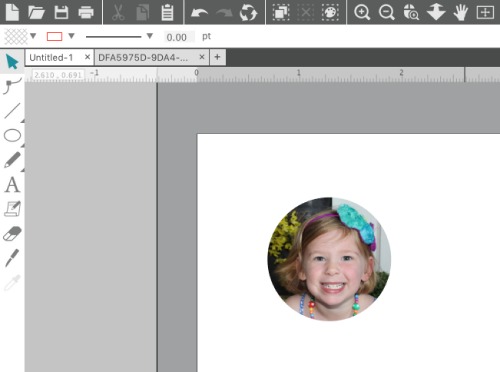
- To save ink, I’m going to subtract the circle from my picture. Simply select the photo, then hold down the shift key and select the circle. Then, go to ‘Object’, ‘Modify’, and ‘Crop’.
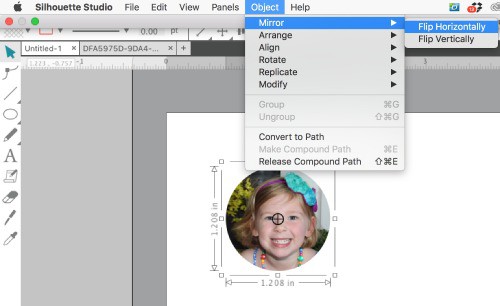
- Mirror your image by going to ‘Object’, ‘Mirror’, ‘Flip Horizontally’.
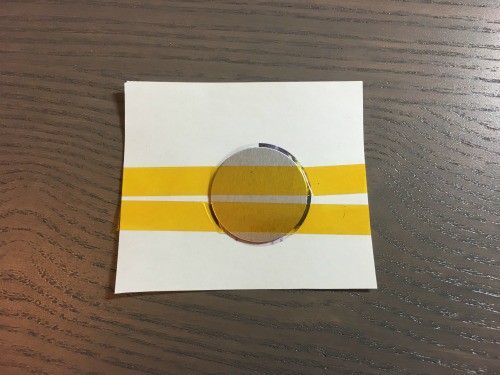
- Next, you are ready to print on your heat transfer paper. After printing, line up your blank with the white side down and tape into place using heat resistant tape.
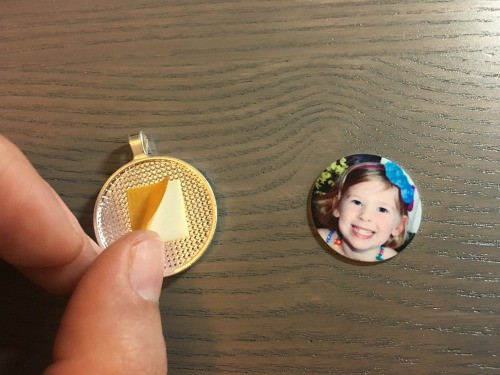
- Press your jewelry blank at 400 degrees Fahrenheit for 60 seconds with heavy pressure. After pressing, remove the blank carefully from the paper. The metal sublimation blank will be VERY HOT. Be extra cautious or use heat resistant gloves to protect your fingers. You’ll now be able to mount your photo charm into the bezel holder with the included tape square.
Available Unisub Jewelry Blanks
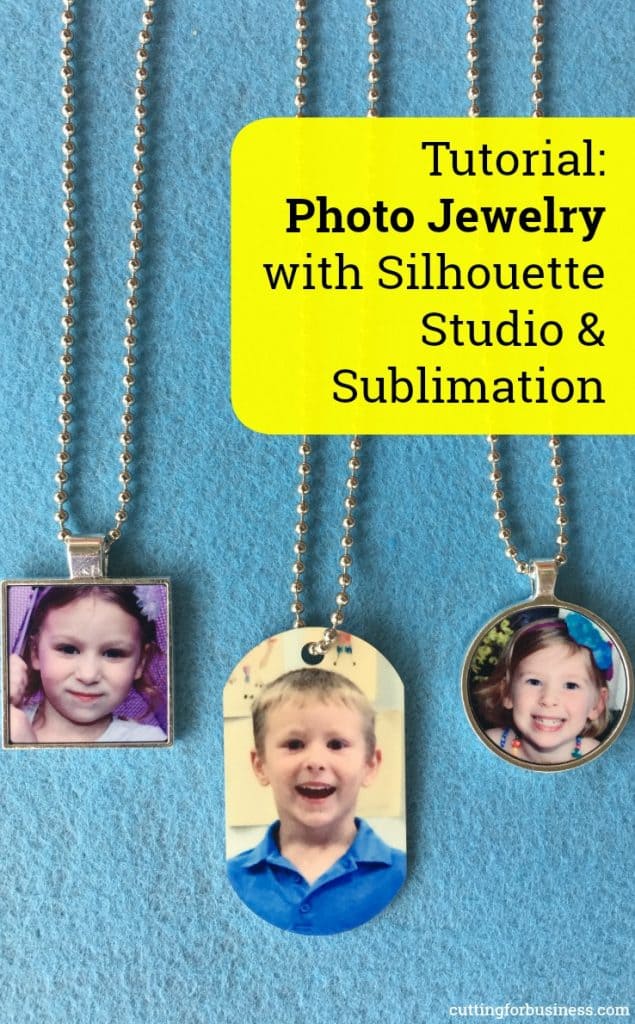
Unisub is the manufacturer of the sublimation jewelry blanks and does not sell direct. Instead, you’ll have to purchase blanks from a distributor. My favorite sublimation distributor is Coastal Business Supplies. Here are links to the exact jewelry pieces shown in the photo below.
Sharing is caring! Save the image below to Pinterest:
Since 2015, Christine Schinagl has been helping crafters start and run craft businesses through her blog, Cutting for Business. As a Silhouette and Cricut crafter herself, she has a unique take on what works and what doesn’t work in the craft business world. She also enjoys teaching other crafters how to create digital SVG designs, available through the Design with Me series.