Tutorial: How to Create Semi Custom Designs Using Kits
Affiliate Disclosure: As an Amazon Associate I earn from qualifying purchases. Additionally, I may get commissions for purchases made through other affiliate links in this post.
One of my resolutions for 2017 on the blog is to write more posts about designing in both Silhouette Studio and Cricut Design Space. If you aren’t much of a designer – these posts are for you!
Lately, I’ve been seeing a shift by designers who create cut files for Silhouette or Cricut designs. Instead of selling a completed design that is ready to cut; a number of designers are offering kits to “assemble” your own cut file. If you remember, I recently created a red truck Valentine design using a kit (click here to view it).
Kits are a great alternative for crafters who want a more custom cut file, but lack design skills (like me!). Today, I’m showing you how these kits work. The concept is easy: drag pieces of designs together to create a cut file. Since arrows are trendy right now, Olga from Clean Cut Creative donated her popular The Ultimate Arrow Toolkit to me to use as a demo.
How to Create Semi Custom Designs in Silhouette Studio
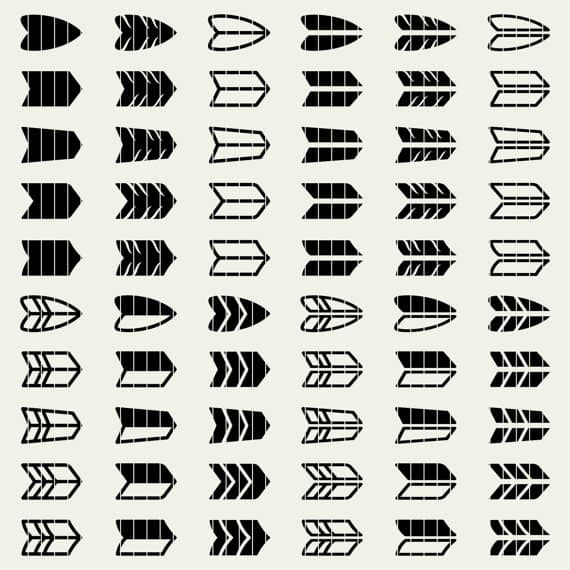
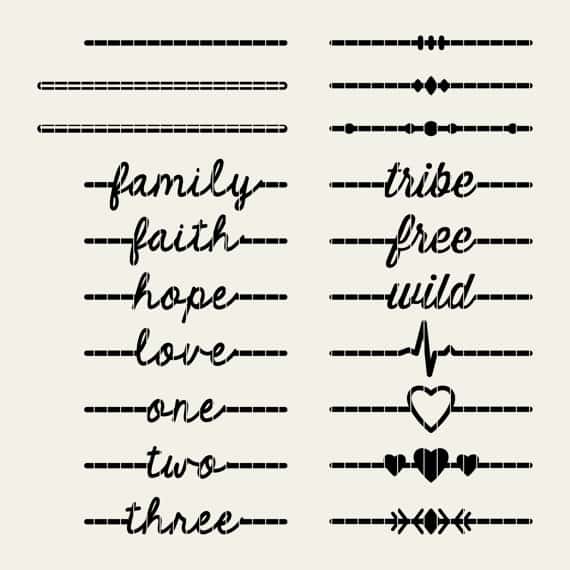
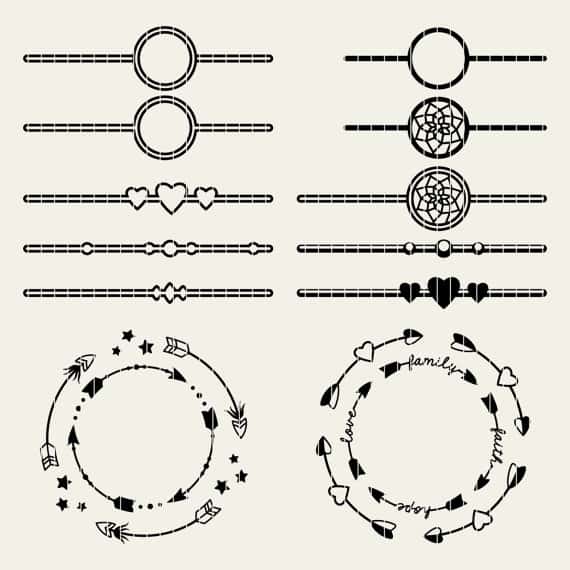
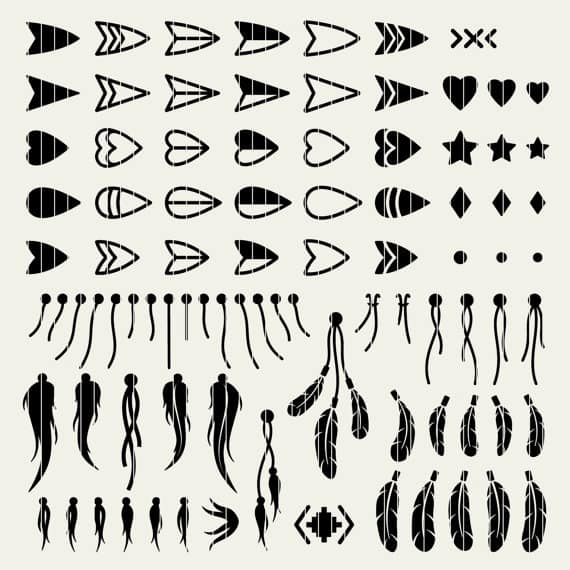
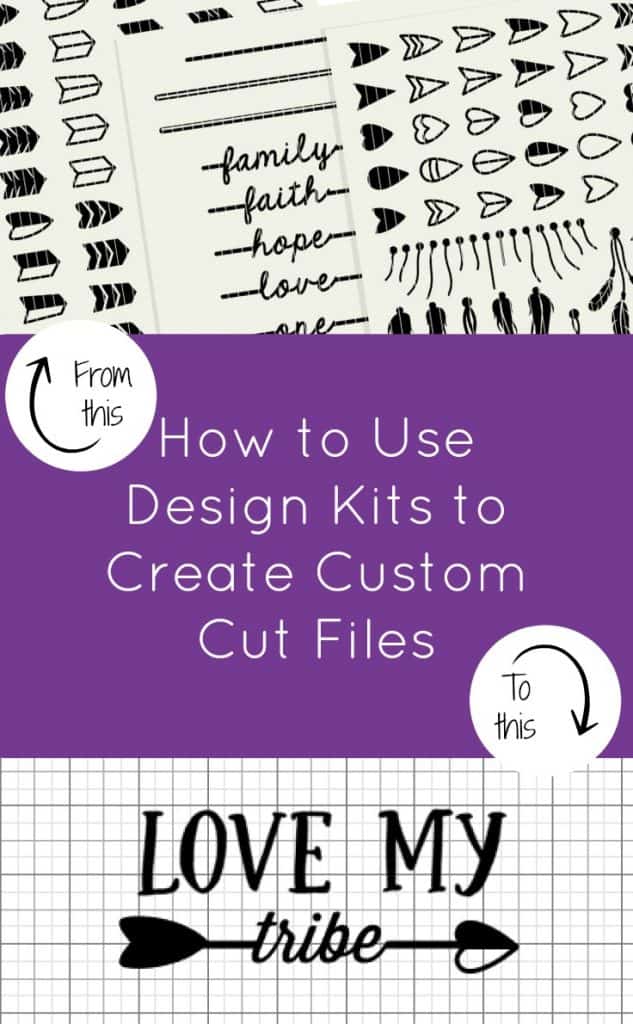
- After purchasing a kit, decide on which design elements to use in your design. You’ll notice that this kit has arrow backs, arrow shafts, and arrow points. You combine them to create a full arrow. Here’s a peek into the different parts in The Ultimate Arrow Toolkit:
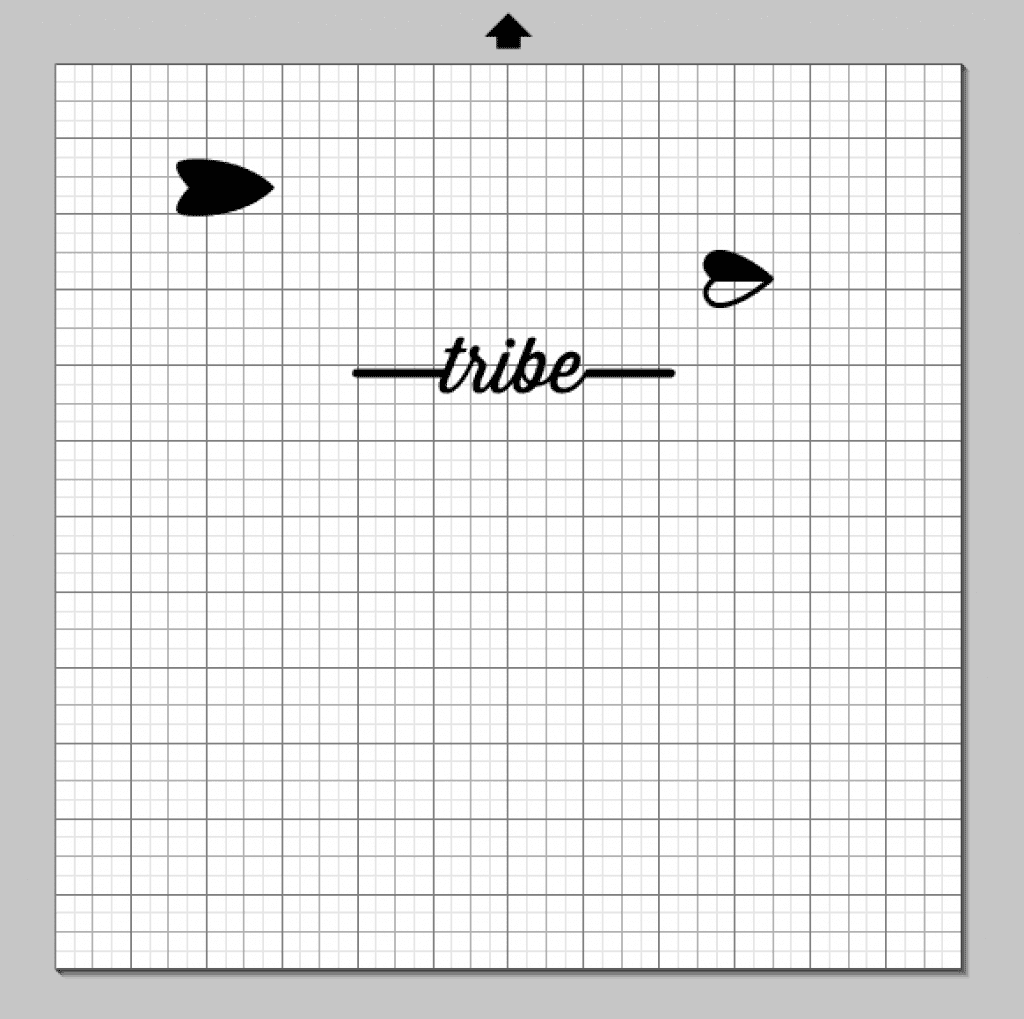
- After selecting your design elements, open them all onto the same mat in Silhouette Studio or Cricut Design Space. Depending how your chosen kit is organized for download, you may need to ungroup the elements to use them. After your chosen elements are on the mat, your screen should look similar to this:
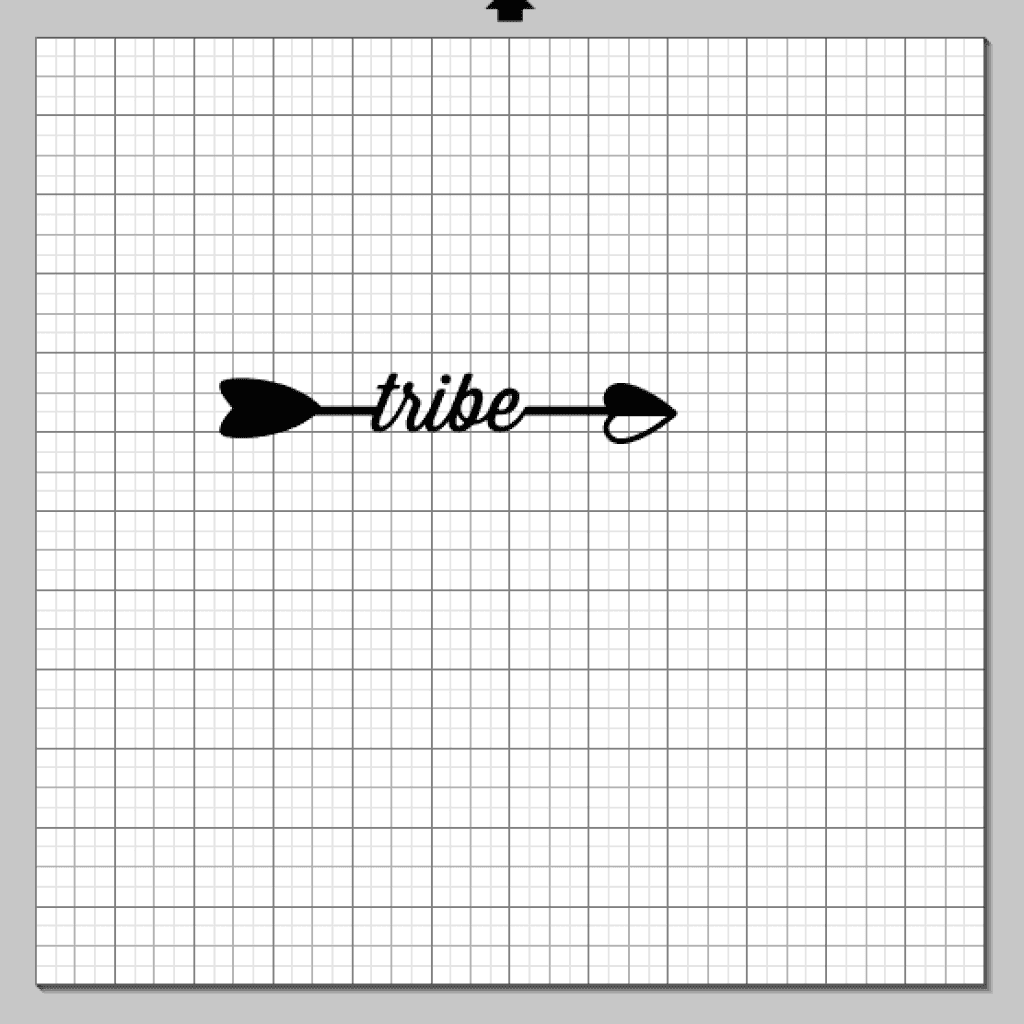
- Now, drag your elements into place or align them using the align command.
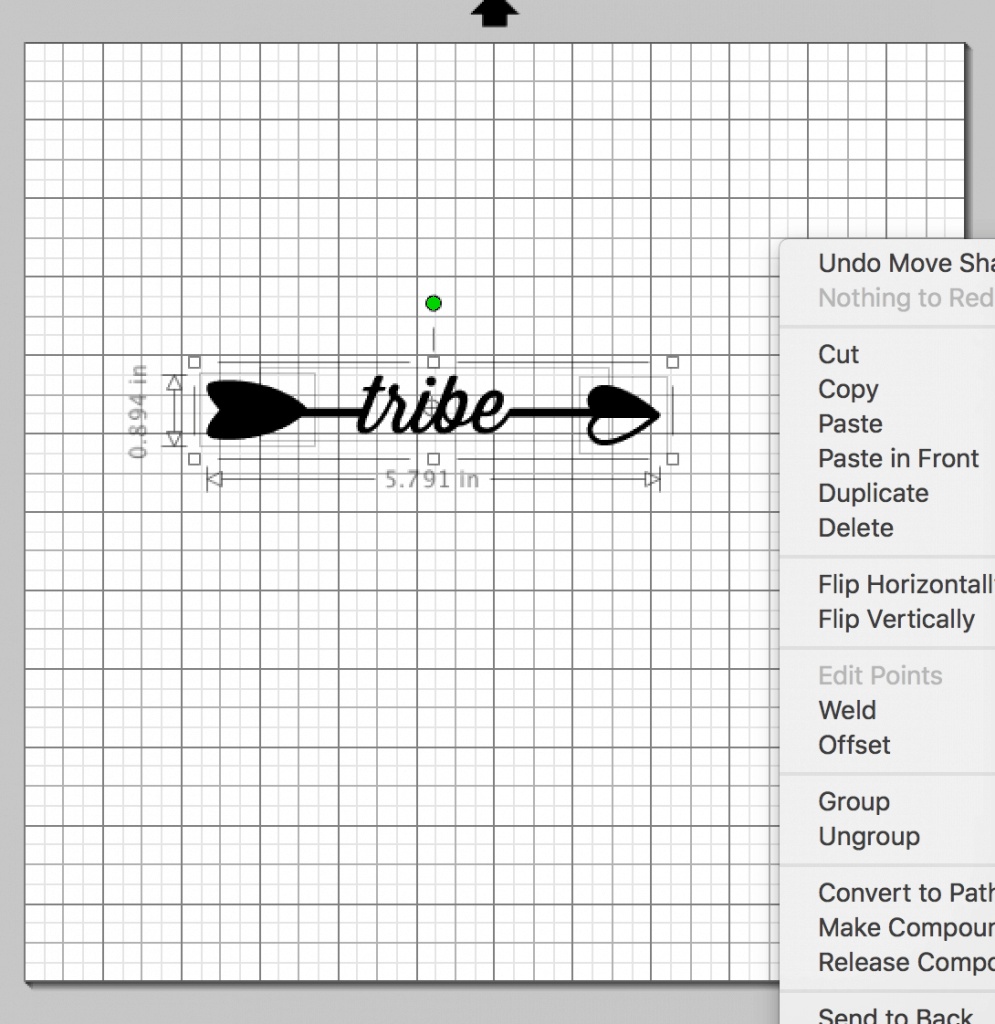
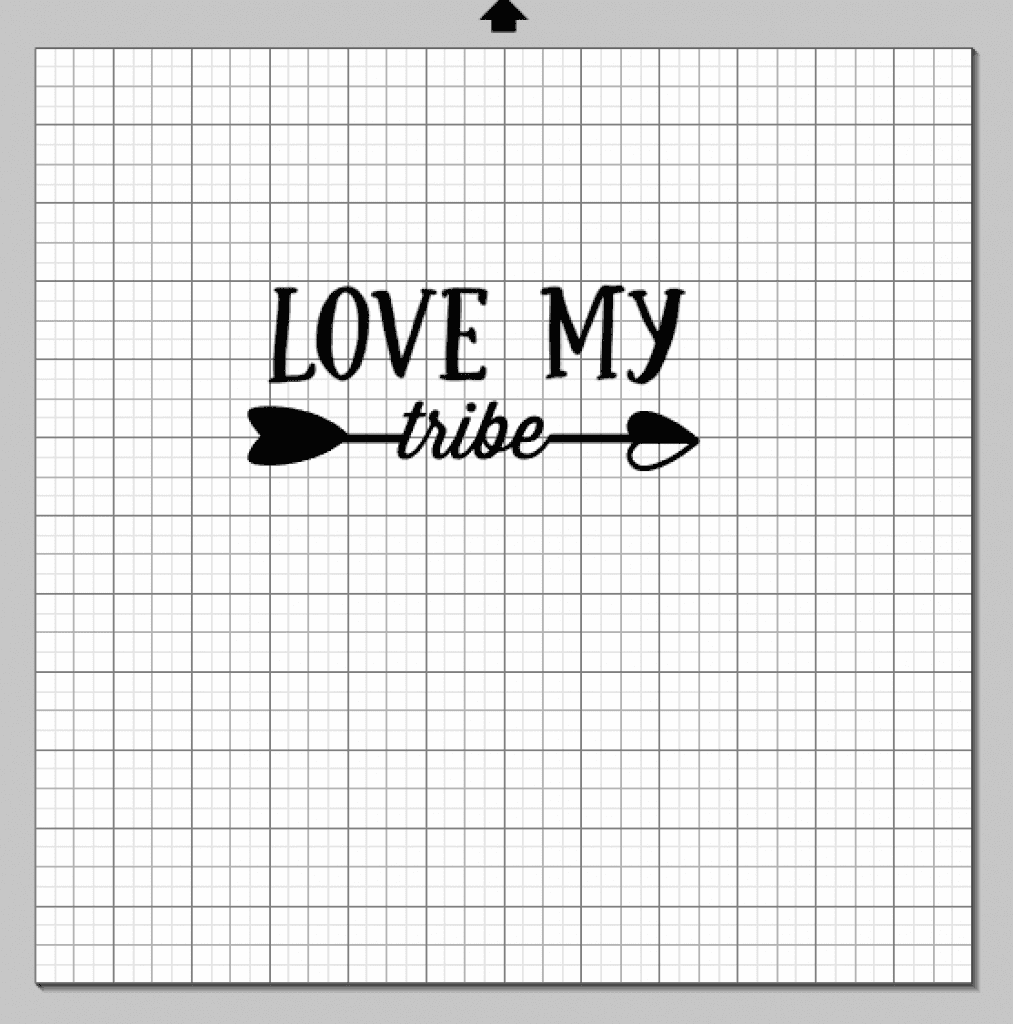
- Last, select all parts the of the design and weld them together.
- You can use the design as is, or add additional text or design elements.
That’s it! Using kits you can create your own, semi custom design files! And, did I mention that The Ultimate Arrow Toolkit is only $6?! If you are wondering about the font Olga used in “family”, “faith”, and so on – it is KG The Fighter which was slighly offset and available for commercial use for $5.
Searching for more kits? Try search terms like “design elements”, “elements”, or “graphic packs”.
Save this tutorial to Pinterest:
Since 2015, Christine Schinagl has been helping crafters start and run craft businesses through her blog, Cutting for Business. As a Silhouette and Cricut crafter herself, she has a unique take on what works and what doesn’t work in the craft business world. She also enjoys teaching other crafters how to create digital SVG designs, available through the Design with Me series.