Tutorial: Faux Wood Frames on Wooden Signs
Affiliate Disclosure: As an Amazon Associate I earn from qualifying purchases. Additionally, I may get commissions for purchases made through other affiliate links in this post.
Yesterday, I shared a tutorial to create wood frames on wood signs. I understand that not everyone has the tools or time to do them. Today, I’m sharing a tutorial for faux wood frames.
Faux Wood Frame Tutorial
Supplies Needed
- Wood for sign – For help choosing wood, see this post.
- Paint/vinyl stencil to create your sign – This tutorial will work with whatever method and supplies you like best: vinyl, stencil, paint, stain, and so on.
- Painters tape – Buy it in bulk to save.
Tutorial
- Cut your wood to size (or have your local home improvement store cut it) and stain or paint it the color you want your “frame”. Then, tape all the edges with painter’s tape. When taping, you’ll want to be sure that you tape off the same width on all sides.
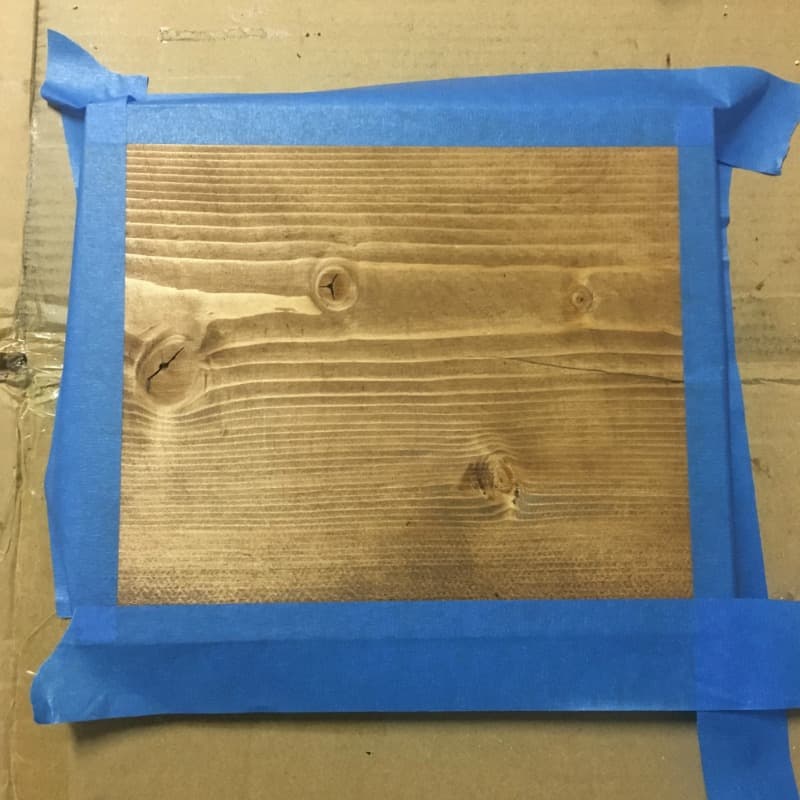
- Apply your vinyl design to the wood.
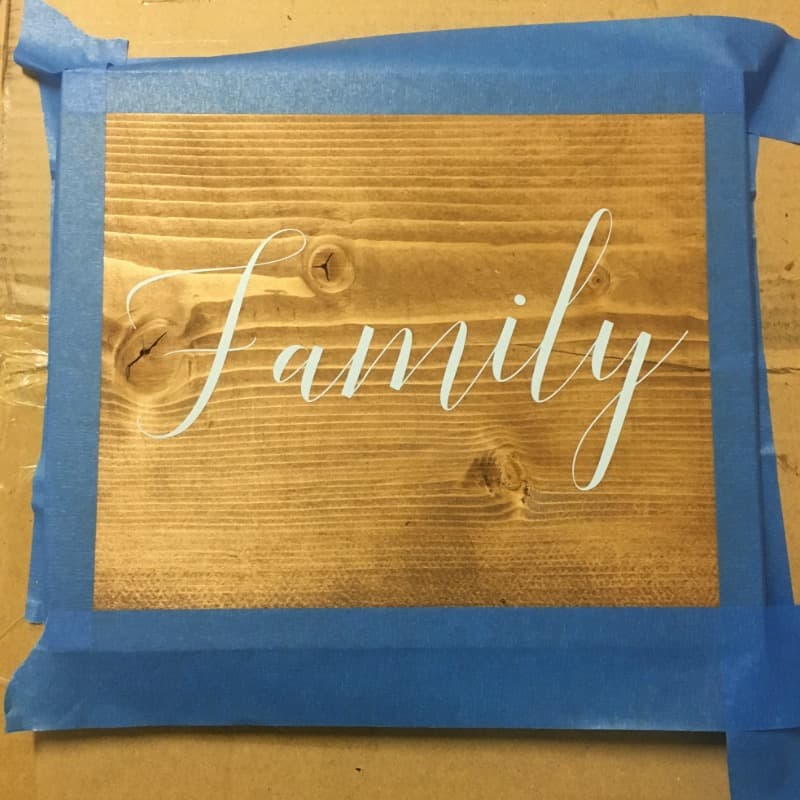
- Paint the entire sign.
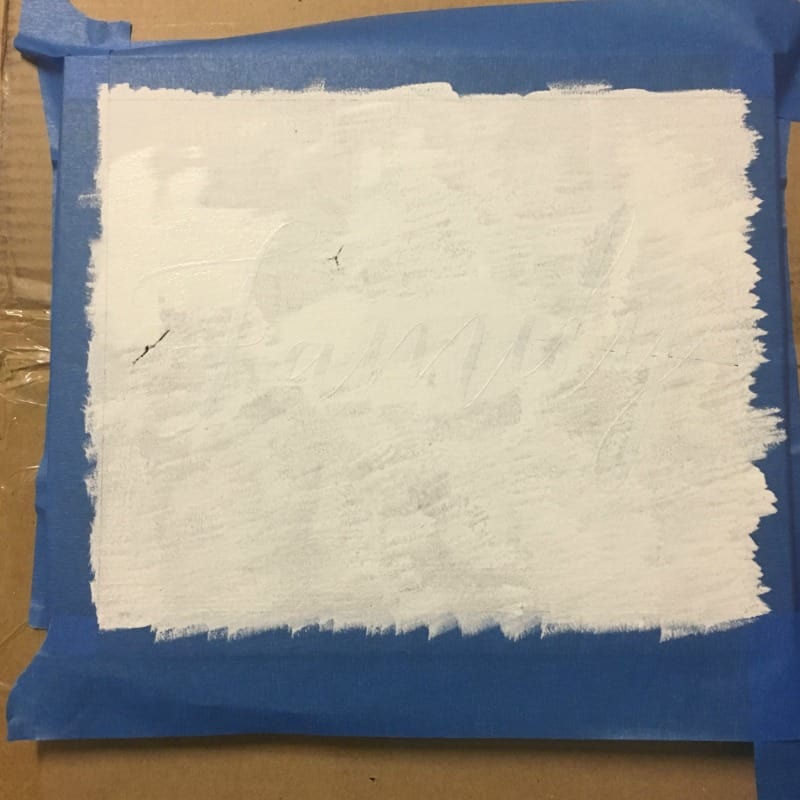
- Peel of the vinyl and painter’s tape and allow your sign to dry.
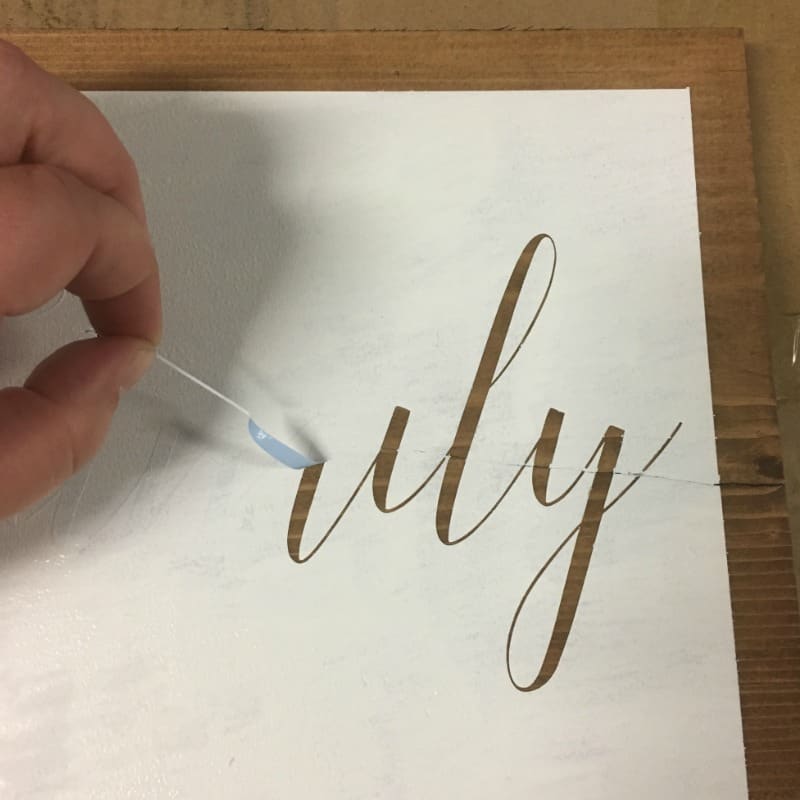
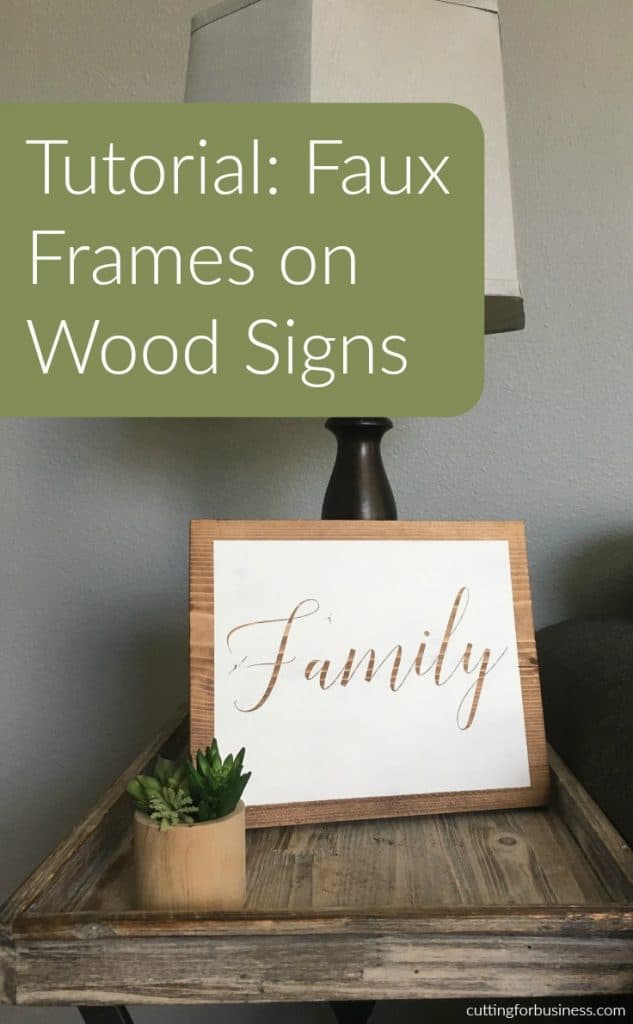
That’s it! You can see my finished product in the photo below. This technique is a really quick and easy way to — not add a frame to your wood sign!
Save this tutorial to Pinterest:
Since 2015, Christine Schinagl has been helping crafters start and run craft businesses through her blog, Cutting for Business. As a Silhouette and Cricut crafter herself, she has a unique take on what works and what doesn’t work in the craft business world. She also enjoys teaching other crafters how to create digital SVG designs, available through the Design with Me series.
