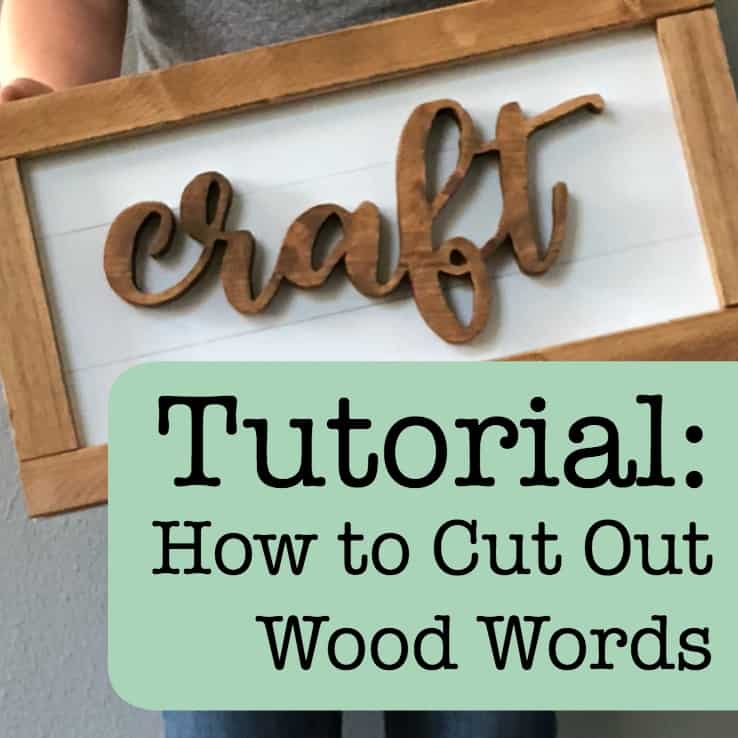
Tutorial: How to Add Wood Frames to Wood Signs
Affiliate Disclosure: As an Amazon Associate I earn from qualifying purchases. Additionally, I may get commissions for purchases made through other affiliate links in this post.
Many Cutting for Business readers know that before I started this blog – I made wood signs. With the trend being farmhouse and rustic, so many readers have asked if I knew how to add a wooden frame around a wood sign. I do – and I’m happy to share below.
Wood Frame Tutorial
Supplies Needed
- Wooden sign – You’ll make your wood sign the same way you do now. Just be sure to place your design so that you have room to add the frame along the outside. For tips on buying wood see here, stenciling see here, or working with barnwood see here.
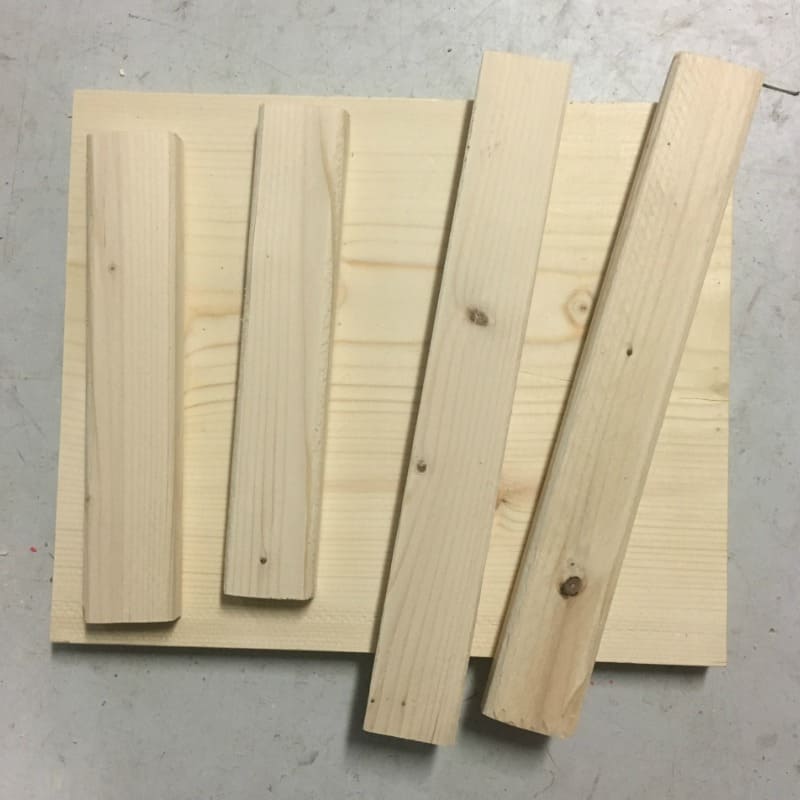
- Firring strips – These are long pieces of wood that you use to make the frame. You can pick them up in the lumber department of any home improvement store.
- Tape measure – The old saying goes: Measure twice, cut once! (This one is really cool.)
- Saw – It will be easiest to cut the frame using a miter saw. Learn more about basic power tools in this post.
- Paint/vinyl – Feel free to use the paint and stencil method of your choice. I used acrylic paint in the tutorial below.
- Nails and a hammer or glue. Any nails will work – just be sure that they are long enough to go through your wood sign and into the frame. Some crafters choose to use wood glue – but it isn’t my preferred method. If you will be doing a lot of frames, invest in a nail gun to save time.
Tutorial
- Measure and cut your wood pieces.
 2. Stain or paint the frame and set it aside to dry.
 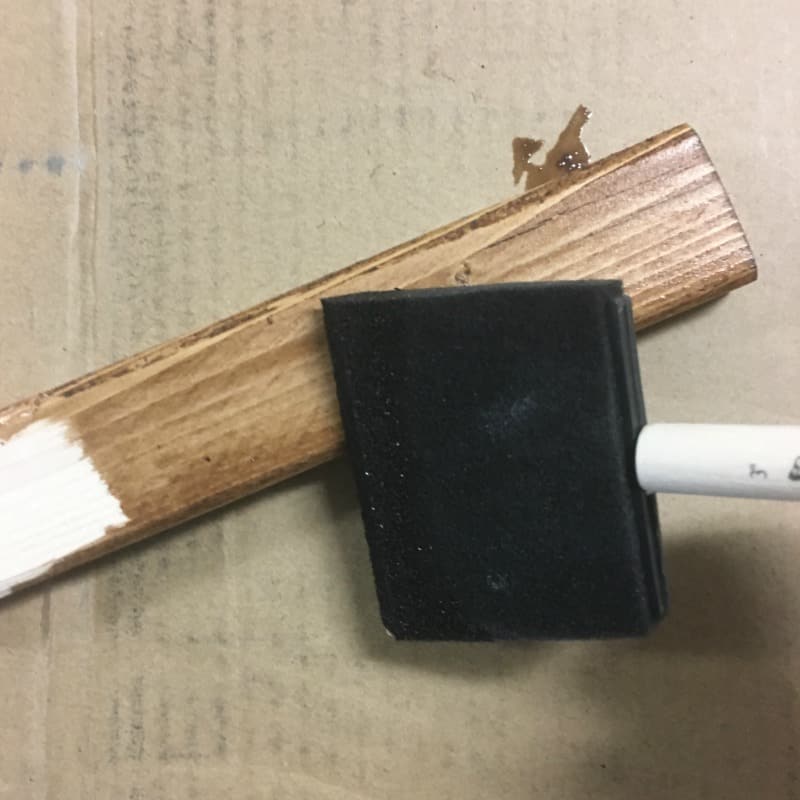 3. Stain or paint the background of your wood sign and allow it to dry.
 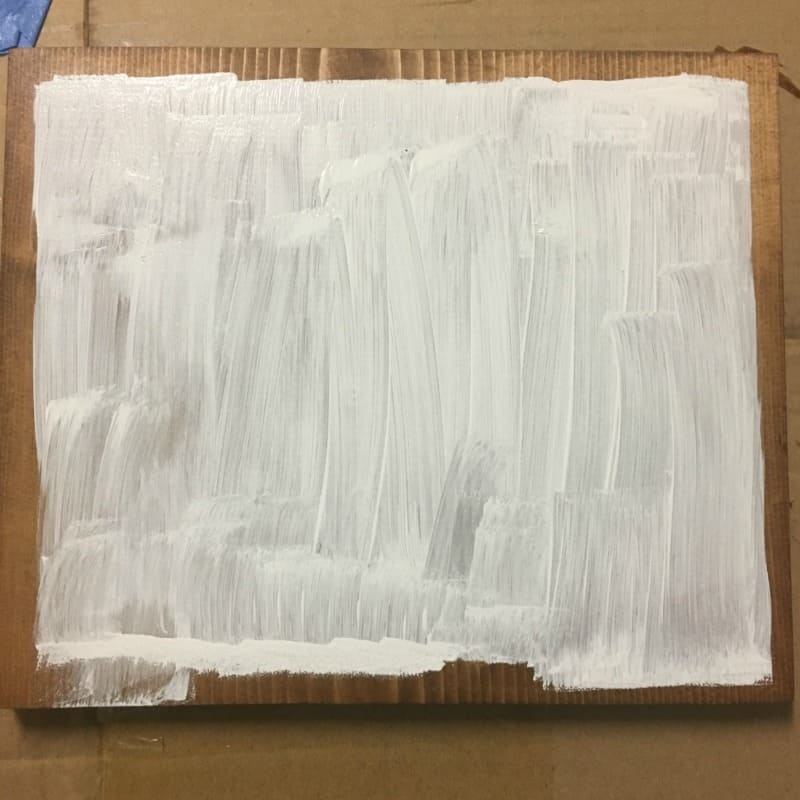 4. Add your design to your sign and allow it to dry.
  5. Once your frame and sign are completely dry – you’ll line up your frame. There are two things to watch for when attaching the frame: 1) Be sure that the corners line up nicely (circled below), 2) Be sure that the frame is flush with the side of the wood sign (shown with an arrow below).
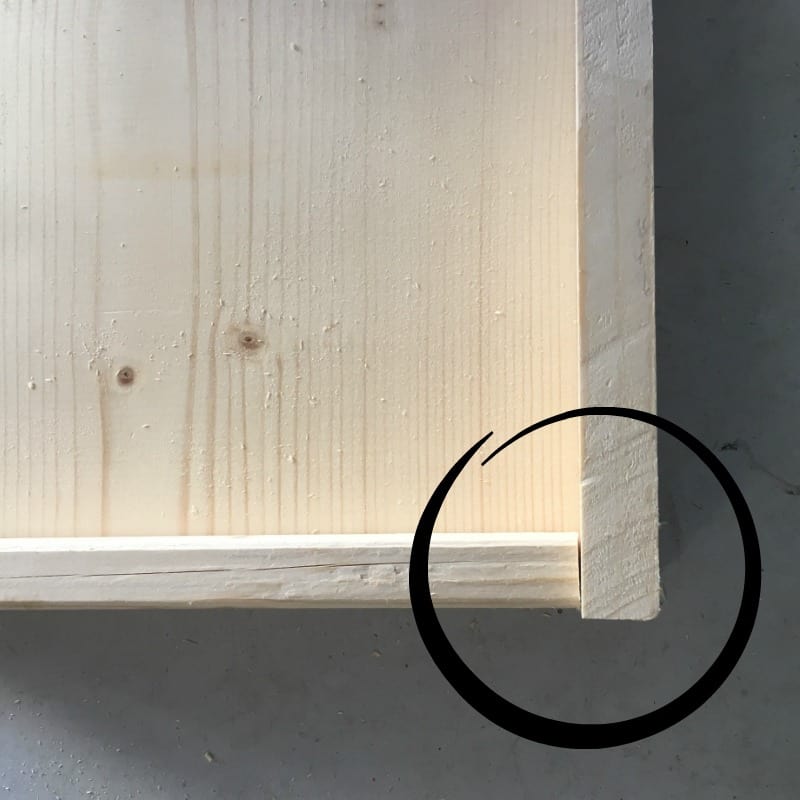
 6. To attach the frame, you’ll nail it to the sign from the back.
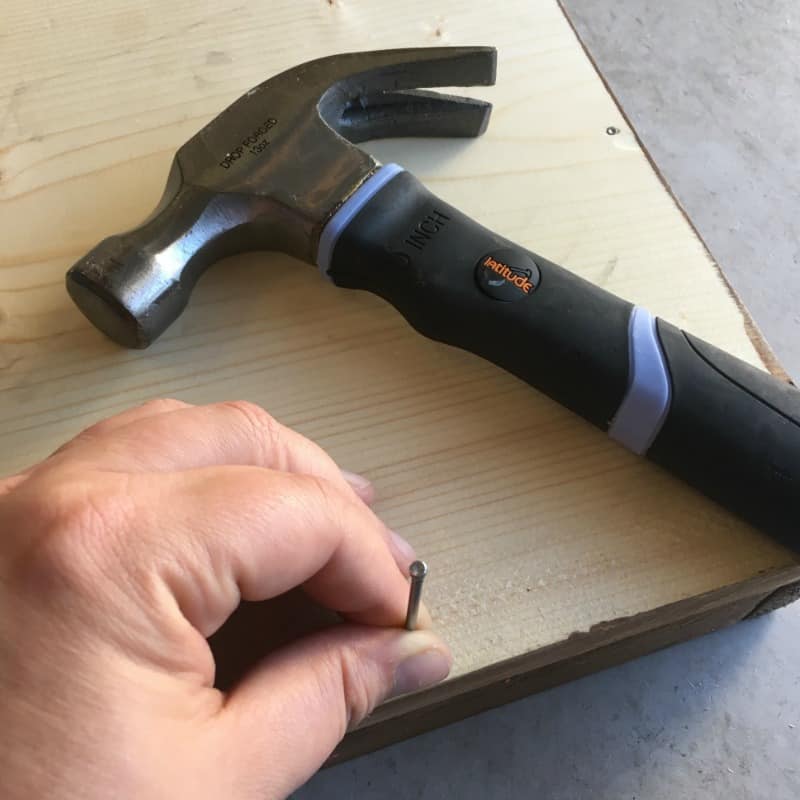
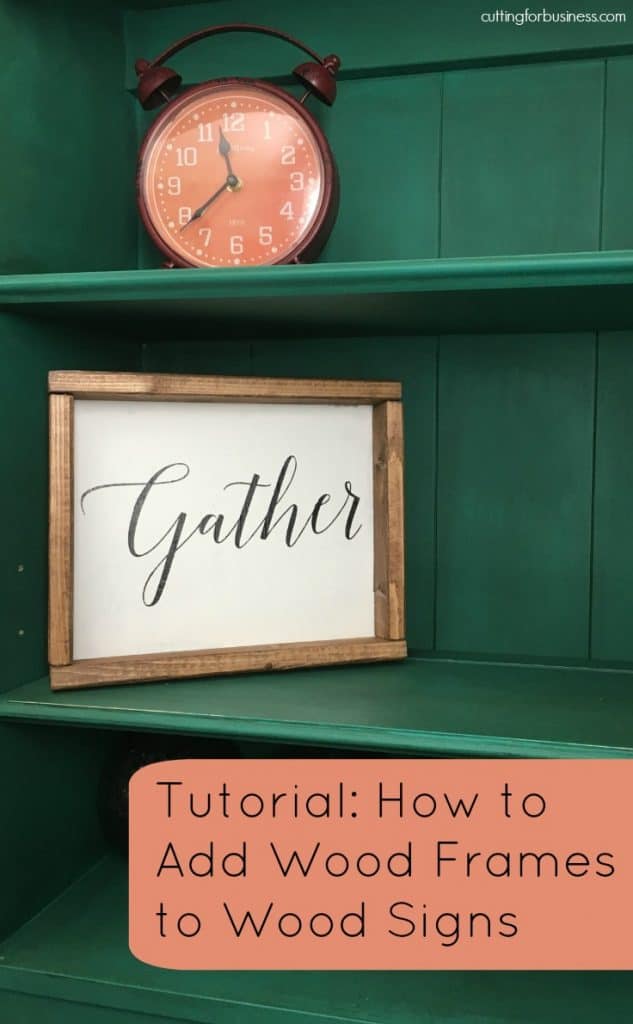
That’s it! You can see my finished product below.
Now, what if you don’t have power tools to add frames to your signs? Read on to my faux frame tutorial.
Save this post to Pinterest:
Since 2015, Christine Schinagl has been helping crafters start and run craft businesses through her blog, Cutting for Business. As a Silhouette and Cricut crafter herself, she has a unique take on what works and what doesn’t work in the craft business world. She also enjoys teaching other crafters how to create digital SVG designs, available through the Design with Me series.