Secret Trick: How to Take Better Pictures of Glass Etchings
Affiliate Disclosure: As an Amazon Associate I earn from qualifying purchases. Additionally, I may get commissions for purchases made through other affiliate links in this post.
I get reader emails and comments all the time asking for tips about how to take better pictures of etchings on glass in products you’ve made with your Silhouette or Cricut.
How to Take Better Pictures of Glass Etchings
My super secret trick is to add more lighting to your setup. You can use either a flashlight or a small lamp. For the sample below, I used a battery lantern from our hurricane supply container, because I didn’t have enough hands to hold the camera and a flashlight at the same time.
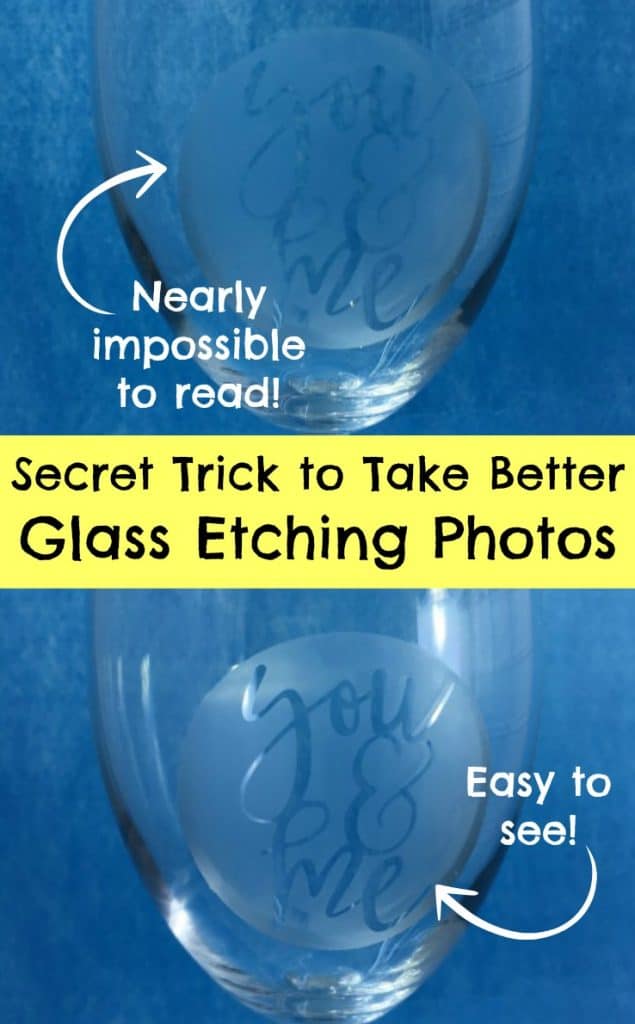
First picture. No additional lighting. Unfortunately, you have to look really hard to see the text in the etching: 
Second picture. Added more lighting with a lantern. You can light it from above or the side – you’ll just want to experiment with your particular setup. You’ll see that you can now read the etching clearly:

(In case you are wondering, my camera settings were identical in both pictures and were taken with my iPhone 6. The photos were taken 11 seconds apart.)
Here’s my setup in my Shotbox:

In addition to adding more light, I have better luck taking glass etchings photos on a solid background. In the sample above, no fancy background – just a piece of craft felt.
This same trick works for holographic and specialty materials, too. Read more about this here.
The ‘You & Me’ design is perfect for weddings, anniversaries, and more. Download it free in this post on the blog.
Save this post to Pinterest:
Since 2015, Christine Schinagl has been helping crafters start and run craft businesses through her blog, Cutting for Business. As a Silhouette and Cricut crafter herself, she has a unique take on what works and what doesn’t work in the craft business world. She also enjoys teaching other crafters how to create digital SVG designs, available through the Design with Me series.
