Resources to Create Your Own Paper Boxes with Cricut or Silhouette
Affiliate Disclosure: As an Amazon Associate I earn from qualifying purchases. Additionally, I may get commissions for purchases made through other affiliate links in this post.
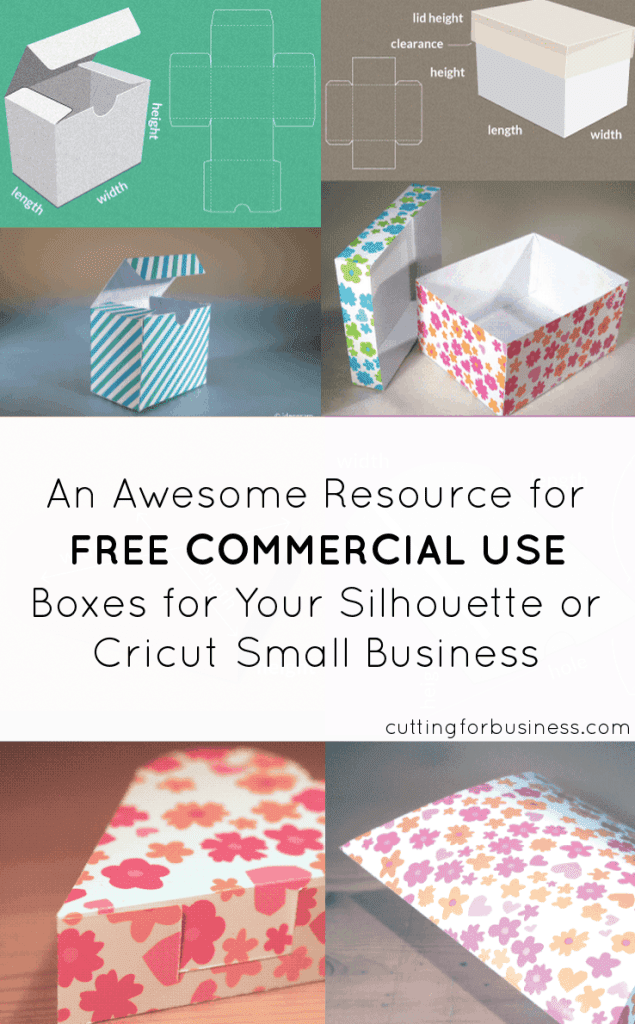
Several Cutting for Business readers have asked me if I knew about creating your own boxes for products created with your Silhouette. I have a few resources to share for making your own boxes.
First, the Silhouette Design store has tons of boxes in all shapes and sizes to choose from. Click here to see the various boxes in the Silhouette Design store.
Next, there’s a website called Template Maker that will allow you to create various boxes in whatever size you need. The files are all licensed for commercial use and no credit back to the site is required.
Tutorial to Use Template Maker
Step 1) Click on the box that you are interested in creating.
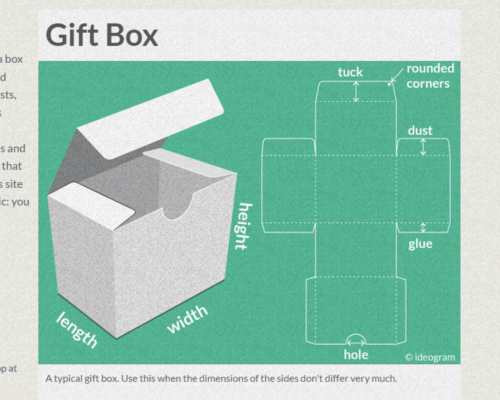
Step 2) Enter the dimensions for your box.
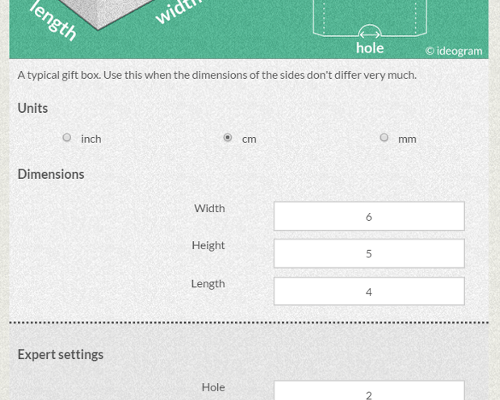
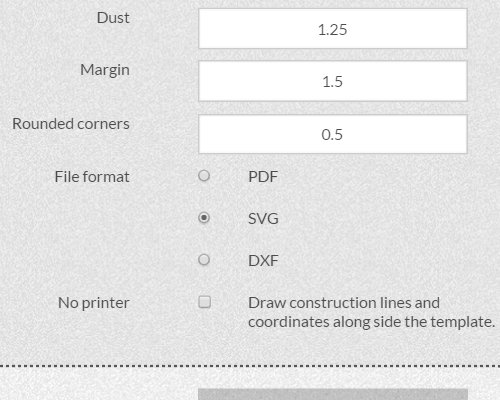
Step 3) If you are using Silhouette Studio Designer or Business Edition or a Cricut, choose .svg and click “Create”. If you are using Silhouette Studio Basic Edition, choose .dxf and click “Create”. Save your box. You can now open it in Silhouette Studio or Cricut Design Space, cut it out, and put it together.
I love free resources online, and this one is awesome! Make sure to head to one of the social media links at the bottom of Template Maker to say thanks for providing this super helpful site!
Since 2015, Christine Schinagl has been helping crafters start and run craft businesses through her blog, Cutting for Business. As a Silhouette and Cricut crafter herself, she has a unique take on what works and what doesn’t work in the craft business world. She also enjoys teaching other crafters how to create digital SVG designs, available through the Design with Me series.


