
Affiliate Disclosure: As an Amazon Associate I earn from qualifying purchases. Additionally, I may get commissions for purchases made through other affiliate links in this post.
I know it is something that every crafter can relate to: A disastrous craft room. For me, my craft space usually looks like a tornado went through it.
I recently got the chance to talk to four professional organizers and asked them for tips on how to organize your craft room.
Table of Contents

Meet the Organizers
Naomi from Open Doors Organizing Services
Robyn from Organize 2 Harmonize
Christina from Streamlined Living
Amy from Amy Trager
How to Organize Your Craft Room Tips
Q: What are the best containers to store craft supplies in?
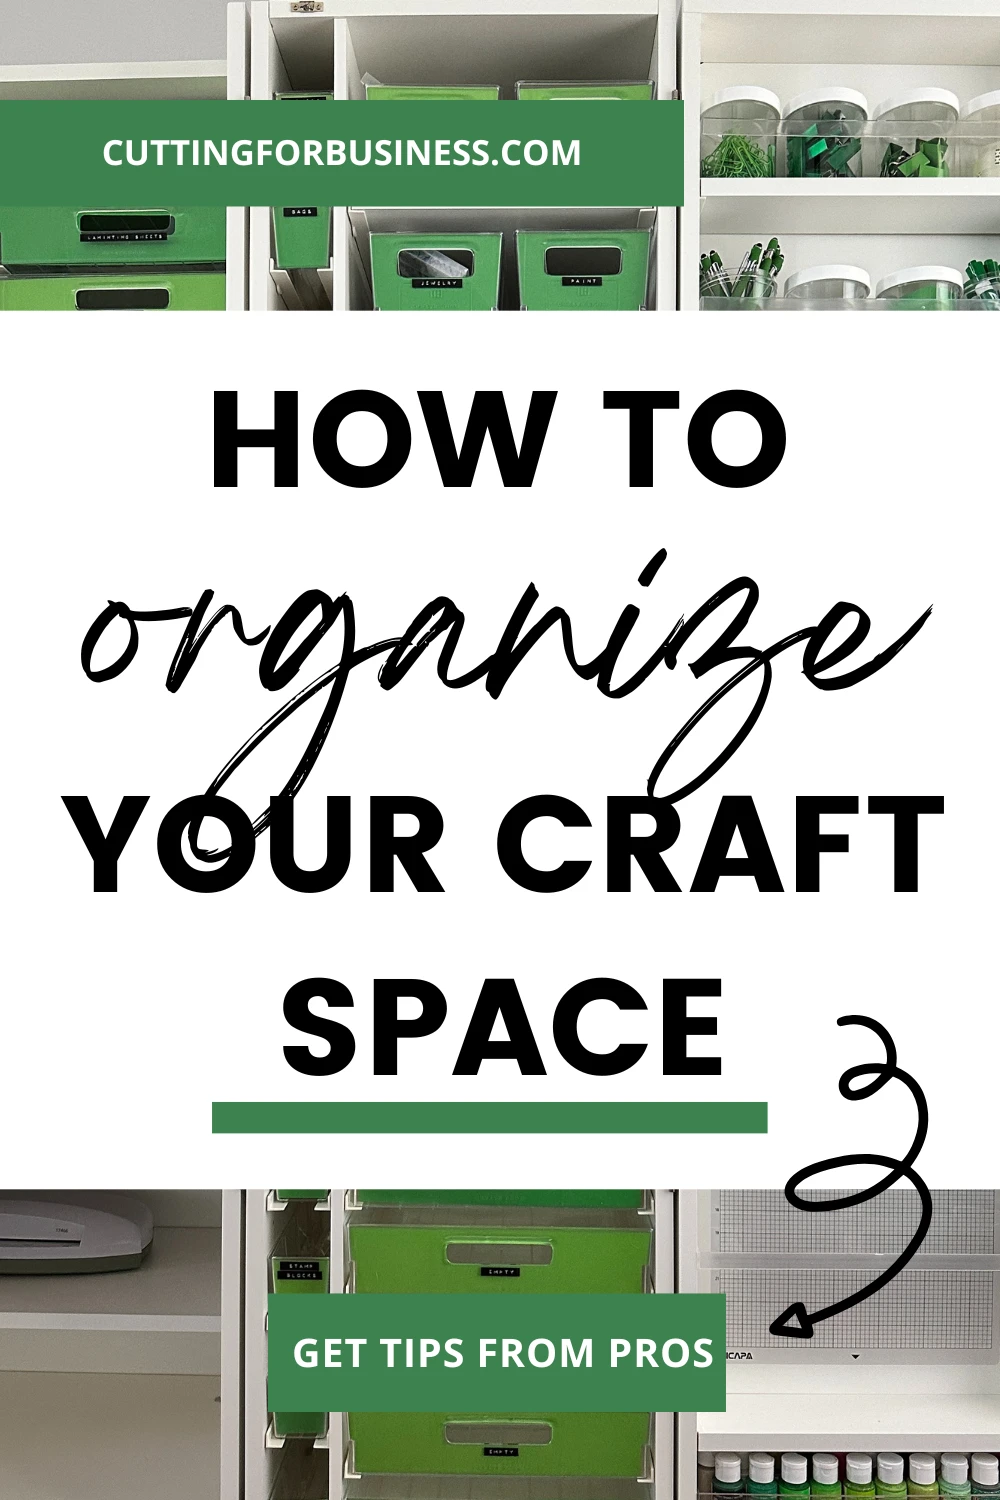
A: All the professional organizers agreed that clear plastic bins are the best containers to store craft supplies in. Why? Because you can see what’s inside them and they can stack. Naomi noted that once you “…add on labels you’ve got a great start to an organizational system”. Christina reminded crafters to also leave room for more supplies to be added later when planning your storage.
Q: When setting up a craft workspace, what are some rules to follow for good workflow?
Christina suggests keeping everything at arm’s reach to minimize the time spent going and getting supplies.
Naomi noted that you should keep your most used supplies closer to you and less used supplies can be farther away if needed. She also said, “However, it is best if all of those stored supplies are still visible, whether in a closet with the door open or on shelves.”
Q: What is your advice on multi purpose rooms? (Example: Crafting at the dining room table.)
Amy suggests that a rolling cart so that it can be moved out of the way when the needs of the room change. She also noted that a mat on the table that is portable and can be picked up and moved at the end of crafting time is a great idea.
Naomi also recommended a rolling cart and even shared one of her favorites which is the RASKOG utility cart from IKEA. Then, add magnetic caddies to the side of the cart like those from the Urbio collection at The Container Store.
Q: Where to start organizing when your craft room is bursting with stuff?
Amy suggests that you first sort everything into categories and decide what things you want to keep. After everything is then sorted, then purchase containers to store the items you plan to keep.
Naomi suggests starting with one drawer or bin or shelf. She likes to start at one end of the room and work her way around. Set a timer for 15 minutes and do what you can. When the timer dings, if you are feeling overwhelmed, stop, but if you are feeling motivated, then continue!
Christina agreed to work in 15 minute increments and to remember that you craft space didn’t become a mess in one day, so don’t expect it to be clean in just a day.
Robyn reminds us that a little each day will make a huge difference.
Q: What tips do you have for organizing small/tiny spaces?
Robyn says that the key to organizing small spaces is to only keep what is necessary. She also notes to look for multi functional furniture like end tables with drawers or an ottoman with storage inside.
Naomi reminds us to use wall space for small spaces. Specifically, she said the best thing to do is to think vertically. You may not have the square footage on the floor, but look up at the walls at all the unused potential! Use tall bookshelves, shelving units and floating shelves for storage, magnetic boards for your ideas, and white boards for writing down supplies that you need to buy.
Q: What advice do you have for maintaining order once everything is organized?
Christina shared an awesome tip: “Put everything back where you got it from as soon as you are done with it. Craft spaces can get messy in a hurry because there’s usually lots of pieces parts involved. Simply cleaning up at the end of each project or at the end of the day makes all the difference in maintaining the organized space. Build that clean up time into your crafting time. I know it isn’t as much fun as crafting, but you’ll thank yourself later!” How simple is that? I’m kind of embarrassed that I didn’t think to build in clean up time to my crafting schedule!
Amy noted that you should “Try your best to make order a new habit. Just like anything else you’ll have to remind yourself of where items belong now – and make sure they’re put away when you’re done using them. Use labels on drawers and containers, if it will help you remember where it all goes.”
Q: How can crafters get in contact with a professional organizer?
Crafters can find professional organizers through NAPO – the National Association of Professional Organizers.
Q: What is the average cost of using a professional organizer?
The professional organizers noted that professional organizer rates generally fall between $25 to $150 per hour, depending on the experience of the organizer. Naomi also noted that some organizers may offer a discounted package or a flat rate if you are looking to work on a large craft space and it may take longer than one day to complete.
How I Organize My Craft Room
I recently got a DreamBox from Create Room. And, it’s been life changing as far as the mess in my craft room. Read more about my DreamBox and get a coupon code.
Have More Questions? Ask the Professional Organizers
Reach out to any of the professional organizers through social media:
Since 2015, Christine Schinagl has been helping crafters start and run craft businesses through her blog, Cutting for Business. As a Silhouette and Cricut crafter herself, she has a unique take on what works and what doesn’t work in the craft business world. She also enjoys teaching other crafters how to create digital SVG designs, available at through the Design with Me series.