Tutorial: Chemica Magic Flex Heat Transfer Material
Affiliate Disclosure: As an Amazon Associate I earn from qualifying purchases. Additionally, I may get commissions for purchases made through other affiliate links in this post.
I’m super excited to share a new product tutorial with you today! Chemica recently sent me a sample of their Magic Flex heat transfer material to share with Cutting for Business readers! Magic Flex has been available overseas, but is now being stocked in the USA. The material is a heat transfer that puffs up during application for a raised, 3D look. Let’s get to the tutorial.
Magic Flex Heat Transfer Tutorial:
- Create your design and do not mirror it. This bears repeating: Do NOT mirror your Magic Flex material. After cutting the design, you’ll weed it. I had no problems weeding the material. If you are using a Silhouette Cameo 3, I used my autoblade with the standard heat transfer vinyl setting (smooth) and I double cut the material. Here’s what it looks like weeded:

- You’l notice that there is no carrier sheet to transfer the vinyl to your apparel. Instead, you’ll need to use a heat resistant tape or paper like this one. Apply the tape.
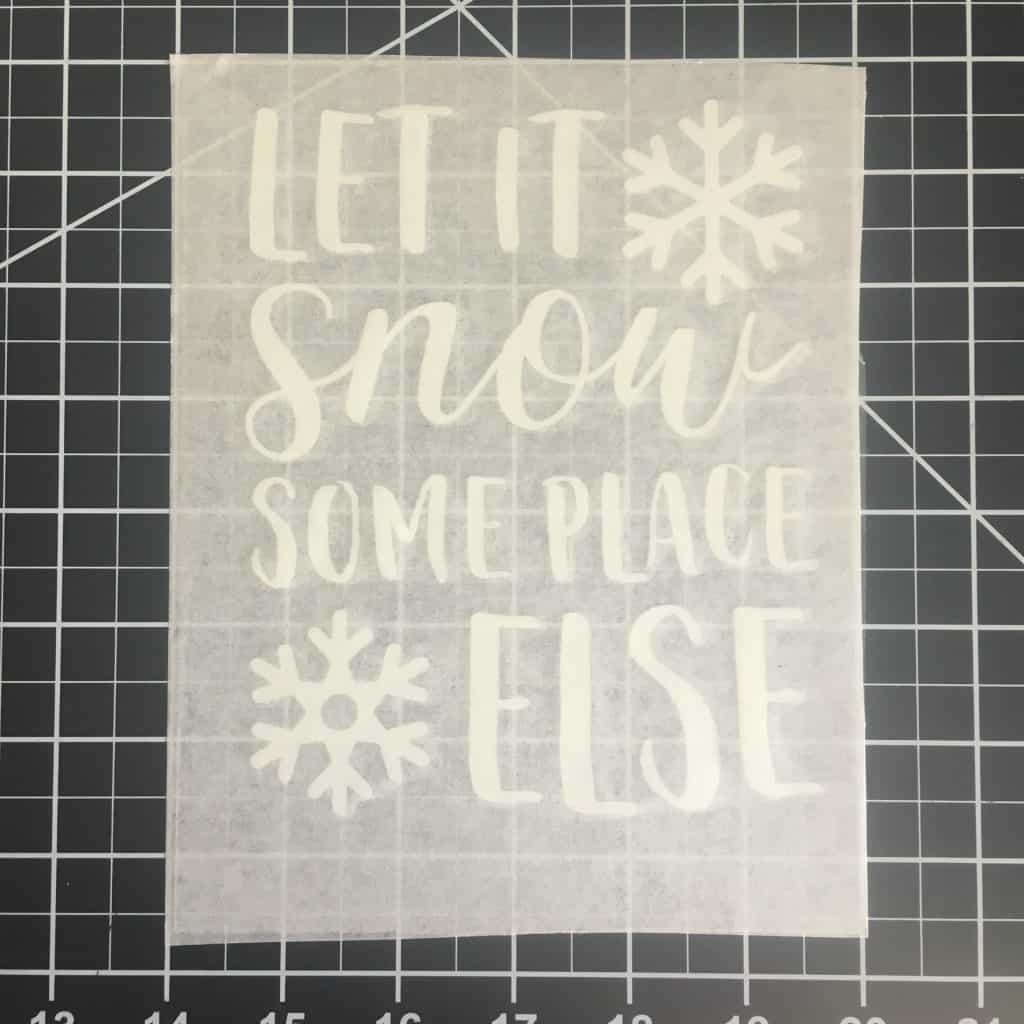
- Now, remove the plastic backing so that your design is on the transfer tape or paper.

- You are ready to press using your heat press. I pressed for 30 seconds at 330 degrees using light pressure. You’ll want to be sure to peel the design while it is hot. In the photo below, you’ll see the Magic Flex on the left and regular heat transfer vinyl on the right.

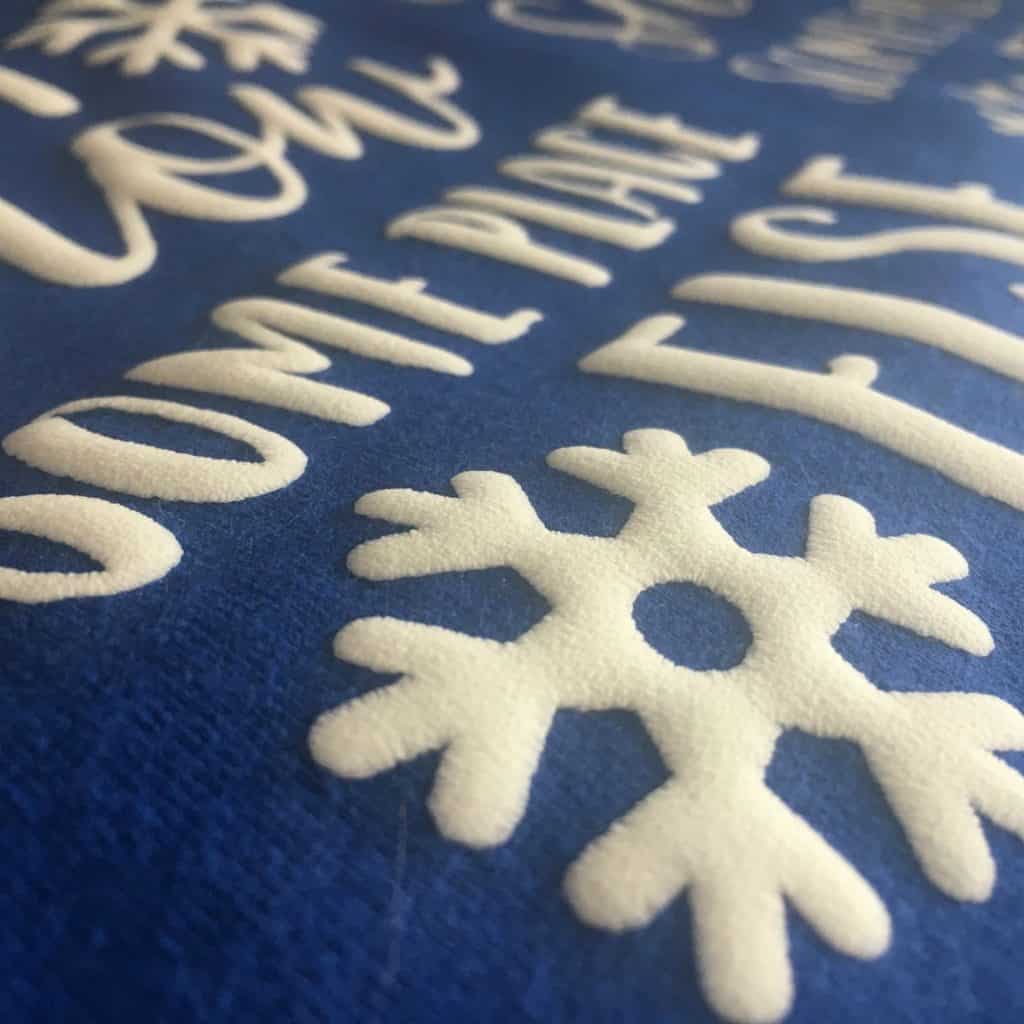
- Here’s some photos of how the Magic Flex looks once applied:

- Here is the same design in regular heat transfer vinyl:

- Here is a side view so that you can see the puffiness:
Magic Flex by Chemica is available in white or black and can be purchased through any Chemica distributor. Special thanks to Amy from Chemica US for sending over a sample so that I can show everyone!
Do you dislike the snow, too? Download the SVG I created for this tutorial at this link. As always, feel free to use the file for commercial use, but you cannot sell the digital file. The font I used in the design can be found here.
Save this tutorial to Pinterest:
Since 2015, Christine Schinagl has been helping crafters start and run craft businesses through her blog, Cutting for Business. As a Silhouette and Cricut crafter herself, she has a unique take on what works and what doesn’t work in the craft business world. She also enjoys teaching other crafters how to create digital SVG designs, available through the Design with Me series.
