How to (Easily!) Make Animated Graphics for Social Media
Affiliate Disclosure: As an Amazon Associate I earn from qualifying purchases. Additionally, I may get commissions for purchases made through other affiliate links in this post.
A few weeks ago, I was creating advertising graphics for my new course, How to Design SVGs. I wanted to make a few animated graphics, since they tend to perform well across my most popular social media platforms – Facebook and Instagram.
Honestly, I dread tasks that I consider ‘time sucking’ – like making animated graphics. However, I was pleasantly surprised that it didn’t take too long when I used a few of Canva’s newer templates. I made a mental note to come back to the blog and share a tutorial so you could make some animated graphics as well. Let’s take a look at it today.
How to (Easily!) Make Animated Graphics for Social Media
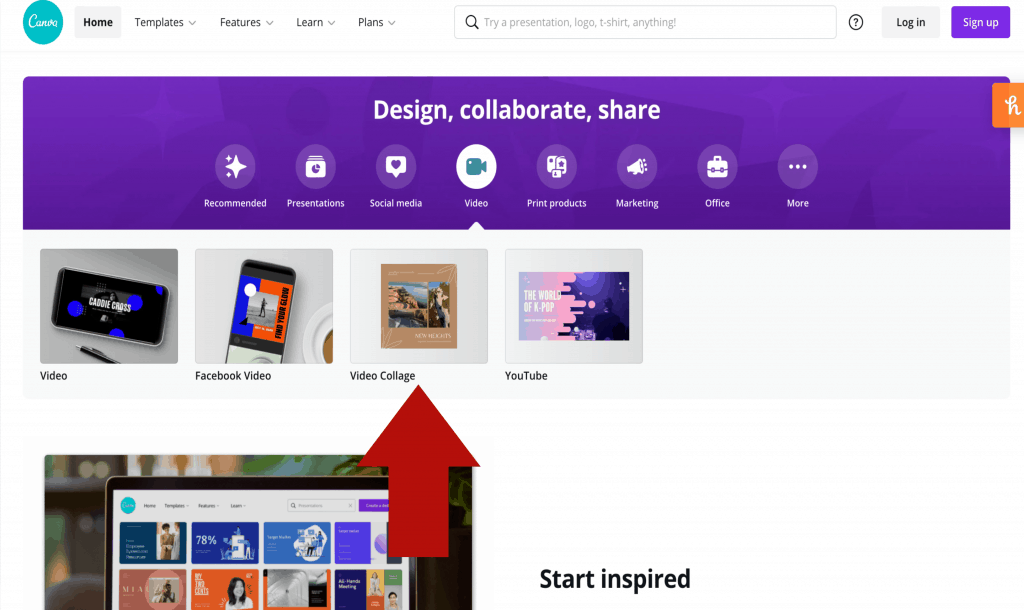
- Head over to canva.com. Then, click the ‘Video’ icon on the home page.
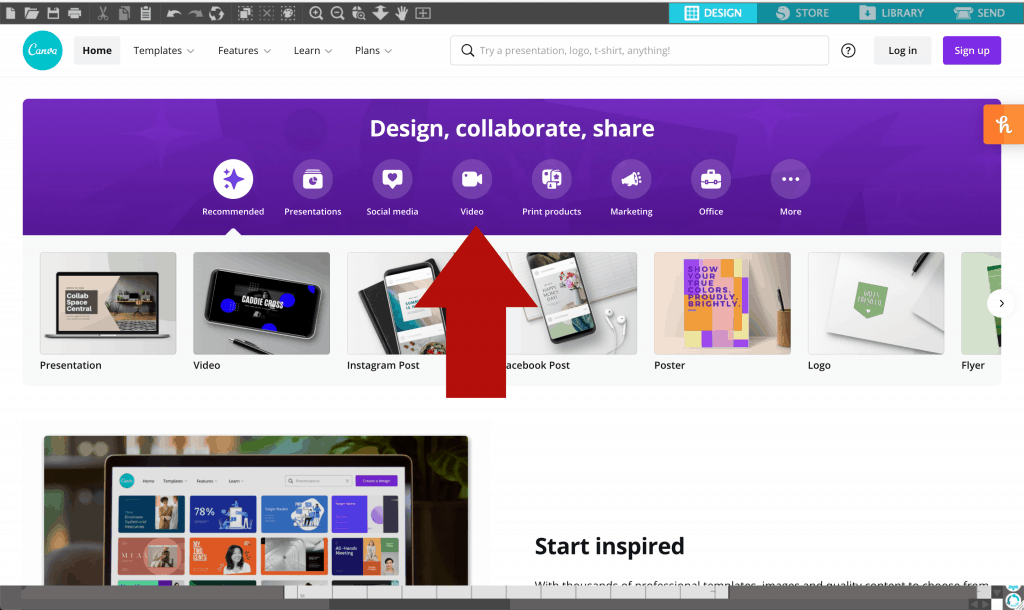
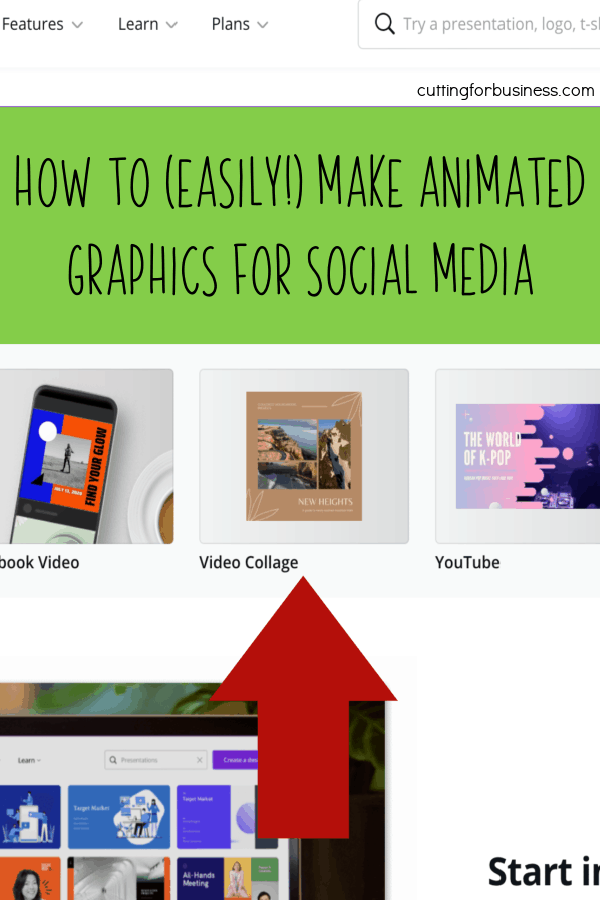
2. Once on the Video Tab, select a template size. In this case, I’m choosing ‘Video Collage’.
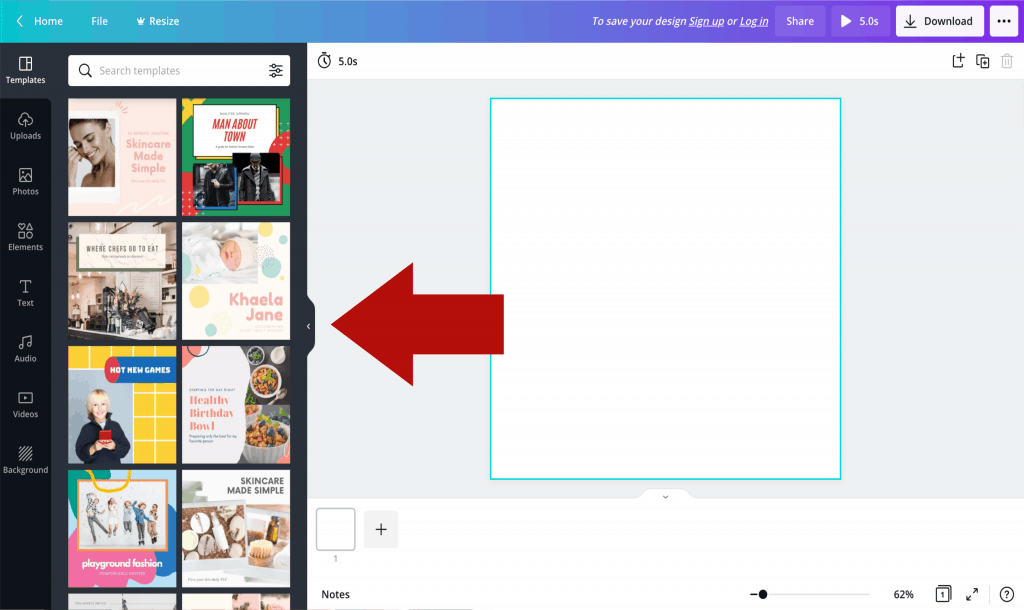
3. Now, you’ve got video templates on the left hand side of the screen.
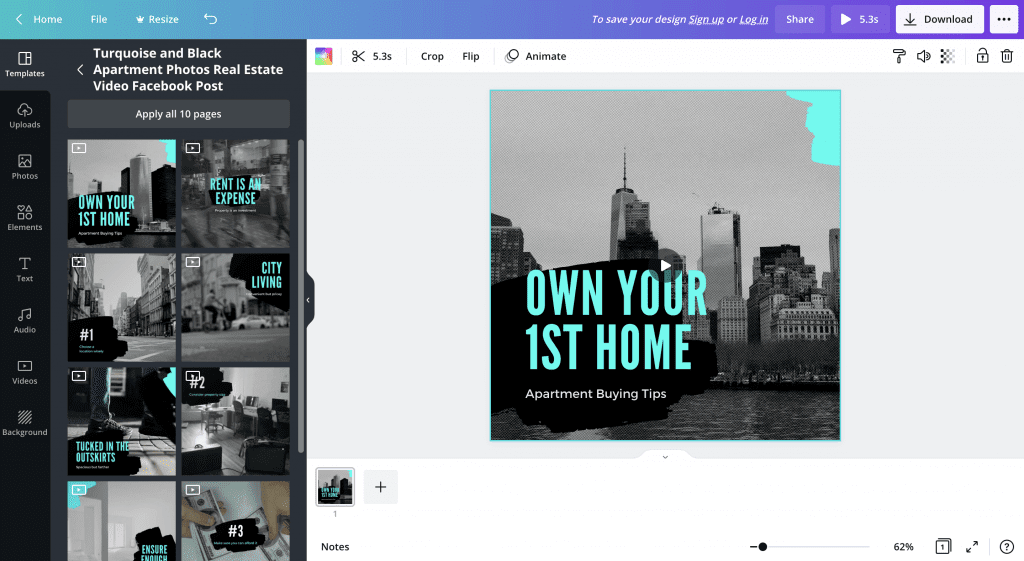
4. Choose a template and click on it. When selecting a template, look more at the layout of the template than anything else. The words, fonts, and colors can be changed. Also, you’ll notice that some of the templates are slideshows; while others are animated graphics. You can also use one of the animated graphics in a slideshow template. For this tutorial, I chose a real estate themed animated graphic that is part of the slideshow, but I am only using one slide.
5. Click the text to edit it. Change any colors as desired. Remember, you’ll want to make it match your brand colors.
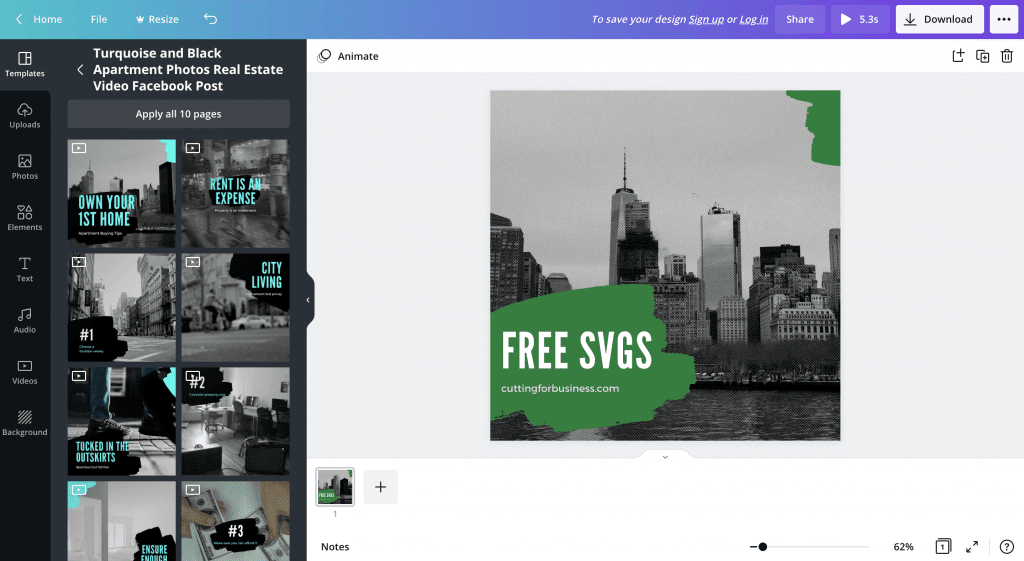
6. Next, we need to add a video. Navigate to ‘Uploads’ on the left hand side and upload your video. I used my favorite screen recording program (Loom) to record a section of my website while I scrolled through some of the free SVGs on Cutting for Business. A short video of one of your products, a video of your workspace, or a video of your packaging all work well.
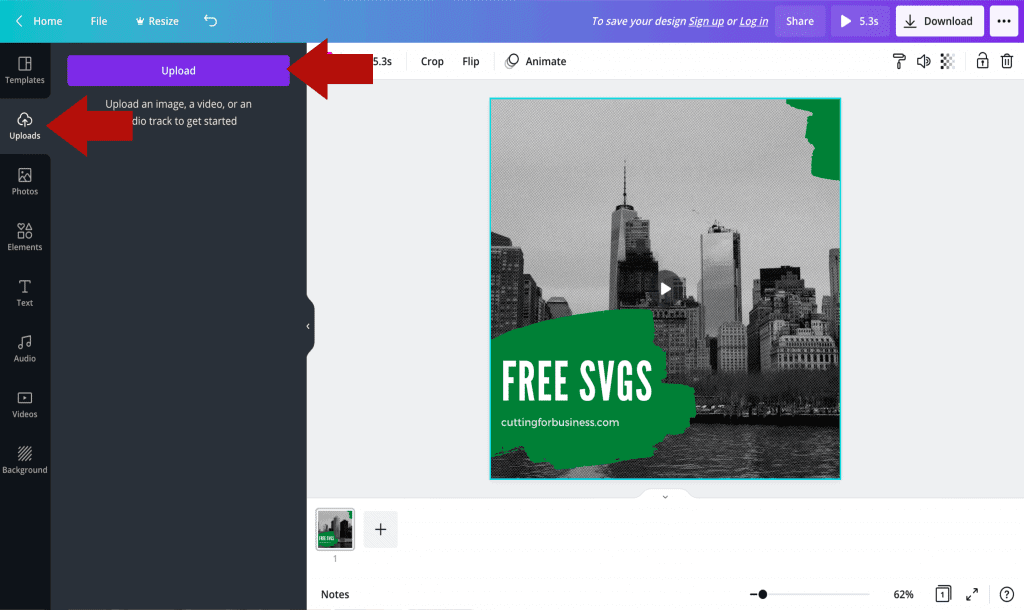
7. After your video is uploaded, click the video in the template and add your video.
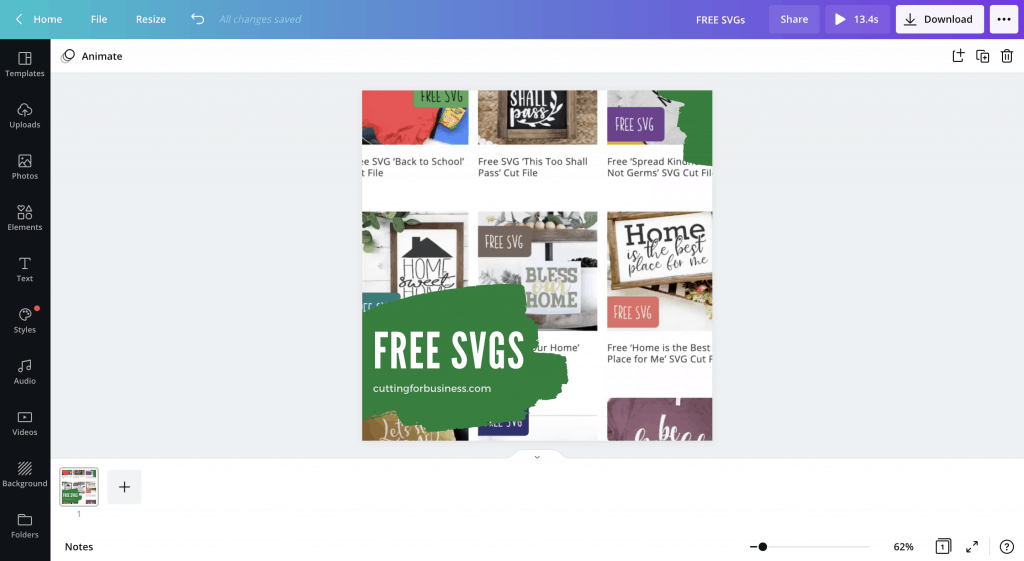
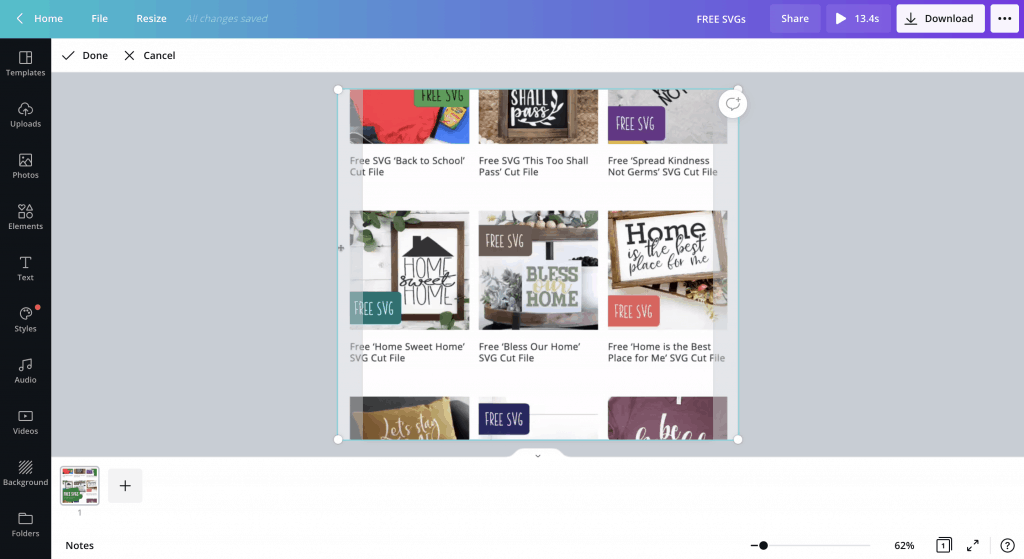
8. Last, double click the video to resize it if needed.
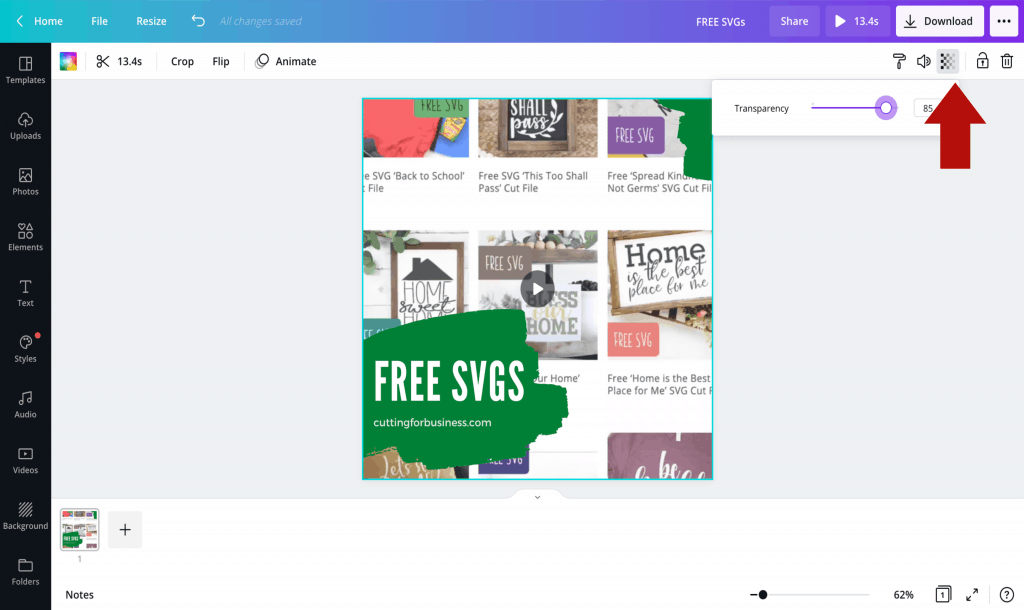
9. As an optional step, you can adjust the video transparency if you’d like. I prefer to make it slightly transparent so that the text overlay jumps out a bit more. Click the checkerboard icon near the top, then use the slider to adjust the transparency.
That’s it! Save and download your video (Canva account required). The final video is ready to post to social media and looks like this:
The goal with animated graphics is to use a short background video to catch the eye of someone scrolling through their social media feed. Give it a try and spice up your customer’s feed!
Since 2015, Christine Schinagl has been helping crafters start and run craft businesses through her blog, Cutting for Business. As a Silhouette and Cricut crafter herself, she has a unique take on what works and what doesn’t work in the craft business world. She also enjoys teaching other crafters how to create digital SVG designs, available through the Design with Me series.
