Tutorial: How to Use Green Screens in Product Photos
Affiliate Disclosure: As an Amazon Associate I earn from qualifying purchases. Additionally, I may get commissions for purchases made through other affiliate links in this post.
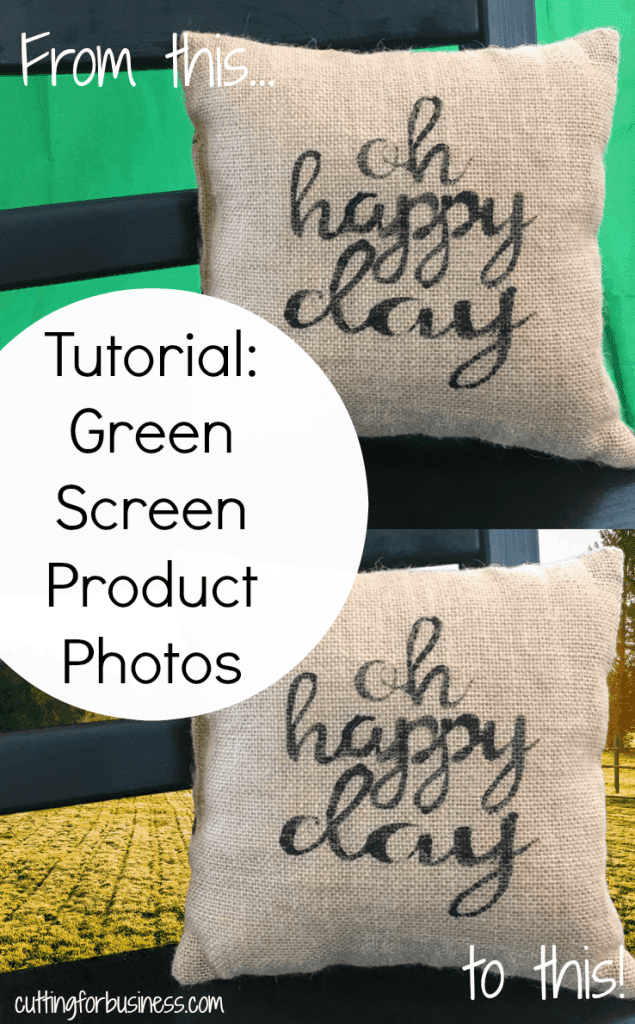
I get a lot of Cutting for Business readers that ask about me about my blog photos. As I showed you several weeks ago, many of my photos are mockups that I create with stock photos. Others are green screen photos. Today, I am going to show you how to use a green screen in your product photos.
If you aren’t familiar with green screen photography (actually called chroma keying) it is the process of photographing your products on a green screen and replacing the background. You can use anything that is green for the background – a piece of paper, a sheet, a shirt, or a green photography background. I had a hard time find anything green, so I opted for an inexpensive green photo background that I bought from this link at Amazon. Next, you’ll need a green screen app or photo editor. I tested several and found that Green Screen Wizard was the easiest to use.
Tutorial to Create Green Screen Product Photos
- Take a photo of your product on a green surface.
- Open the Green Screen Wizard (or other green screen app). If using Green Screen Wizard, this screen opens:
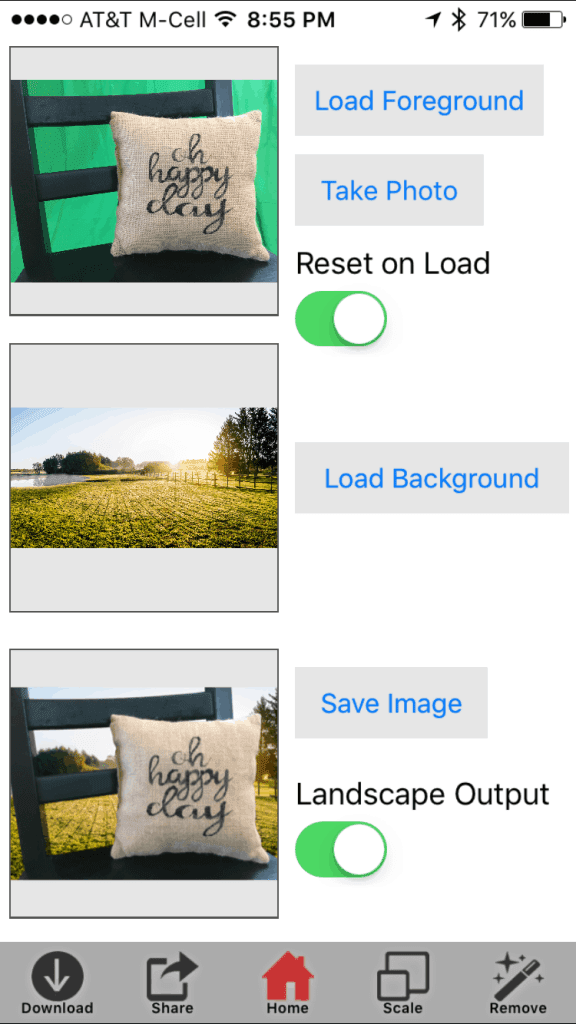
- Load your product photo into the foreground space.
- Load your background into the background space.
- Make any touchups that you need using the buttons in the bottom of the app. My biggest cautionary advice is to watch the scale of your foreground versus your background. Try to keep the scale equal to each other or your photo will look bad. Also, you can’t photograph a green product with a green screen, but you can use a blue background.
- Save your photo.
Here’s a few of green screen examples:
Start with this:
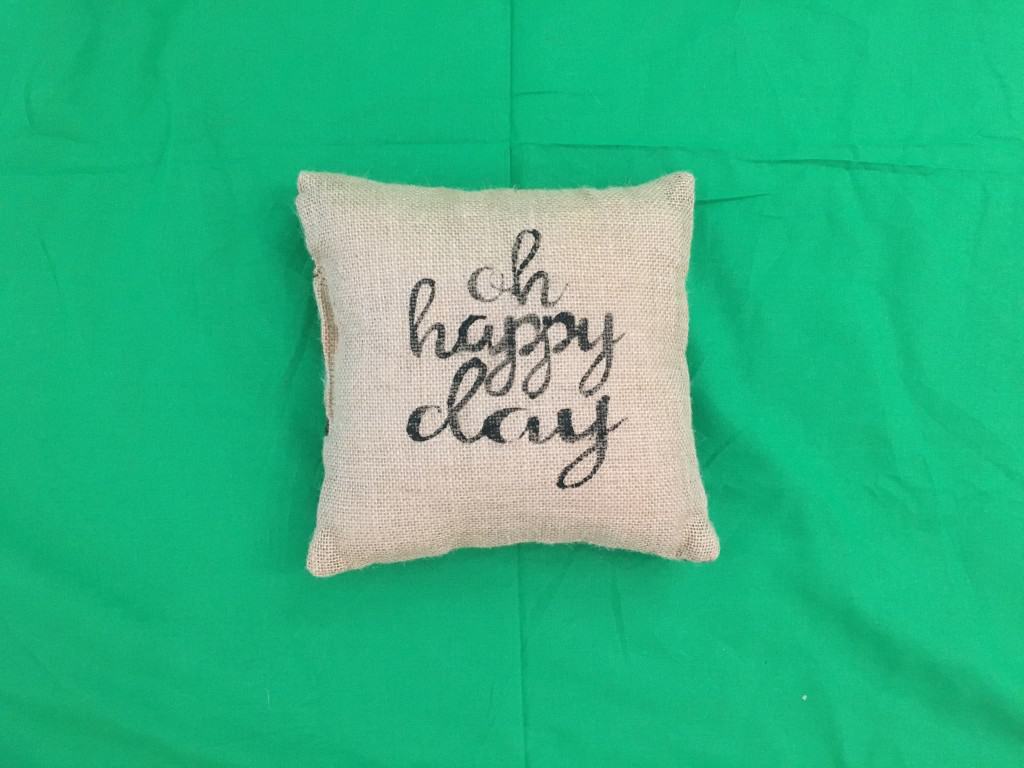
Get this:
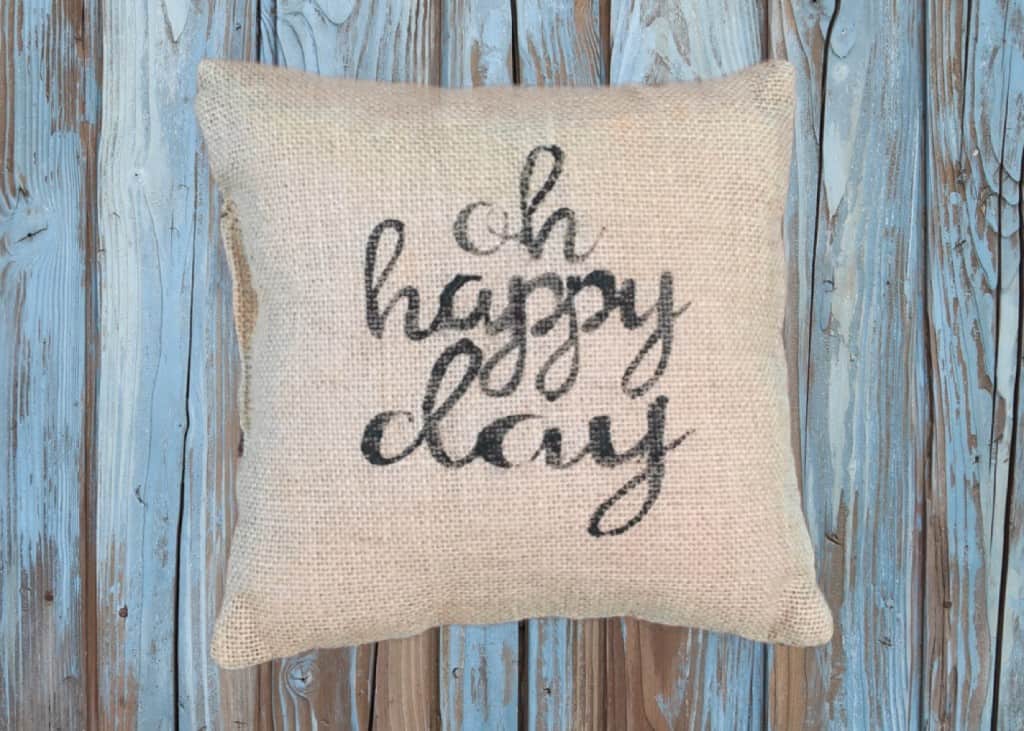
Or this:
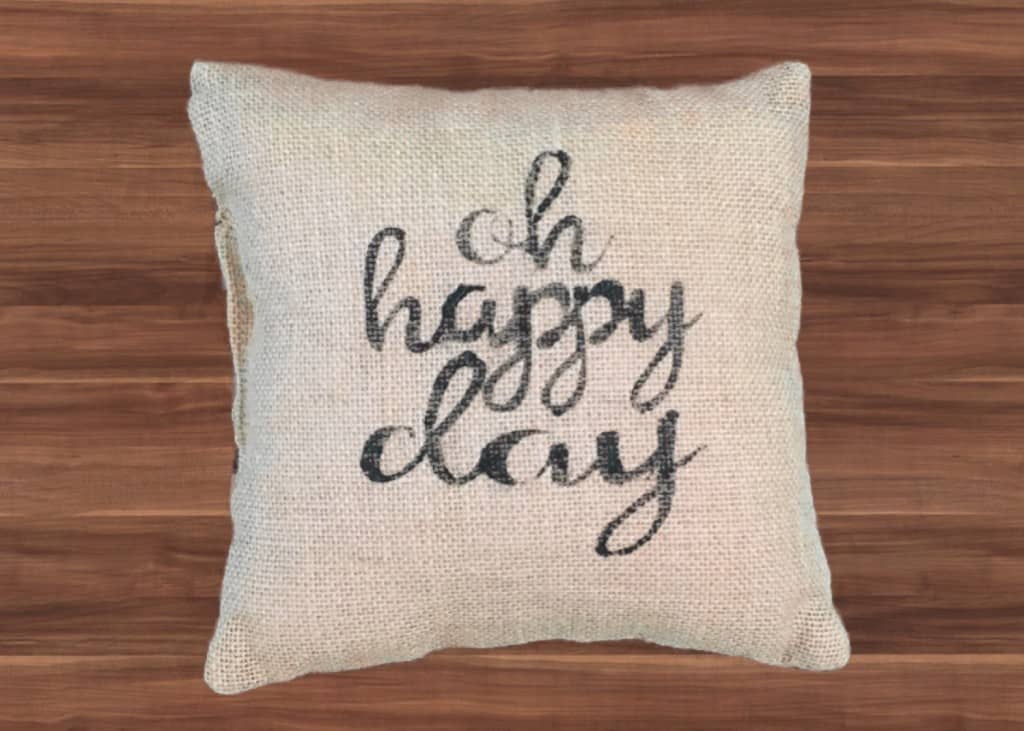
Or create a custom “watermark” background: 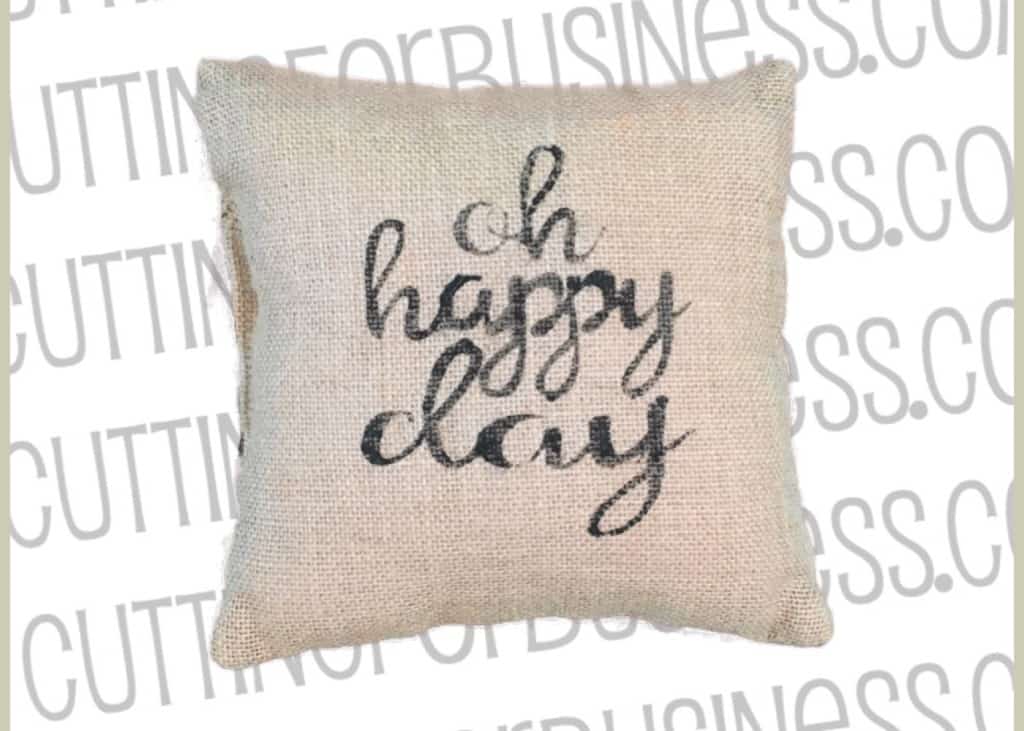
Another example:
Start with this:
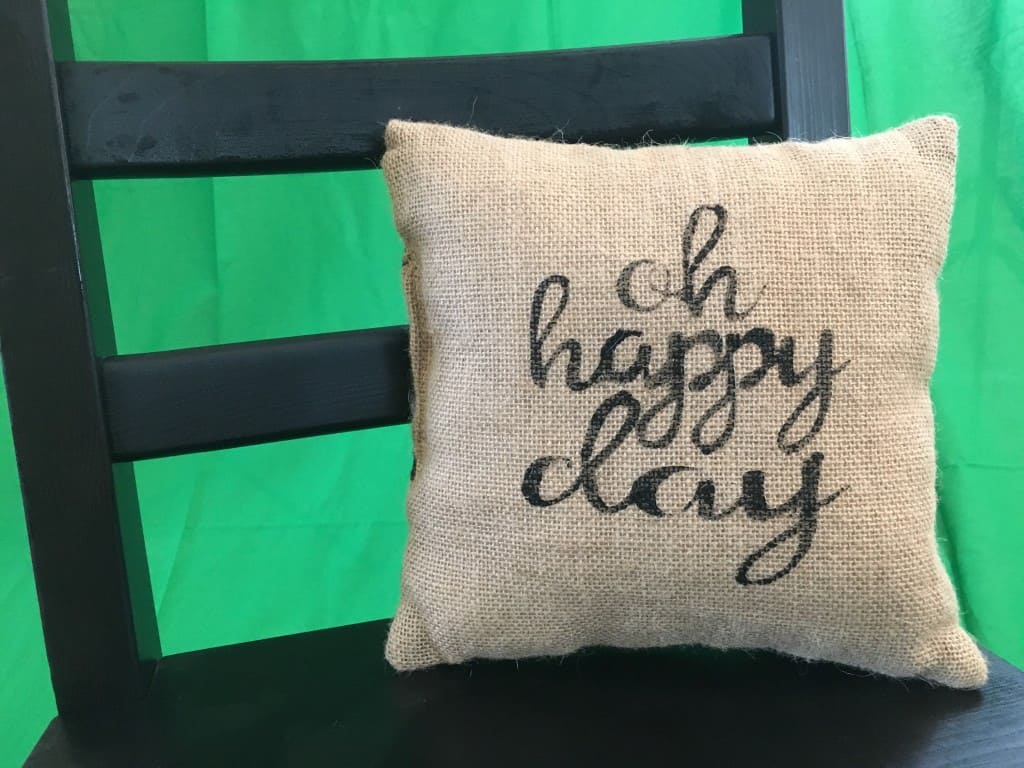
And get this:
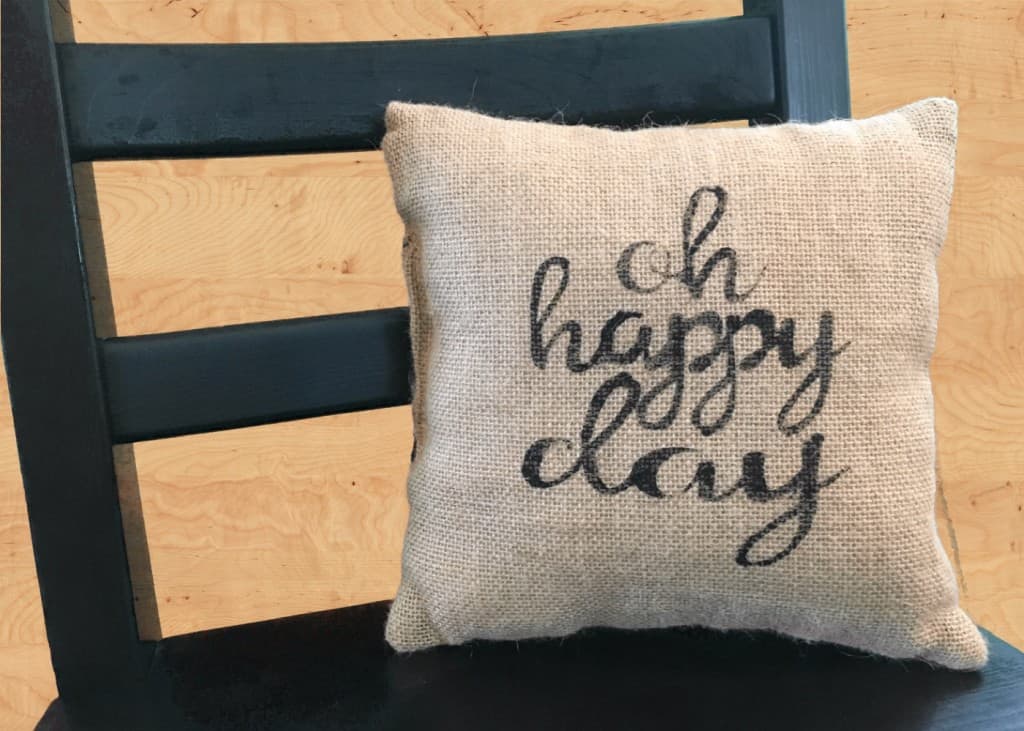
Or, set the mood to match your product. In this case, what’s better than sunrise over a farm to show off my rustic burlap pillow?
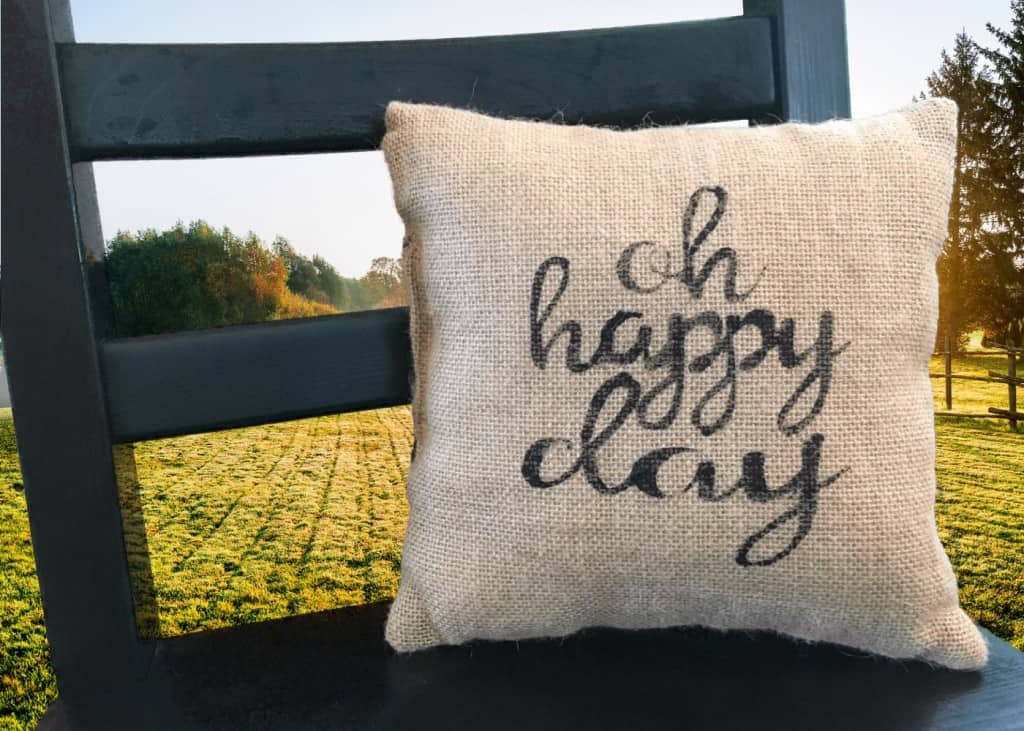
That’s it! It’s just that easy! If you are wondering, all images in this post came from Adobe Stock. If you’d like to try Adobe Stock with 10 free images, click the link banner below:
Since 2015, Christine Schinagl has been helping crafters start and run craft businesses through her blog, Cutting for Business. As a Silhouette and Cricut crafter herself, she has a unique take on what works and what doesn’t work in the craft business world. She also enjoys teaching other crafters how to create digital SVG designs, available through the Design with Me series.
