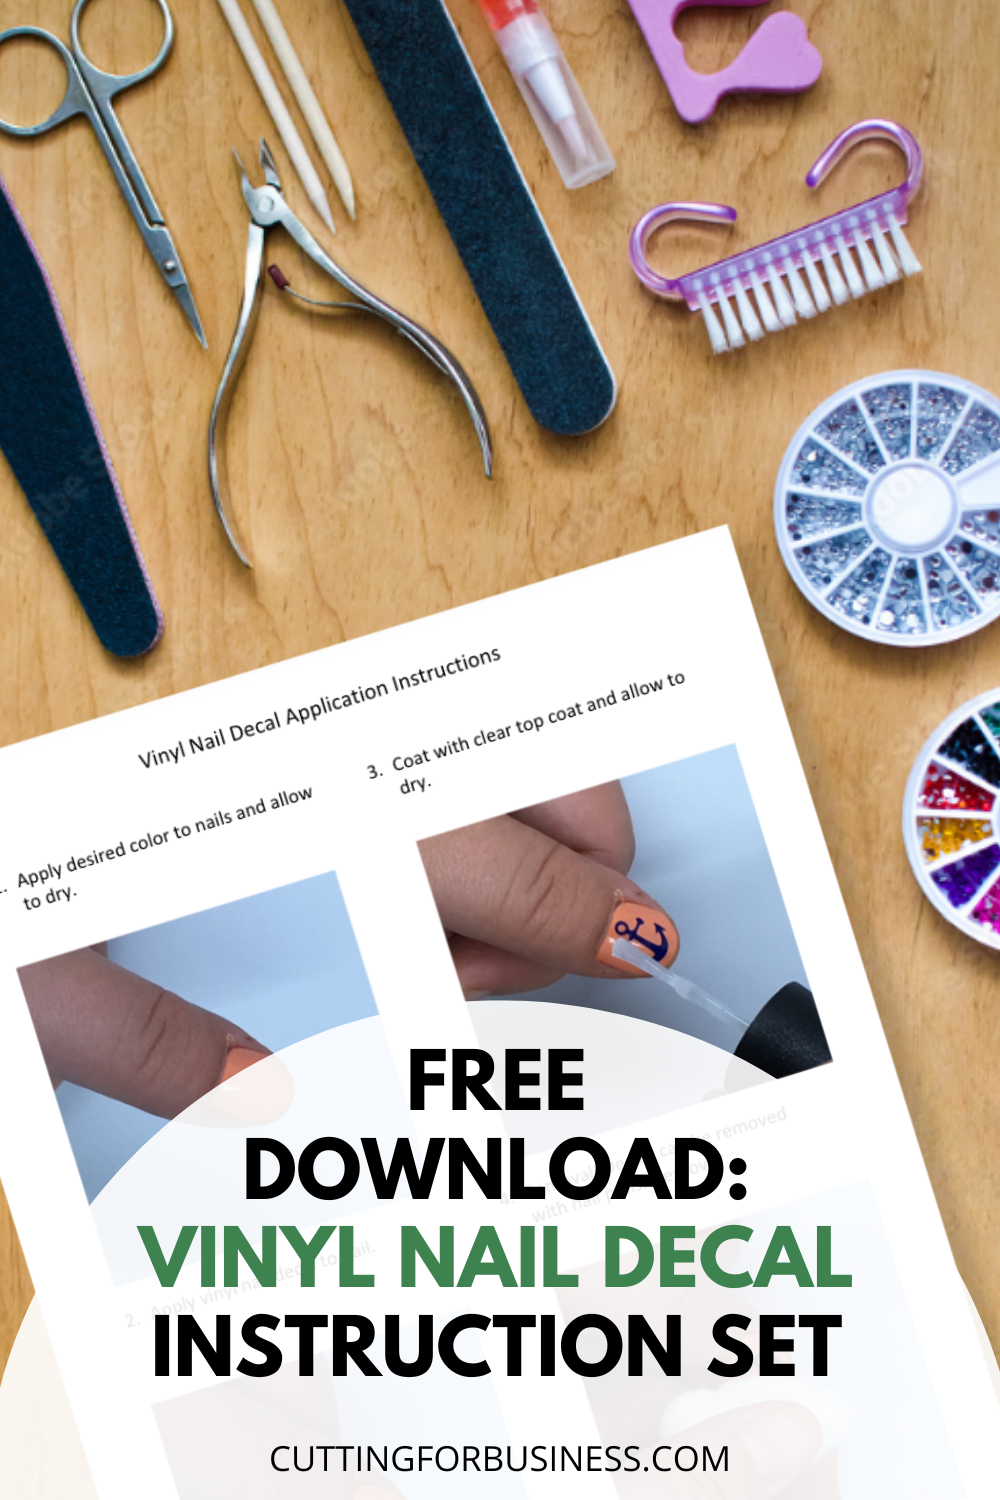
Free Download – Vinyl Nail Decal Instruction Set & 8 Vinyl Nail Decal Tips
Affiliate Disclosure: As an Amazon Associate I earn from qualifying purchases. Additionally, I may get commissions for purchases made through other affiliate links in this post.
With summer just around the corner, everyone gets their finger and toe nails all done up.
Silhouette and Cricut small business owners can whip up sheets of vinyl nail decals for quick easy sales – plus it is a great way to use your scraps!
Today, I’m sharing a free download – vinyl nail decal instruction set, and I’m sharing a few tips for creating vinyl nail decals.

Tips for Cutting Vinyl Nail Decals
- Make them Small – Vinyl nail decals should be sized around .25 inches each.
- Go for Simple – Nail decals should be simple shapes without lots of detail cut using adhesive vinyl.
- No Transfer Paper Needed – Transfer paper generally isn’t necessary for the customer to transfer vinyl to nail.
- Use Overcut – For Silhouette users, try using the overcut feature to assist with making tiny cuts.
- Price Correctly – Current online pricing for handmade nail decals is all over the place. I’d recommend pricing of a full sheet 8.5 inches by 11 inches at $4 to $5; and a half sheet of vinyl nail decals 8.5 inches by 6.5 inches at $2 to $3.
- Try Themes – Consider offering themed bundles (several related designs sold together).
- Earn Extra Money with Affiliate Programs – Remember that post on affiliate programs? (If not, go back to it.) A product like this lends itself well to an affiliate program. For example, take a product photo of your nail decal on your freshly painted nail. In the text, you can note the brand and color of the nail polish and an affiliate link to buy it. You’ll make money anytime someone purchases the nail polish through your link and it isn’t in competition to the product you are selling.
- Include Instructions – Of course, always be sure to give your customers instructions to apply and remove the nail decals.
Free Printable Vinyl Nail Decal Instructions
Don’t have time to create your own instruction set? Download mine below.
P.S. In case you are wondering, instruction photos were shot with a ShotBox and the nail polish used in the instruction set is Sally Hansen Insta-dri.
Since 2015, Christine Schinagl has been helping crafters start and run craft businesses through her blog, Cutting for Business. As a Silhouette and Cricut crafter herself, she has a unique take on what works and what doesn’t work in the craft business world. She also enjoys teaching other crafters how to create digital SVG designs, available through the Design with Me series.


