Affiliate Disclosure: As an Amazon Associate I earn from qualifying purchases. Additionally, I may get commissions for purchases made through other affiliate links in this post.
Yesterday we talked about what sublimation is and today I’m showing you how to sublimate onto tee t-shirts, apparel, or other soft goods.
Table of Contents
Supplies Needed
- Sublimation printer and ink
- Sublimation blank shirt (or other apparel) – You’ll notice that sublimation blanks are lighter colors, since the inks would not show well on dark fabric
- Sublimation paper
- Heat press
Tutorial: How to Sublimate T-shirts or Apparel
Step 1) Create a design. For this tutorial, I used Silhouette Studio, but you can use any photo editor you have.
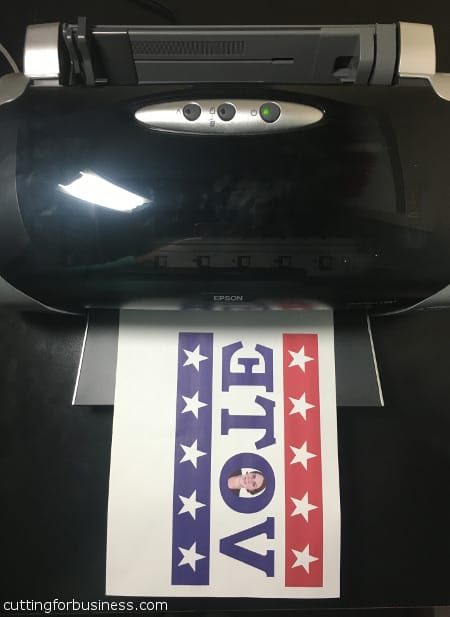
Step 2) Mirror your design and print it on your sublimation printer.
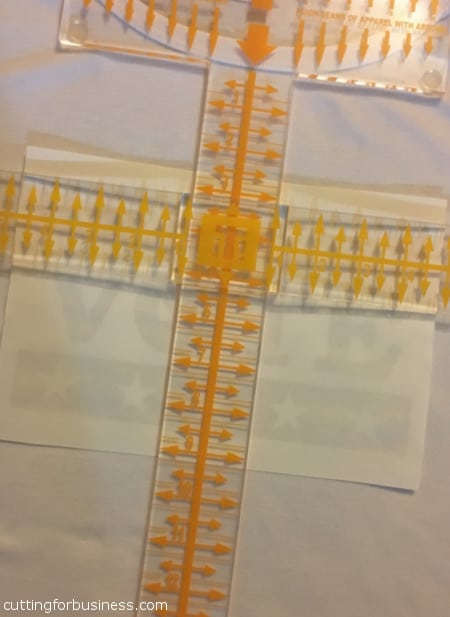
Step 3) Line your up your design. I use a Tee Square It, but feel free to line it up however you’d like.
Step 4) Press your design onto your apparel using a heat press. Your transfer paper should have recommended pressing times and temperatures. I pressed with medium pressure at 385 degrees for 35 seconds.
Step 5) Remove the transfer paper.
That’s it – it’s so easy!
Sublimation Versus Vinyl
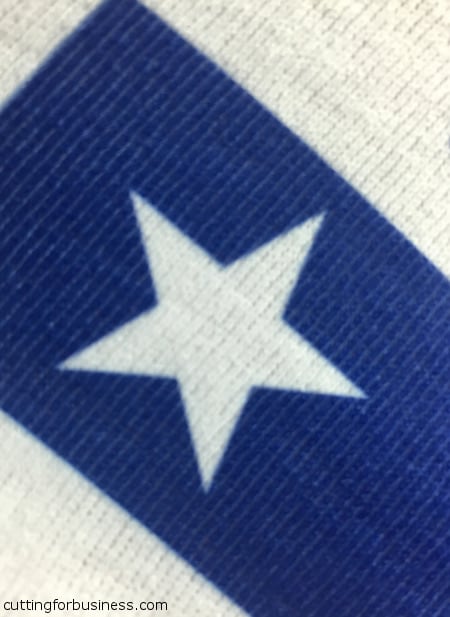
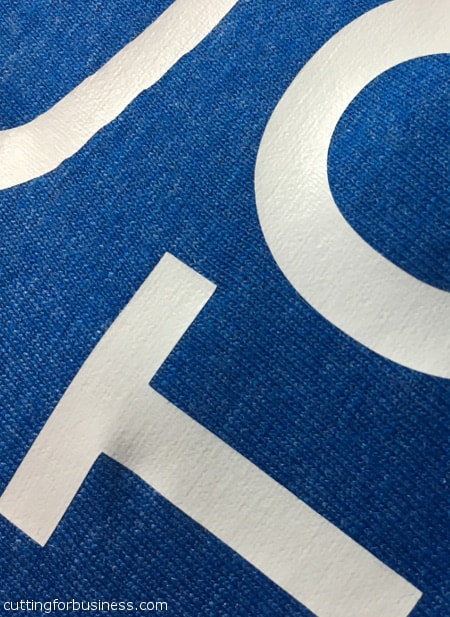
I took a few closeup photos for you to see how sublimation looks. Unlike vinyl, the design becomes part of the apparel. This means that when the fabric stretches; the design stretches!
This photo shows how vinyl compares to sublimation. Notice how the vinyl design sits on top of the apparel.
More Sublimation Information & Tutorials
Guide to Sublimation for Crafters
Two Ways to Make Mugs Using Sublimation
(Oh! Please get out and vote this year, but don’t write me in as a candidate. I’m pretty tied up with the blog.)
Since 2015, Christine Schinagl has been helping crafters start and run craft businesses through her blog, Cutting for Business. As a Silhouette and Cricut crafter herself, she has a unique take on what works and what doesn’t work in the craft business world. She also enjoys teaching other crafters how to create digital SVG designs, available through the Design with Me series.
Faith
Saturday 10th of August 2019
Hello I got a Cricut and a sublimation printer but I notice it will only let you do a 6x9 cut how am I suppose to make it big to fit the shirt Or is that the size thank
Christine, Cutting for Business
Sunday 25th of August 2019
Hi Faith! The maximum Print then Cut area is 9.25" x 6.75". For anything larger, you'd have to use a different program.
Christina
Sunday 5th of May 2019
I have the Epson C88 and I keep getting small black dots on my shirts and mugs. They are hard to see on the paper, but you see them come out on the shirt and the mug after heat pressing them on. From what I have read, it's small ink splatters when it is printing on the paper. I've tried cleaning everything in the machine. What else can I do?
Christine, Cutting for Business
Saturday 18th of May 2019
I've never experienced this issue. There's a handful of Facebook Groups that specialize in sublimation. I would ask your question over there.
Walkirya
Monday 5th of February 2018
Hi Christine. Do I buy the subliminal ruler?
Christine
Tuesday 6th of February 2018
It's optional, here's more information on it: https://cuttingforbusiness.com/2017/05/09/tee-square-product-design-improvements/
Shay
Sunday 24th of December 2017
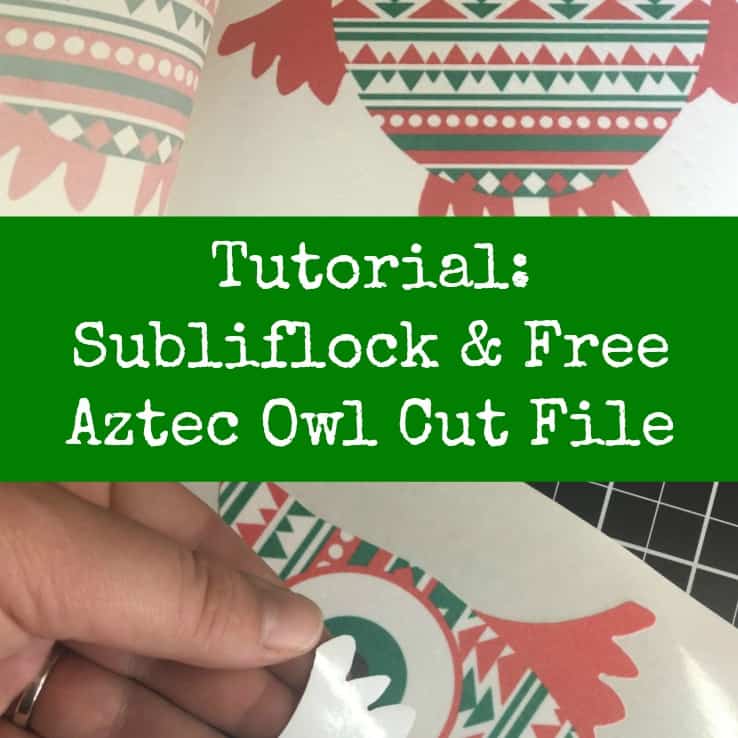
This time you printed, then placed it directly on the shirt. In the subliflock article, you printed, transferred the Aztec Owl to subliflock, cut off the excess paper, THEN it was ready to affix to the shirt. Why the extra step? Why didn’t you just print and heat press? What does subliflock do that requires the additional step?
Christine
Sunday 24th of December 2017
Subliflock is a blank, fuzzy, white material. I wanted a design on the subliflock, so I had to put it there first. Think of subliflock starting as plain white vinyl and I first made it patterned, then cut and applied it.
Vanessa Smith
Monday 13th of November 2017
Hello, I have the epson printer and I am trying to print on dark material. I have the dark transfer paper however there is the white background when printing letters for example. How do you get ride of the white background? Can you print the transfer paper in a cricut to cut the letters?
Christine
Tuesday 14th of November 2017
You can use the Print then Cut function of Cricut to cut around the letter only and remove the unnecessary transfer paper.