Custom Button Tutorial with Silhouette Cameo and Button Maker
Affiliate Disclosure: As an Amazon Associate I earn from qualifying purchases. Additionally, I may get commissions for purchases made through other affiliate links in this post.
Several years ago, I found myself attending a conference and needing an inexpensive product to trade with other crafters during a swap.
If you aren’t familiar with craft swaps, it’s a fun activity where crafters create a project and trade their project with other crafters.
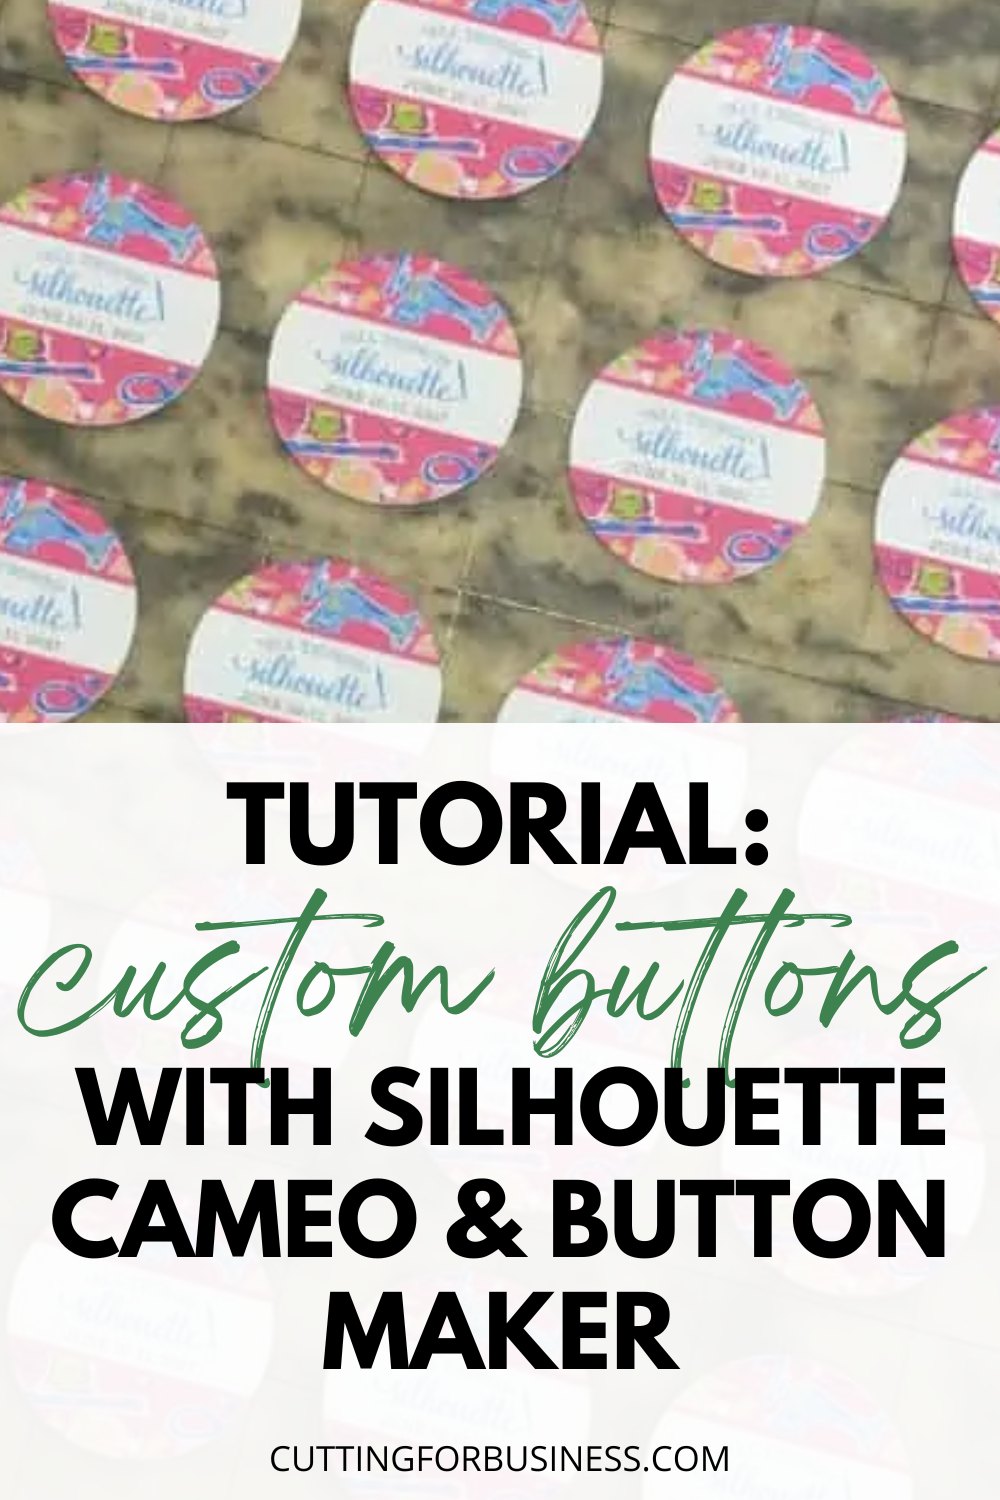
I decided to create buttons to trade at the swap. They worked out great, and I’m happy to share a custom button tutorial today.
Why Did I Choose Buttons for the Swap?
Of all the projects I could have done for the swap, why did I choose buttons? Well, buttons are fast to make and great for small businesses.
I also chose buttons so I could give you ideas on how to use them in your own small business.
4 Ways to Use Buttons in Your Craft Business
- Great inexpensive impulse items at craft shows and fairs.
- Perfect for kids. Imagine this – you have a basket of assorted buttons at your table at a craft show. A mother is trying to have a conversation with you as her child is at her side. She can hand him/her the basket of buttons to dig through and you can finish the conversation quietly. (She will likely buy one as well!)
- Branded buttons make great giveaways to put in orders because they are cheap to make.
- While not directly business related, buttons make for great fundraisers for kids. My eldest child recently had to make and sell goods at school – and buttons were our go to.
Custom Button Tutorial
Supplies Needed
- Plain copy paper
- Button Maker and blank buttons
- Silhouette Cameo or Cricut Maker
Custom Button Tutorial
- Using Print and Cut (Silhouette) or Print then Cut (Cricut), create your button designs and print them on copy paper. I created the design using Silhouette Studio.

- Cut them with the Silhouette or Cricut.

- Remove the excess paper.

- Now, use the button maker to quickly put them together. My button maker has two steps. Quickly, here is how it works. Take the flat metal portion, the circle paper, and the mylar film and place them in that order into the first hole in the button maker. Then, pull the lever down.


- Place the button back in the second space, and pull the lever down.


In less than an hour, I cut and assembled 120 buttons.
What if You Don’t Have a Silhouette or a Cricut?
If you don’t have a Silhouette or a Cricut, you’ve got two options: 1) You can cut the circles for the buttons using scissors. 2) You can use a circular craft punch.
Magnets Instead of Buttons
For another project alternative, you could remove the pin from the backing and glue a magnet back instead.
Tell me in the comments: Have you ever made buttons?
Since 2015, Christine Schinagl has been helping crafters start and run craft businesses through her blog, Cutting for Business. As a Silhouette and Cricut crafter herself, she has a unique take on what works and what doesn’t work in the craft business world. She also enjoys teaching other crafters how to create digital SVG designs, available through the Design with Me series.
