DIY Morse Code Valentine’s Cards
Affiliate Disclosure: As an Amazon Associate I earn from qualifying purchases. Additionally, I may get commissions for purchases made through other affiliate links in this post.
Remember that post on mind dumping from yesterday? This is one of the projects that I’ve had in my idea book forever. I thought it would be neat to have an Etsy shop called “Morse Cards” and make a line of Morse Code cards. My idea was inspired by all the Morse Code jewelry over on Etsy. If you have seen these, click here to view one of my favorite shops. To create your own Morse Code card using a Silhouette Cameo, continue on.
DIY Morse Code Valentine’s Cards
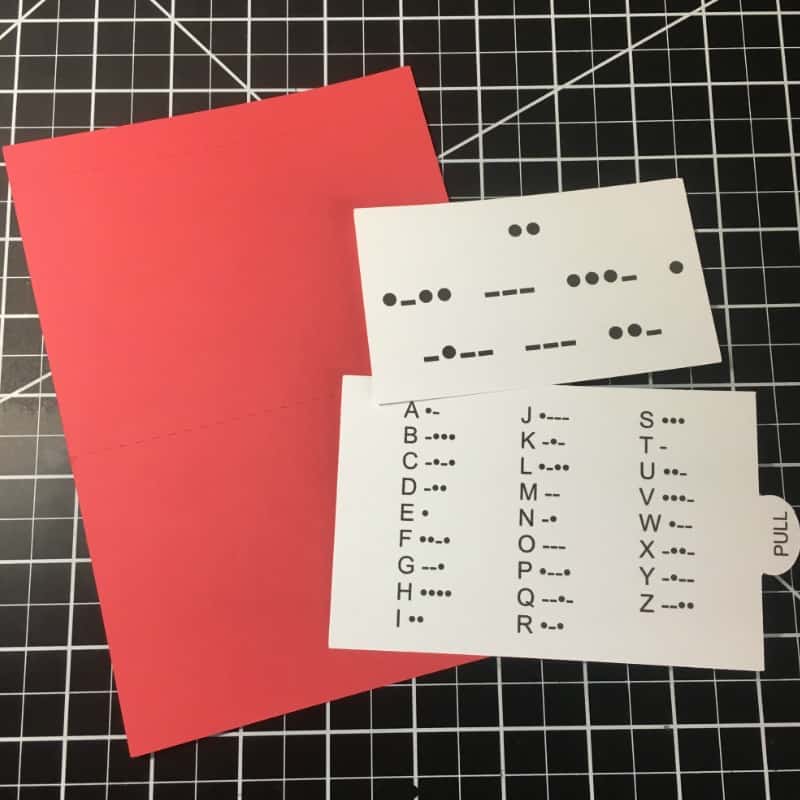
Supplies Needed
- Two sheets of cardstock
- Glue – I use and love Tombow Mono
- Silhouette Cameo
Step by Step Tutorial
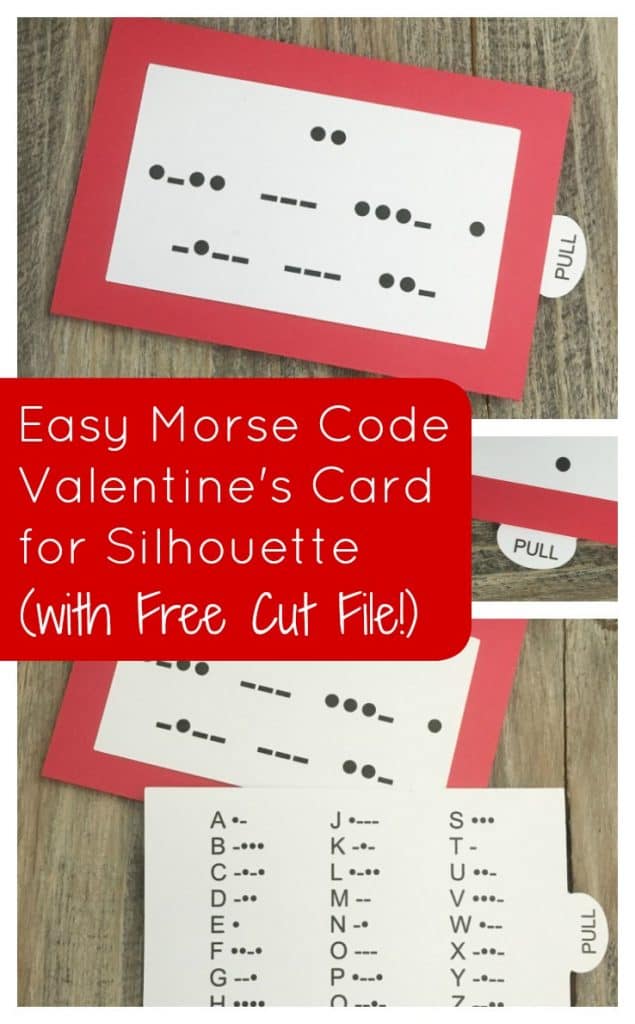
- Use print and cut to first print the pull tab insert and the design on the front. The message on the cut file included below is “I love you” To create your own message use the middle dot (Option and 8 on a Mac or ALT 0183 on Windows) and hypens to create each letter.
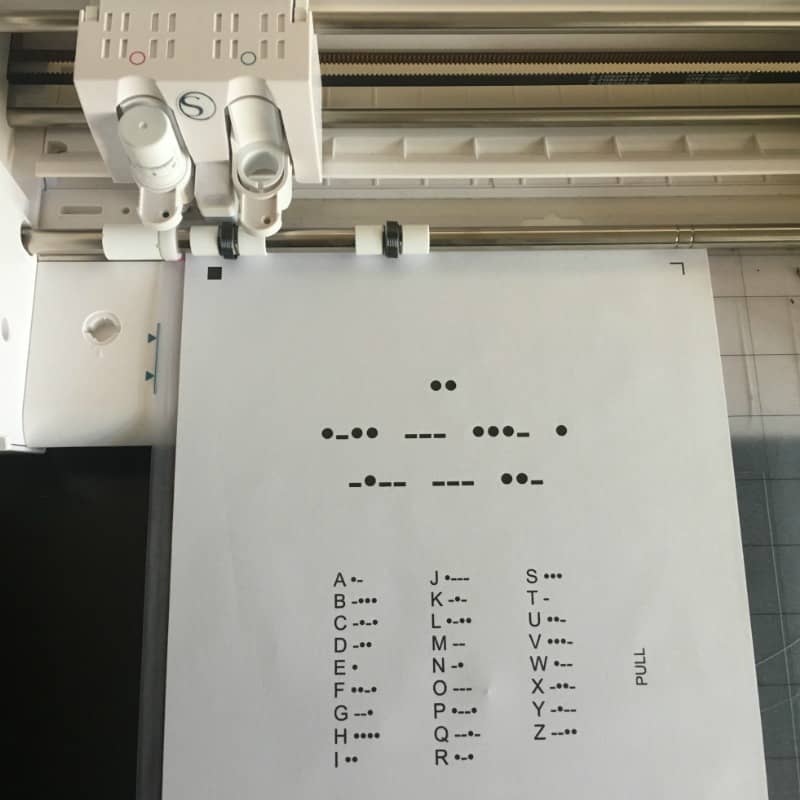
- Cut the card using the included cut file on your colored cardstock.
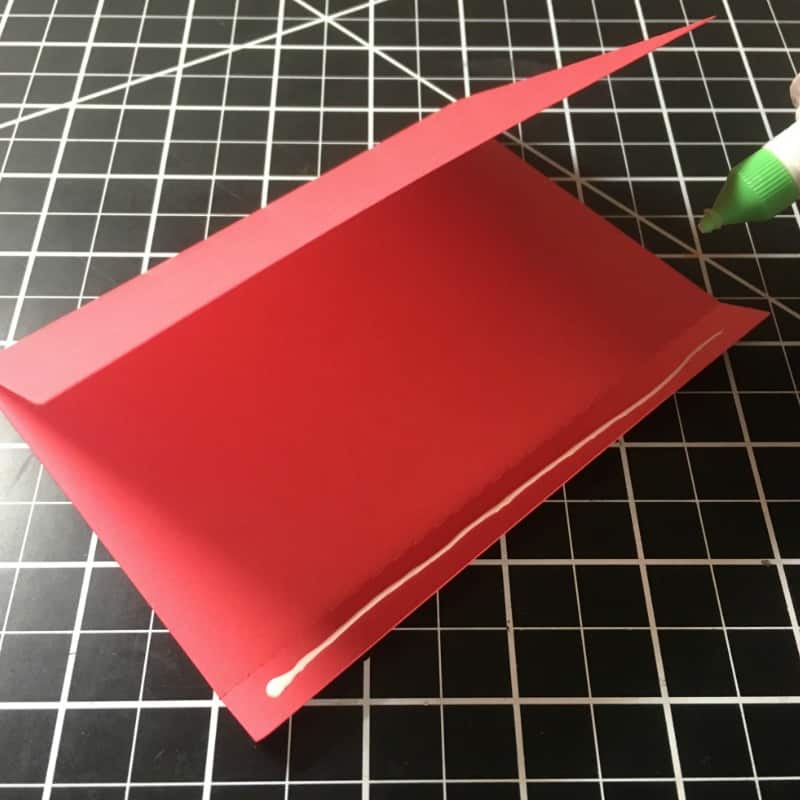
- Fold the card on the fold lines and glue the flap together.
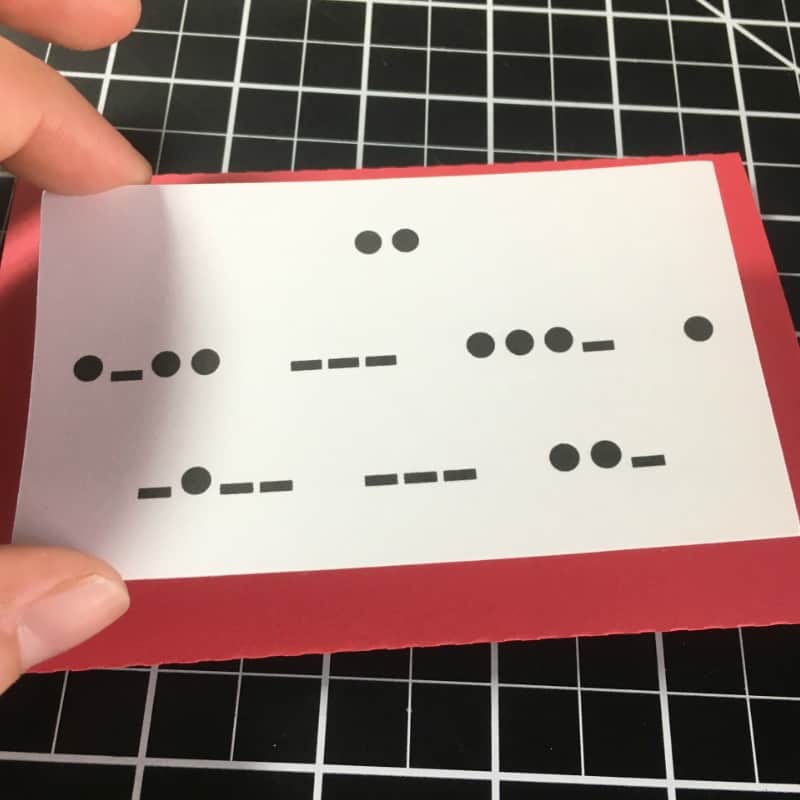
- Attach the message to the front of the card.
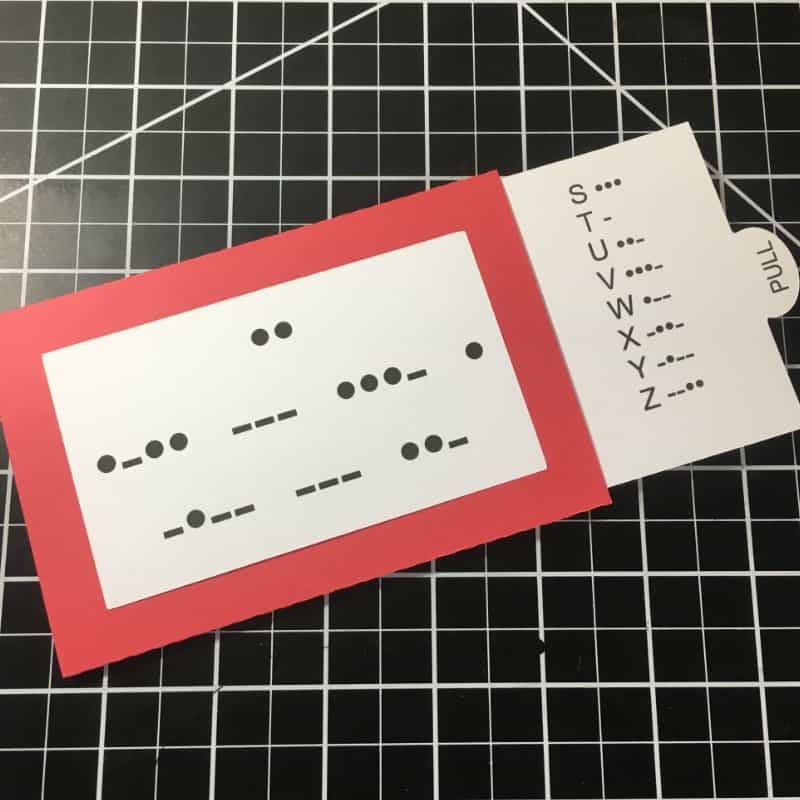
- Insert the decoder into the card.
That’s it! I love a good, quick project!
Save this tutorial to Pinterest:
Download the cut files in .studio3 format here and here.
Since 2015, Christine Schinagl has been helping crafters start and run craft businesses through her blog, Cutting for Business. As a Silhouette and Cricut crafter herself, she has a unique take on what works and what doesn’t work in the craft business world. She also enjoys teaching other crafters how to create digital SVG designs, available through the Design with Me series.