
Affiliate Disclosure: As an Amazon Associate I earn from qualifying purchases. Additionally, I may get commissions for purchases made through other affiliate links in this post.
I’ve said it many times before, and I’ll say it again: I think that craft businesses that create their own designs have an advantage over shops who purchase all of their designs premade. Why? It’s no secret that unique designs make you stand out.
Today, we are going to look at creating text based designs. Honestly, there is no reason that you would ever need to buy a text based design from a designer. Why? Even the most uncreative Silhouette and Cricut owners can create text based designs!
Here’s how I create text based designs (tutorial shown in Silhouette Studio – version 4 beta release):
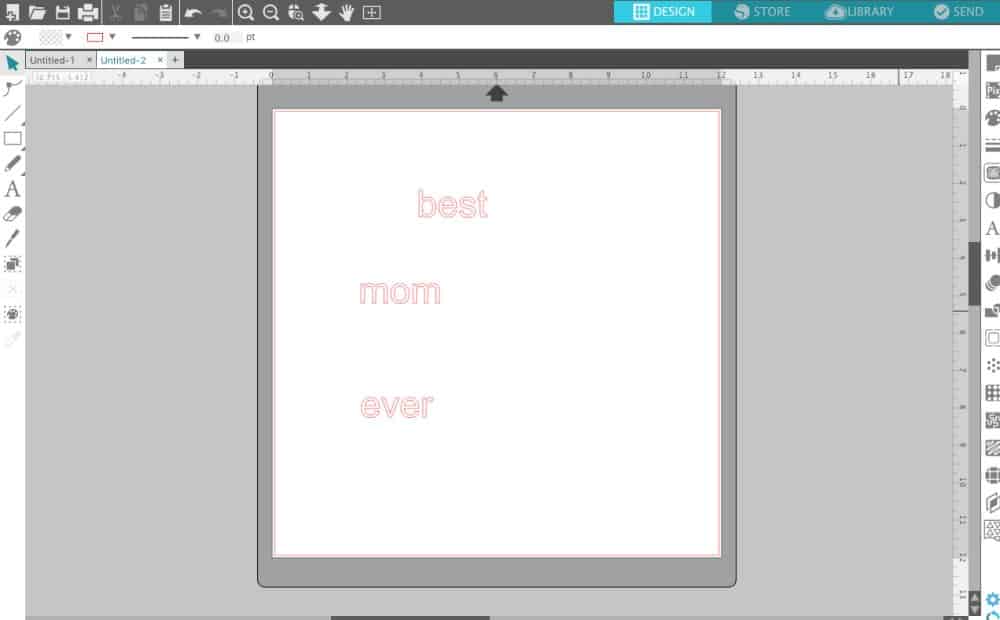
- Start by writing out the text to include in your design. You’ll notice that I typed each word in a separate text box. This is the key to be able to arrange the words in a pleasant looking way.

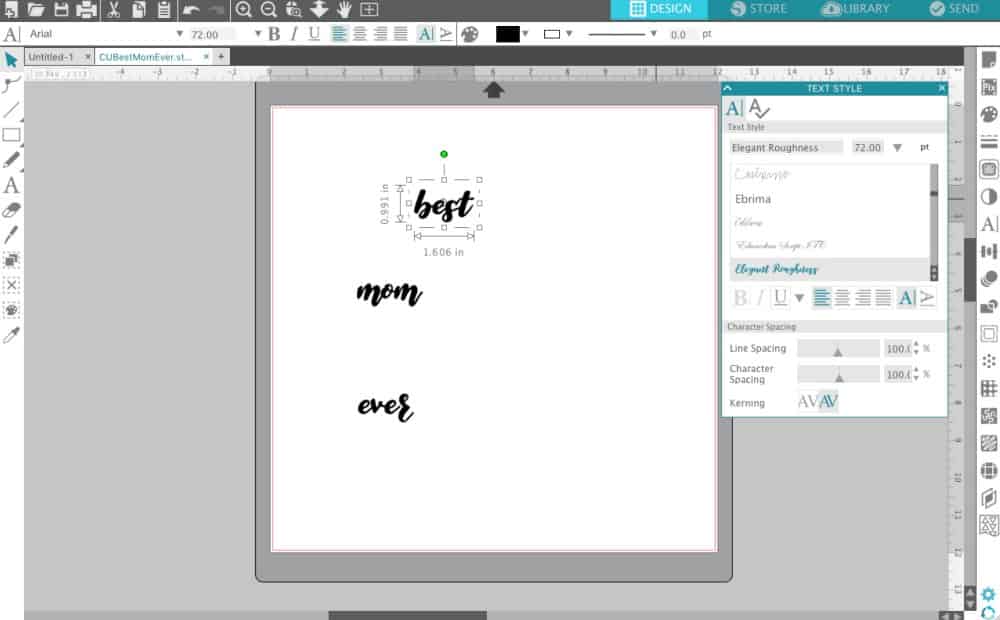
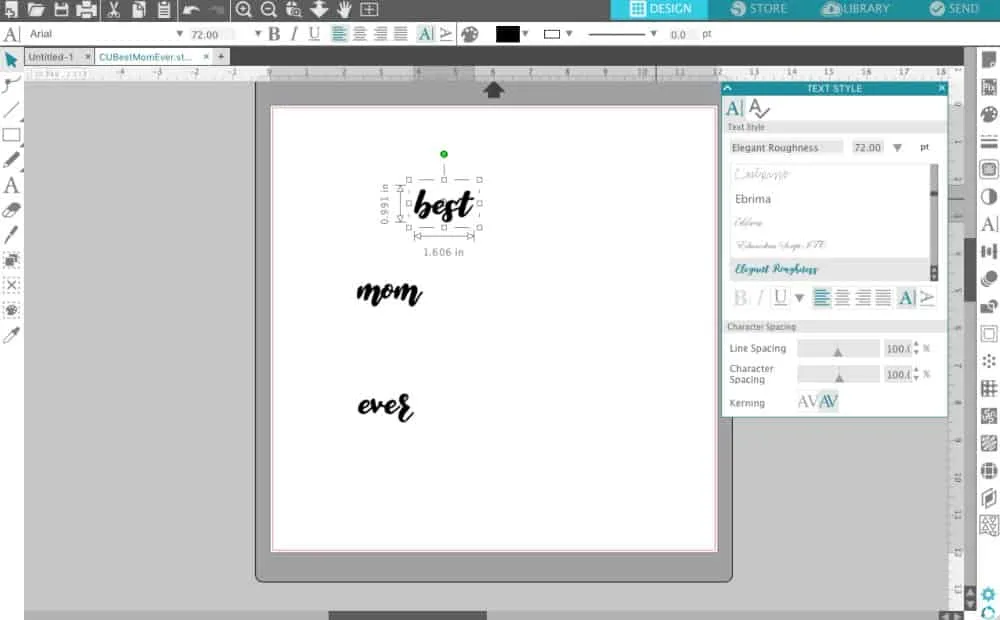
- Next, choose a font and change all the words to your desired font. The font I used in this tutorial is Elegant Roughness – and it is free for a limited time! I also fill my words with color to make the design easier to see.
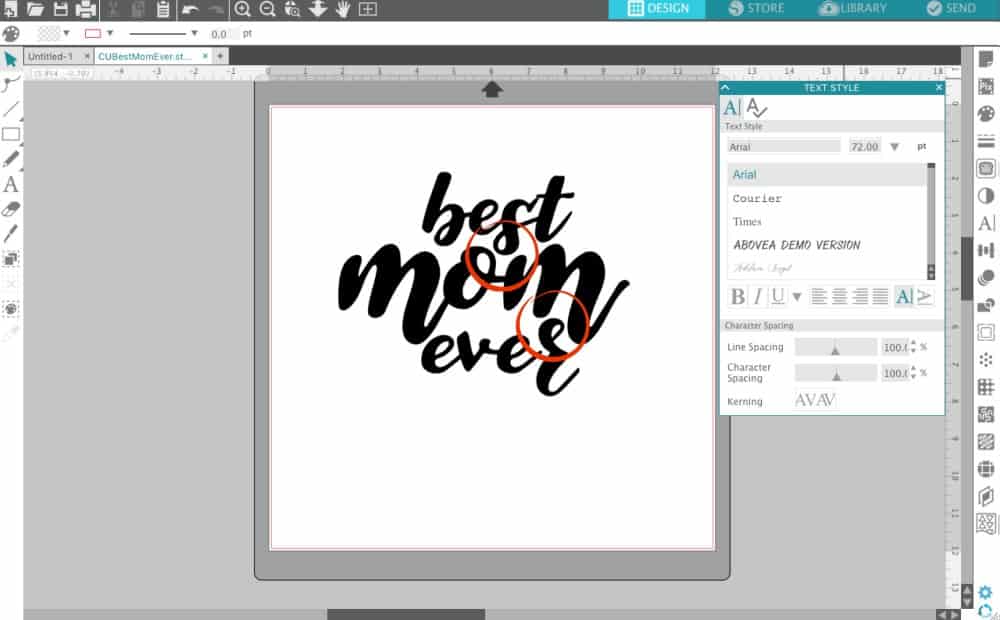
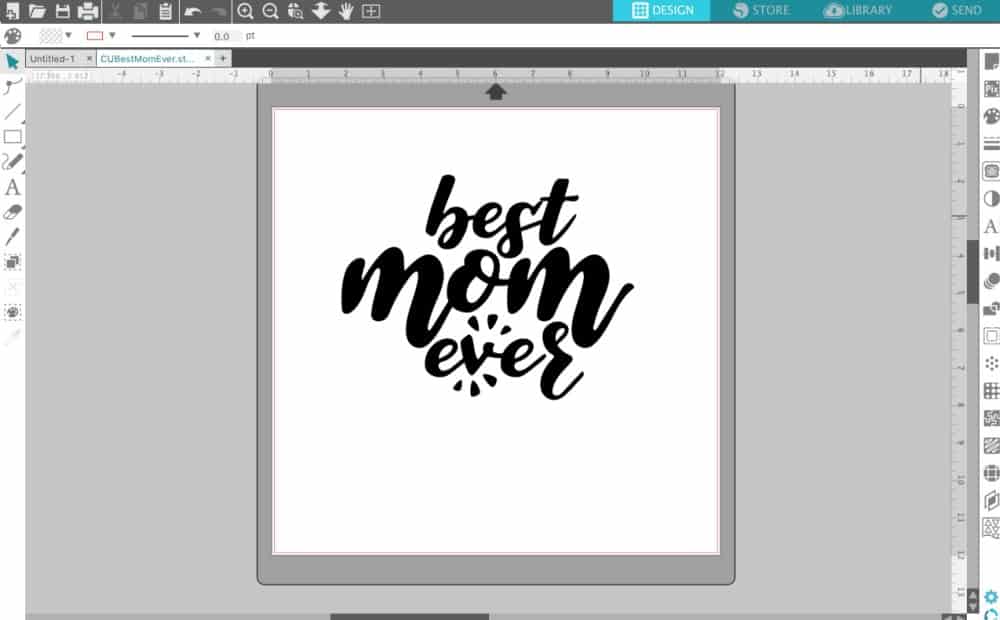
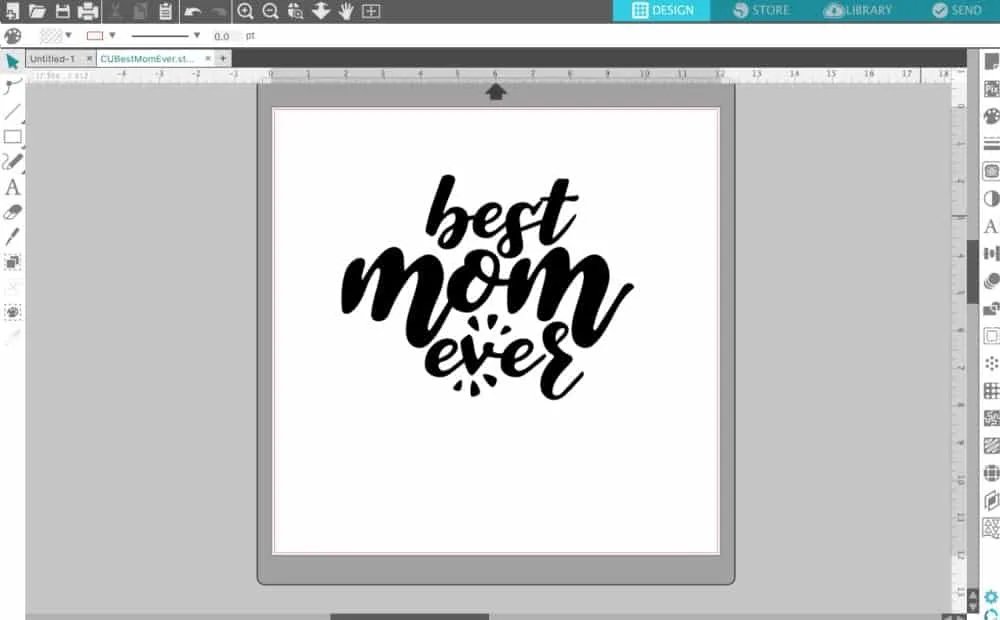
- Now, you will arrange the words however you’d like them. All I’ve done is drag the words around and resized some of them. When I arrange them, I look for nooks and crannies where letters will “fit” into each other. I circled the nooks – the “s” fits nicely into the nook above with “om” and the “r” fits nicely into the nook in the “m”.

- The design looks good but I don’t like the big space below “mom” and above “ever”. I draw a few teardrop shapes using the smooth freehand tool and place them to fill the space. To balance the design and add emphasis on “ever” I add the same teardrops below “ever”. If you don’t like the teardrops, you could substitute with lines or a heart.
- Now, you’ll just want to finish up the design by welding the letters if needed.

Additional Posts to Help You with Text Designs:
Now, get out there and start playing with text in Silhouette Studio or Design Space – it’s not as hard as you’d think!
Download the file I created in this tutorial – free with commercial use license included at this link.
Share this post on Pinterest:

Since 2015, Christine Schinagl has been helping crafters start and run craft businesses through her blog, Cutting for Business. As a Silhouette and Cricut crafter herself, she has a unique take on what works and what doesn’t work in the craft business world. She also enjoys teaching other crafters how to create digital SVG designs, available at through the Design with Me series.