Affiliate Disclosure: As an Amazon Associate I earn from qualifying purchases. Additionally, I may get commissions for purchases made through other affiliate links in this post.
If you are a member of the Cutting for Business Insider’s Club on Facebook, you may remember that I got a scroll saw for Christmas. I’ve used it several times and feel that I am comfortable enough with it to write a tutorial today!
What is a Scroll Saw?
A scroll saw looks similar to a long arm sewing machine. It has a fixed blade that makes intricate cuts. The process of cutting wood is similar to sewing because you move the wood around to cut it on the blade.
My Scroll Saw
Santa brought me an inexpensive scroll saw with the promise that if I use and master it – it will be upgraded. Probably a good idea, because sometimes I am convinced that I need things and when I get them – I barely use them! (Anyone else?!) Here’s a picture of my scroll saw and a link to purchase it.
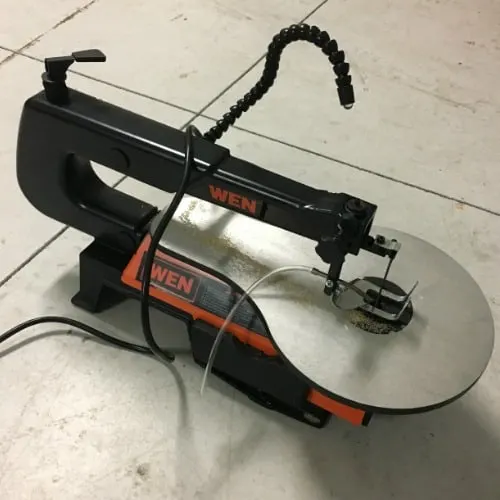
Wood Shape Scroll Saw Tutorial
Supplies Needed
- Wood – I used birch plywood from Home Depot, but you can also purchase here on Amazon.
- Scrap paper to cut a stencil
- Paint and/or adhesive vinyl – I used acrylic craft paint.
- Transfer tape
- Pencil
- Scroll saw
- Sandpaper and/or palm sander
- Twine
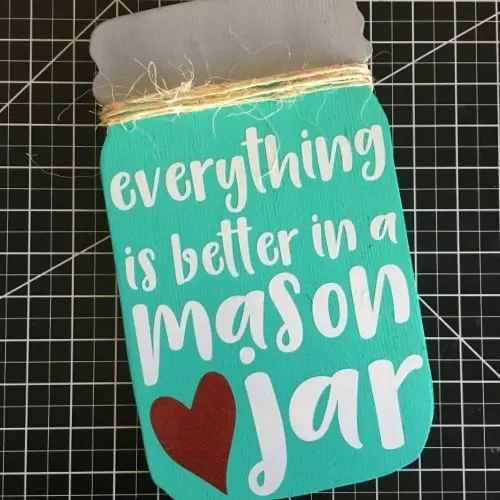
Prep work before the tutorial begins: Cut all shapes with your Silhouette or Cricut. For this project, I cut the mason jar shape in scrap cardstock and the text and heart in adhesive vinyl.
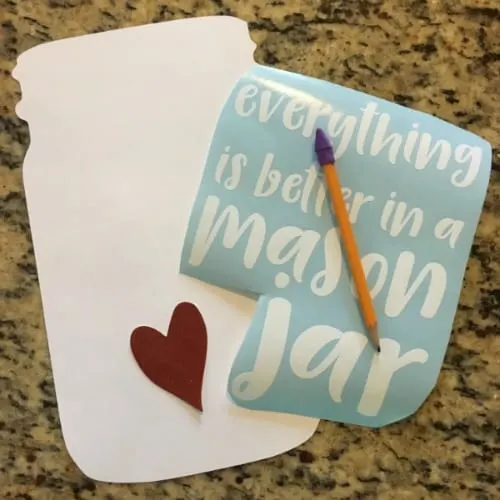
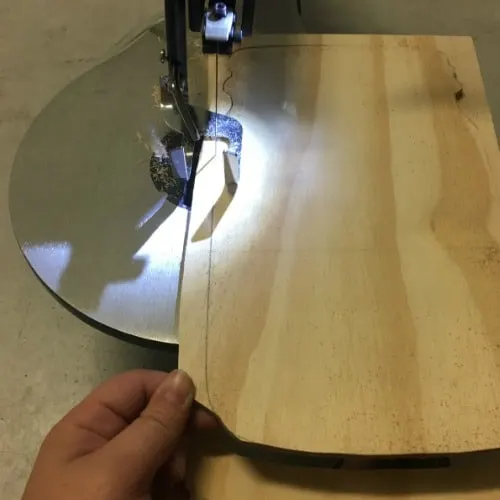
- Using a pencil, trace around your shape to create a line to follow when cutting.
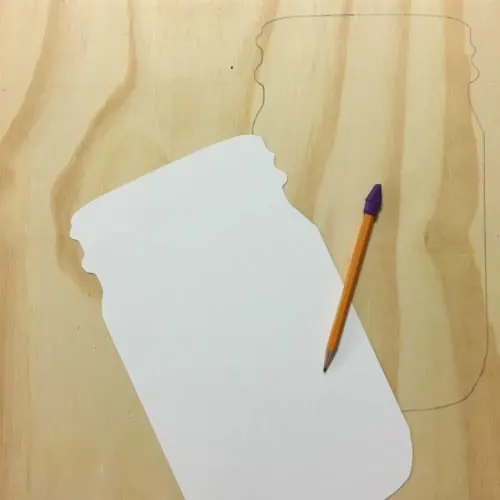
- Cut the wood shape out using your scroll saw.
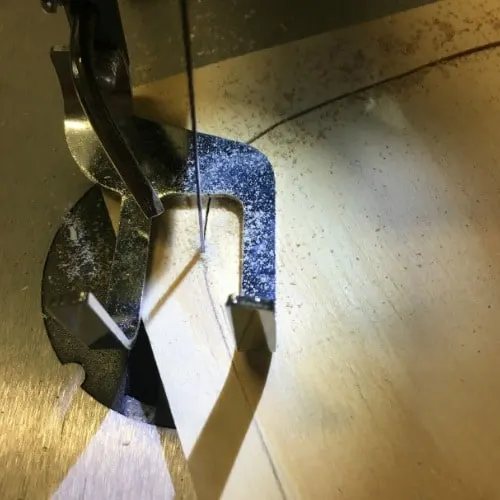 You’ll see in this photo that I’m using my hands to guide the wood along my pencil line:
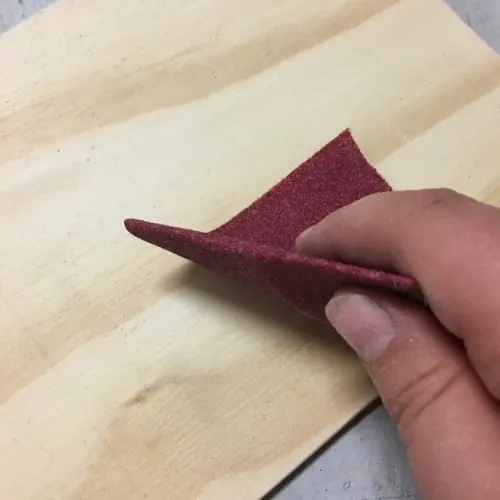
- Sand the edges of the wood shape. My cuts were pretty smooth, so I sanded it by hand.
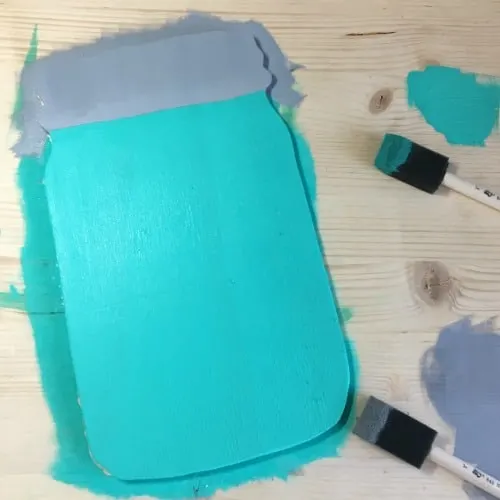
- Brush off all the sawdust and paint your wood shape as desired.
- Add vinyl or paint the text onto your shape.
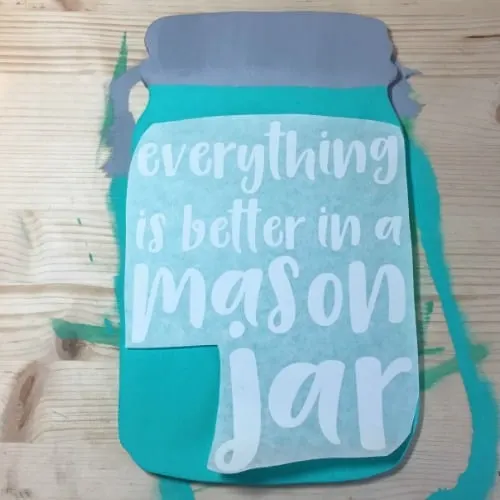
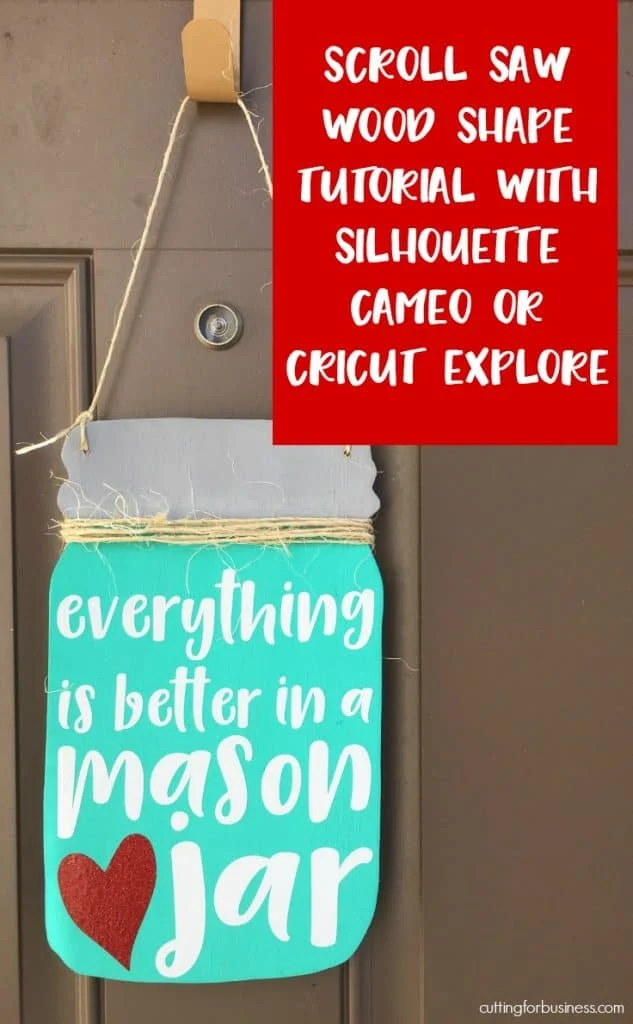
- Add some twine to finish off your wood mason jar. I also drilled holes in the top and strung twine through as a hanger.
If you are interested, here is a picture of another cut on my scroll saw. To cut the insides of the letters, I first drilled a large hole then put the blade through the hole and cut.

Download the cut files I used in this tutorial at this link.
If you’ve purchased my book, 15 Parties to Host with Your Silhouette or Cricut, you could easily use this tutorial during a party!
Save this post to Facebook or Pinterest:
Since 2015, Christine Schinagl has been helping crafters start and run craft businesses through her blog, Cutting for Business. As a Silhouette and Cricut crafter herself, she has a unique take on what works and what doesn’t work in the craft business world. She also enjoys teaching other crafters how to create digital SVG designs, available through the Design with Me series.

Maryann
Thursday 3rd of January 2019
Hi Christine, I have a few tools I’ve purchased and not used. My excuse is time. I also get intimidated- but I want to ‘be half way good at the start’ so I pulled out my scroll saw. I need to cut some stars. To my dismay, there wasn’t an instruction manual. Not even a sheet to tell you how to change blades, or change the table slope. The stars will be cut in 3/4 in pine. Any advice.
Christine
Tuesday 8th of January 2019
Don't feel bad Maryann, my scroll saw didn't come with instructions either! I'd recommend you cut a star in paper and trace it onto your wood in pencil. Then, trace your pencil line with the scroll saw.
Stephanie
Tuesday 1st of January 2019
Can I ask what blade you use?
Christine
Tuesday 8th of January 2019
I use inexpensive pin end blades.
Ana Rivas
Thursday 9th of February 2017
This might be a dumb question, but how noisy is the scroll saw when cutting your wood? I live in apartment and don't like my neighbors looking to see what I am doing?
Christine
Friday 10th of February 2017
Hello! It's rather noisy - same as a standard power tool. You'd want to use it outdoors due to the mess/noise.
Julie
Wednesday 8th of February 2017
Ladies and their tools! Yes, Christine my hubby got me something similar to a Dremel tool for jewelry etc...and it sat for many a Christmas after till this last year I was making toys for our cat by drilling holes in dowel rods! Hubby though has a scroll saw already mounted on a table. When it gets warmer here in Ohio, I will have to break it out and give it a whirl! Thanks for the post and inspiration!
Christine
Thursday 9th of February 2017
Yes, Julie! Get it out soon! It's so fun!
Michelle
Wednesday 8th of February 2017
I also added a scroll saw to my craft room last fall. I've not played with it too much because I think I'm letting it intimidate me a little. I think it's time to start, though. Maybe I'll try this project this weekend! Thanks for your post about it!
Christine
Wednesday 8th of February 2017
Michelle, Get it out! Once you do the first cut, it isn't as scary at all. Grab yourself a pair of cut resistant gloves: https://www.amazon.com/NoCry-Cut-Resistant-Gloves-Performance/dp/B00MXUHHGK/ref=sr_1_1?ie=UTF8&qid=1486605030&sr=8-1-spons&keywords=cut+resistant+gloves&psc=1